Lubing up.... RNDM-BMX Style!
Lubing up.... RNDM-BMX Style!
Protecting those precious parts for a hopeful longer lasting Ride.

It can happen to Anyone, Anywhere, and at Anytime. You are cruising along enjoying the fresh Beach Air when all of a sudden something goes SNAP!
No! This isn’t your mate criticizing your fumble but something far, far worse, because as you begin to Pedal, there is that awful feeling that something has indeed let Go!
And although it can be inevitable to happen sooner or later, pictured below is a special something that may be able to assist in avoiding that awful awakening….
But before Officially pedaling in, here is a little ‘Aw SNAP’ experience of our own….
Here we go….
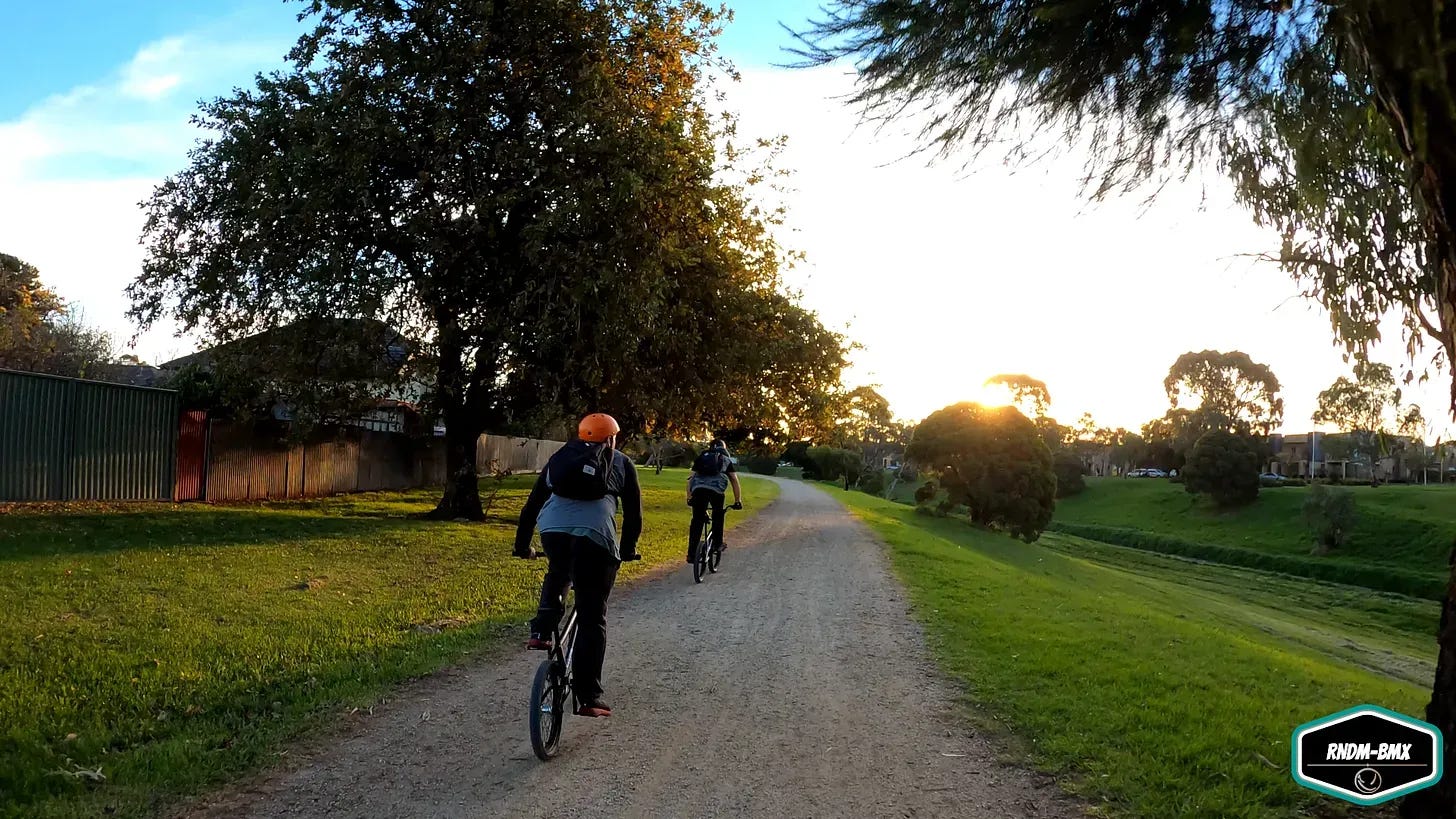
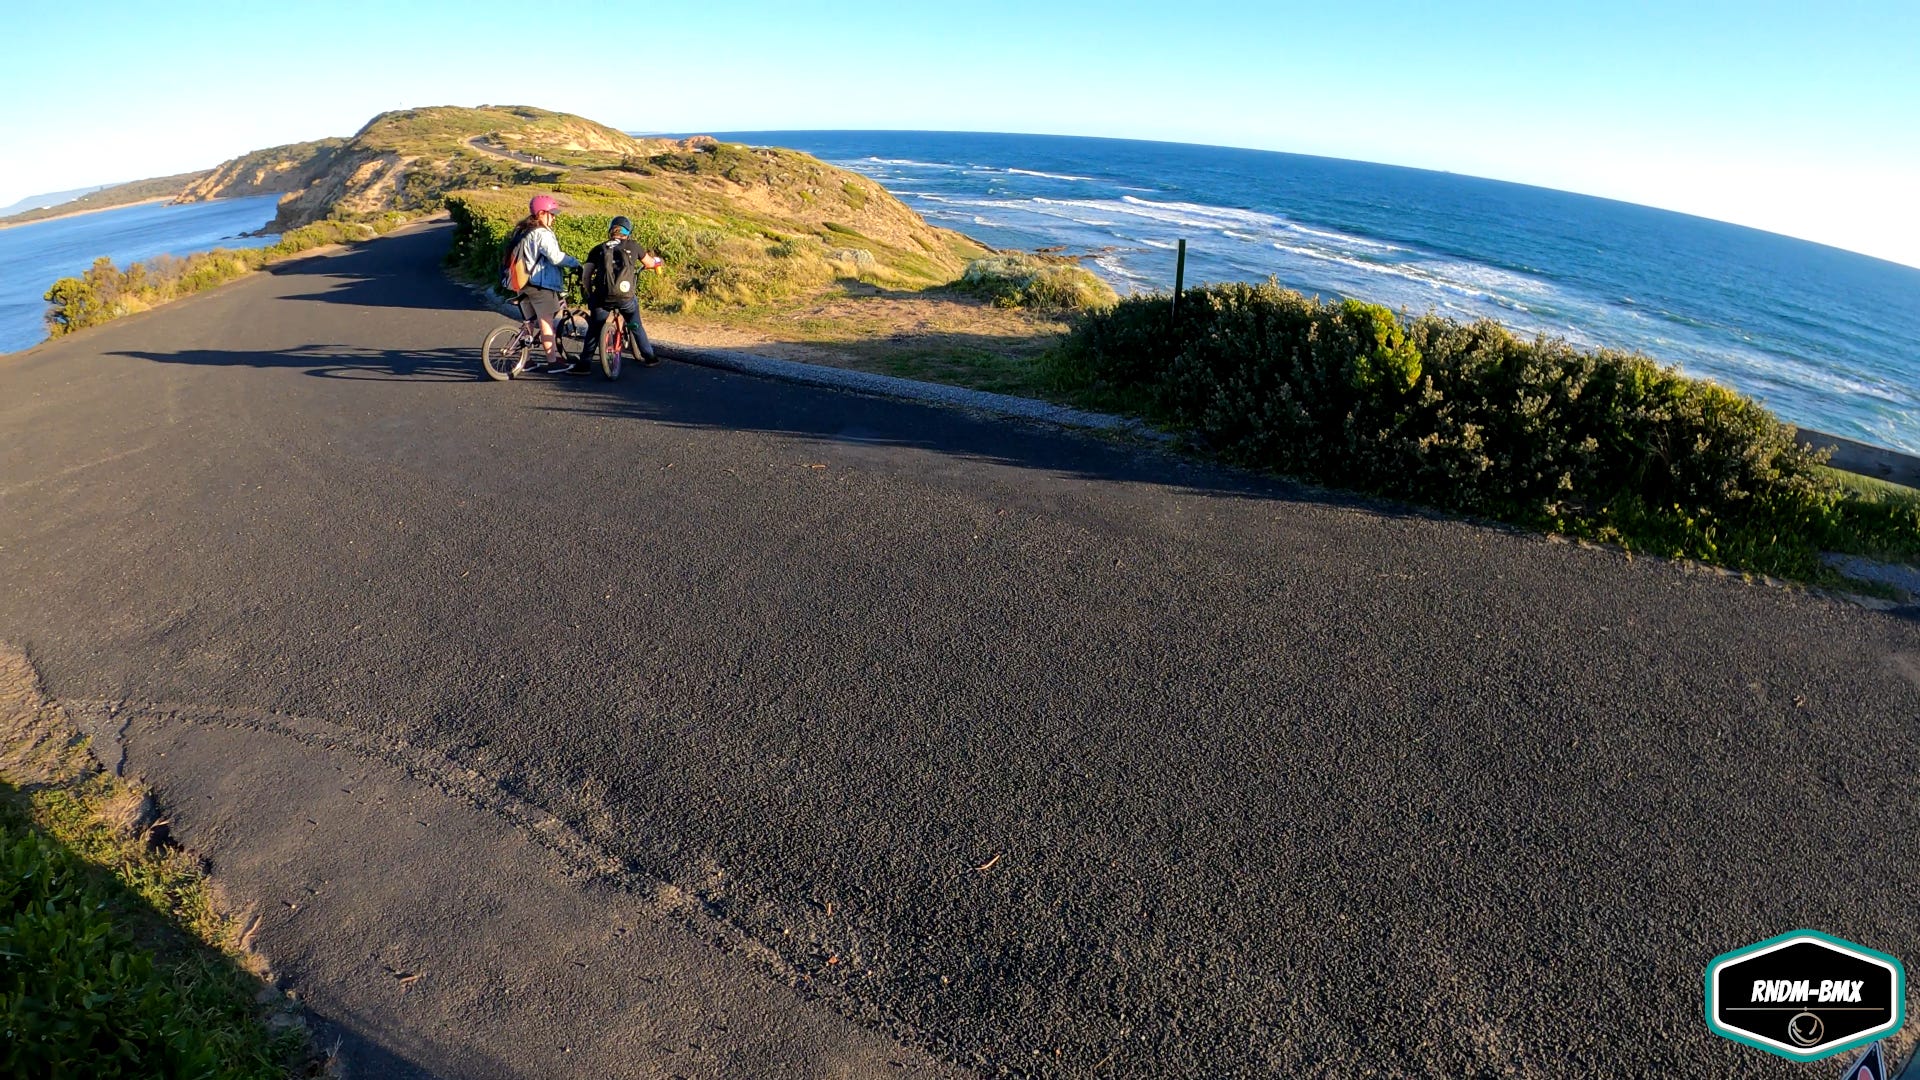
It was a warm sunny day back in the month of May 2021 when we headed out for our Dandenong to Carrum BMX Adventure ride.

As we took to the trail, everything about the Ride was traveling really sweet until that certain “Aw SNAP” moment occurred.
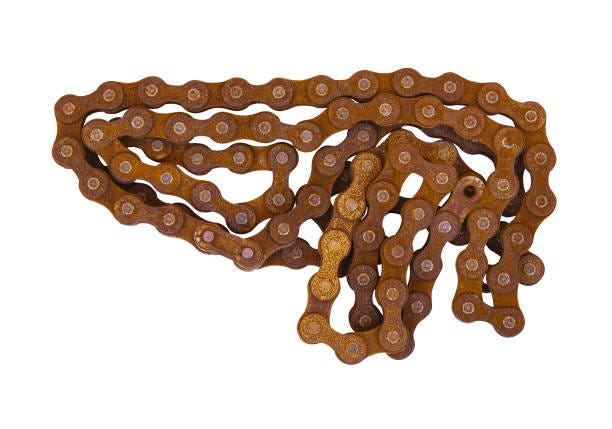
After taking a look at the problem, it was soon discovered that the Chain had indeed broken through one of the many links it had.
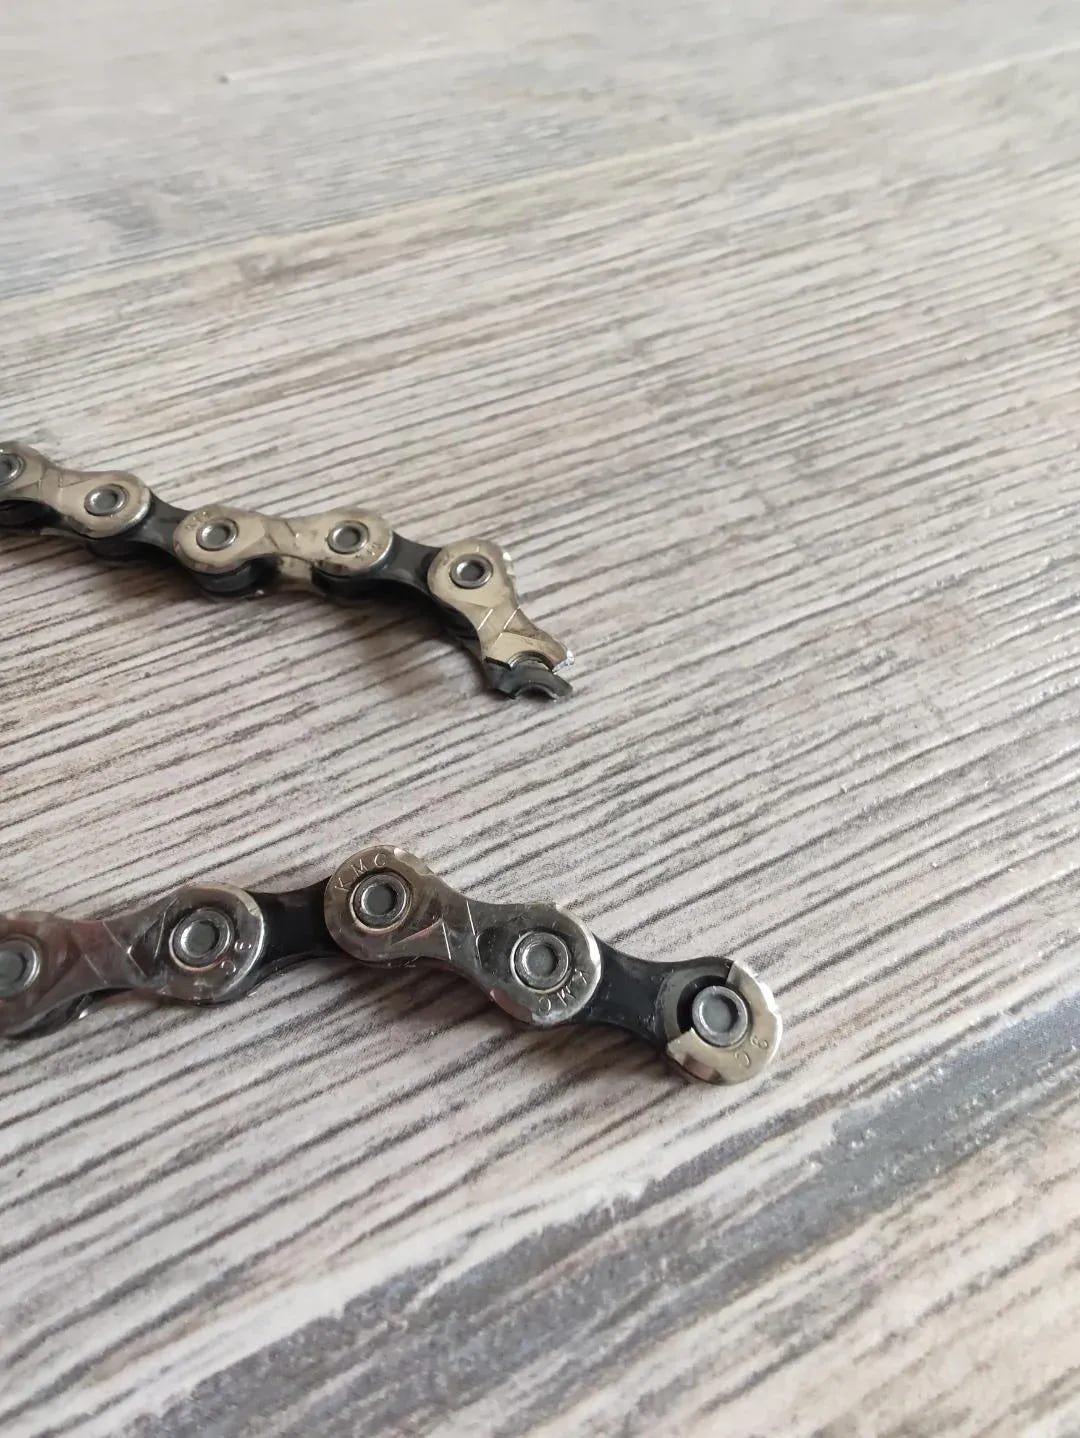
Even though the chain contained grooves in it to help keep it lightweight and was quite evident in being the main part of the problem (thanks to the grooved link breaking through), there were a few other factors spotted in the Chains demise…..
The Chain was old: Using an old Chain for a Big Bike Ride is never really a good idea. However, when you are pressed for time, these are the things you can most easily overlook.

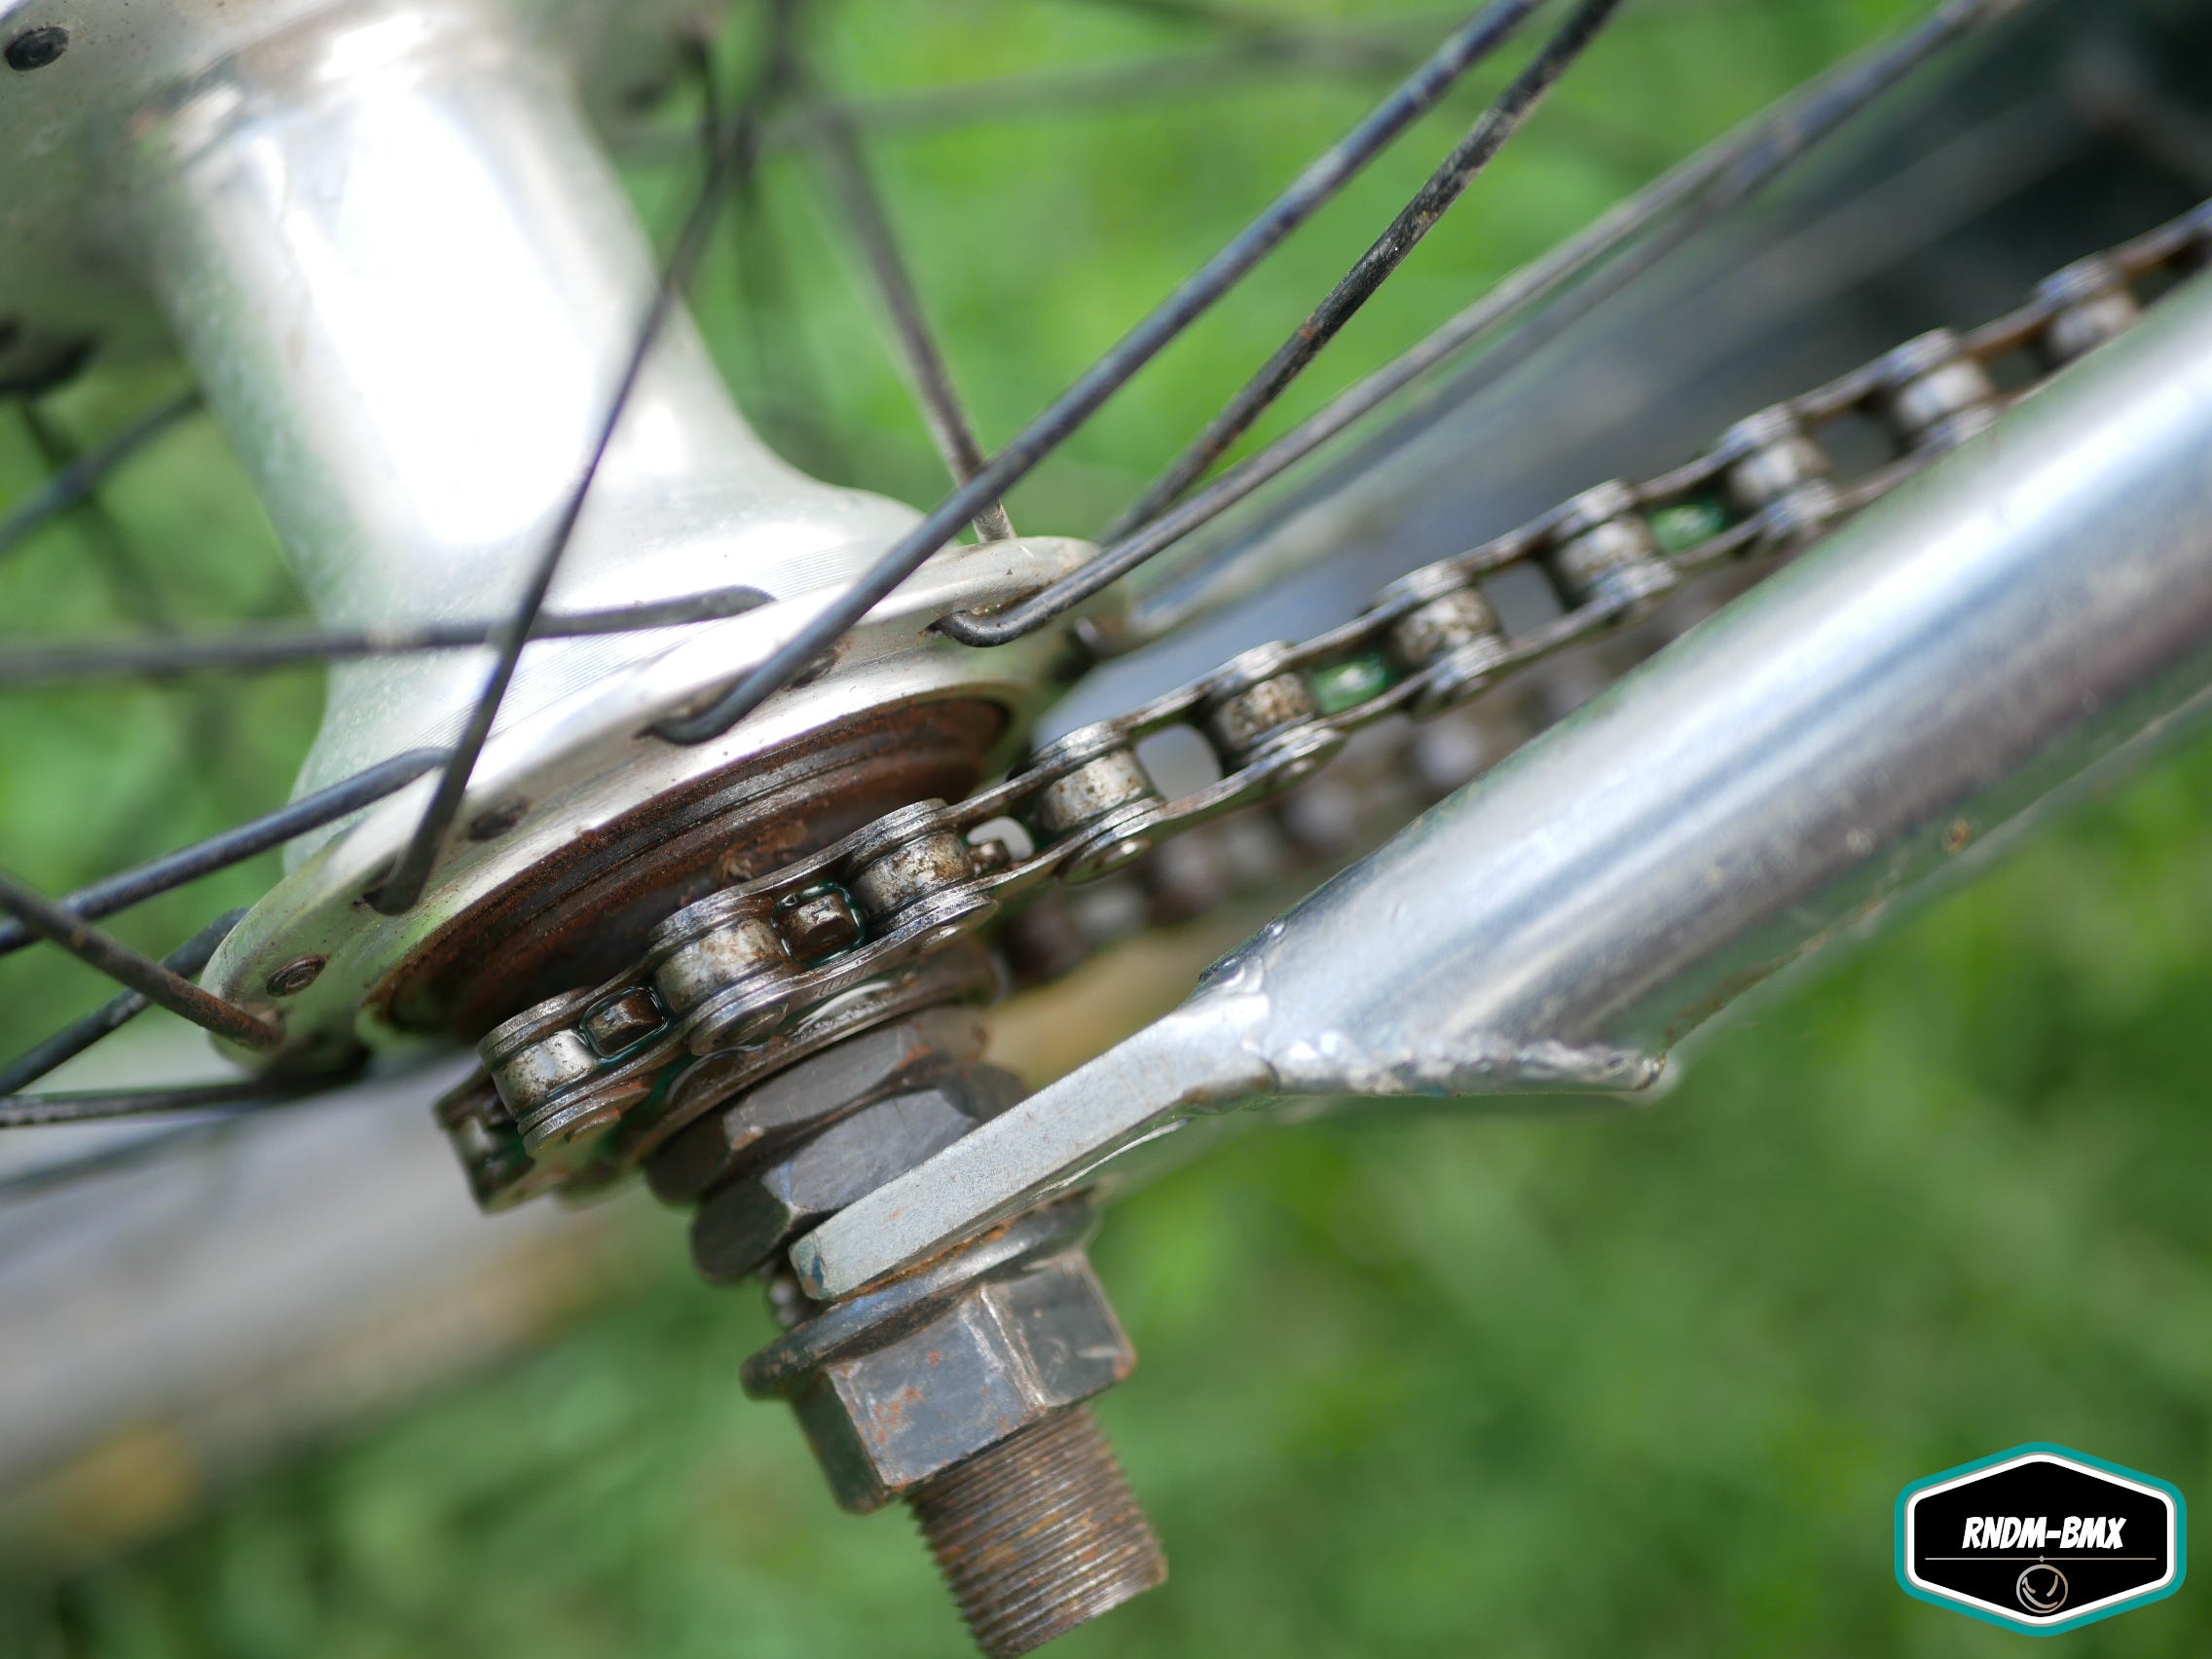
Image Credit “Getty Images/iStockphoto” The Chain was not designed for it: The BMX that had been purchased was a Freestyle type that was all about saving weight. Even though this is a great idea, the parts attached were also weight saving thus including a grooved out Chain design (example below). This is thanks to the fact that you do not need much pedaling in Freestyle BMX, unlike BMX Adventure Rides.
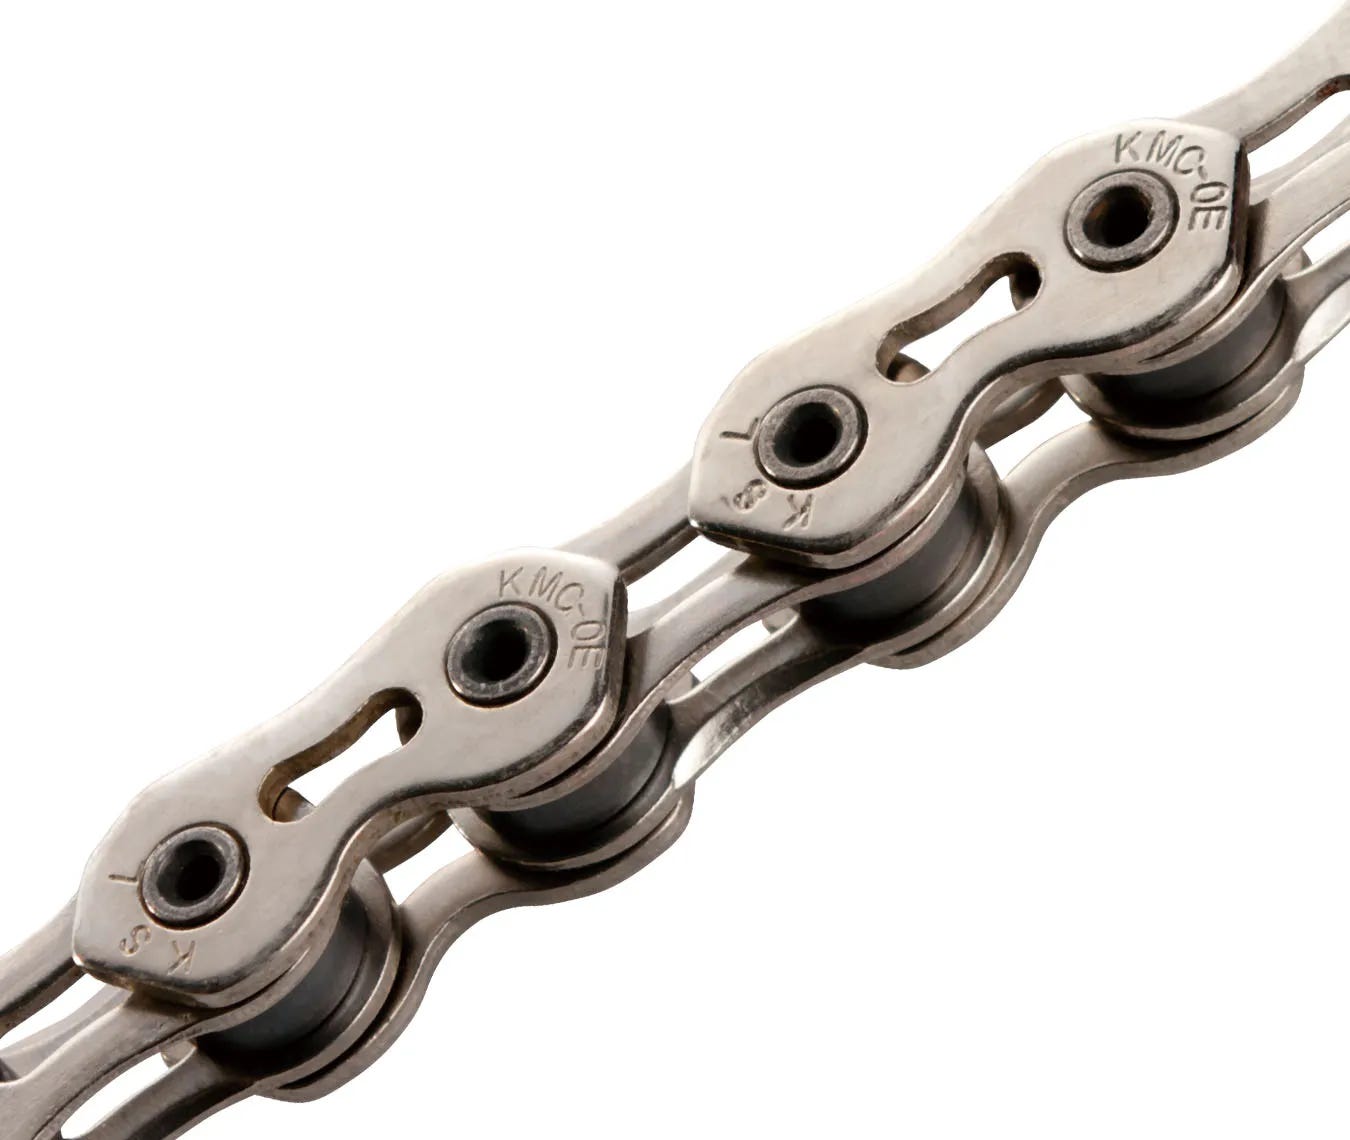
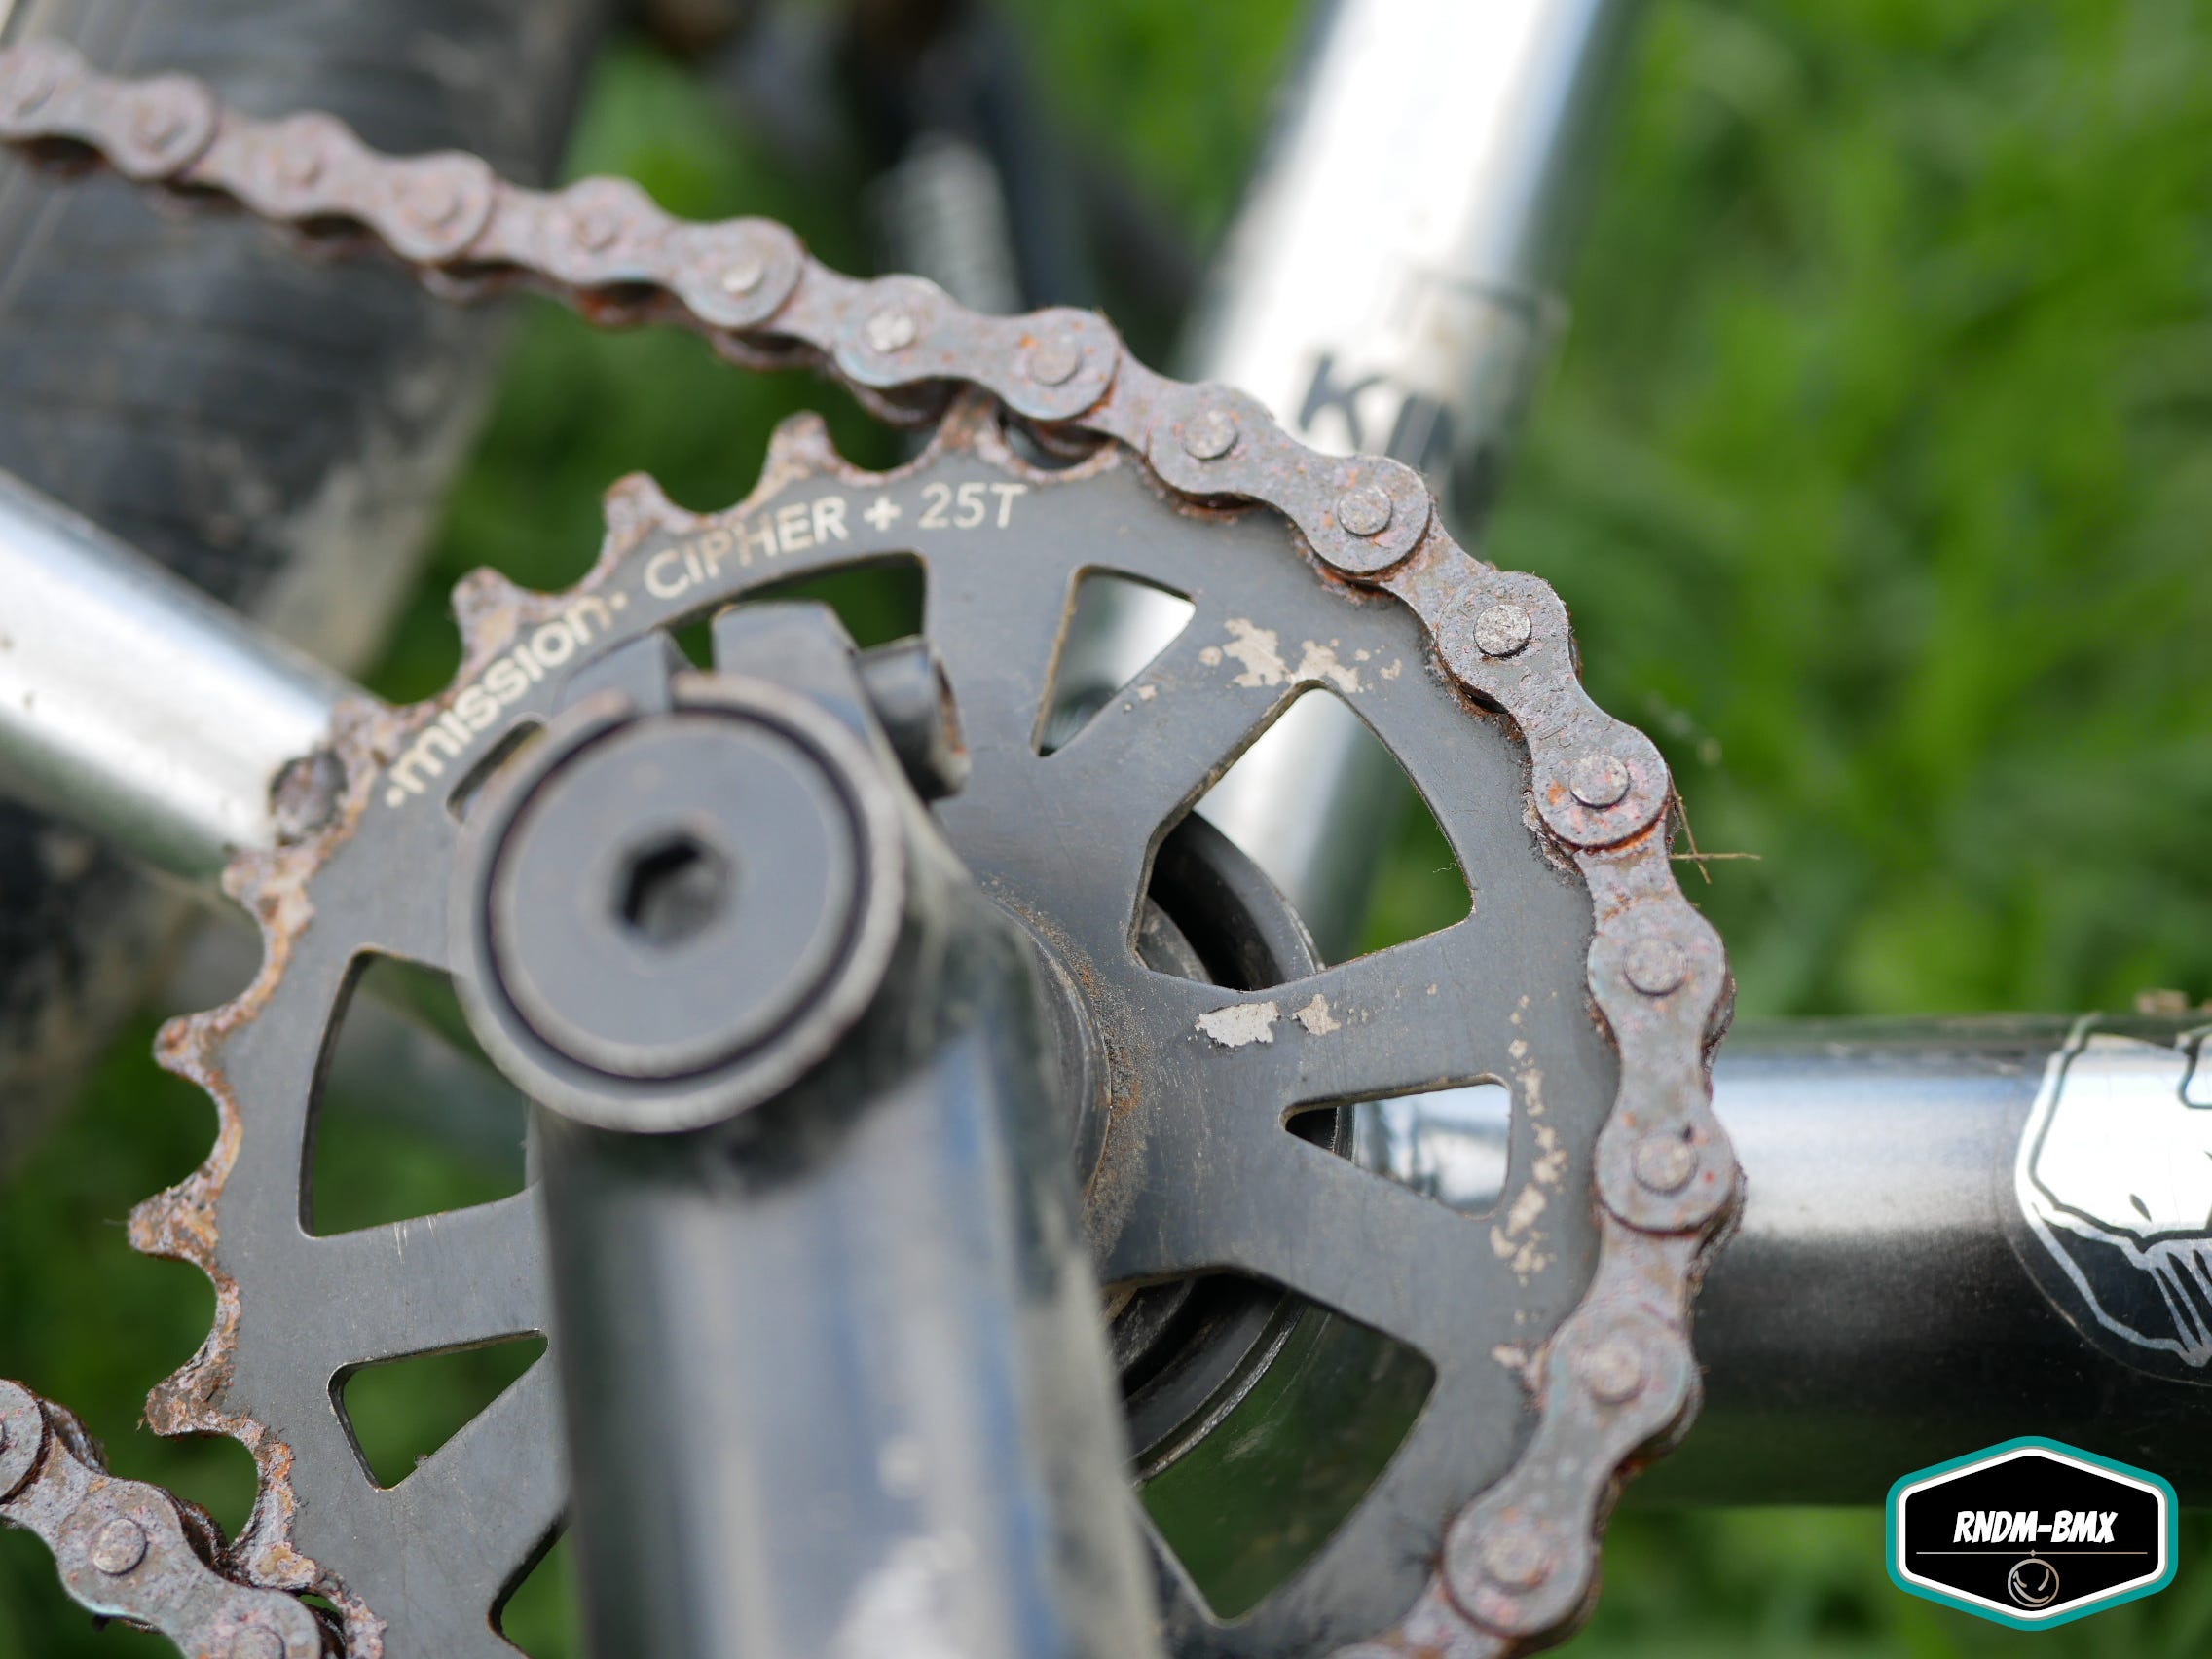
Image Credit “Prince Cycles” The Chain was neglected: I confess, the Chain had not been serviced from the day it rolled out of the factory. This is not only careless but had led to dust, dirt, gunk and grime to get between the Sprocket and Chain making it ‘CLINK’ every now and again.

Being that the Chain had these other few issues preventing it’s full potential, a Servicing Chain guide has been written below in hopes to help bring your Chain some better and longer lasting life….
Servicing the Chain.
So before you head out for your next Big BMX Adventure Ride. Be sure to check out the following steps below….

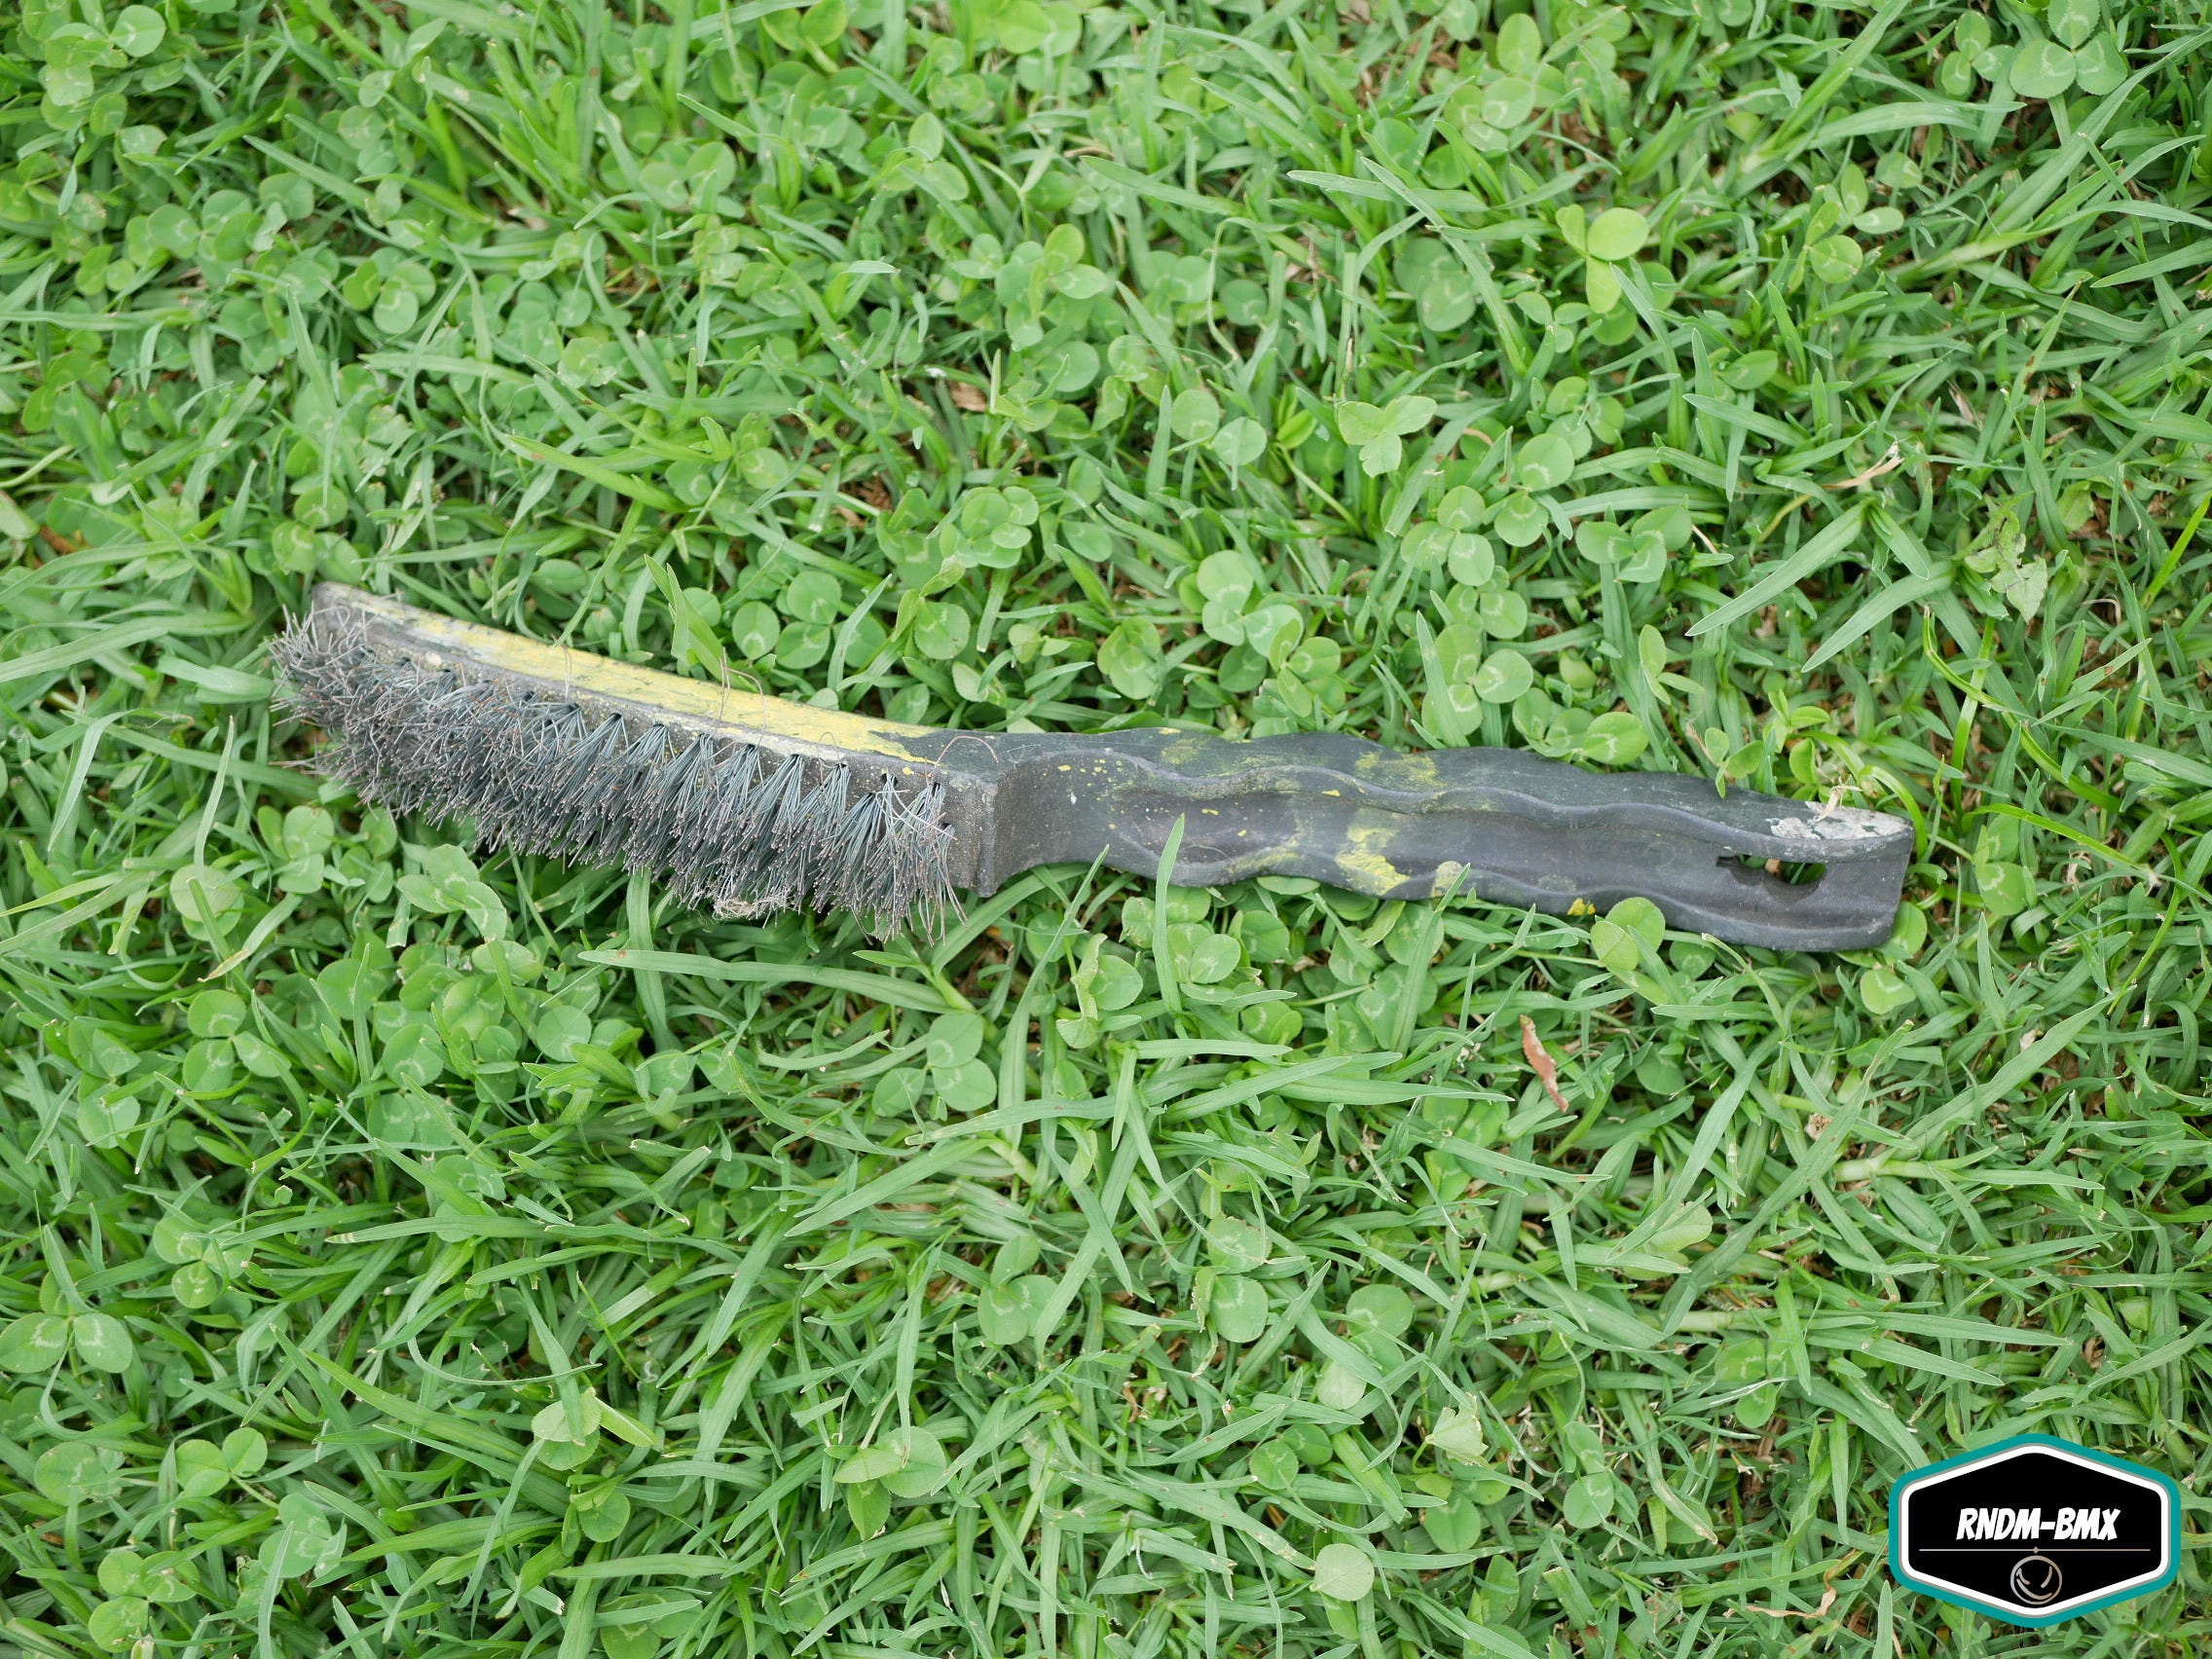
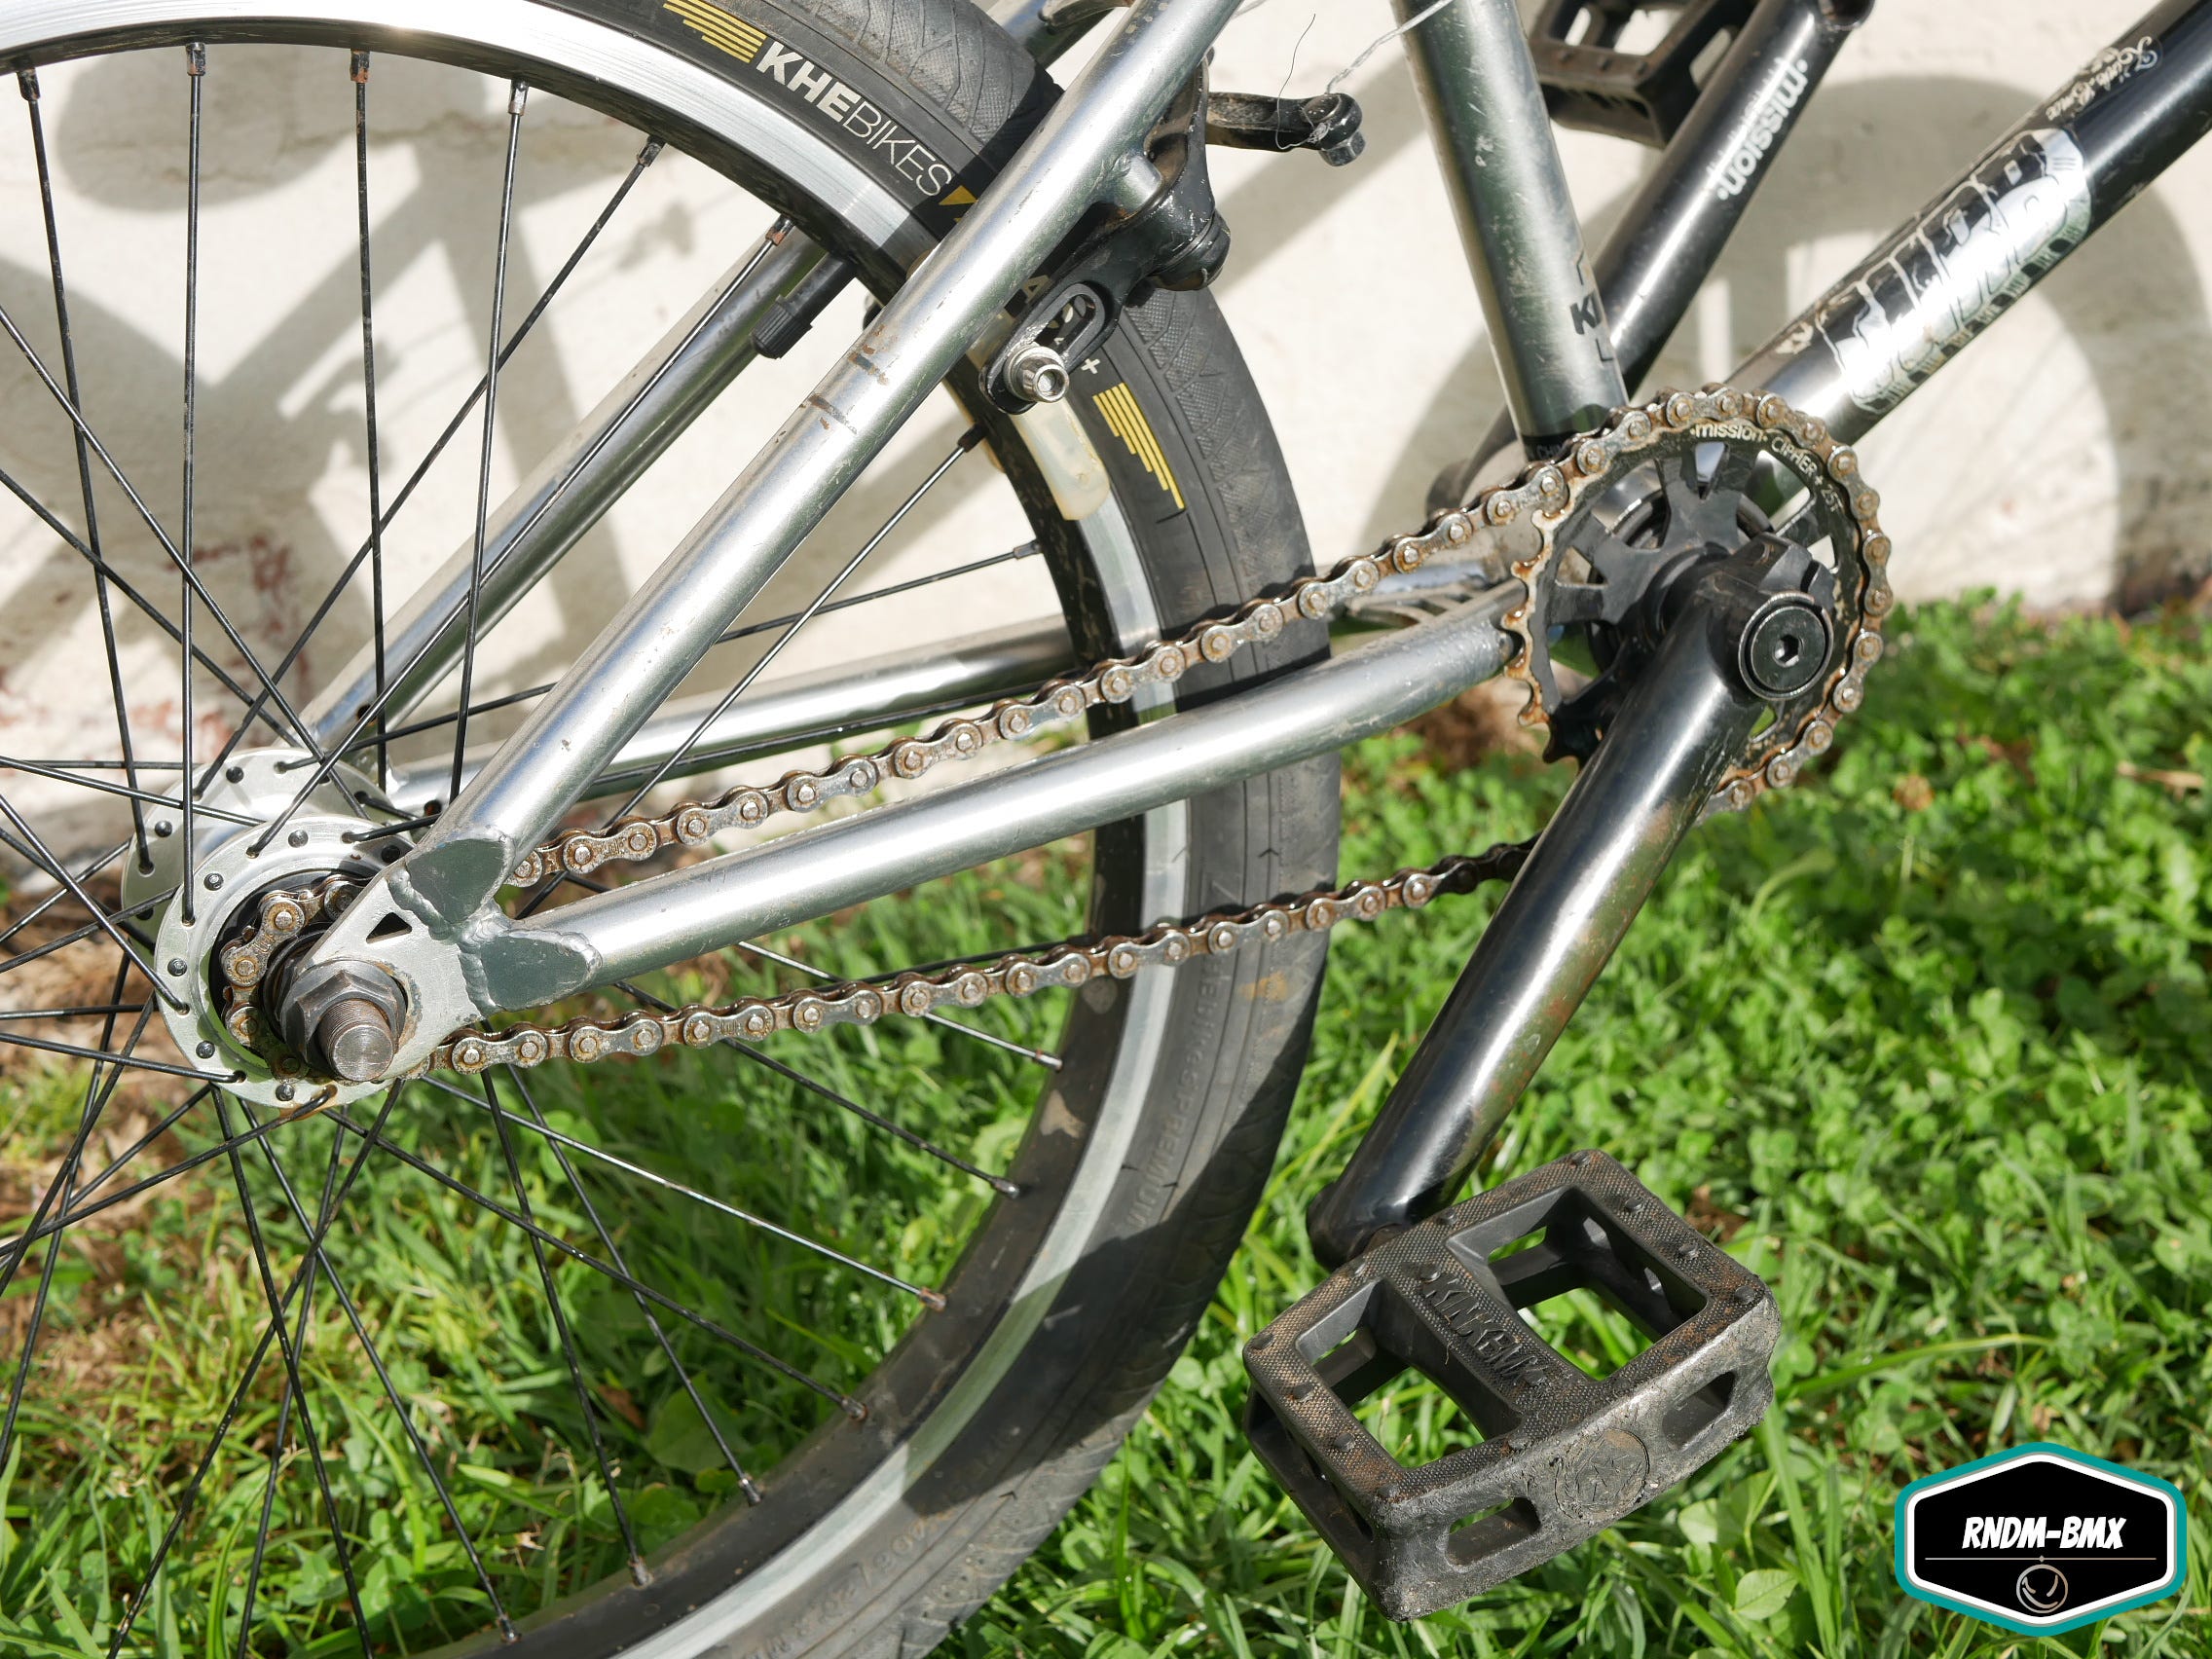
Cleaning the Chain: When your Chain is looking a little scaly and grim (as pictured above), grab a wire brush (as pictured below) to brush off any scale, dirt and other deposits, be sure to wear Safety Glasses and Gloves while doing so.
TIP: Brush the scale and gunk off the Chain as Best as you can as you do not want to rush this step.
Preparing the Chain: Once you have cleaned it reasonably well, you can either use an Air Compressor Nozzle (pictured below) to blow off any lose scale and other deposits (make sure to wear Safety Glasses), or use a Wet Sponge with soapy water to wipe the Chain clean. (Make sure to water rinse and then dry the Chain if you do go the Wet Sponge approach).

Here is an example of the Chain below the frame as a result of being wire brushed, while the chain above the frame has not yet been tackled.
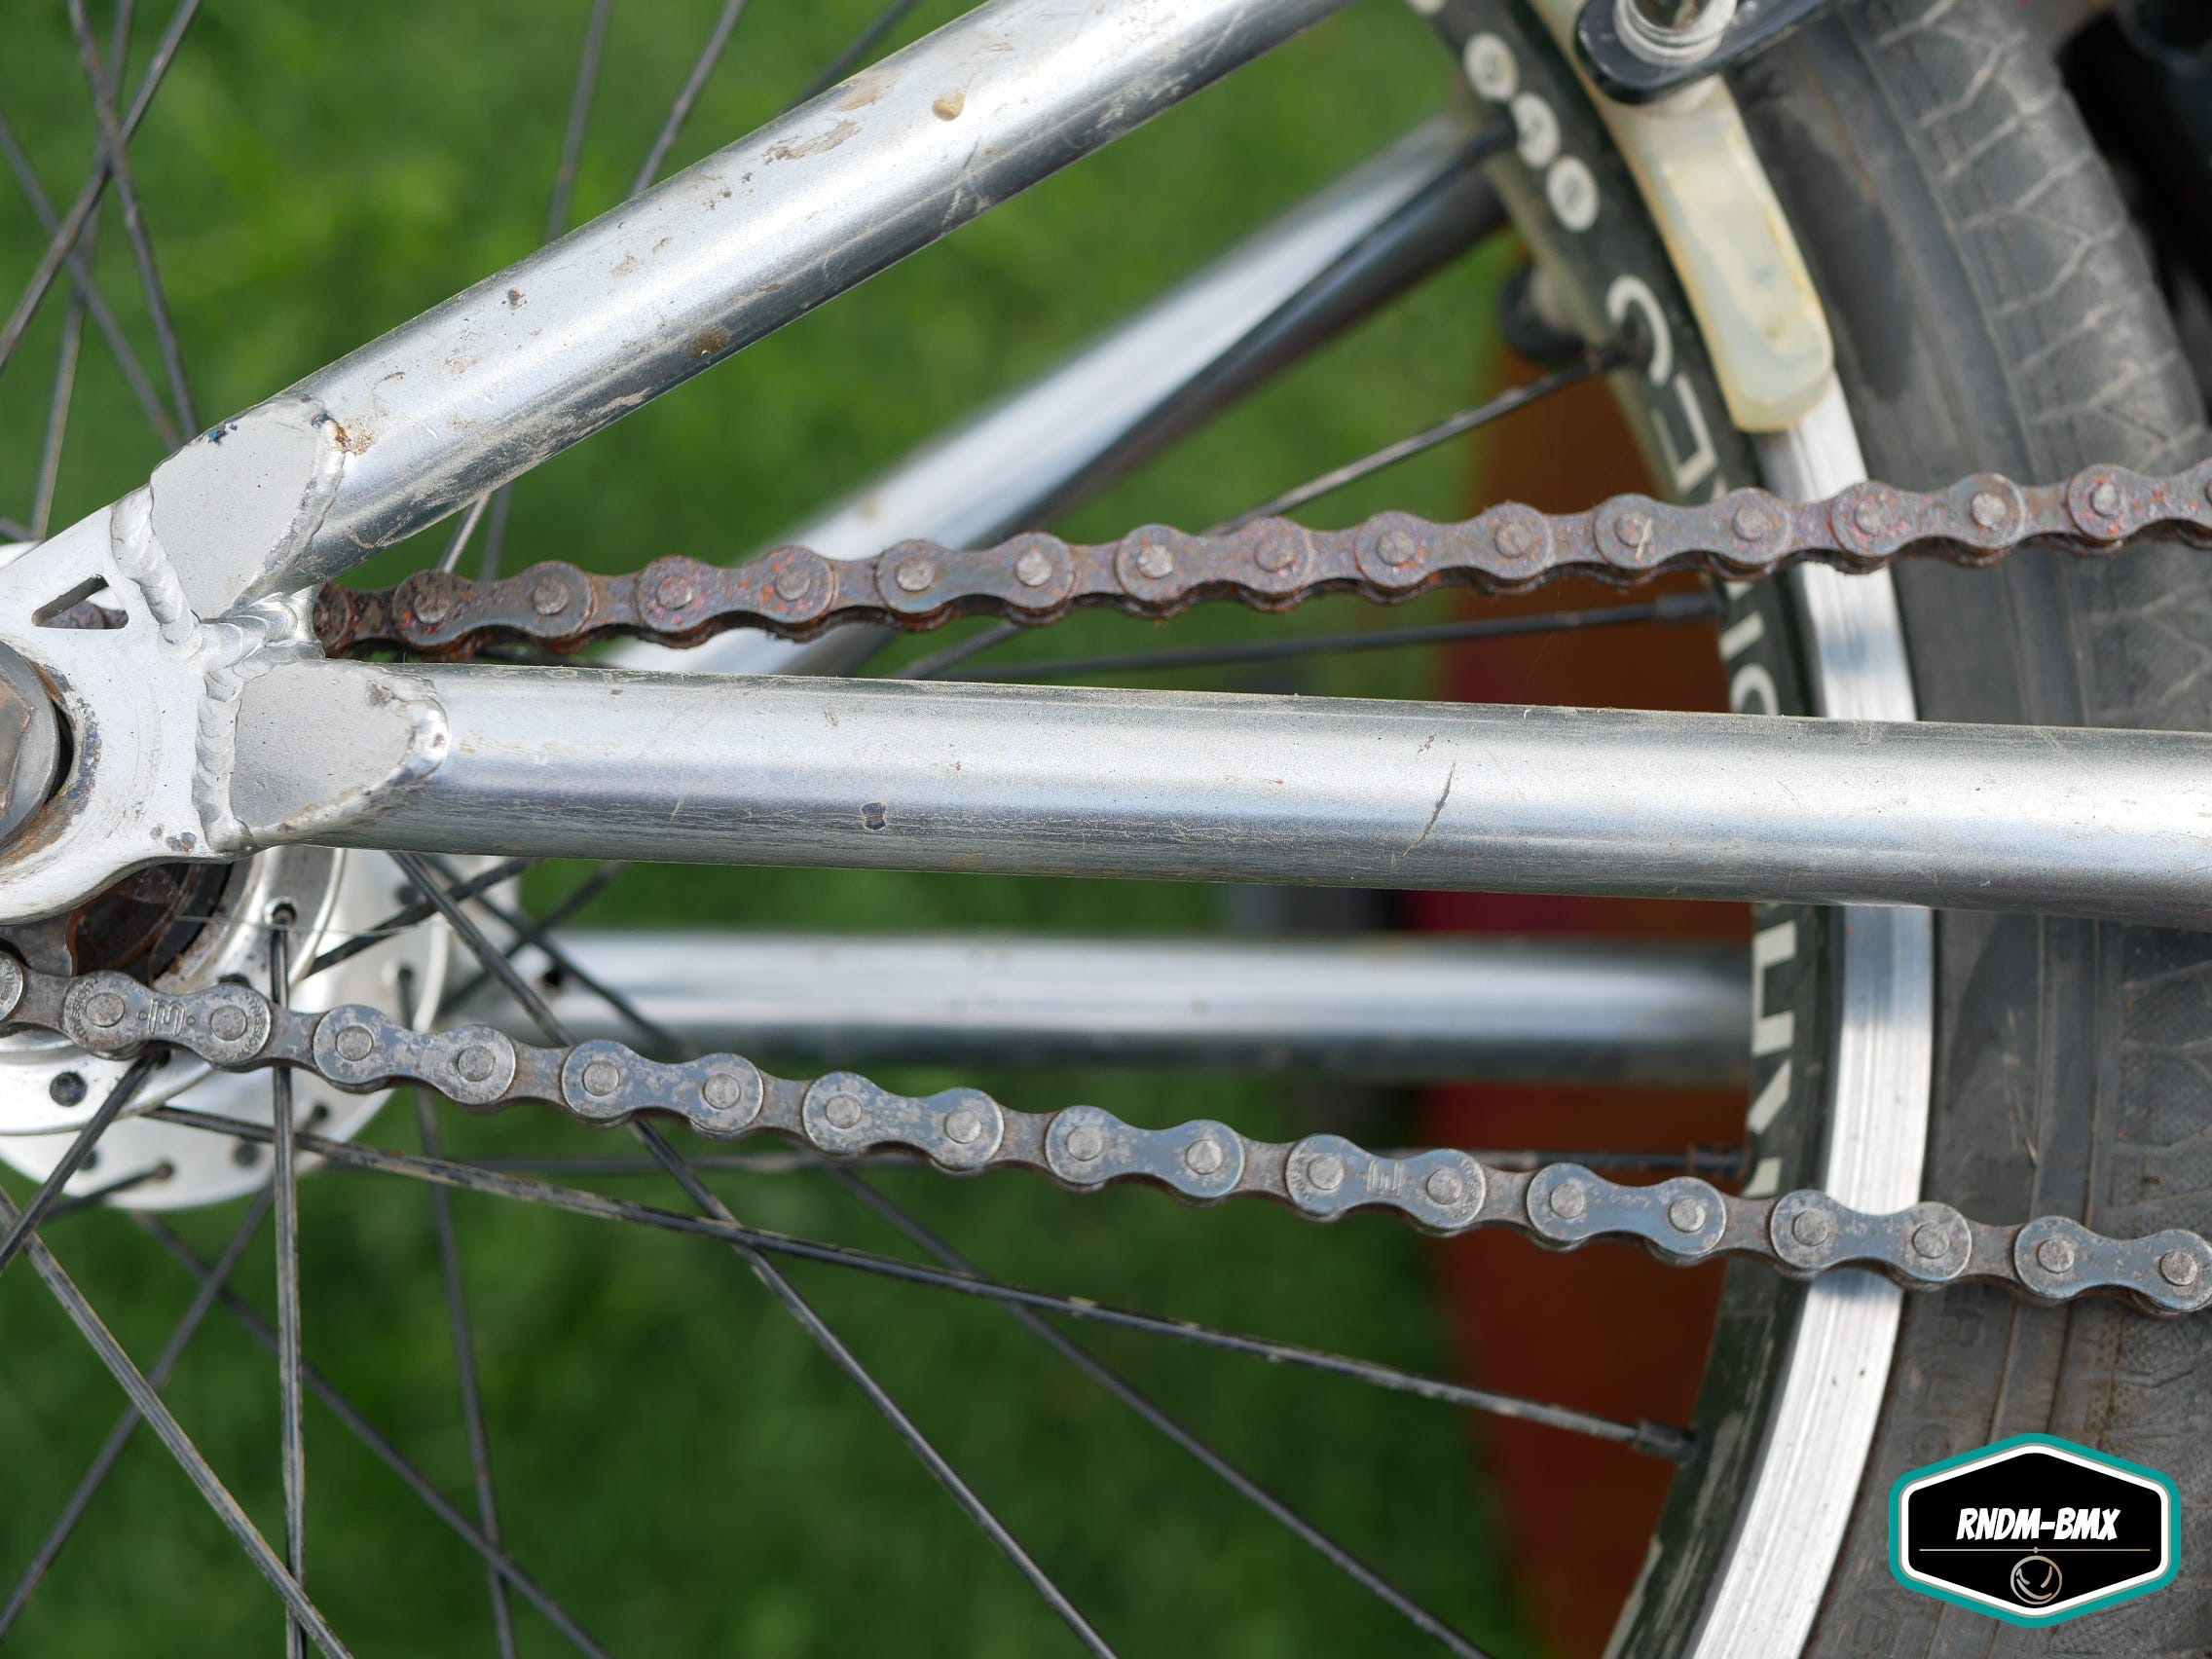
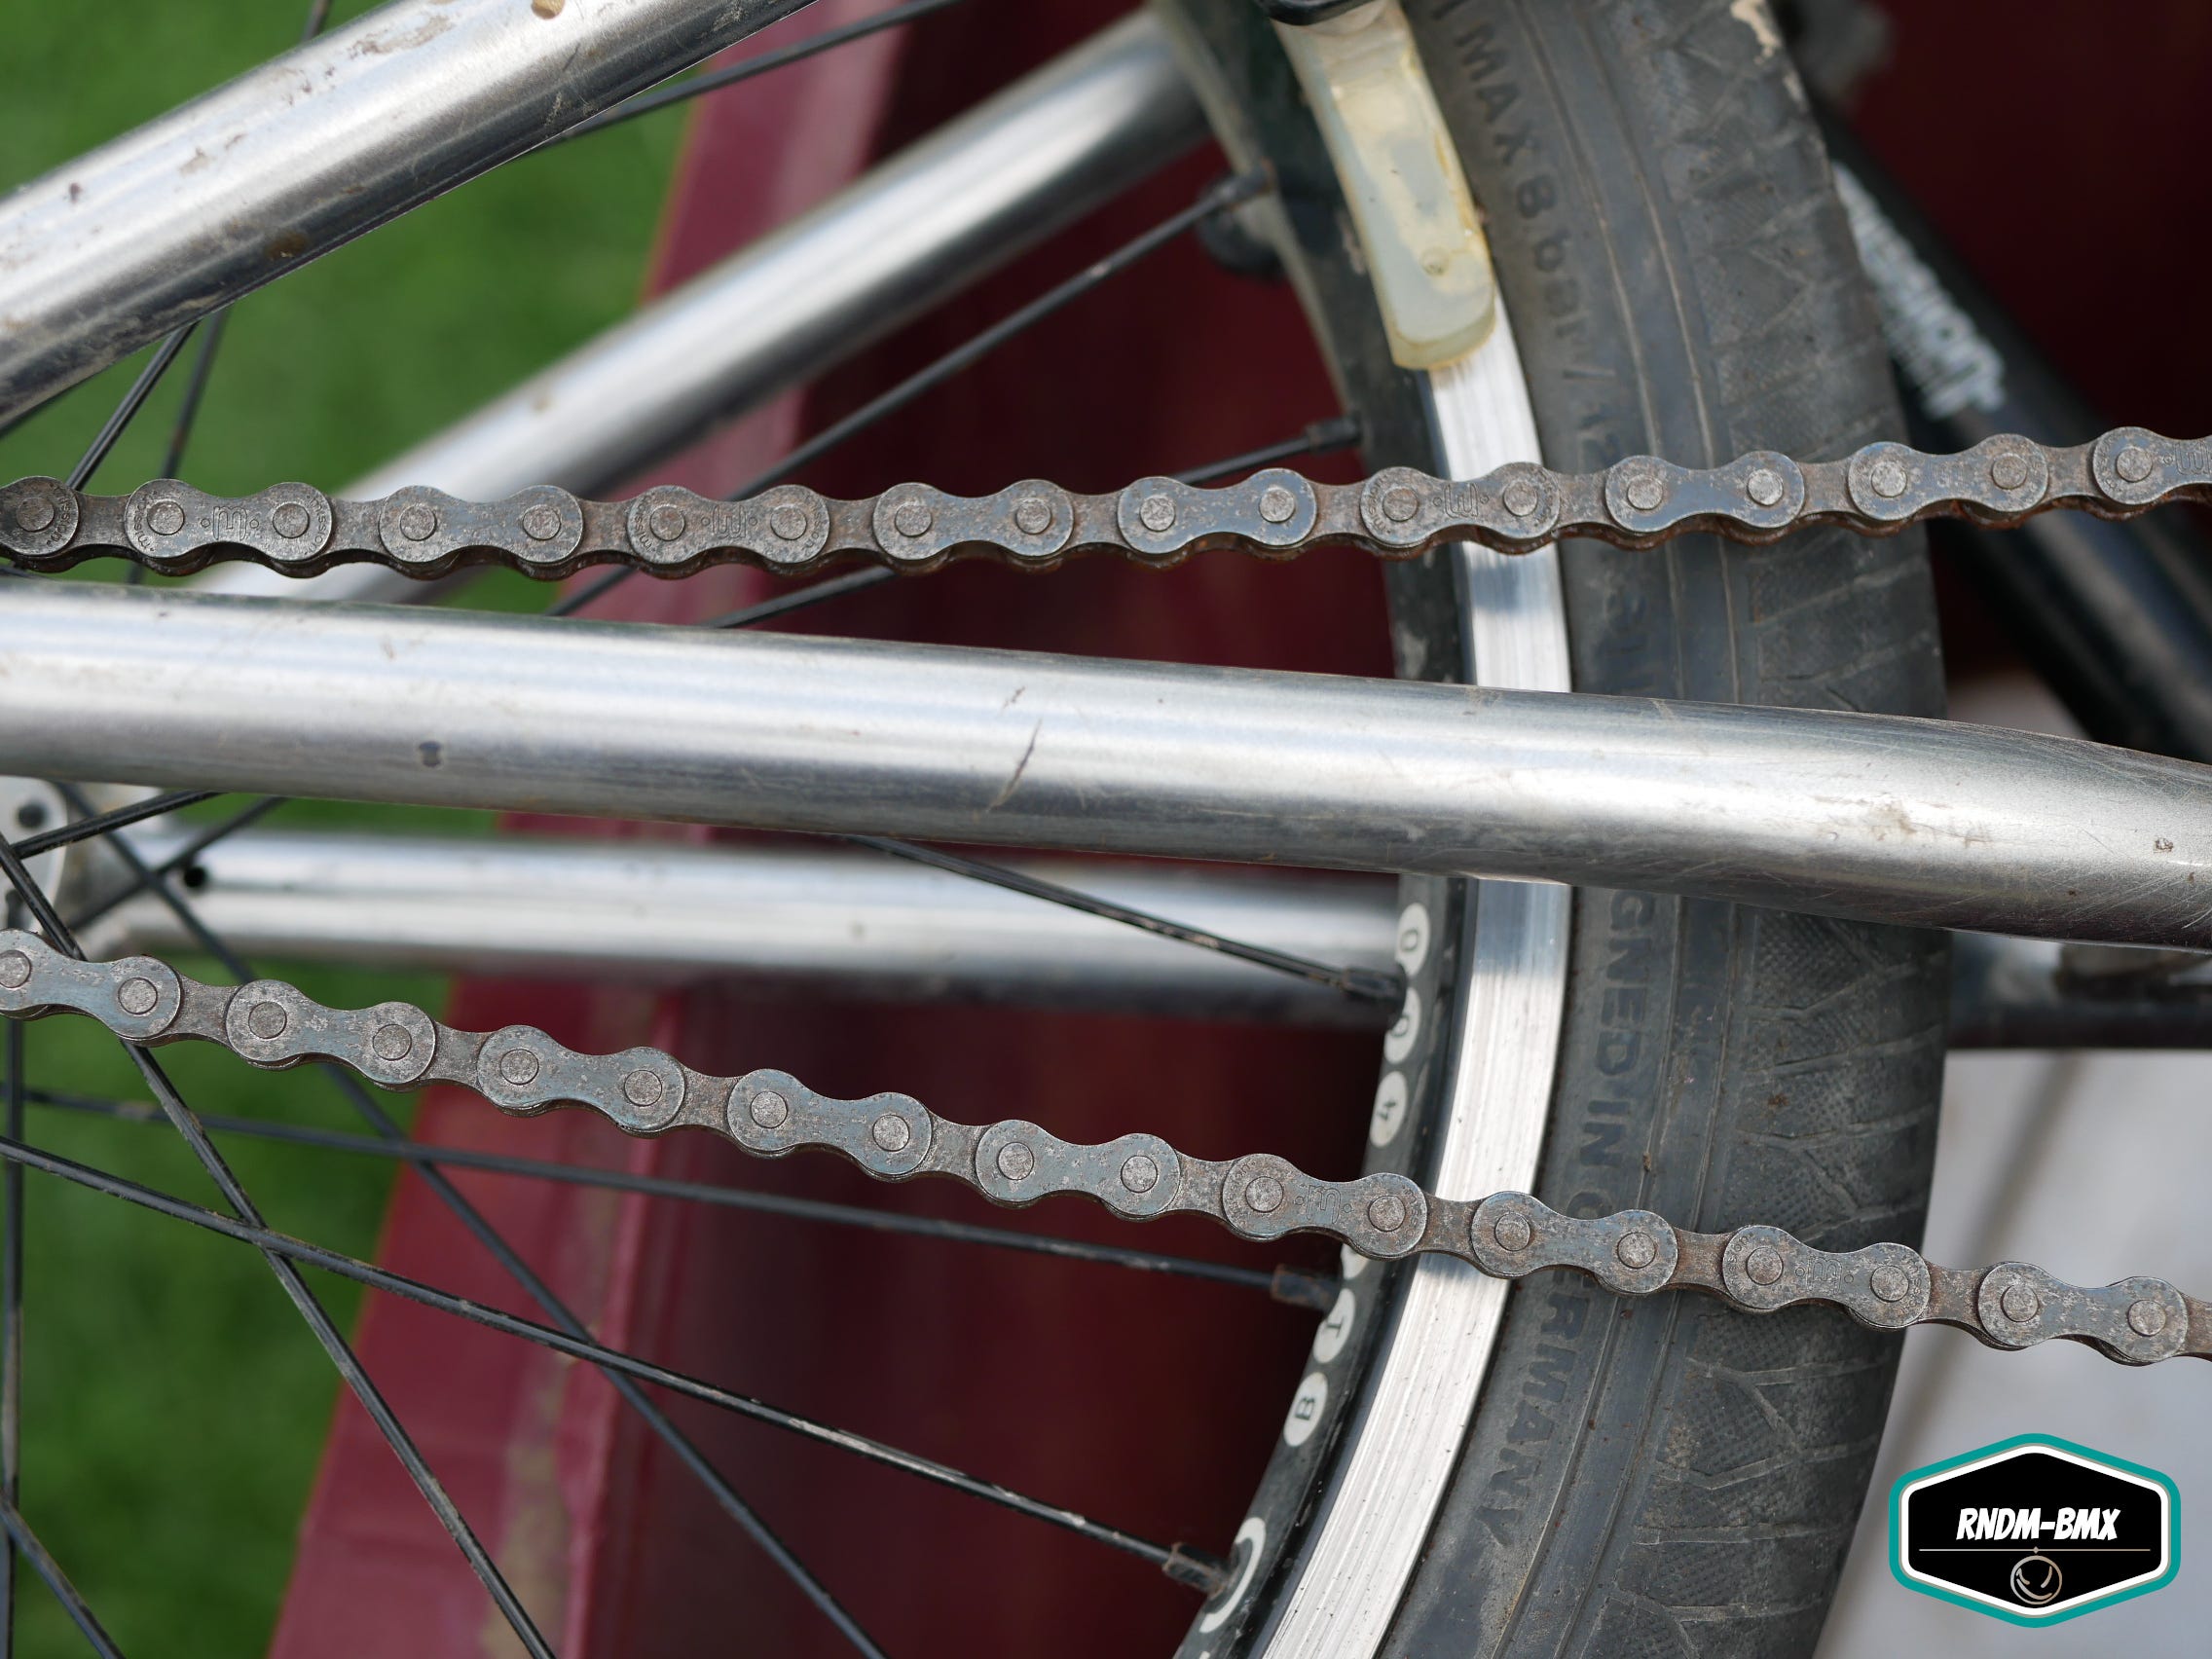
And below is what it should look like after the Full Wire Brushing experience has been accomplished.
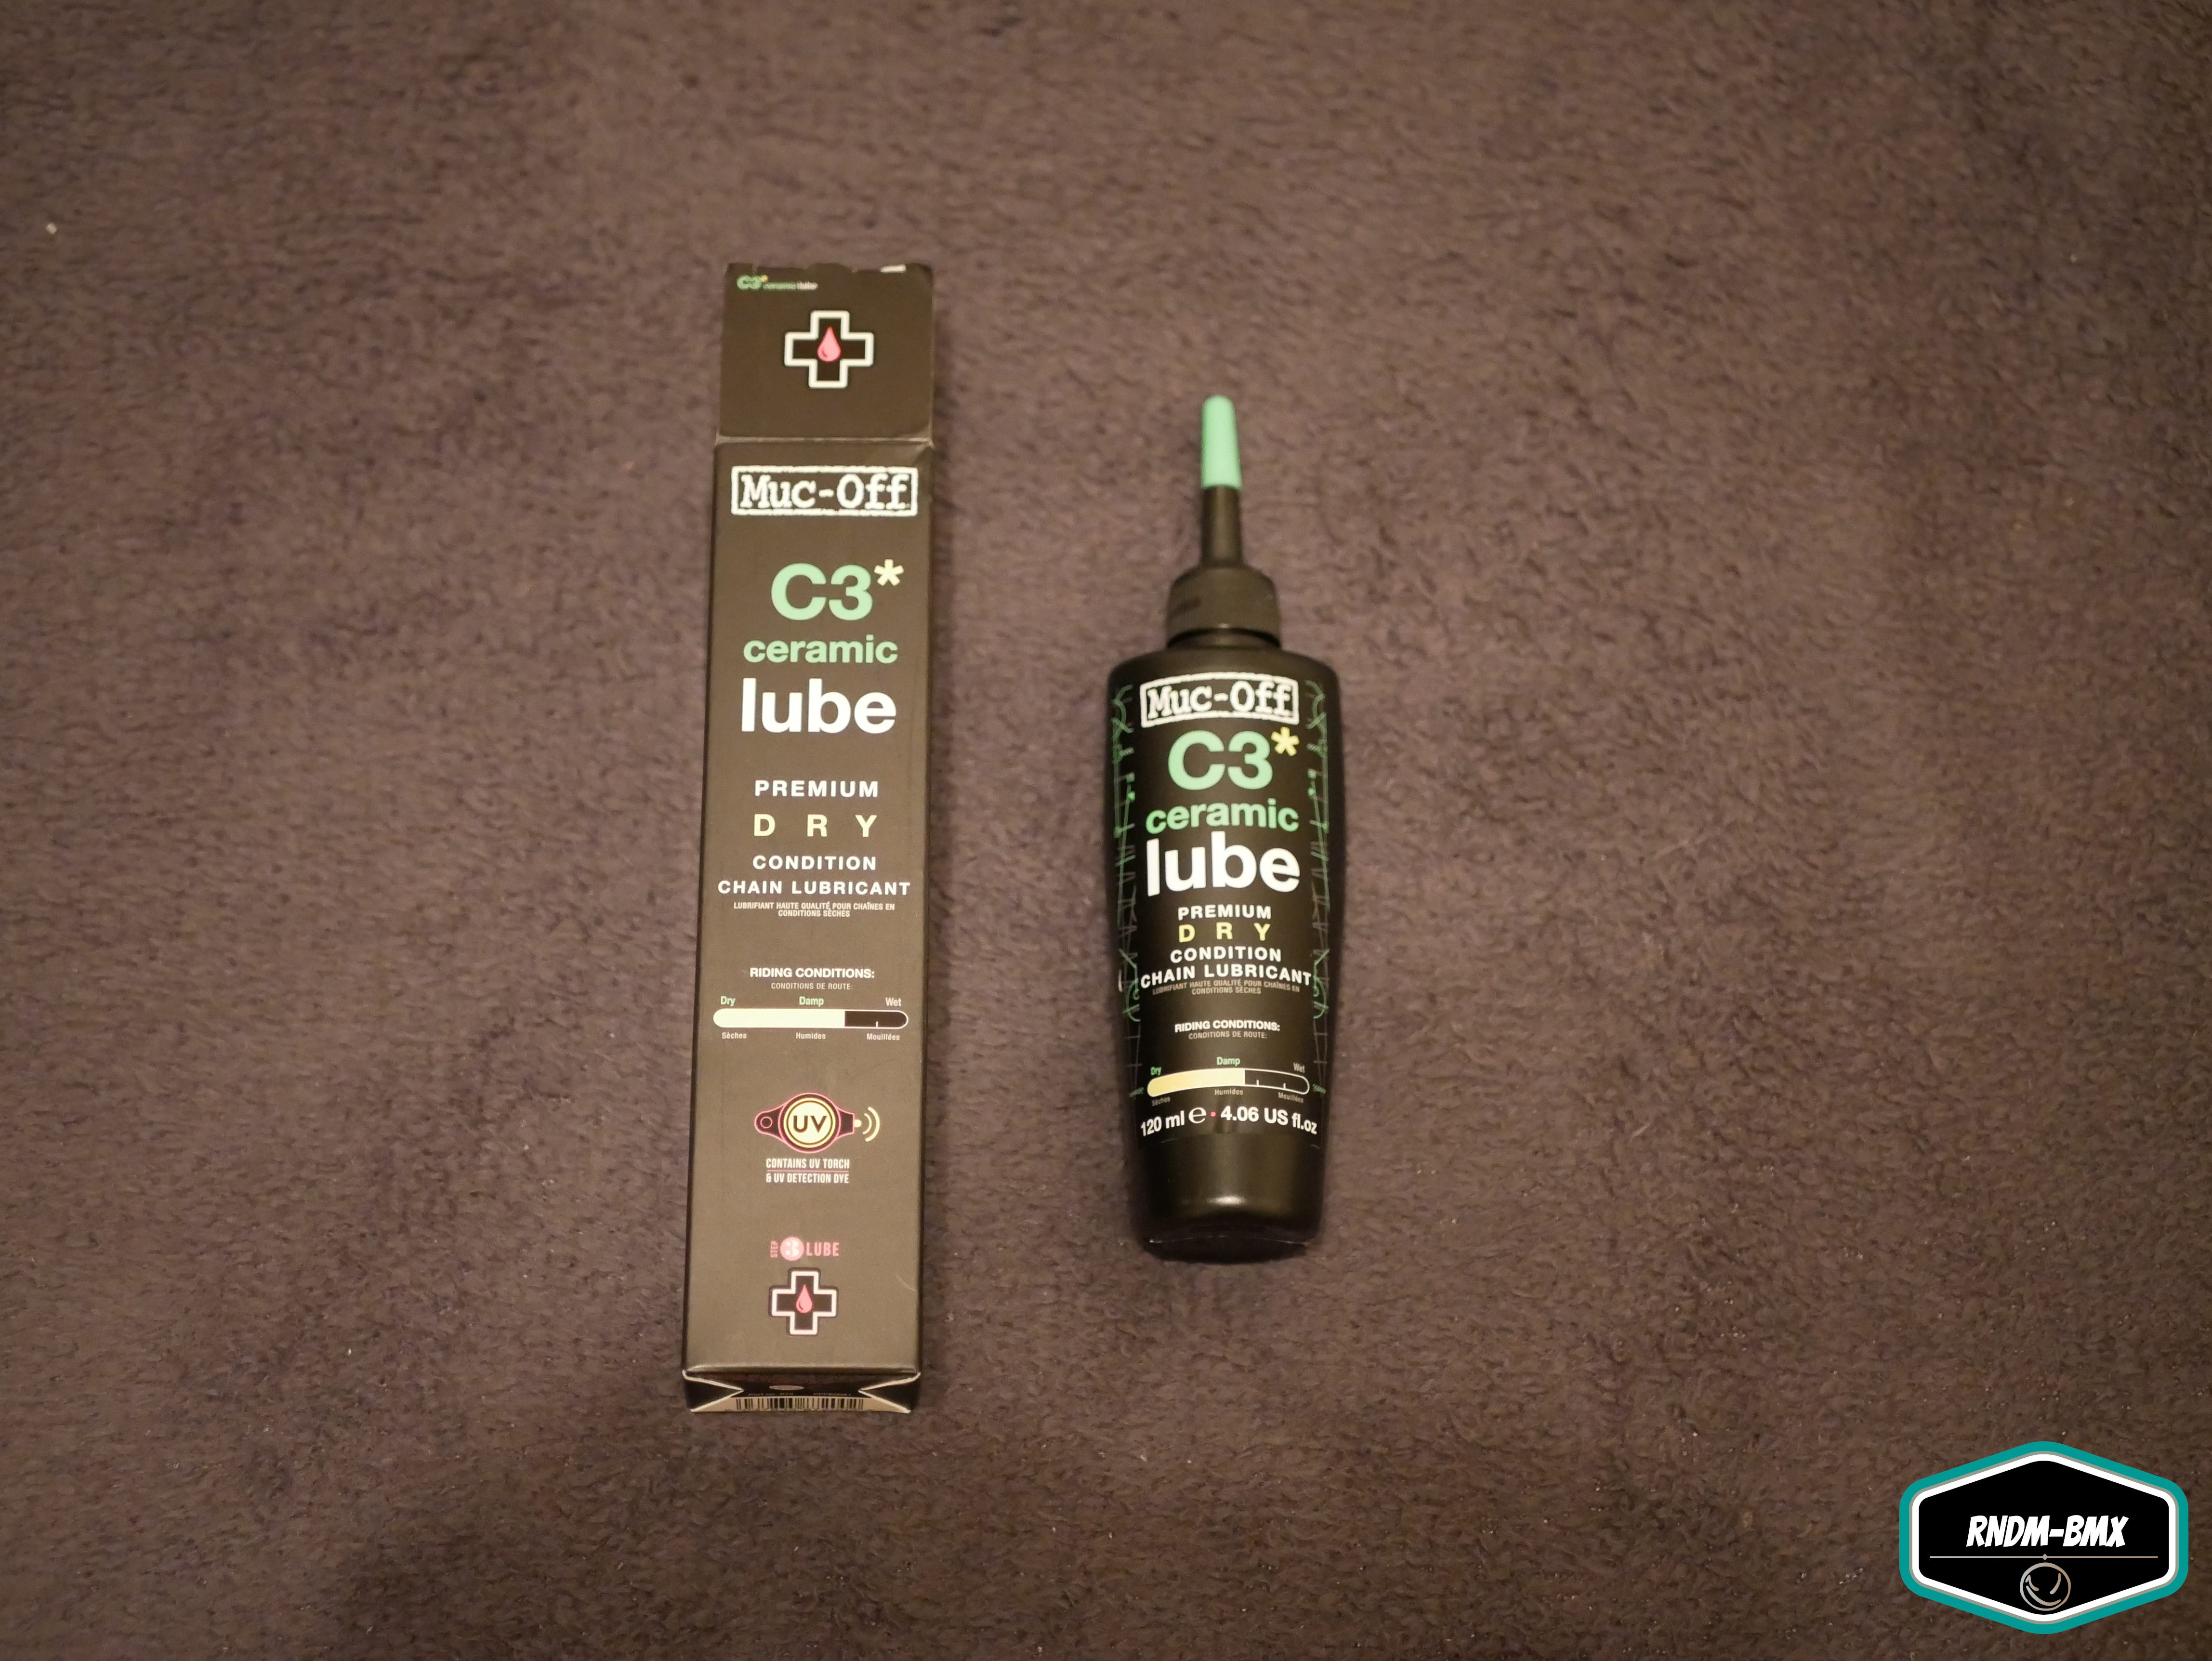
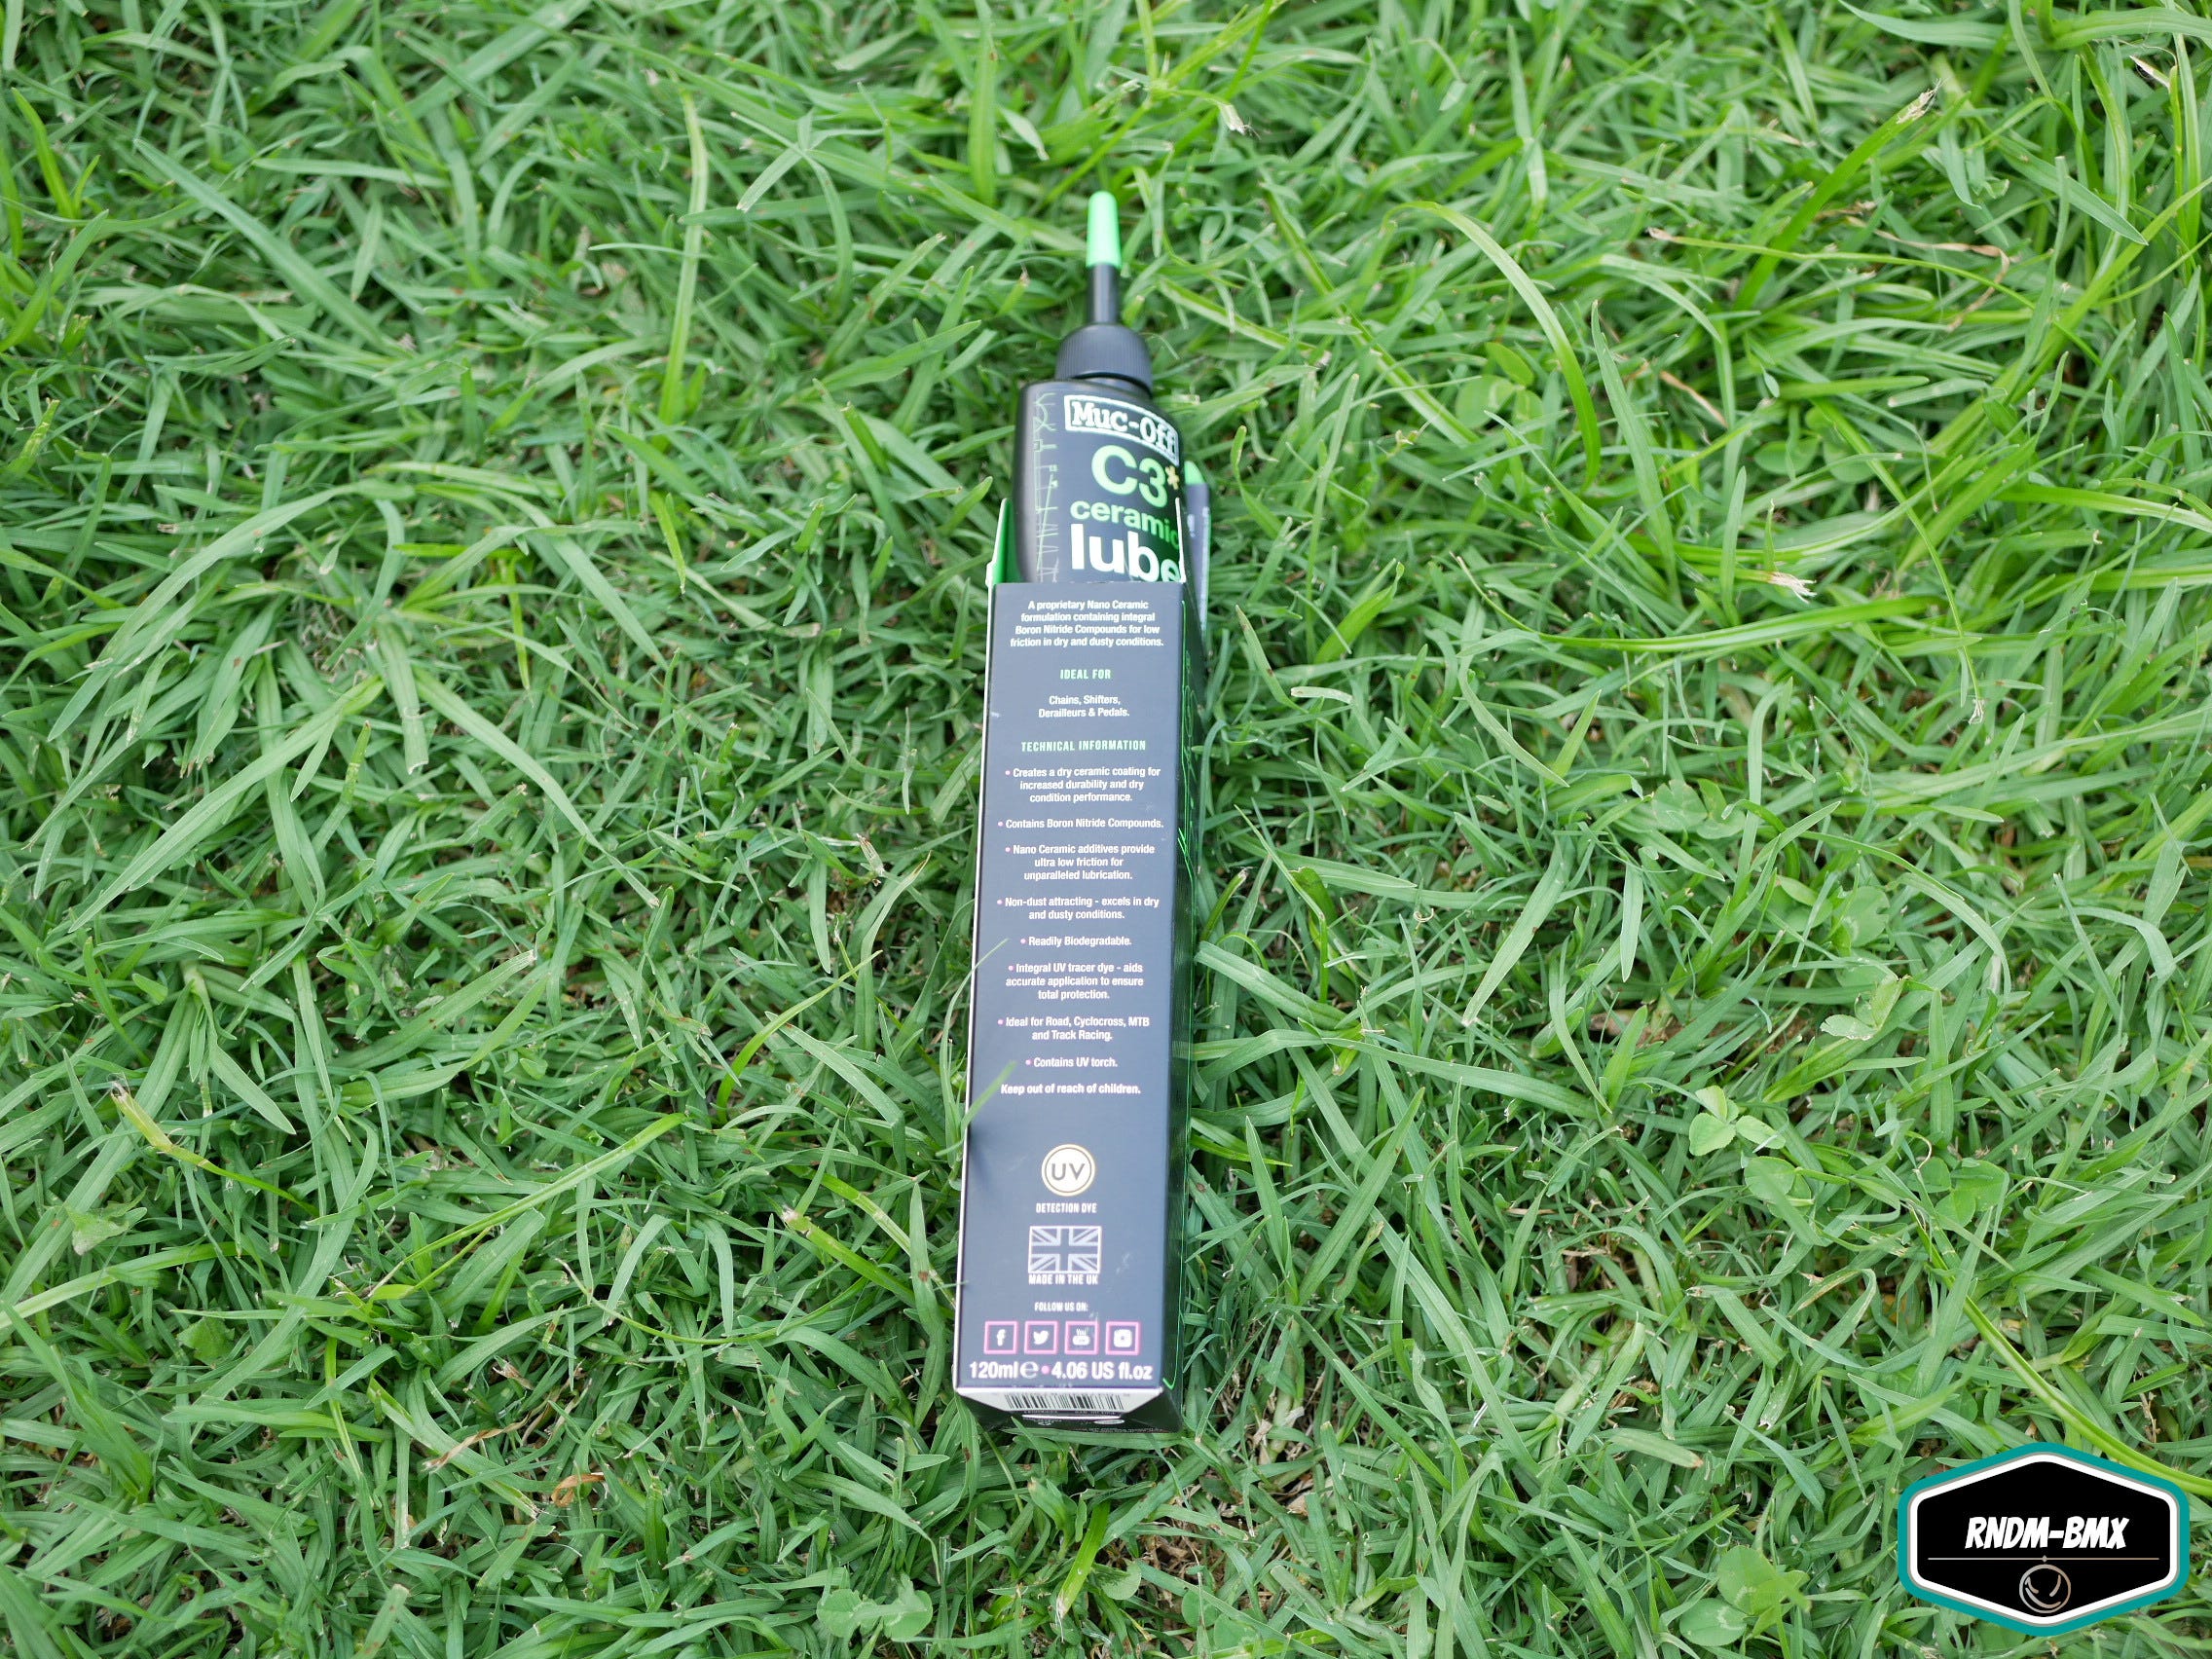
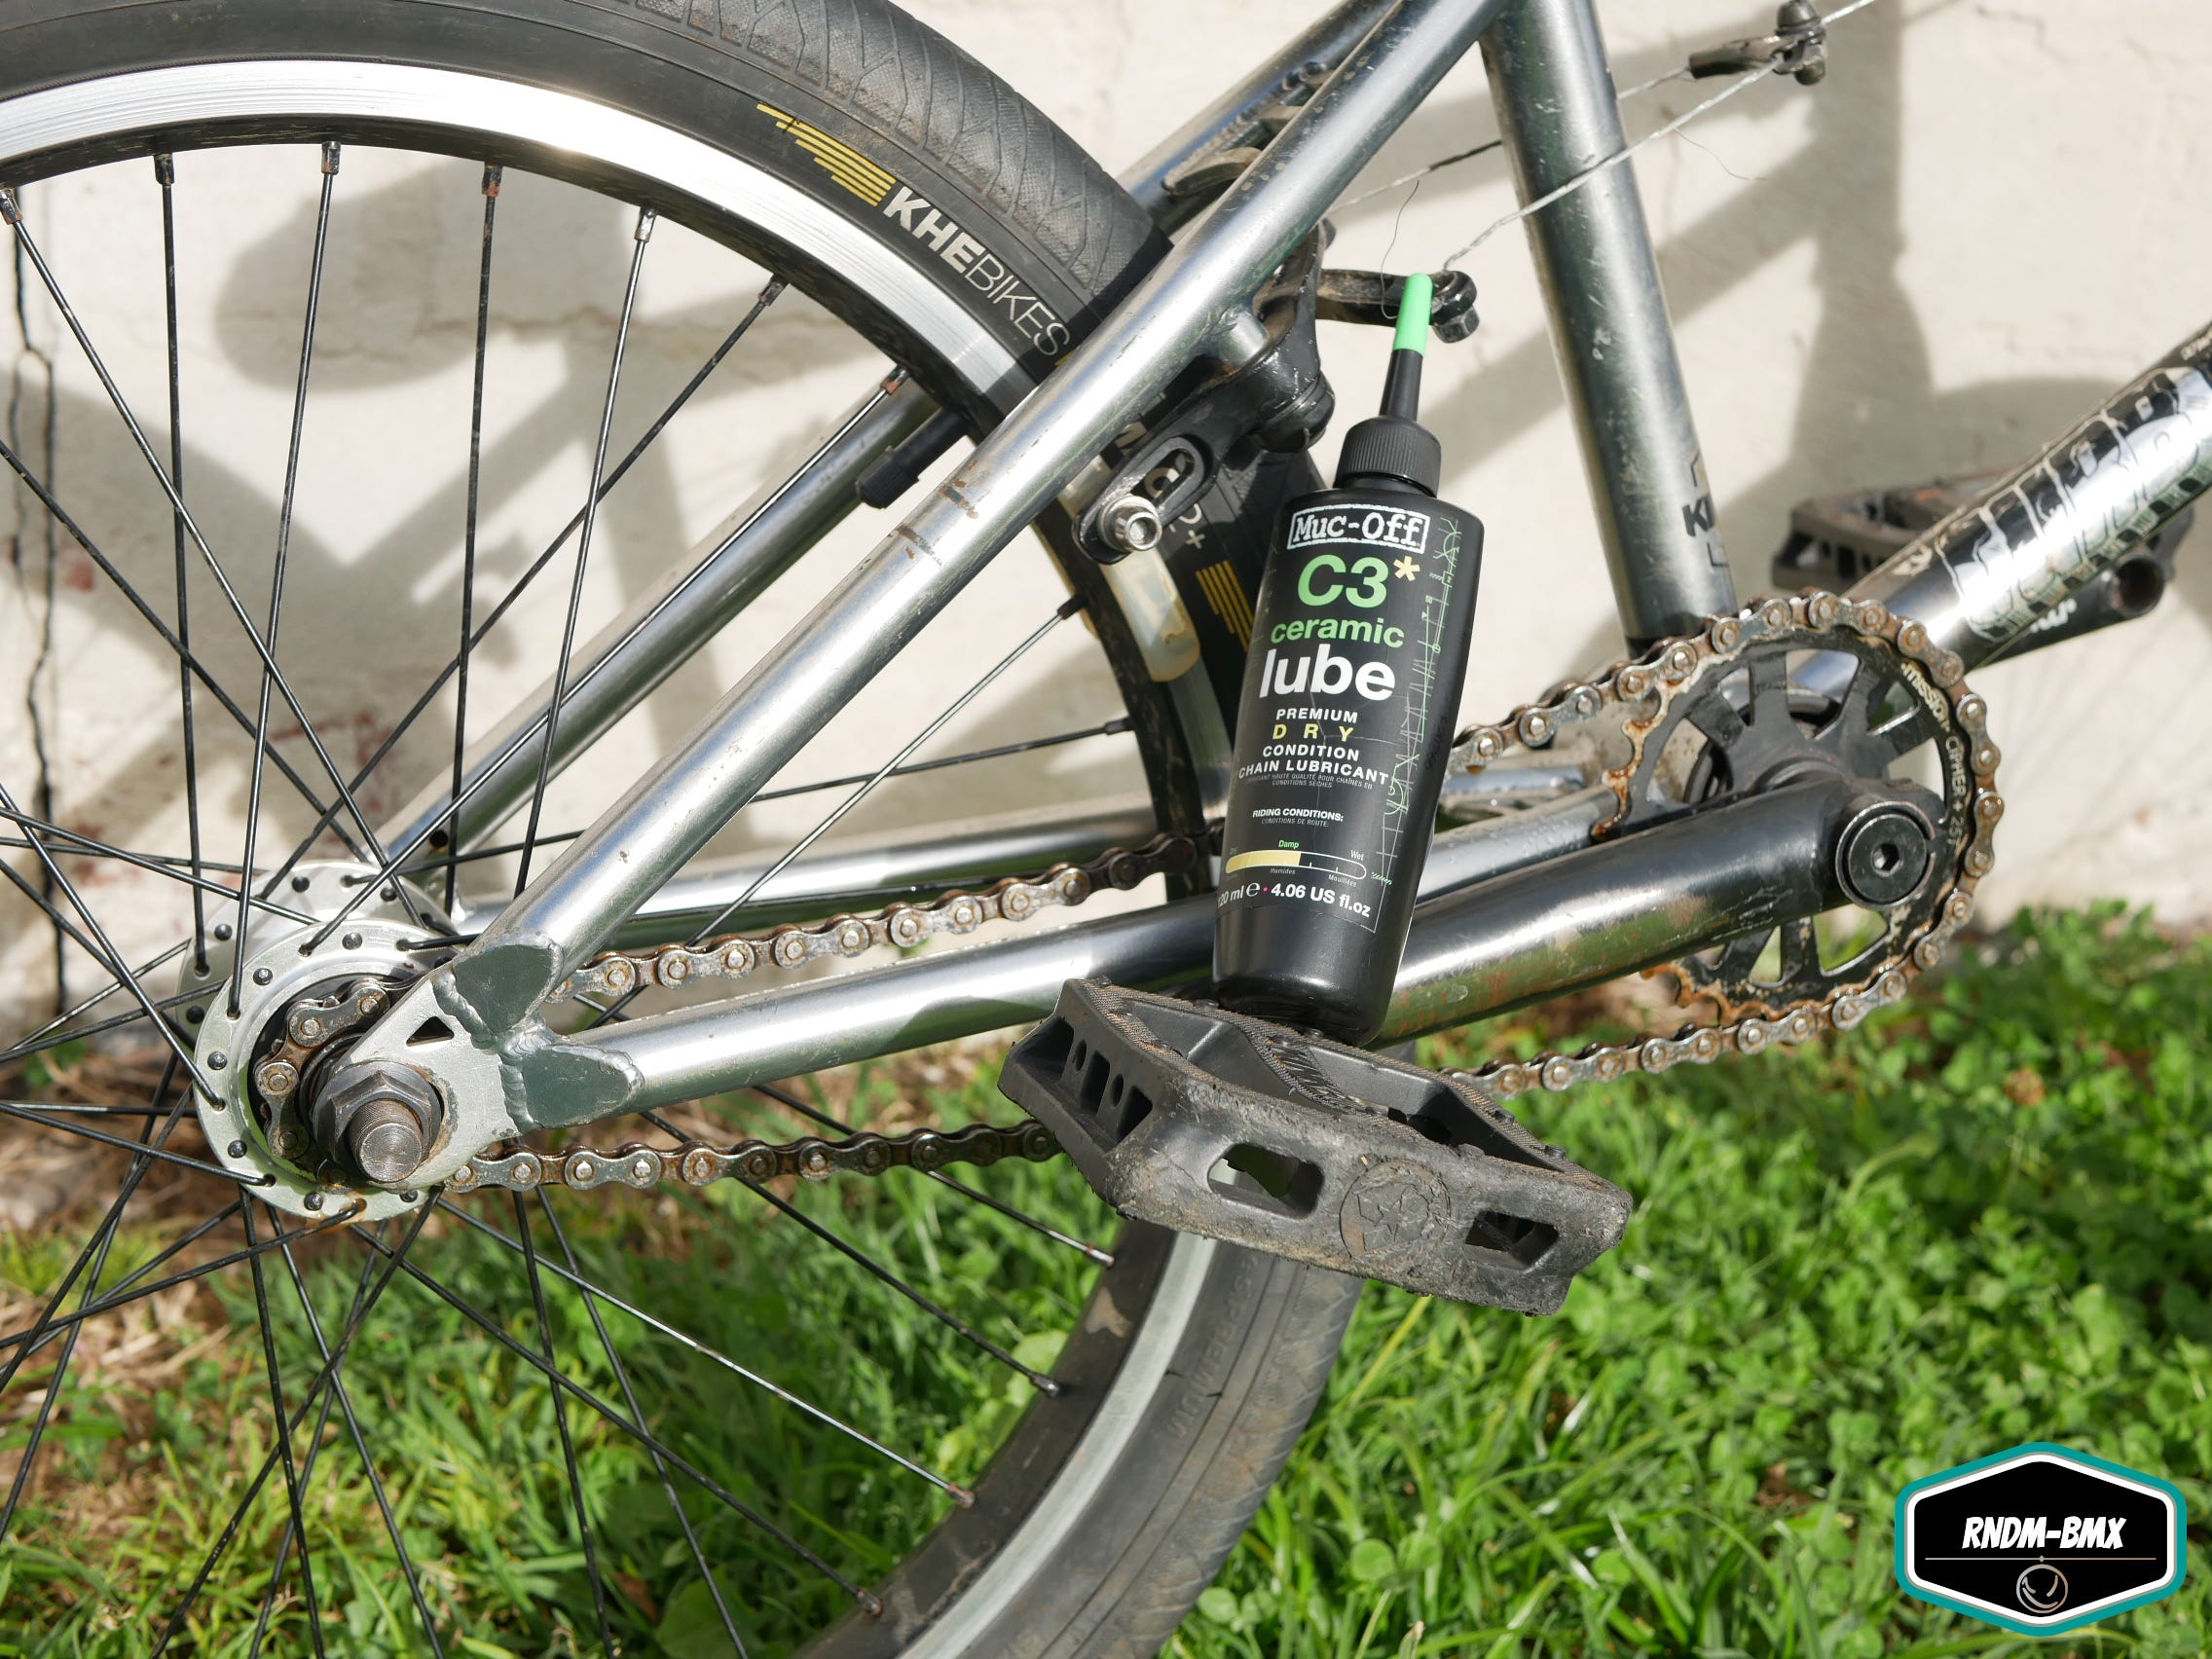
Lubing up the Chain: After the first 2 steps above have been completed, open up the following box (pictured below), pull out the bottle, unscrew the main nozzle attached to the bottle, rip off the seal then screw the nozzle back onto the bottle and undo the little green cap at the top. (Step 3 Continues below)
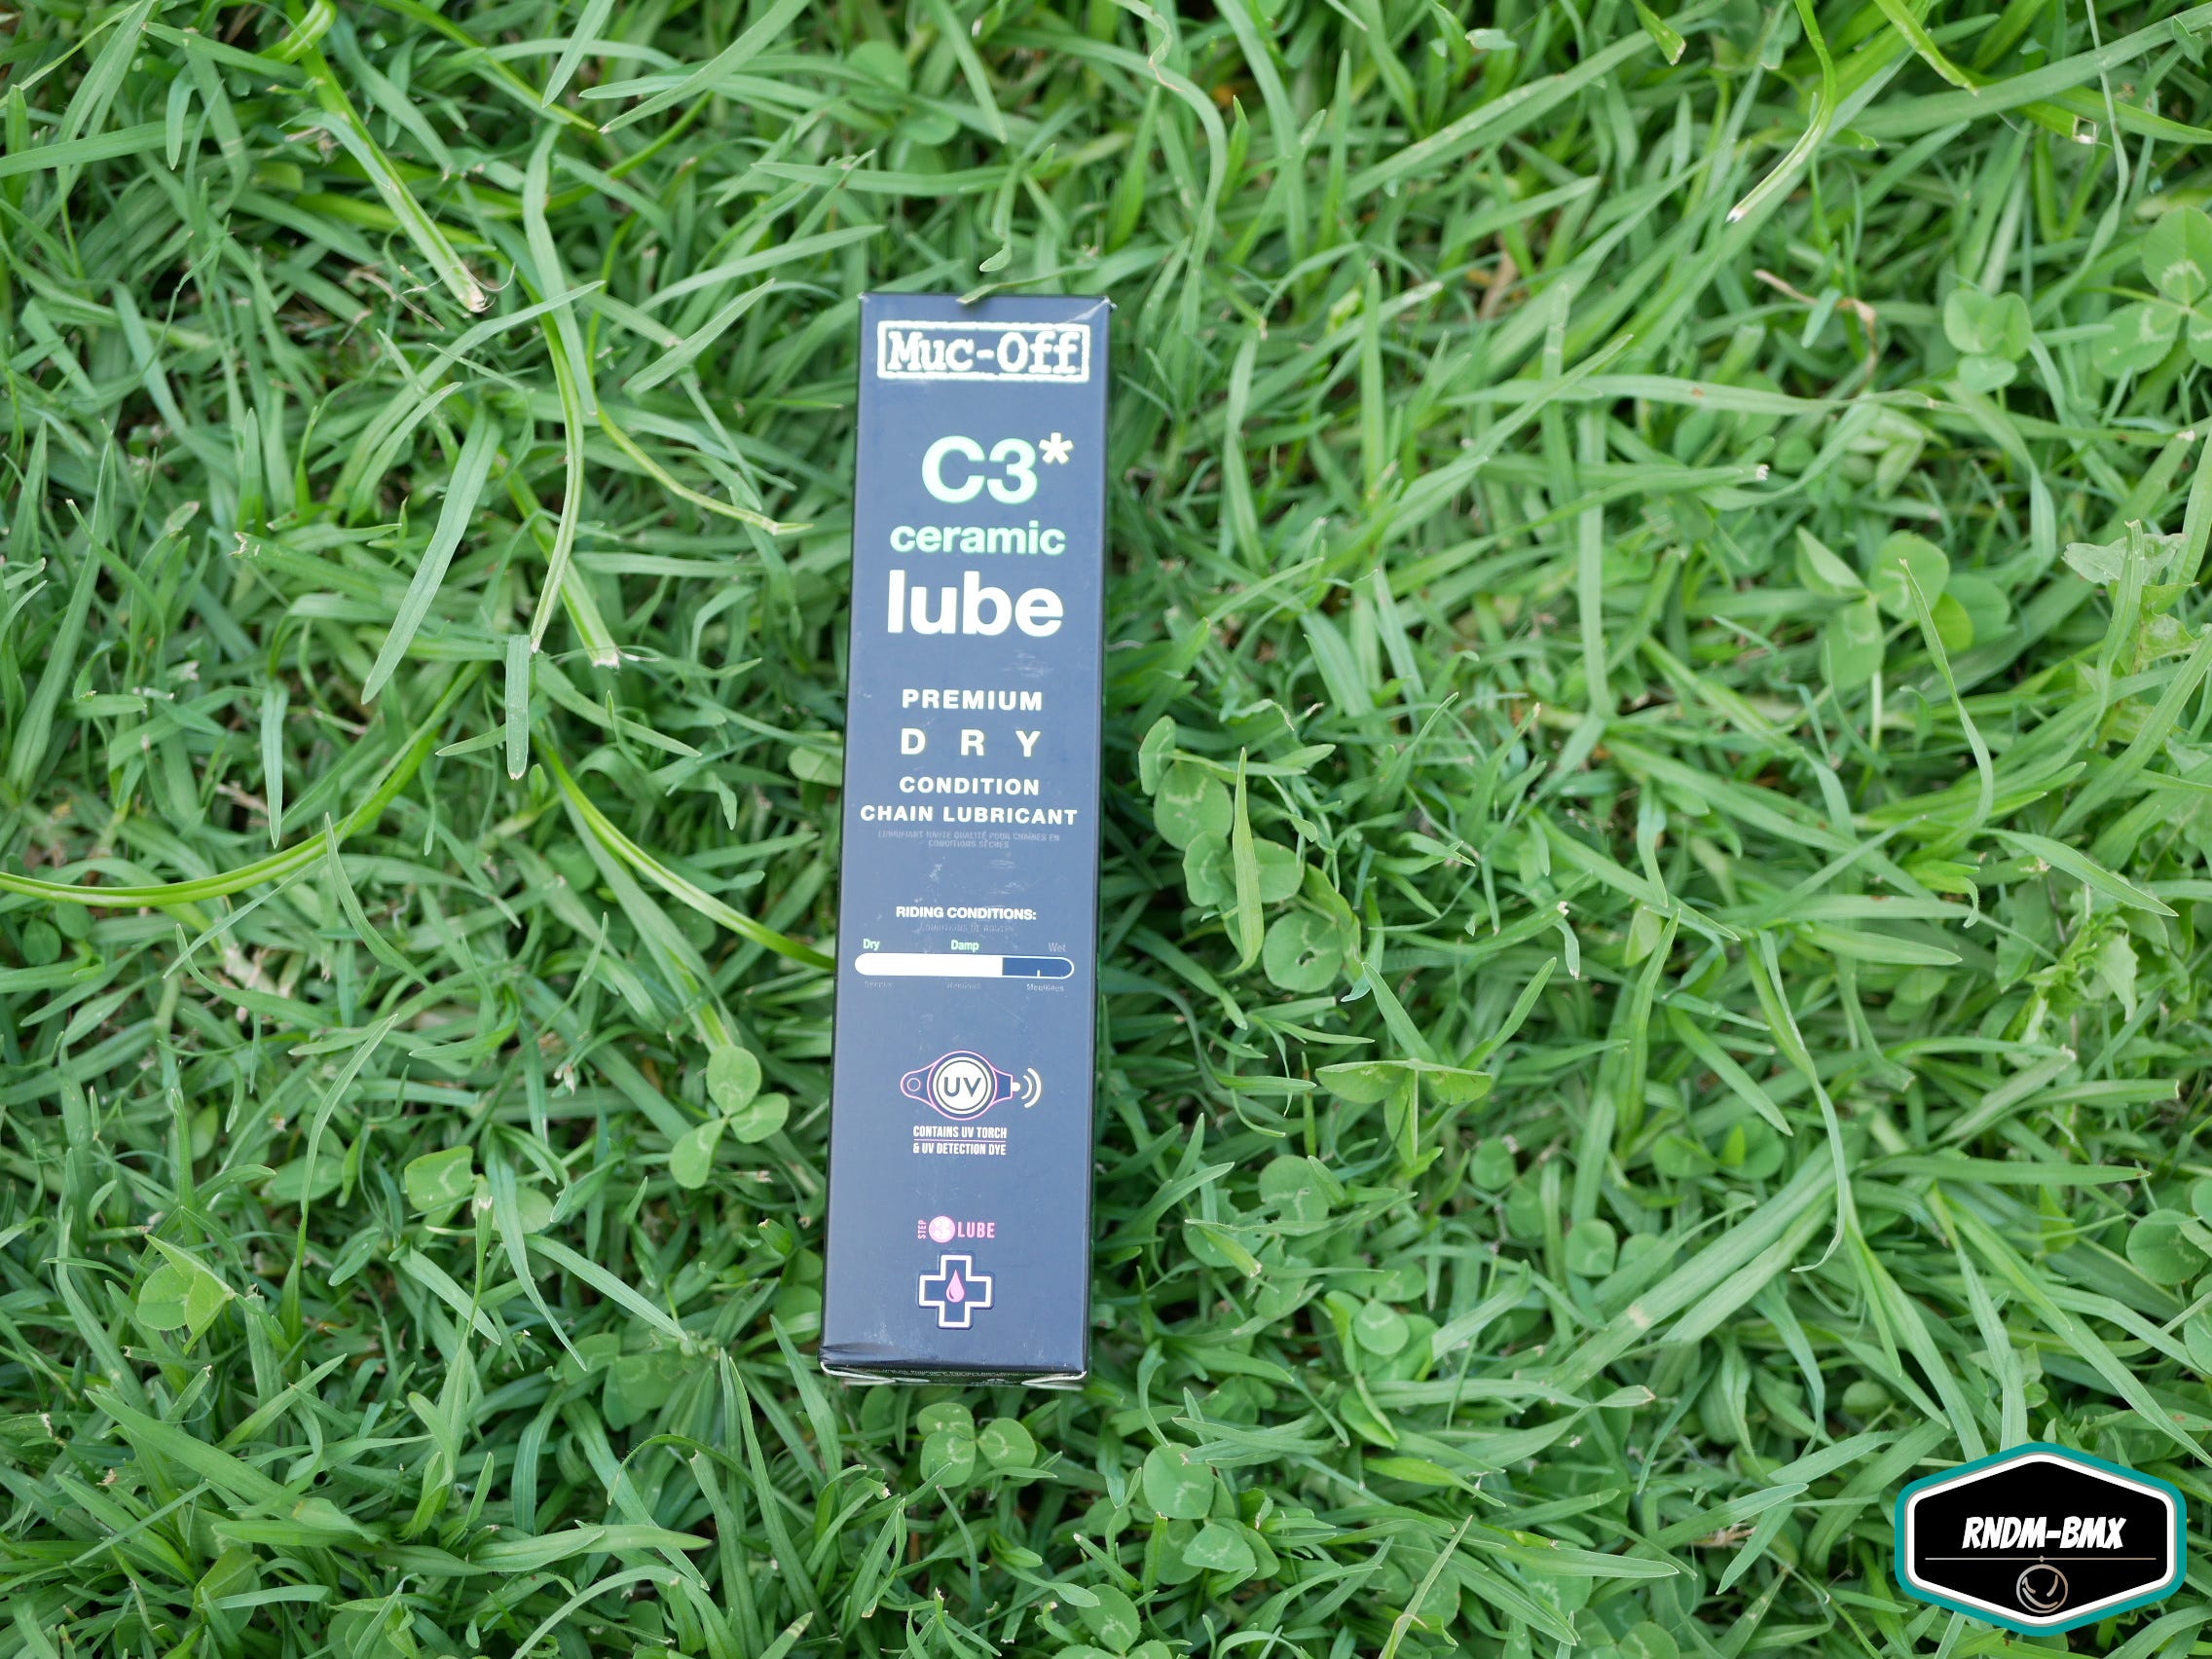
I found this stuff to be very good in aiding the Chain to not only pedal more smoothly, but to help alleviate that awful CLINK sound that can happen from time to time.
(Step 3 Continued) Simply place the bike upside down (on its saddle) and place the tip of the nozzle onto the Chain while gently squeezing the bottle so that the Green Goo drips onto the Chain. While this is happening, rotate the Crank Anti-Clockwise so that the Chain is covered with the Green Goo.
Once you are happy with the result, place the green cap back onto the Bottle and Spin the Crank Anti-Clockwise really quick for at least 20 seconds so the Green Goo can get in all over the place. Wipe the excess Goo off the frame and wheel with a rag and let the Bike sit overnight so the Goo can do it’s thing.
And here is the Final result!
So next time you go out for the Big BMX Adventure Ride, just think 1, 2, and especially 3 in Chain Servicing….
RNDM-BMX Style!