
Trying to achieve a BMX Roof Jump earlier this Year didn’t go all that well, so instead, the BMX was toppled over the edge smacking onto the ground below.
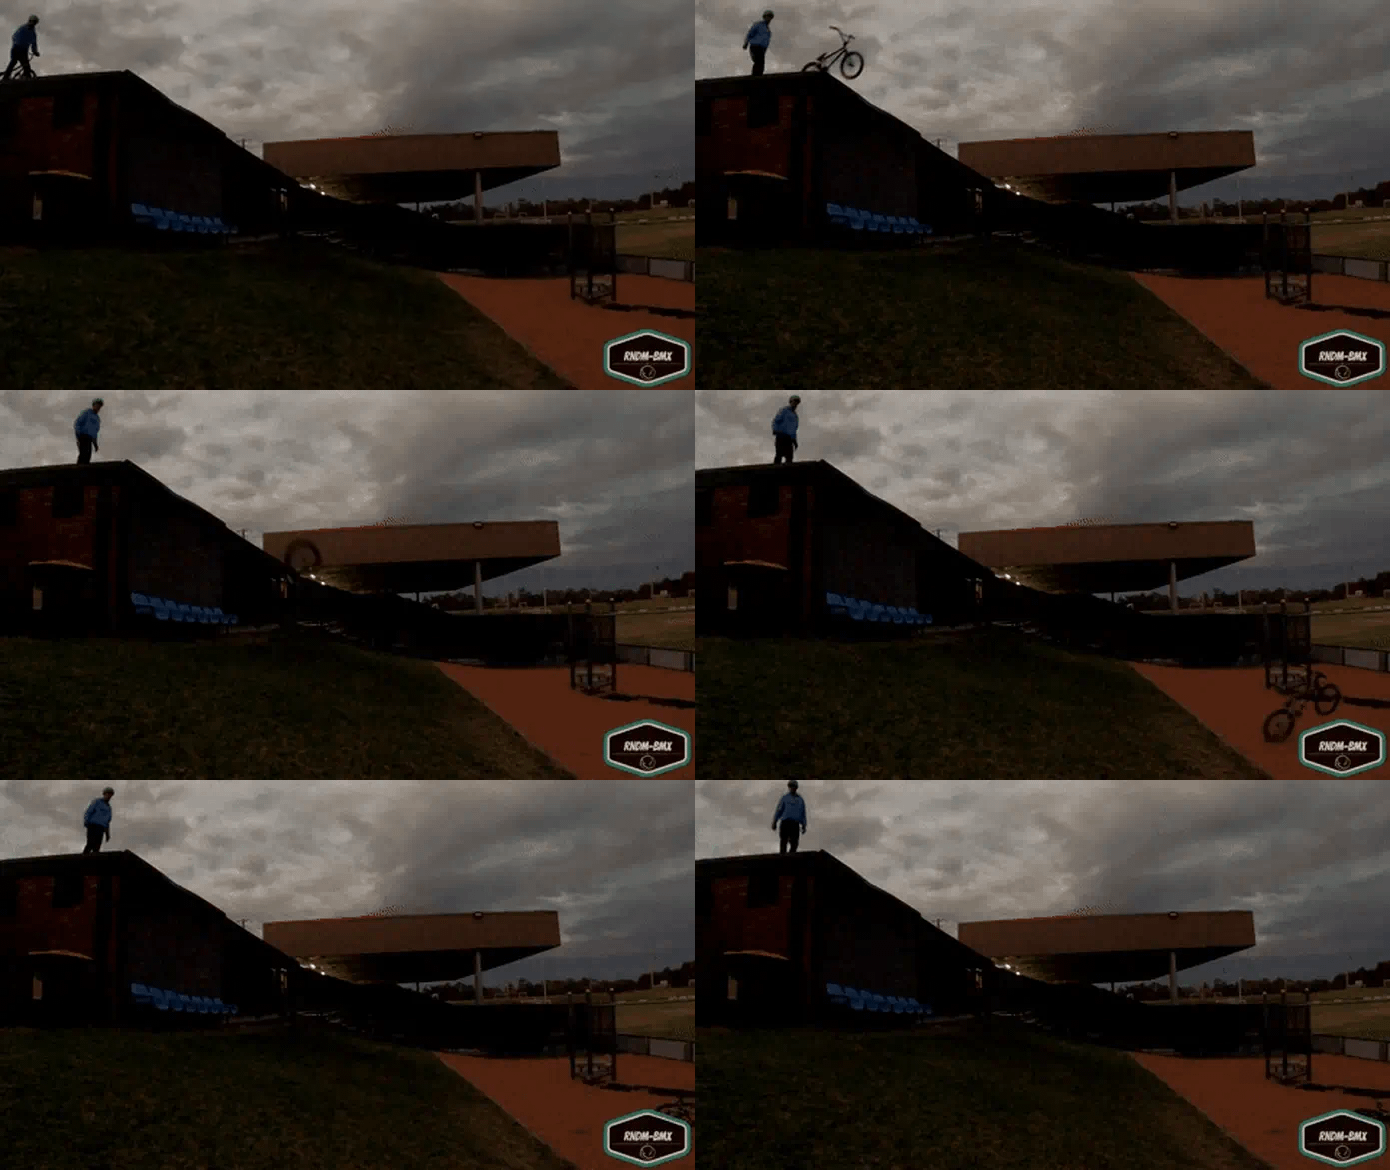
Being that it hit fairly hard meant that some damage had been received.
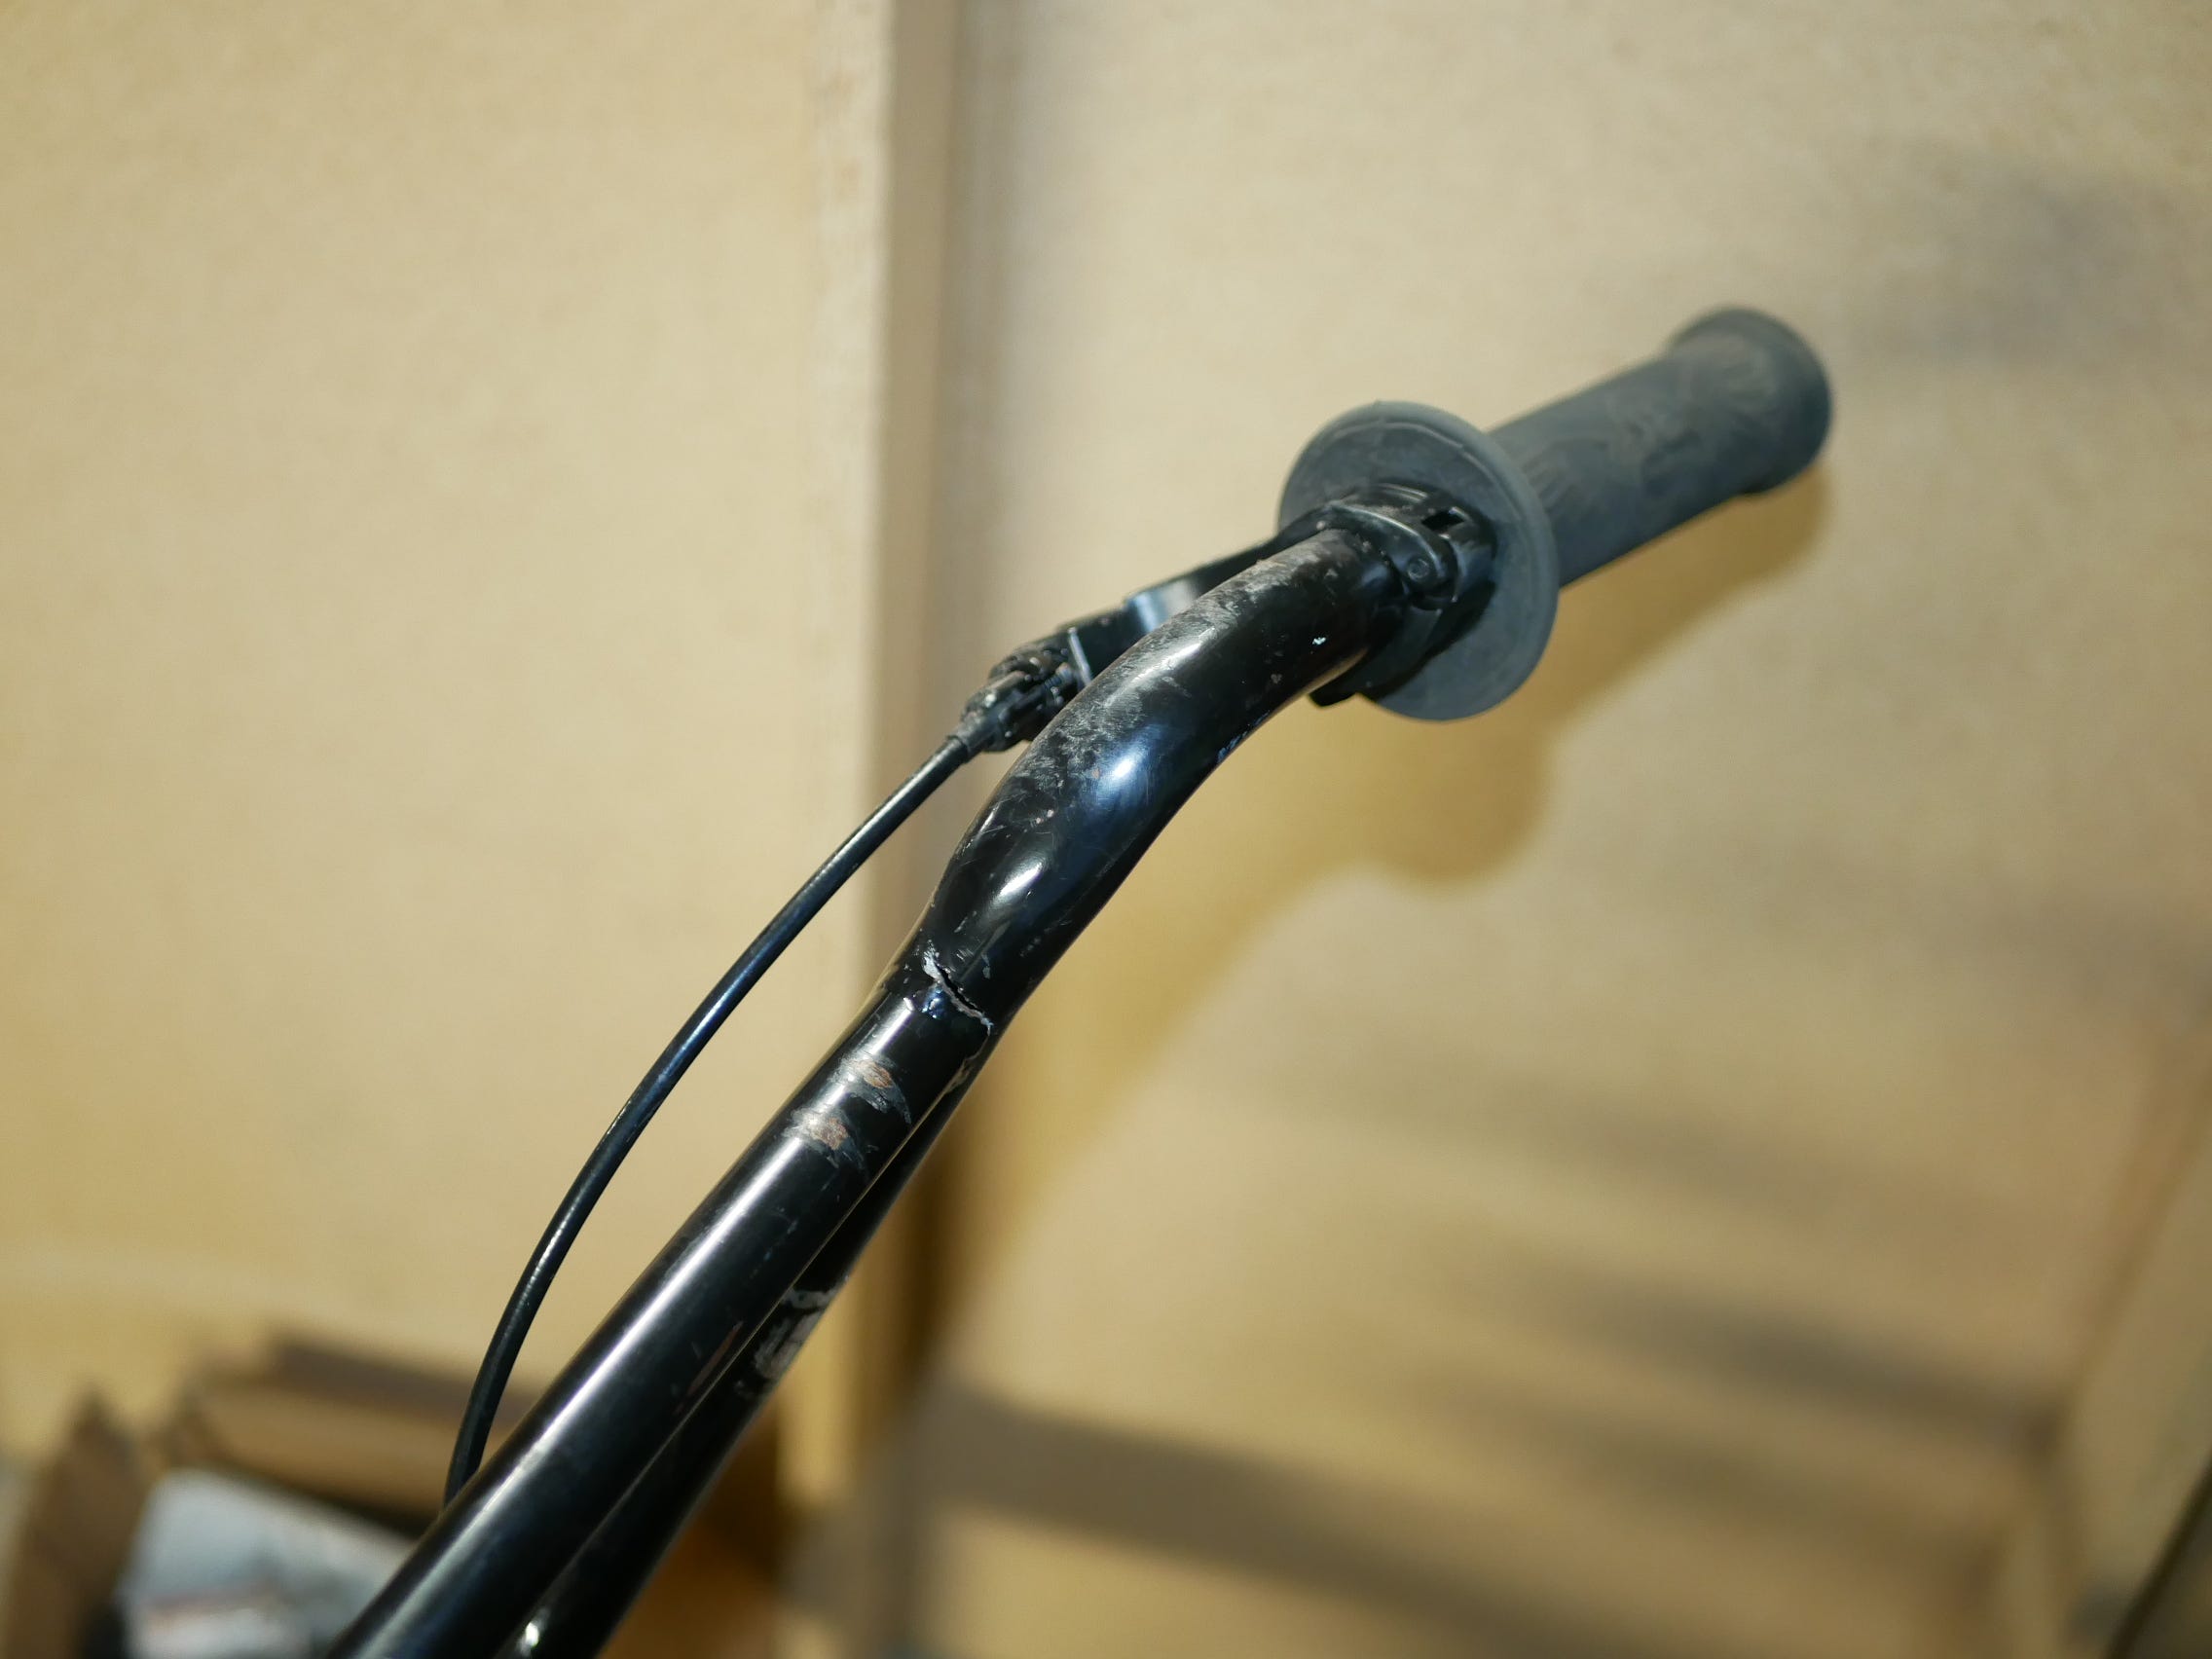
Many months later, it was time to finally sort that damage out….
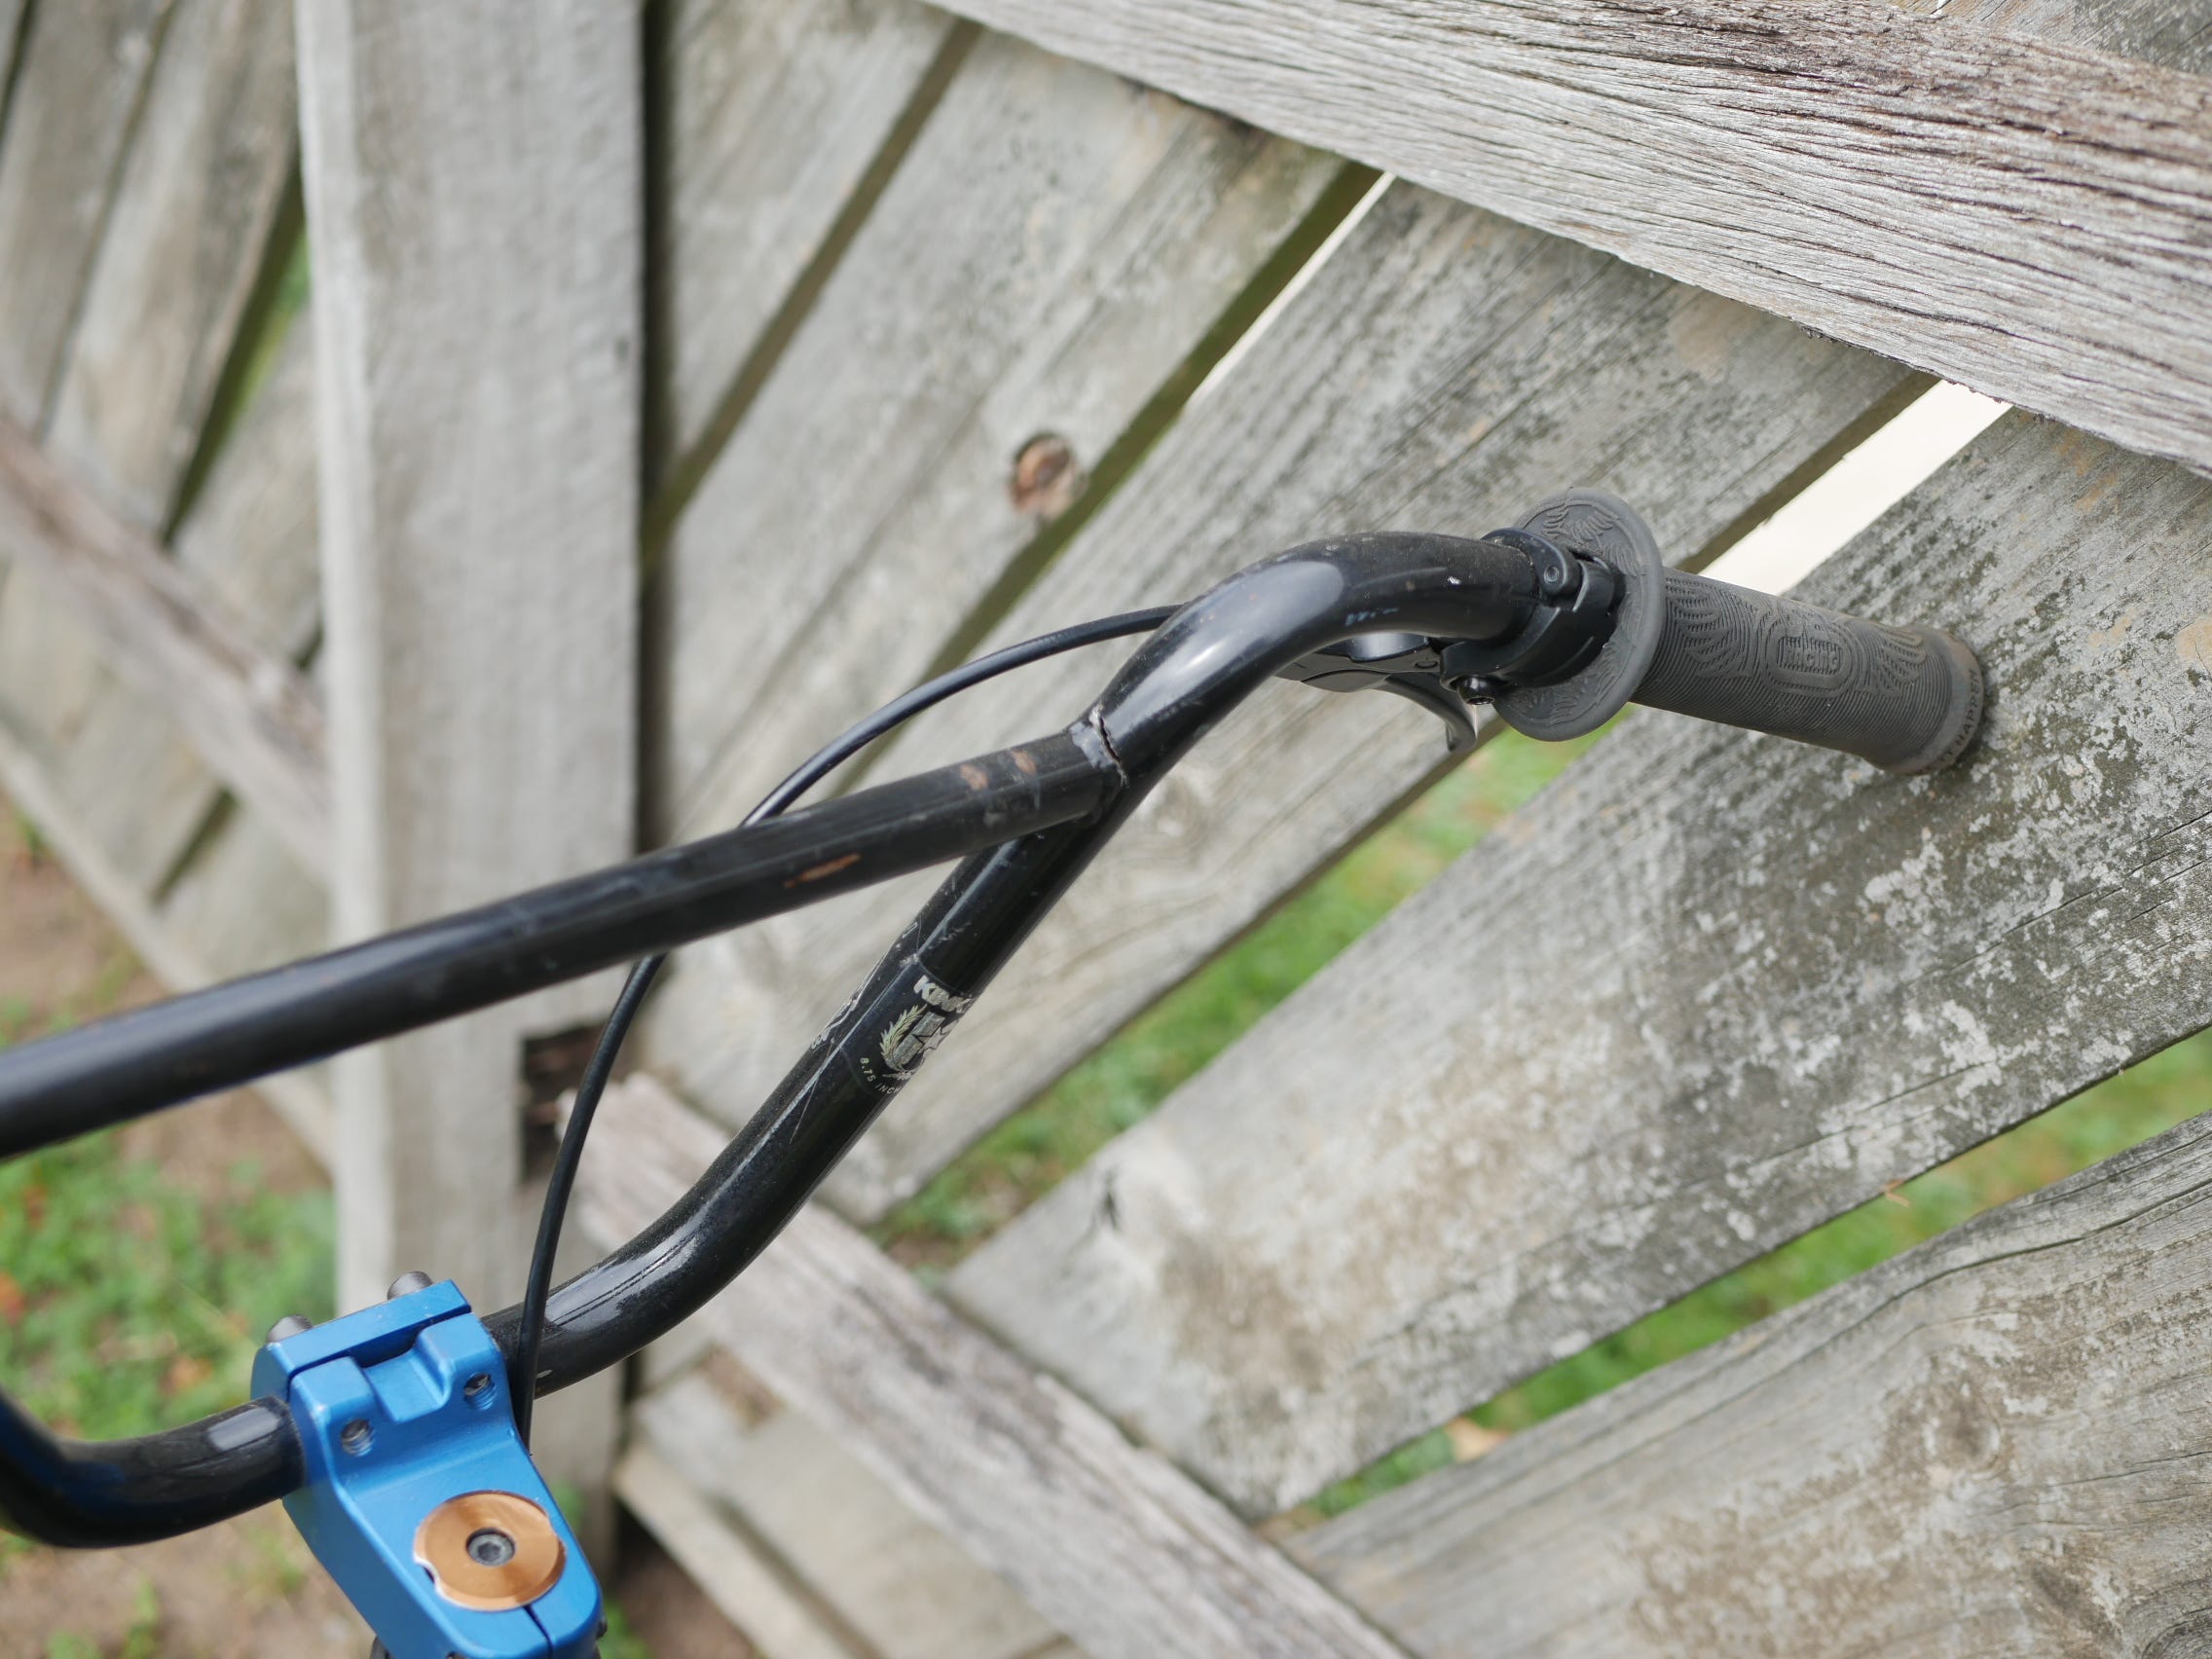
Having a moment to spare one weekday, the world wide web was scoured seeking out a new set of Handlebars.
That was when a nice set of SALT 9.5” were found.
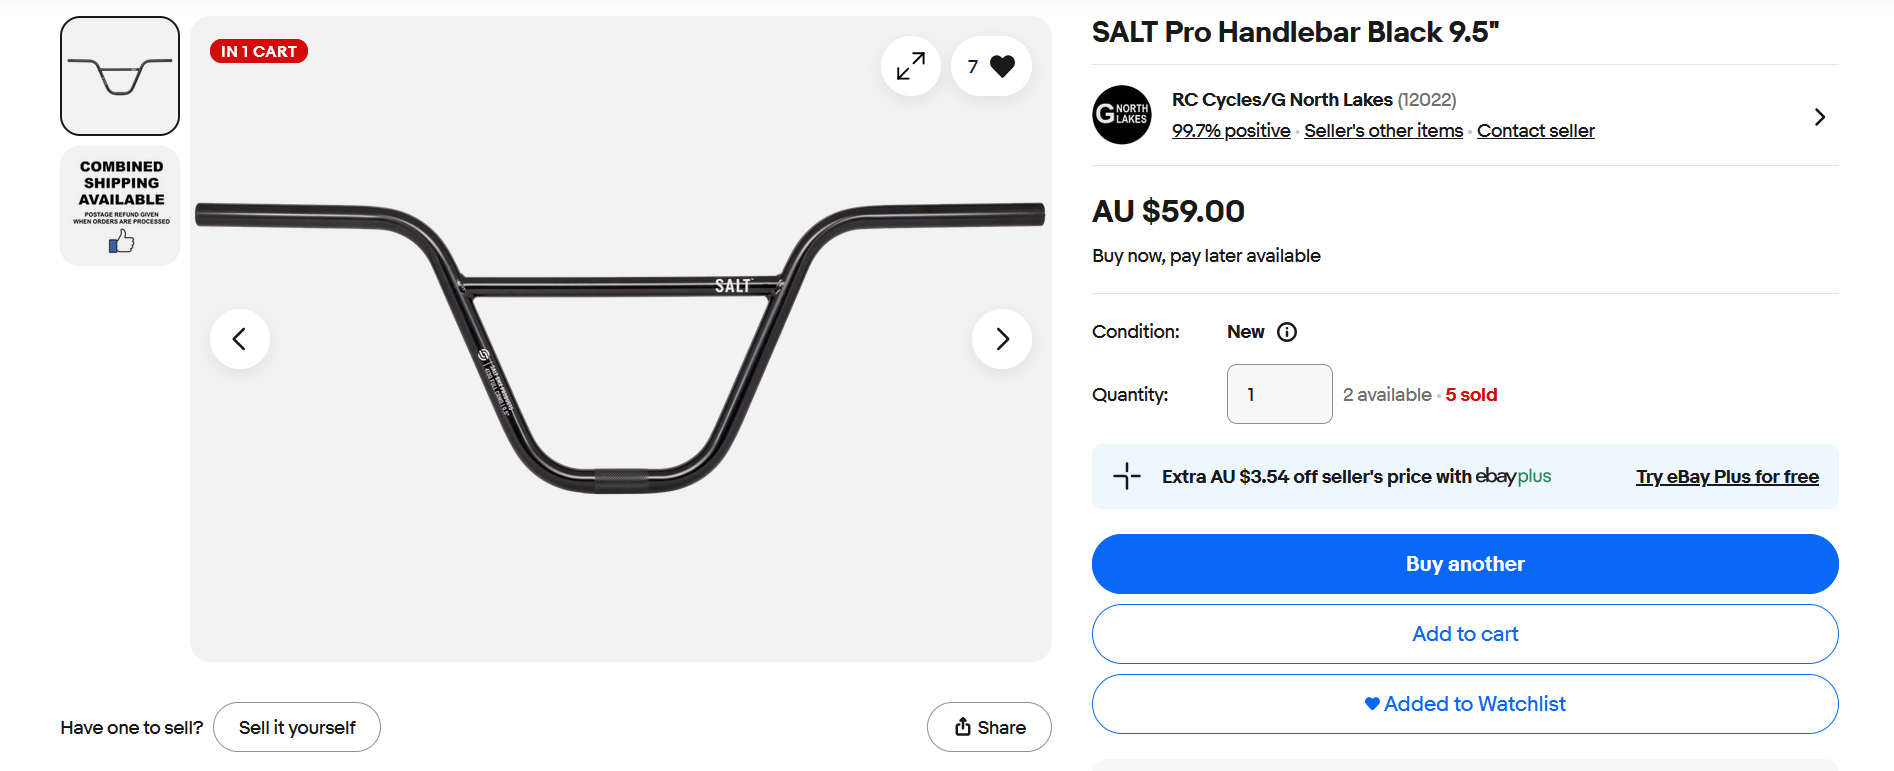
The reason for the 9.5” being a good fit is thanks to them being higher giving the rider more overall control as well as a personal preference of comfort especially if you are a taller style rider.
As the Bars finally arrived, it was time to un-wrap them so they could soon be fitted.
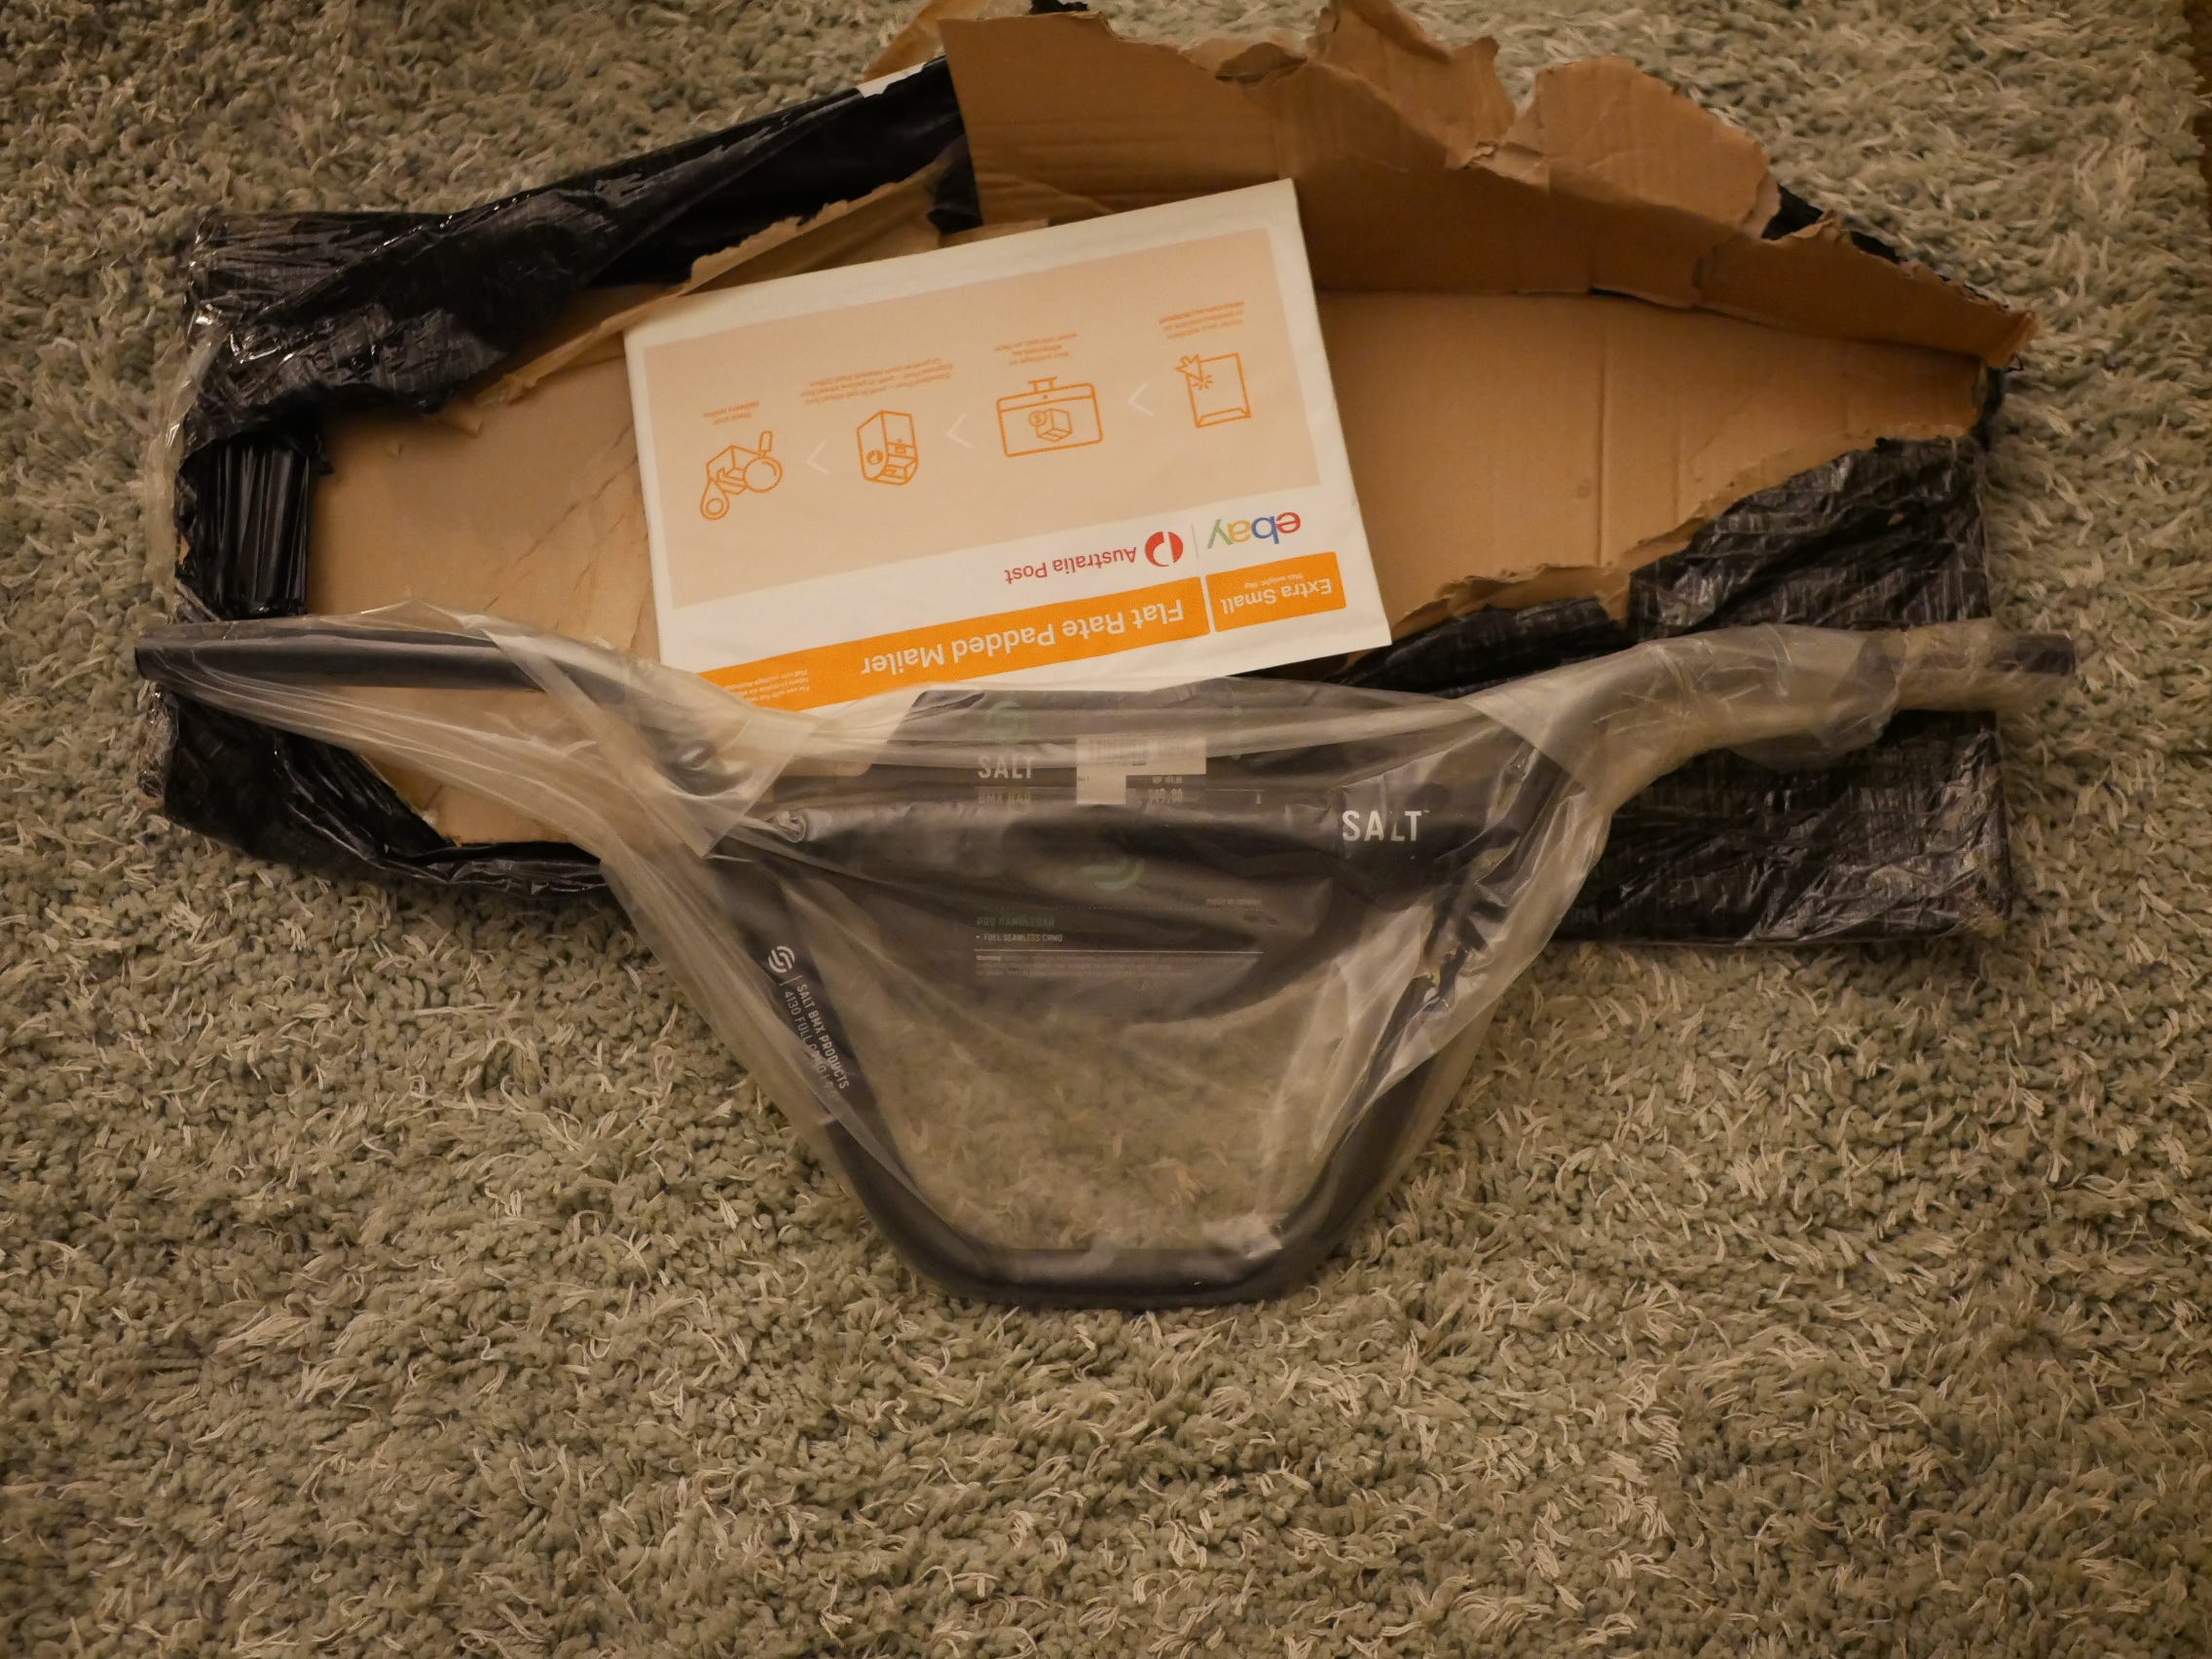
When the un-wrapping was fully done, below is how they actually look.
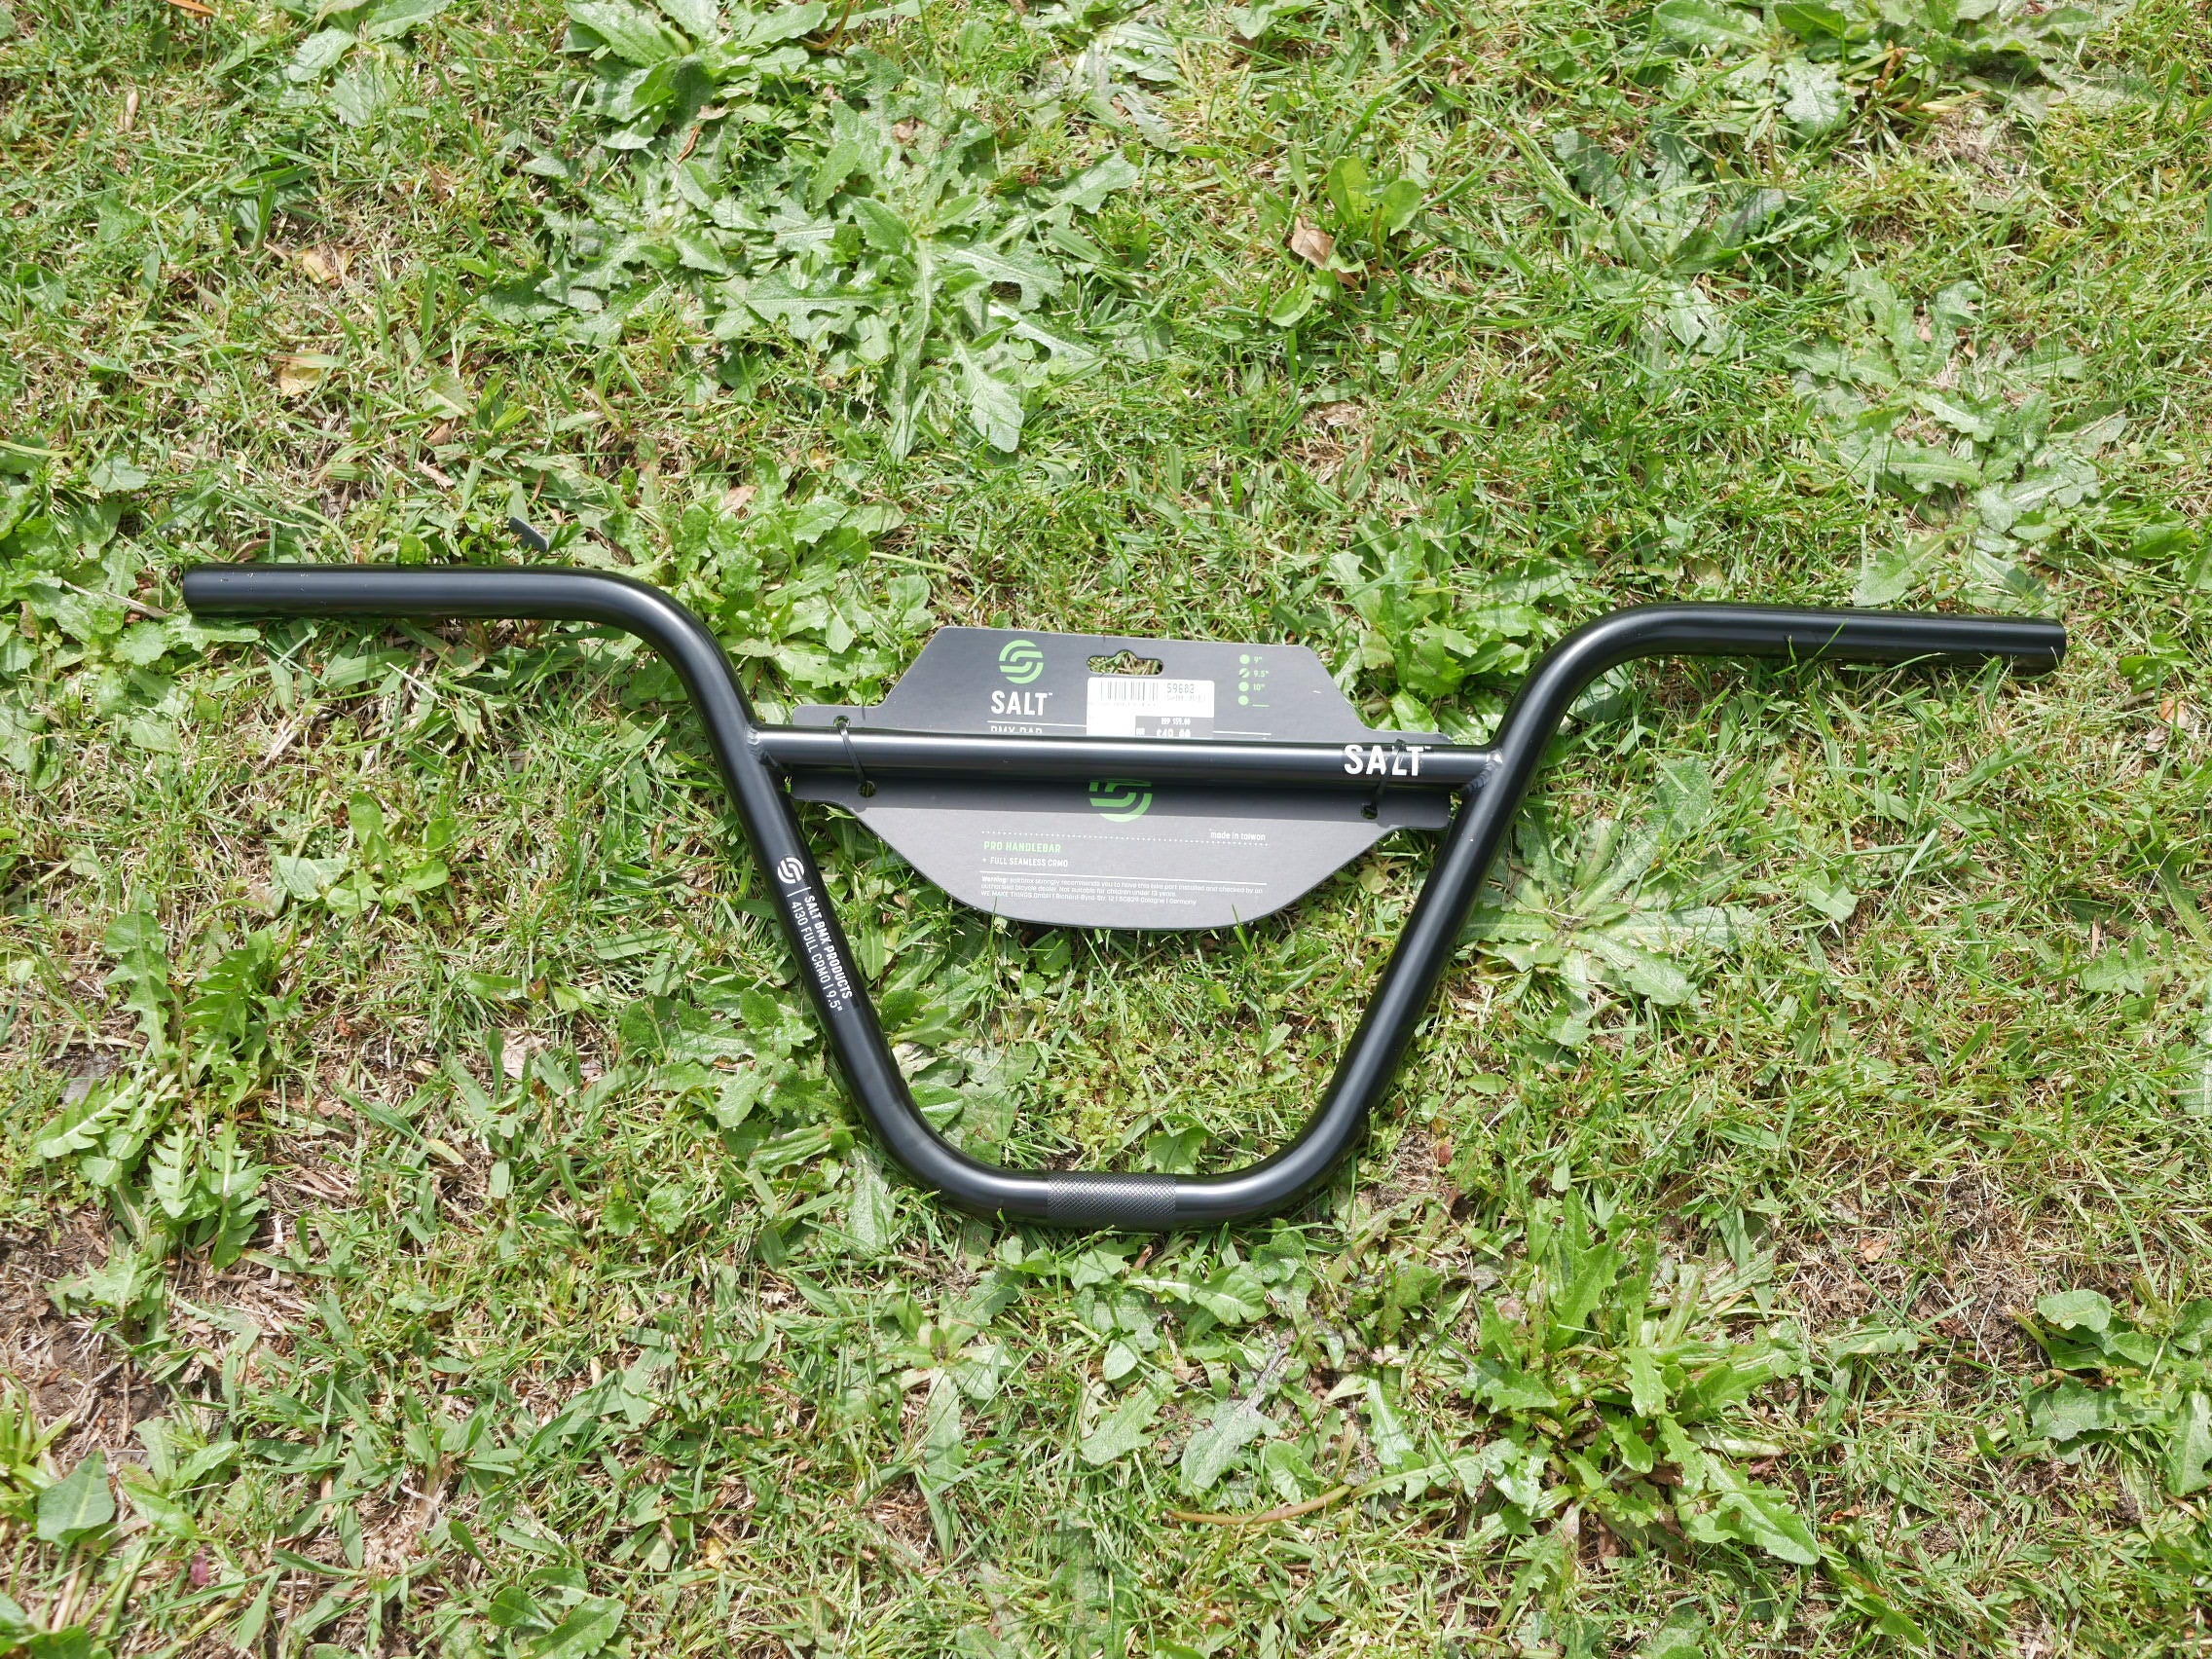
And without the little cardboard packaging.
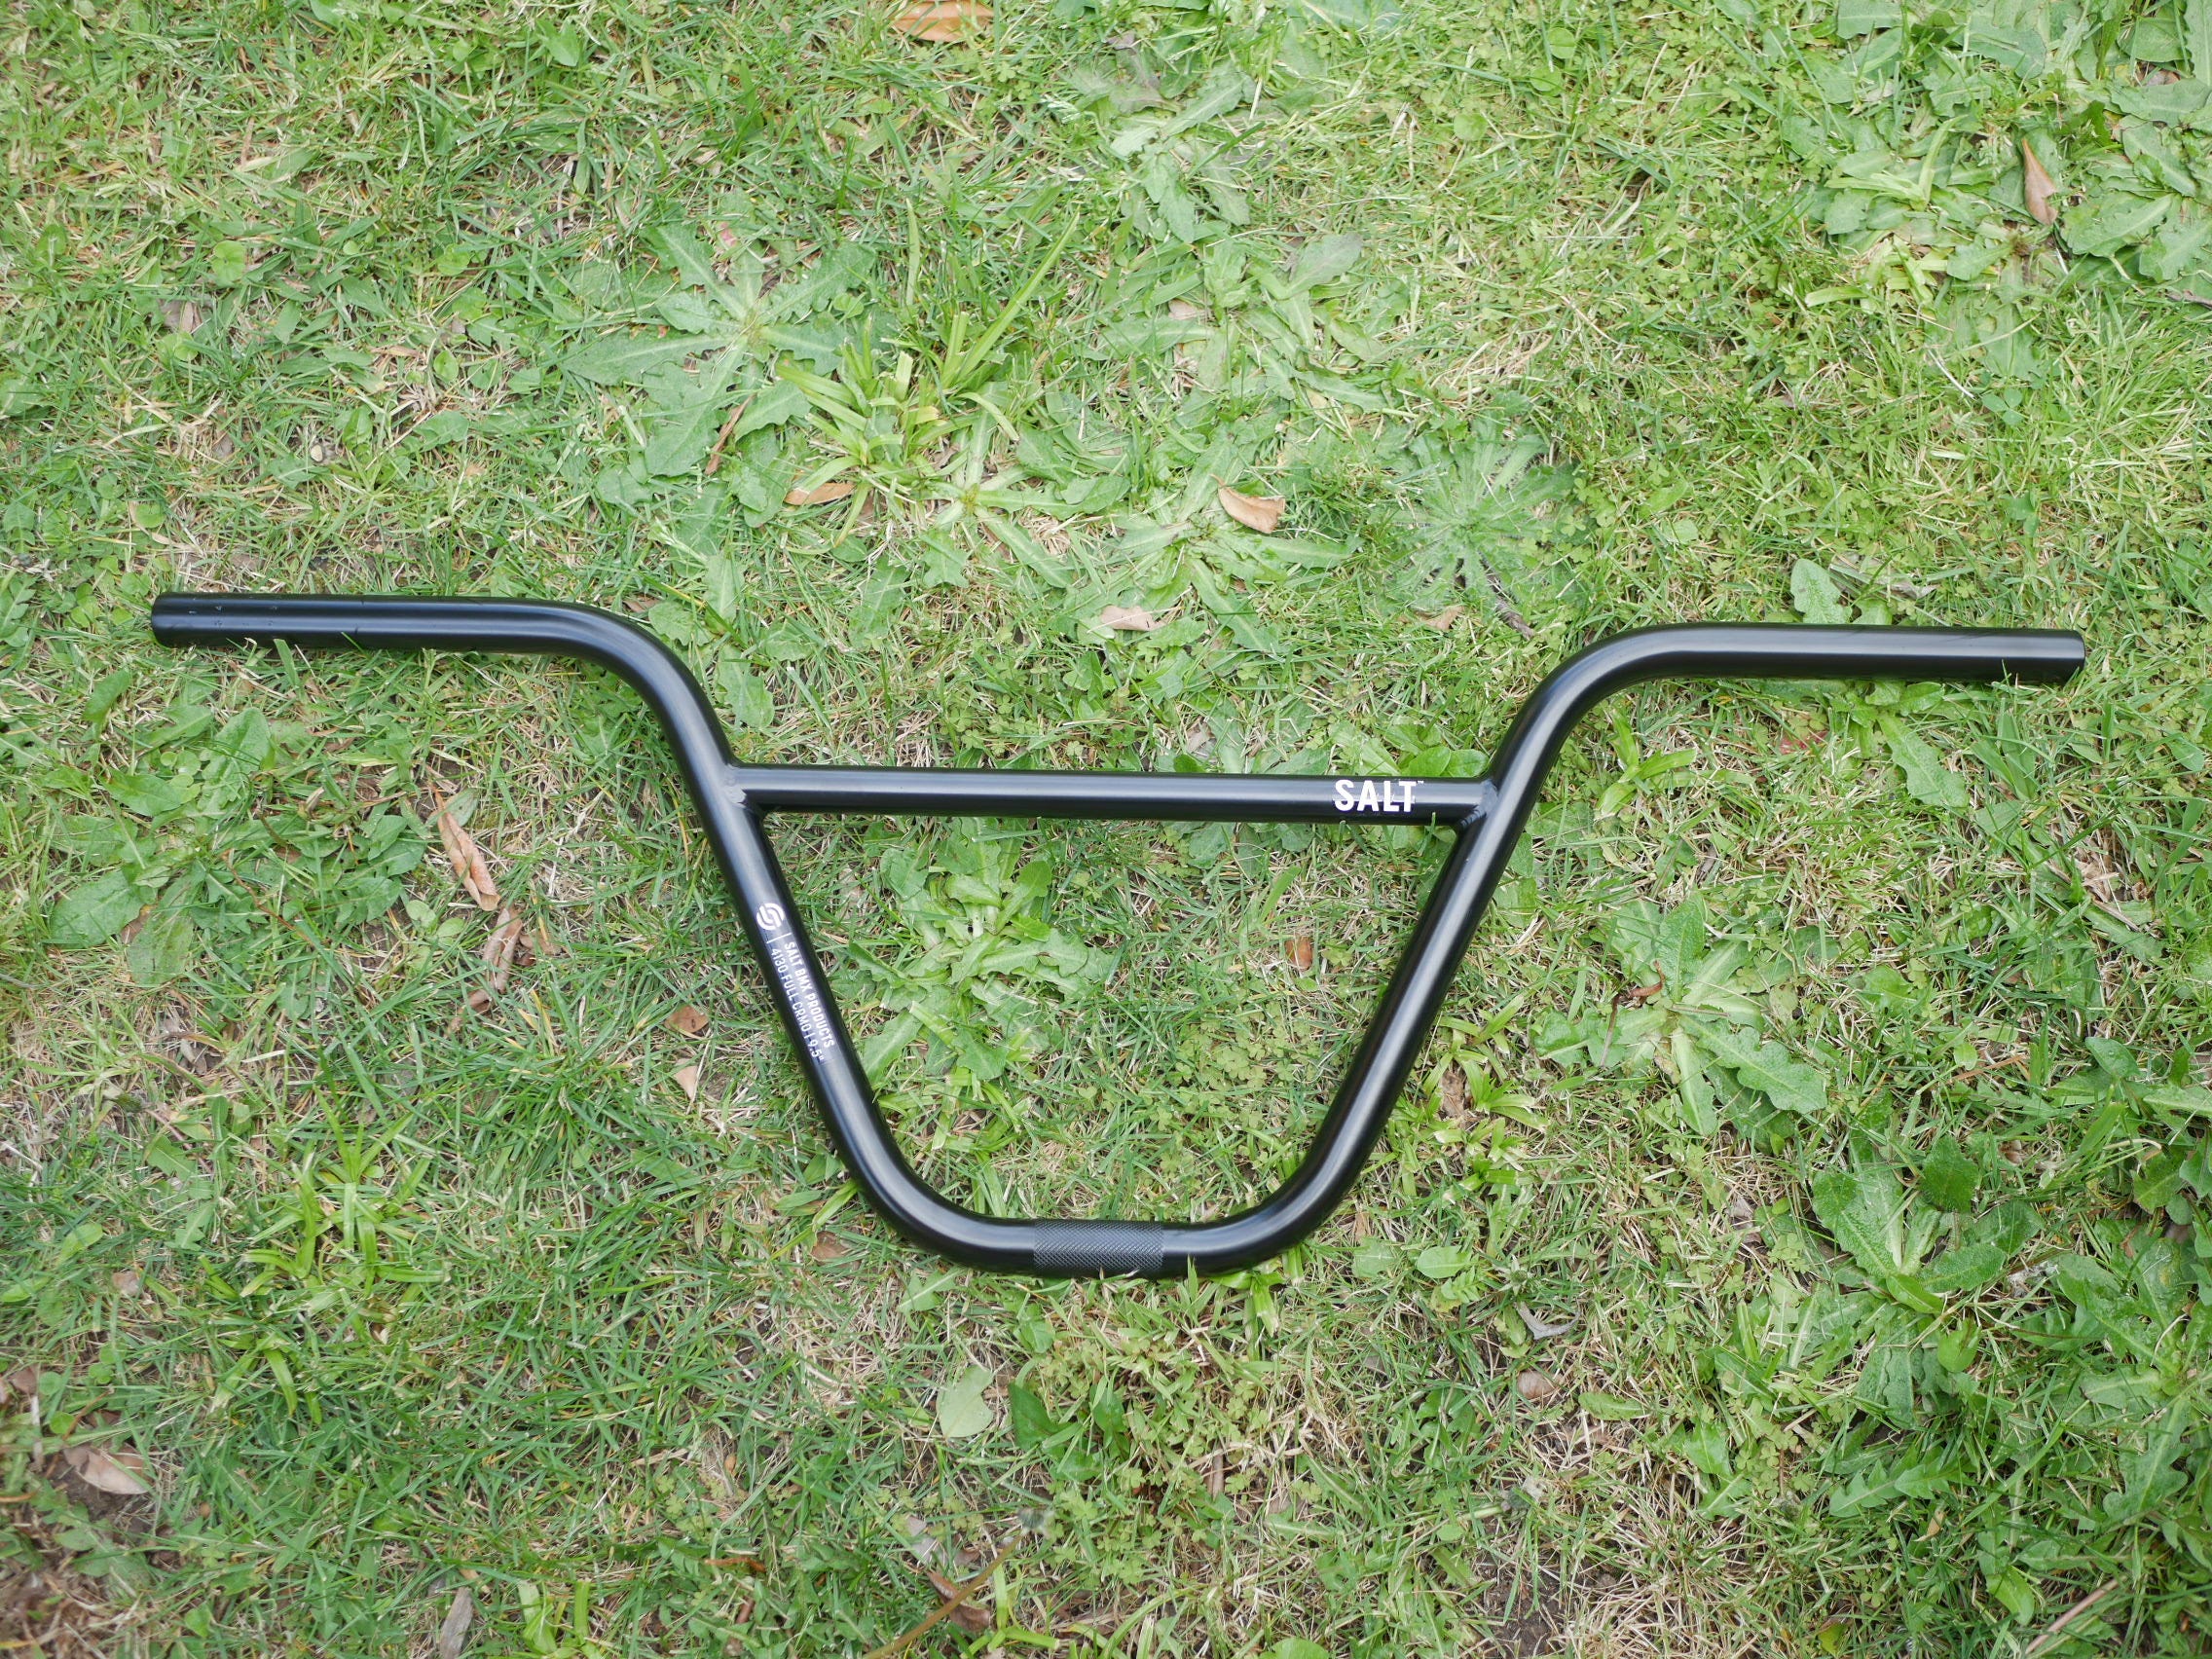
Now that had all been done, next up was to prepare for the New Bars to be fitted as the old ones were out of whack.
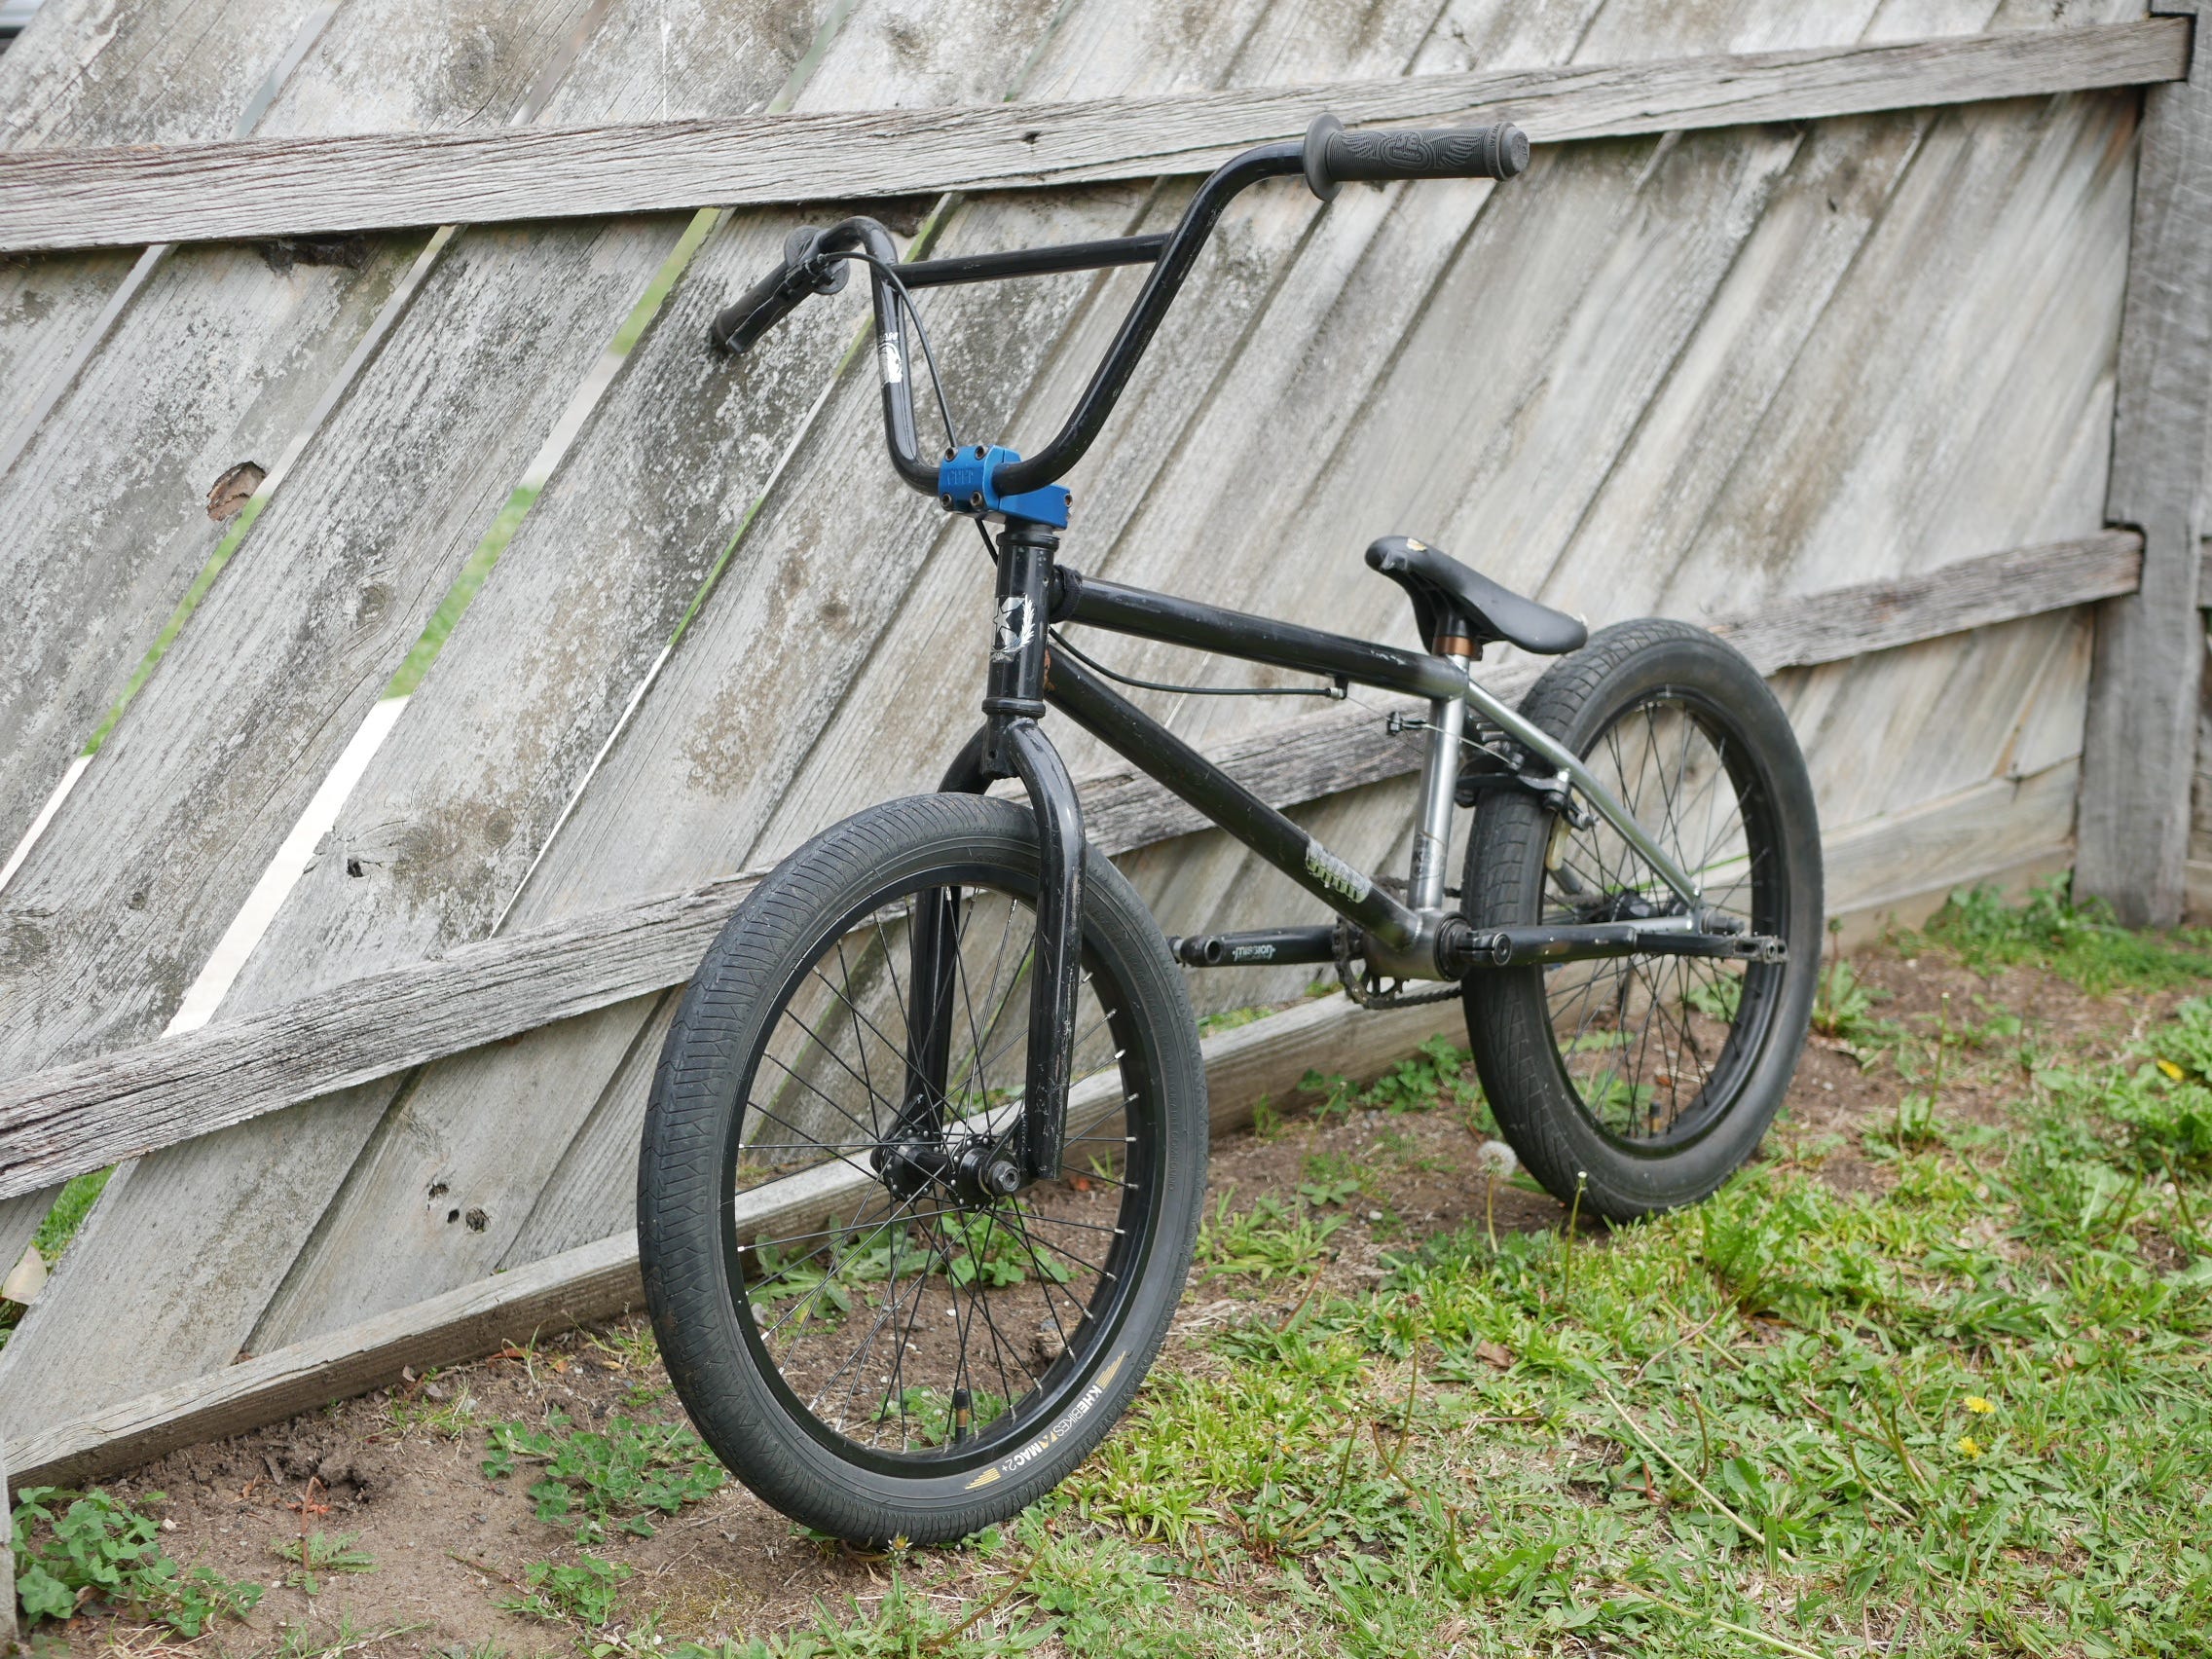
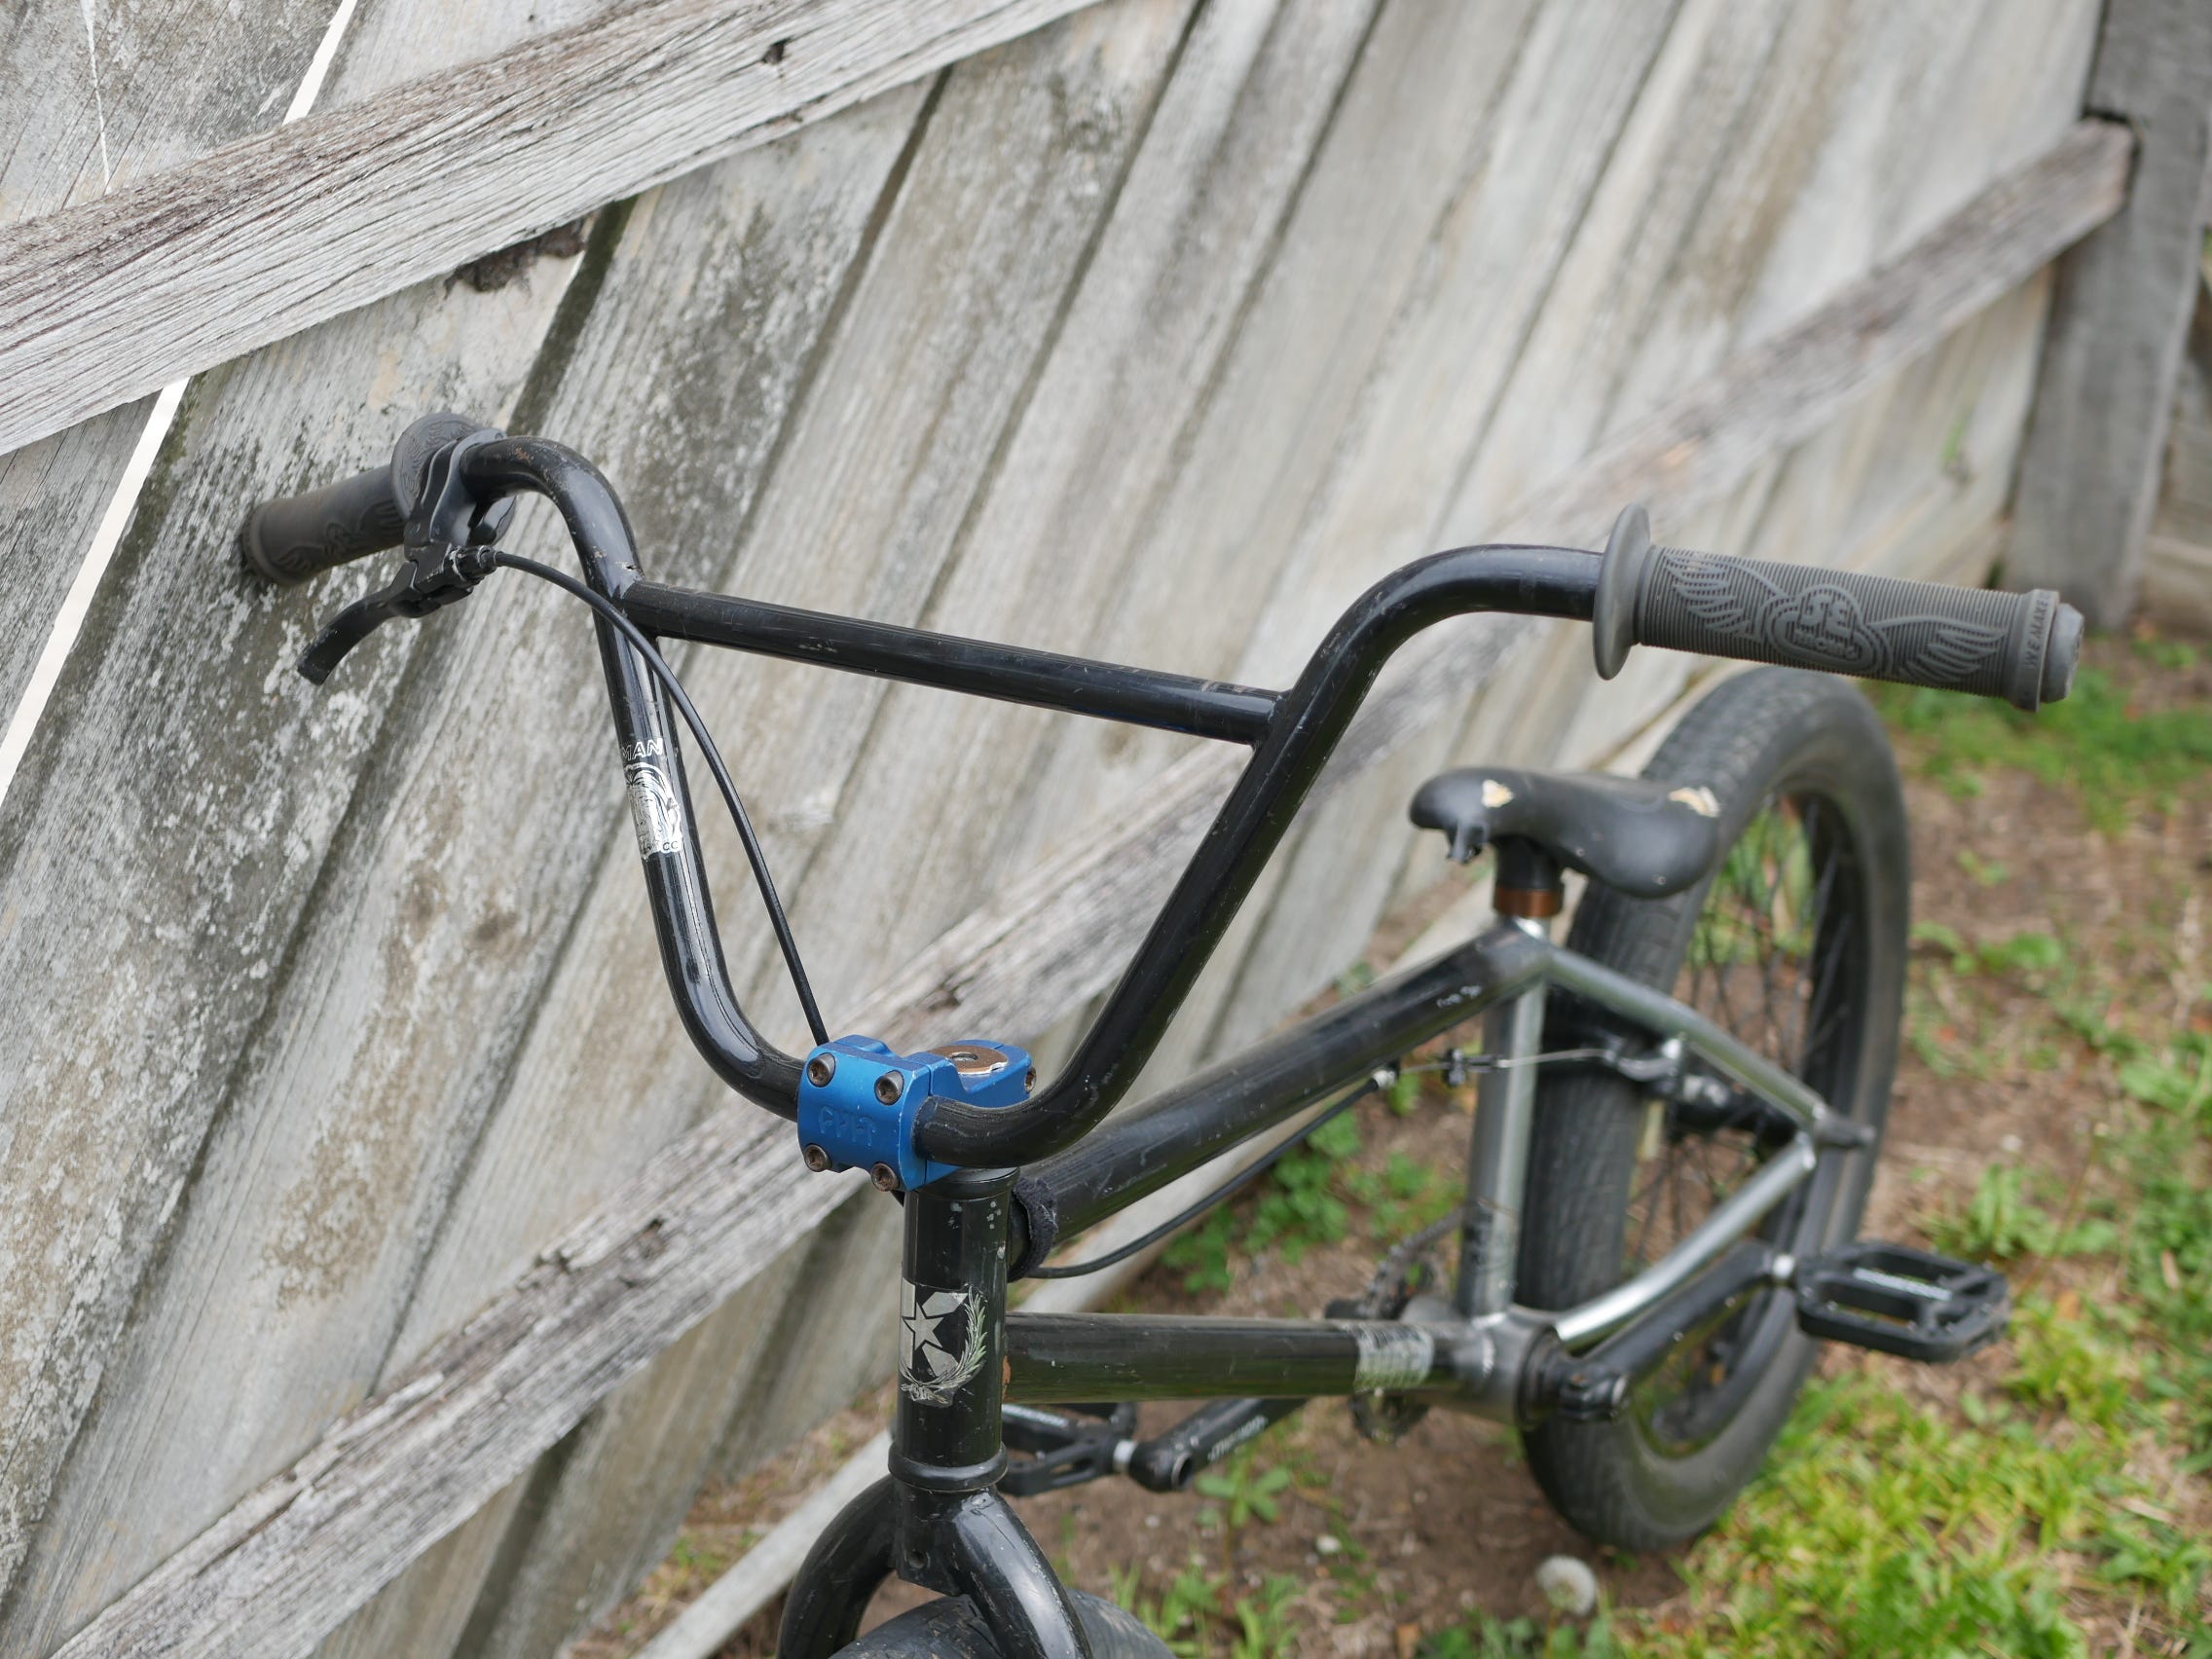
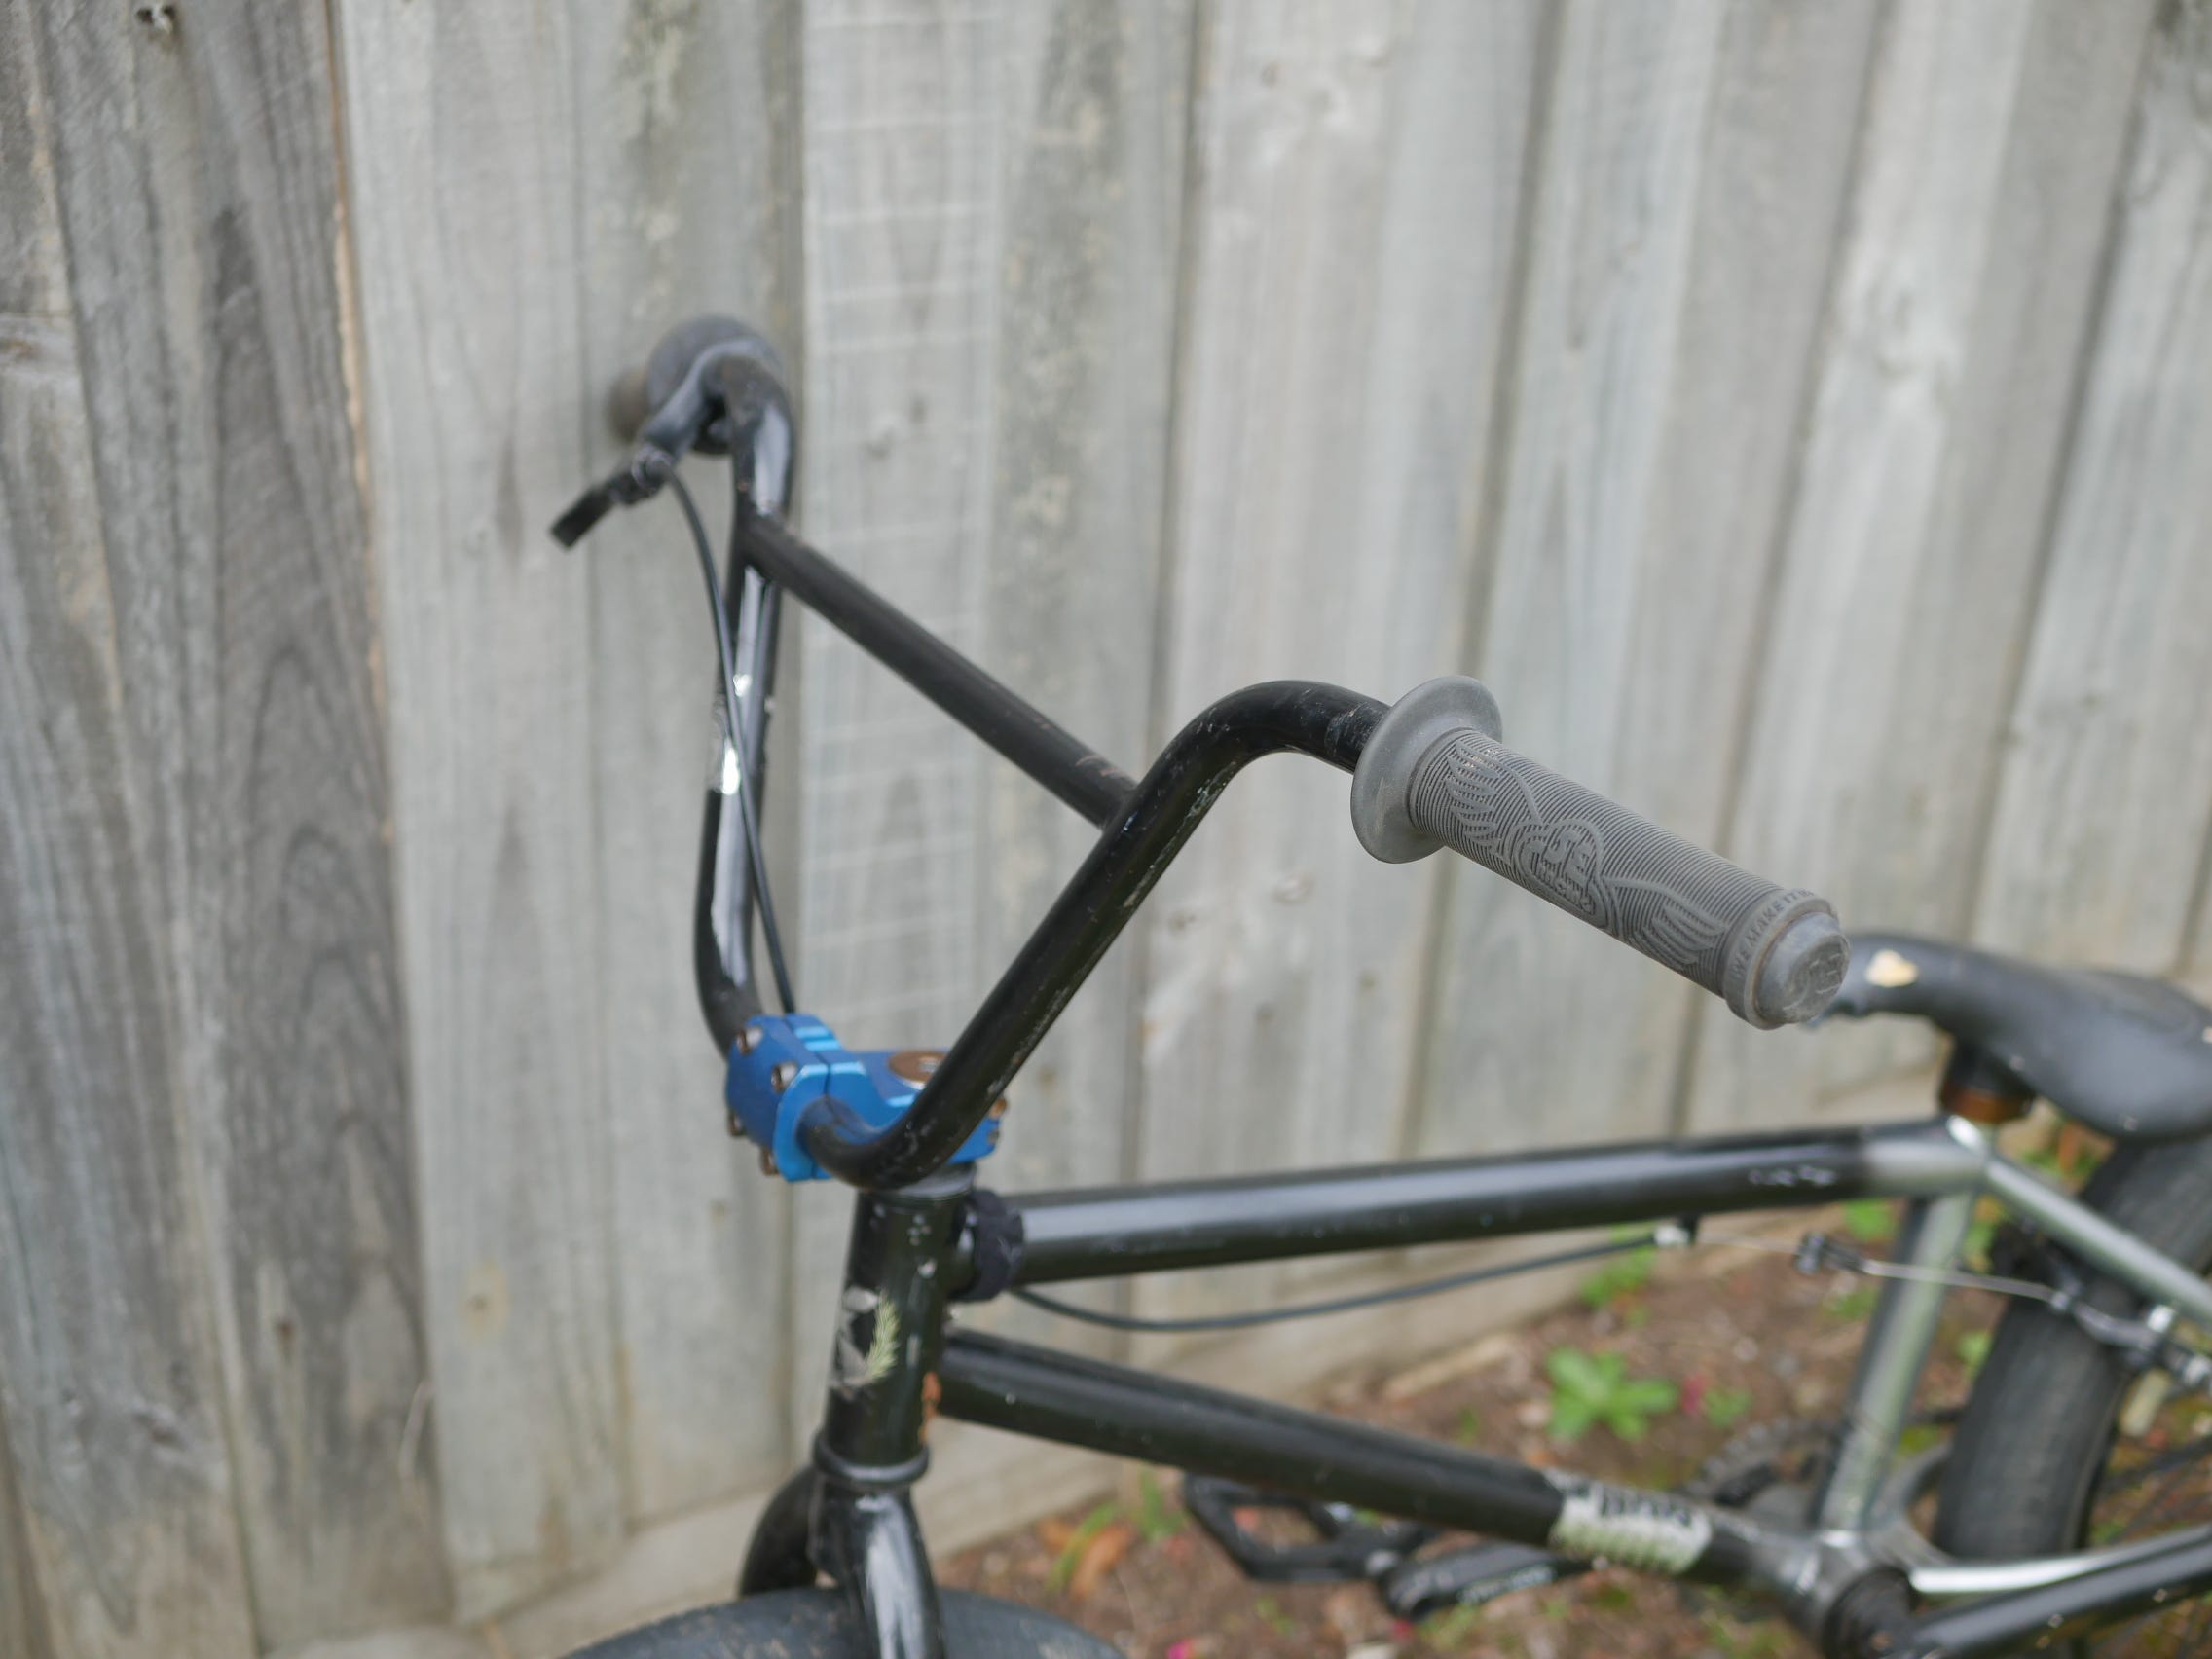
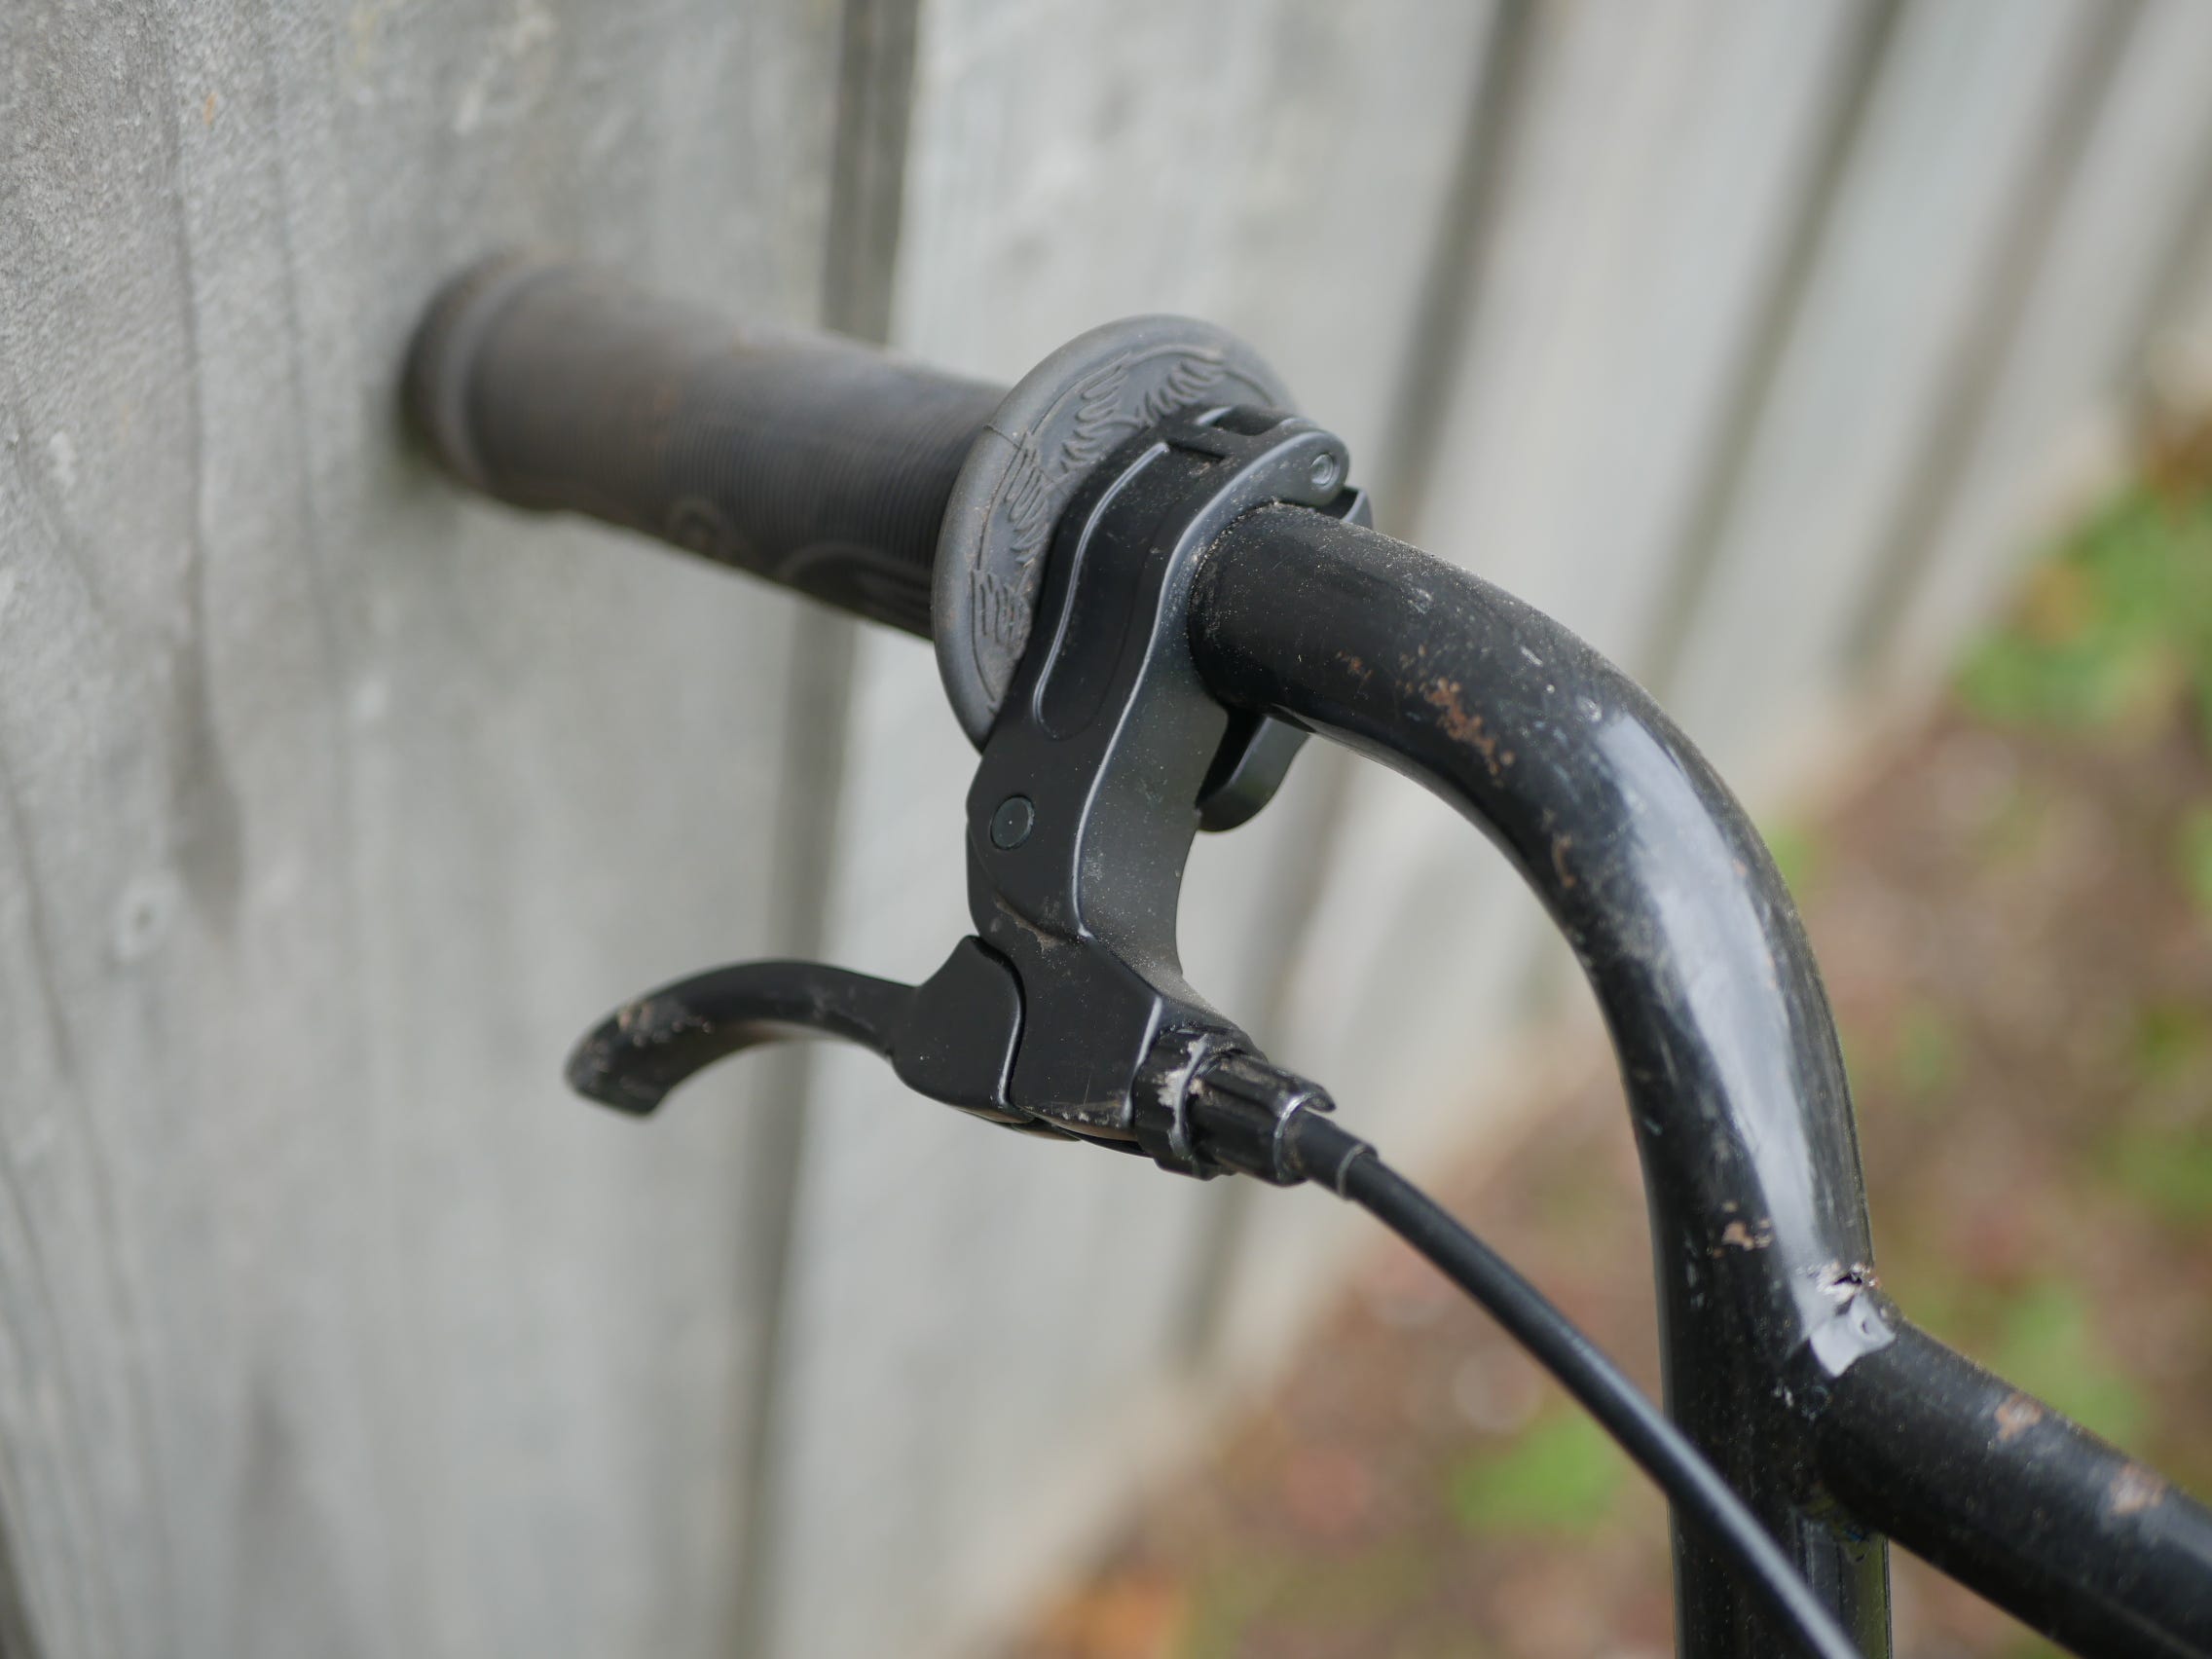
So the first thing was to remove the Front Brake Handle.
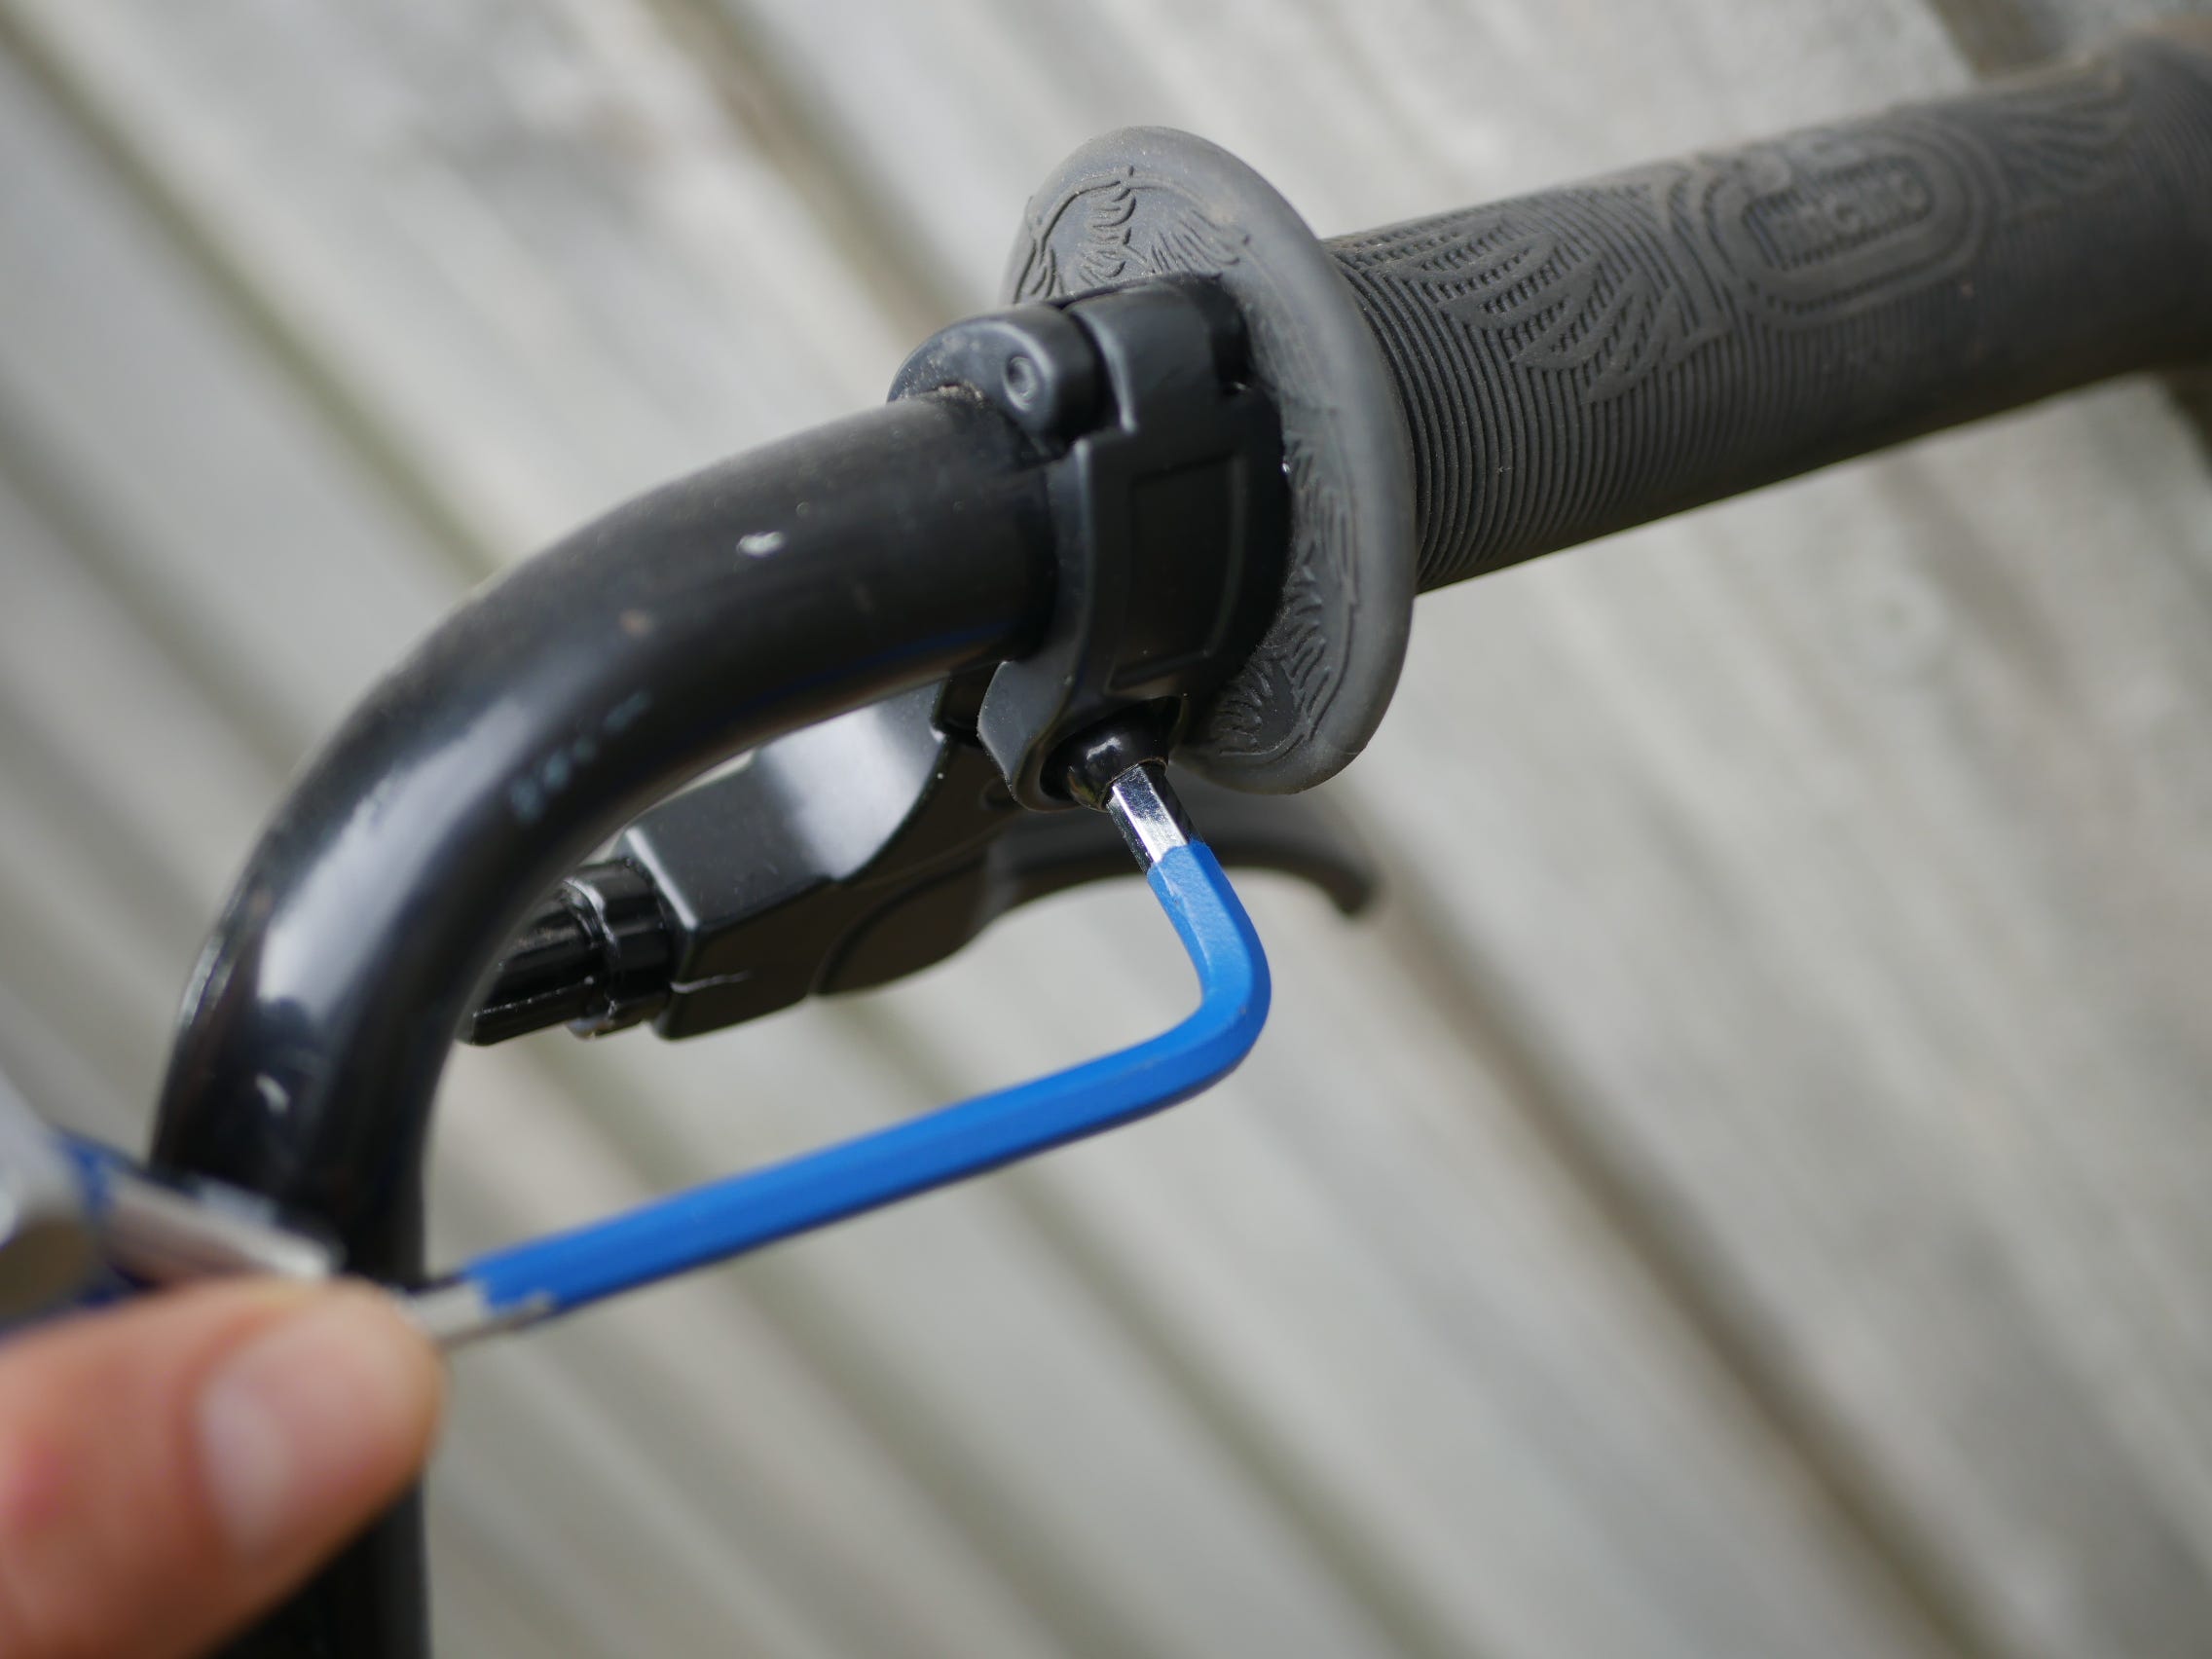
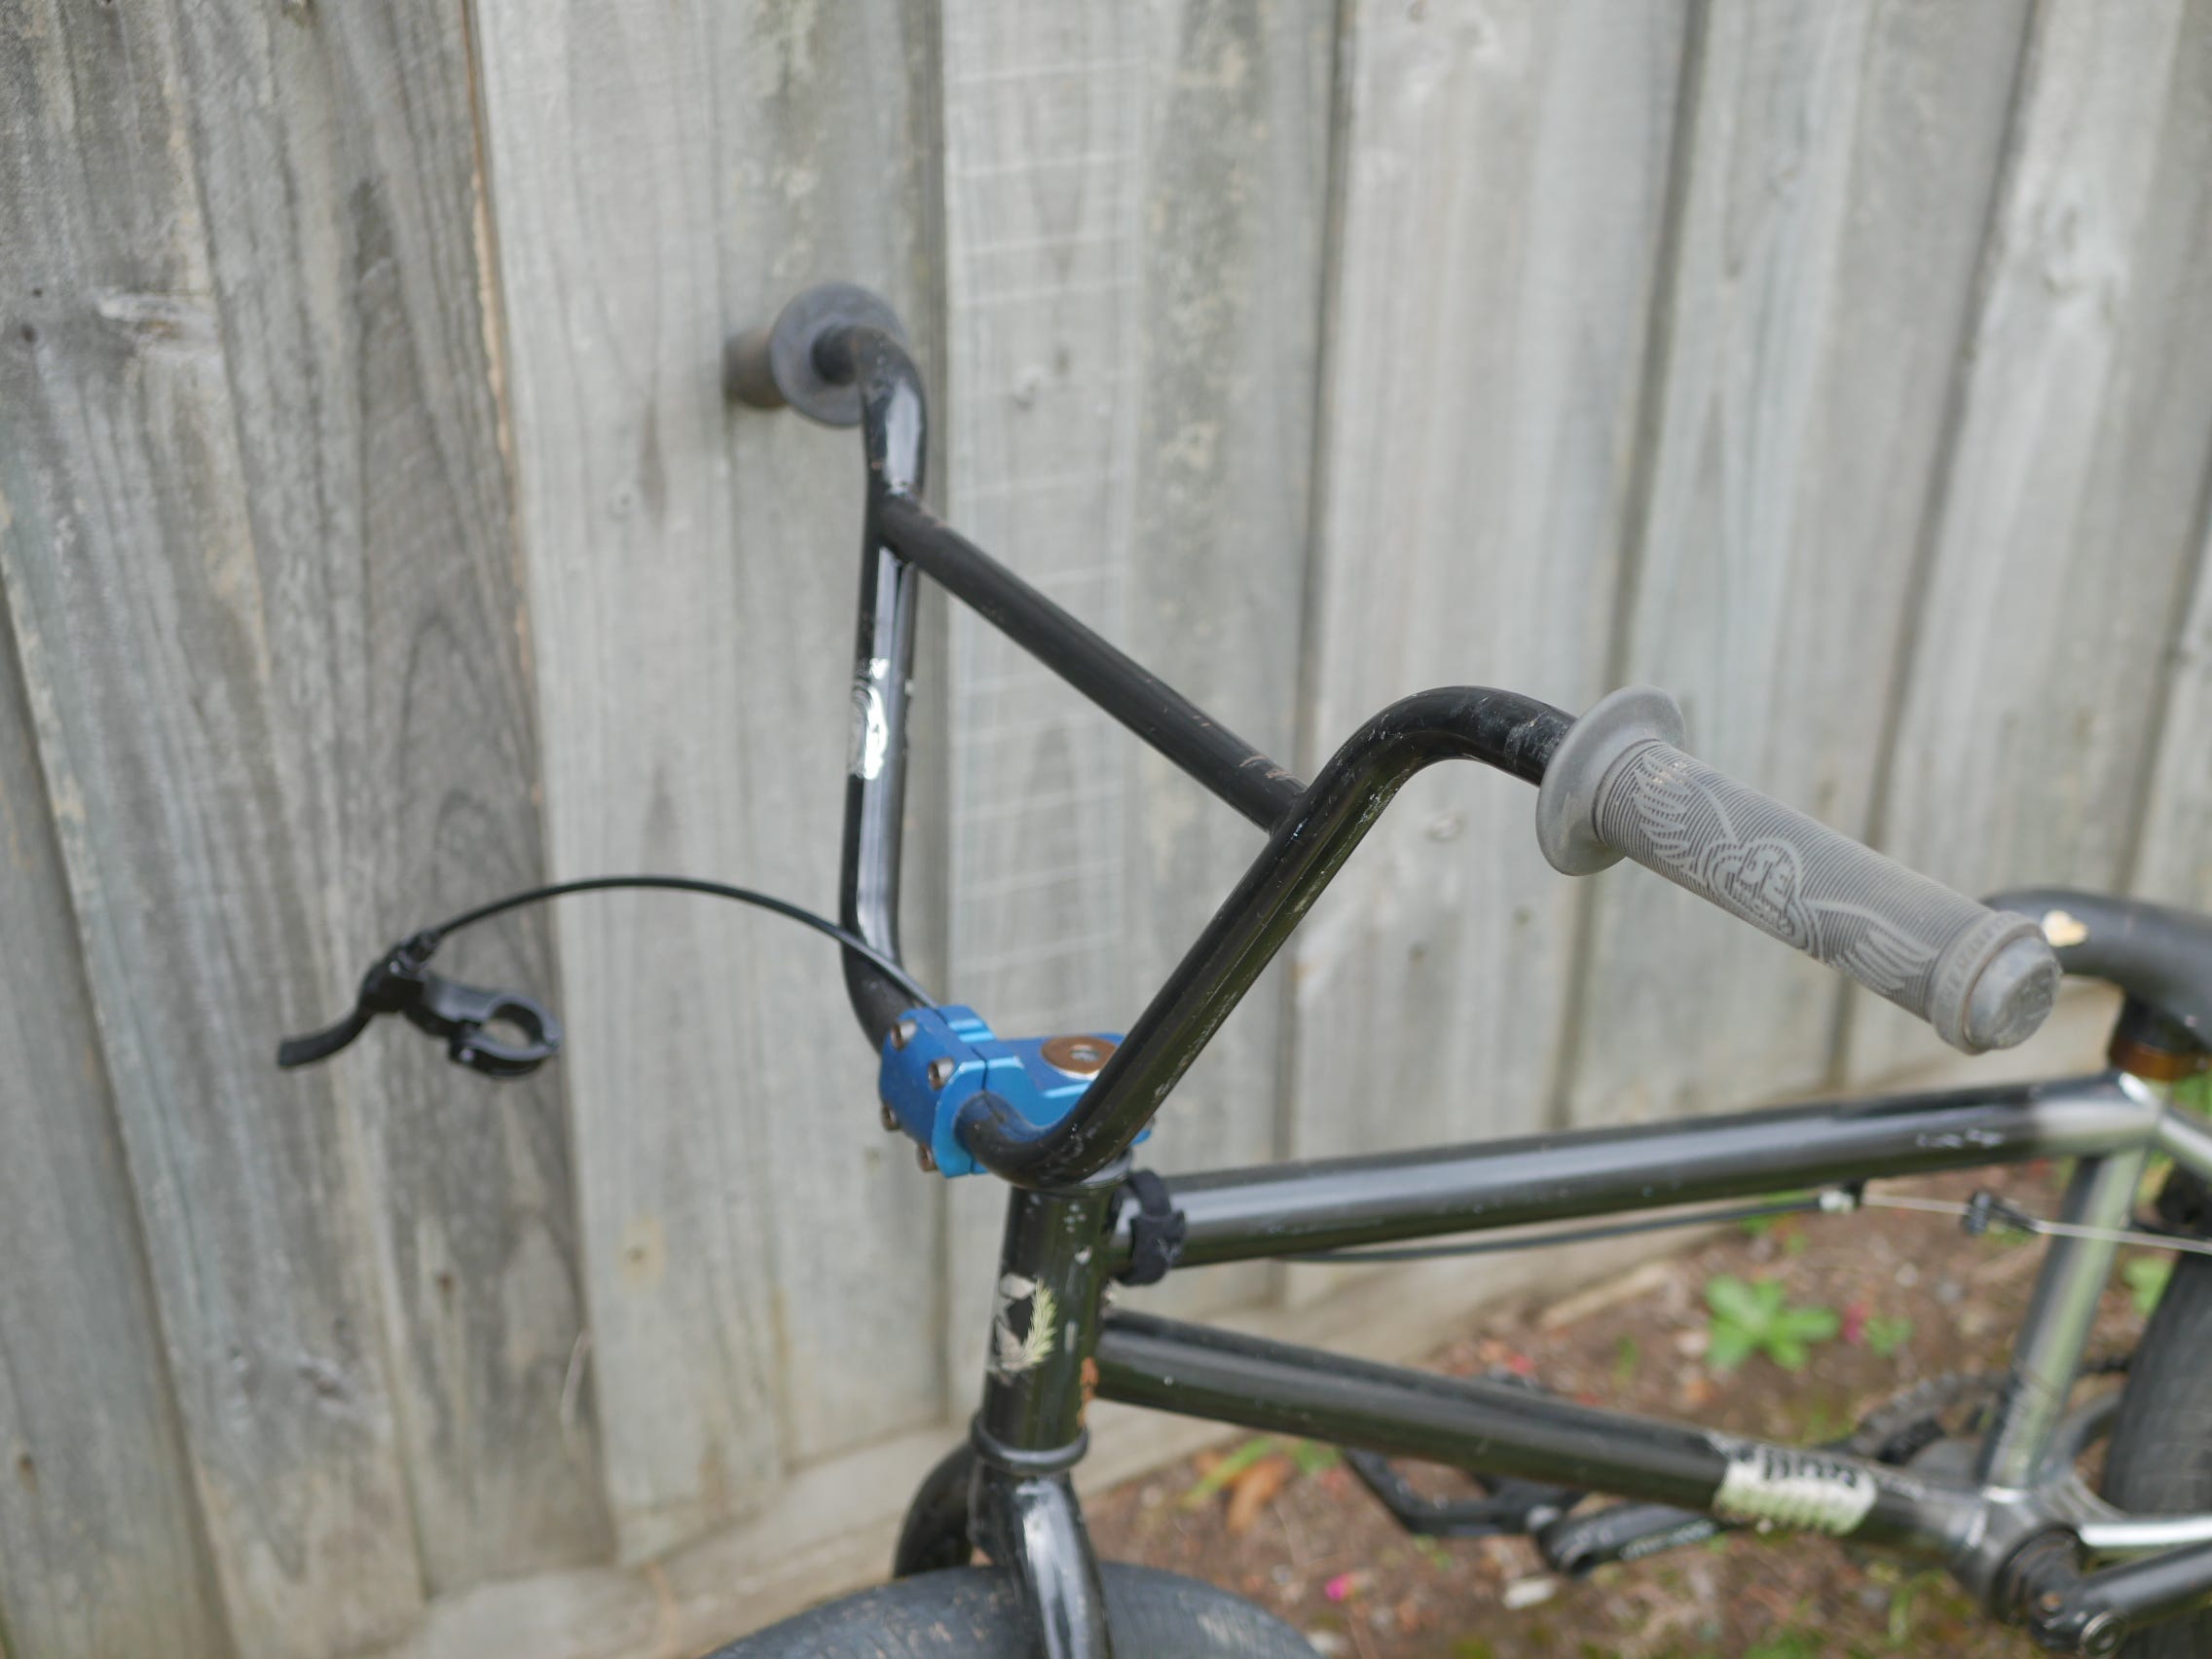
Followed with the Stem’s Front Panel.
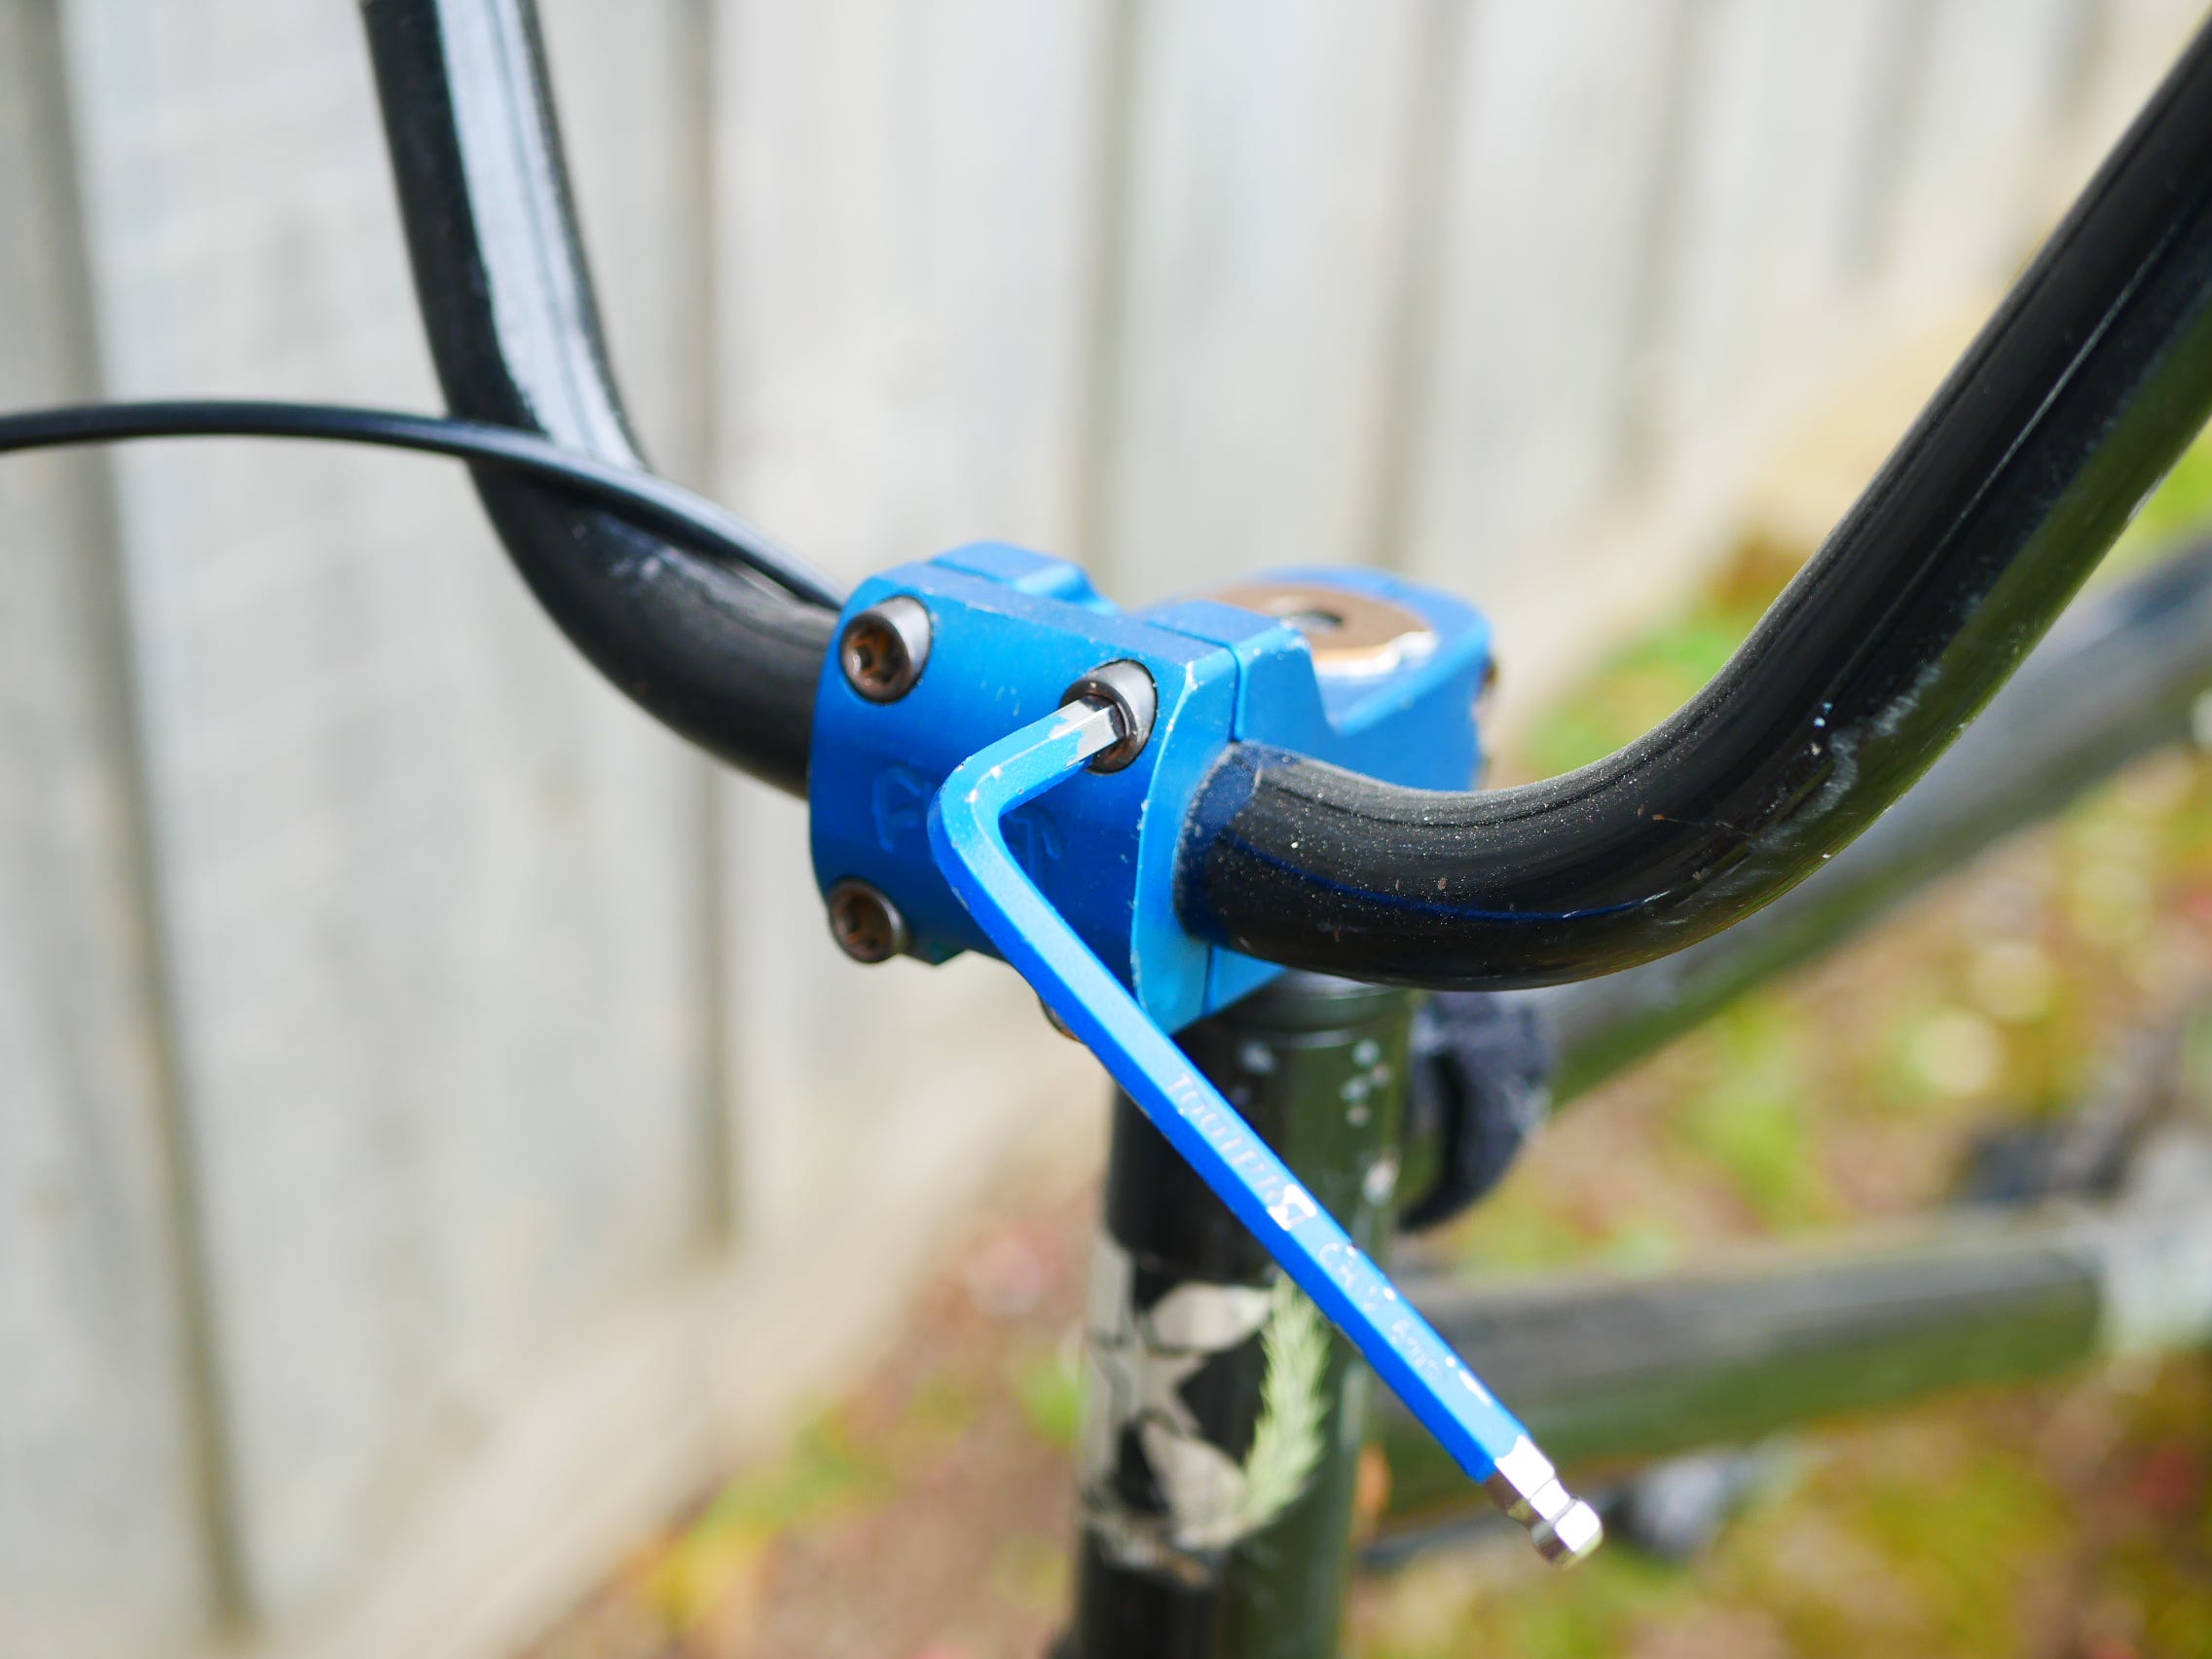
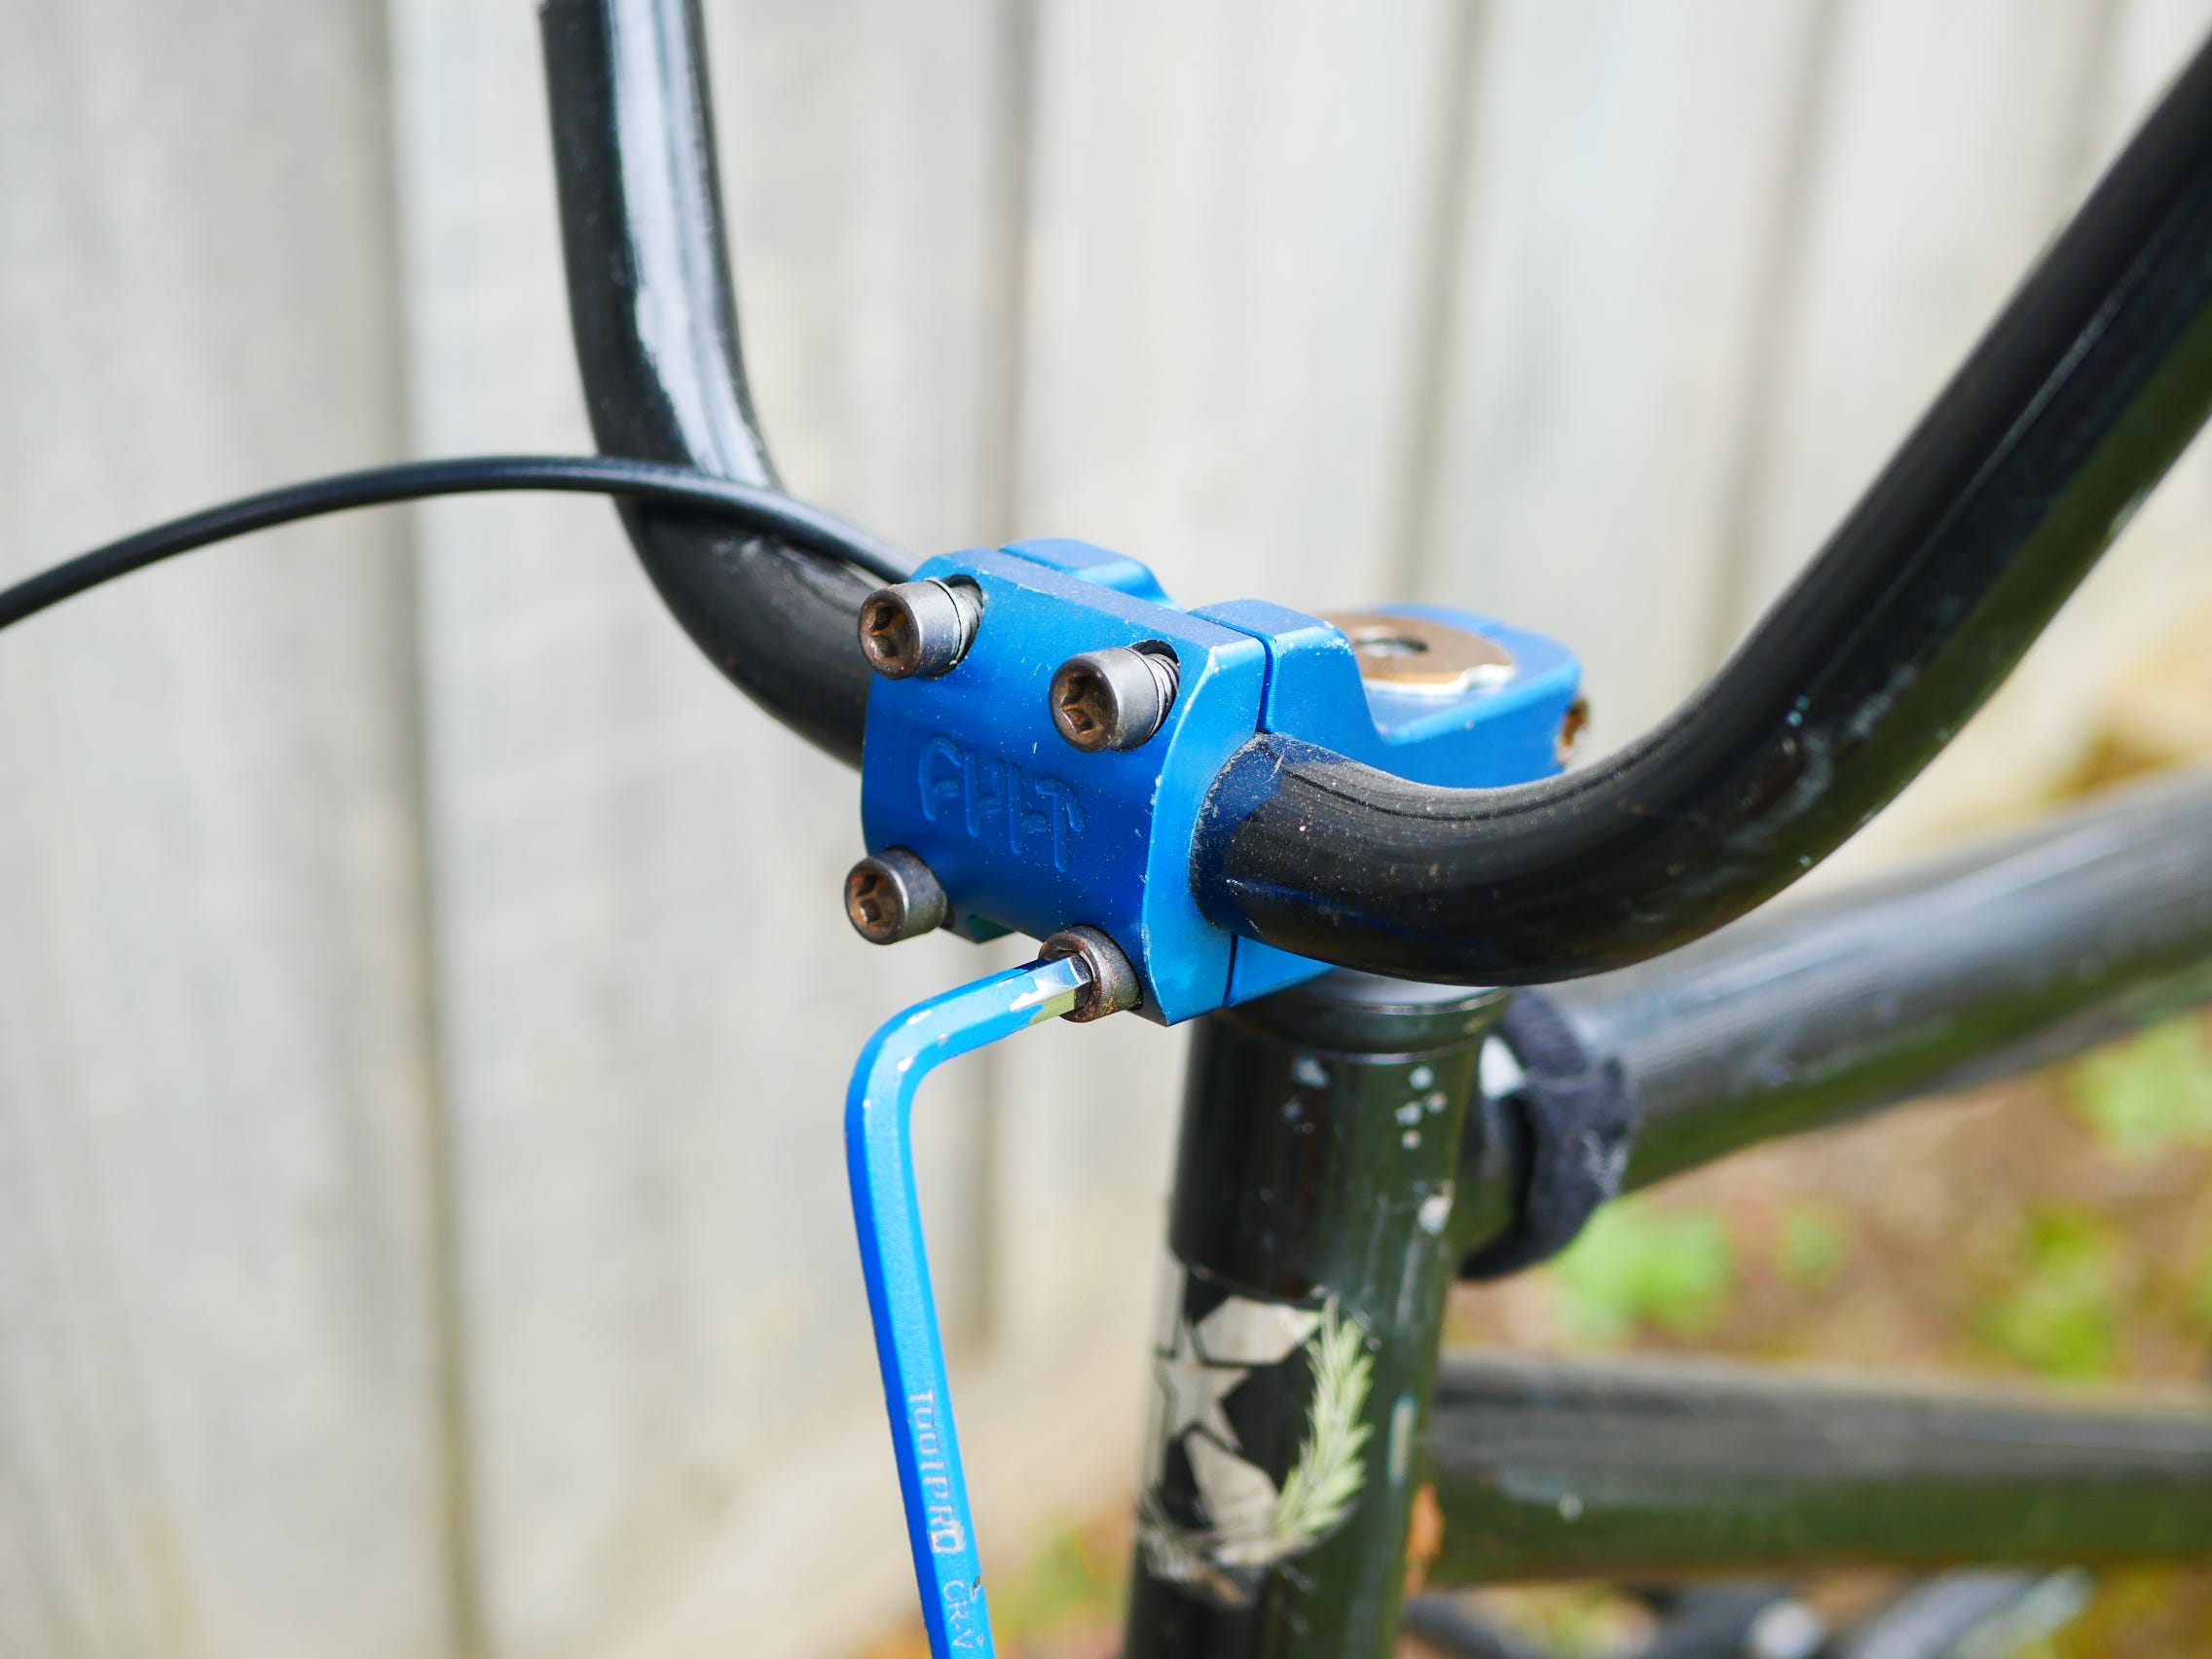
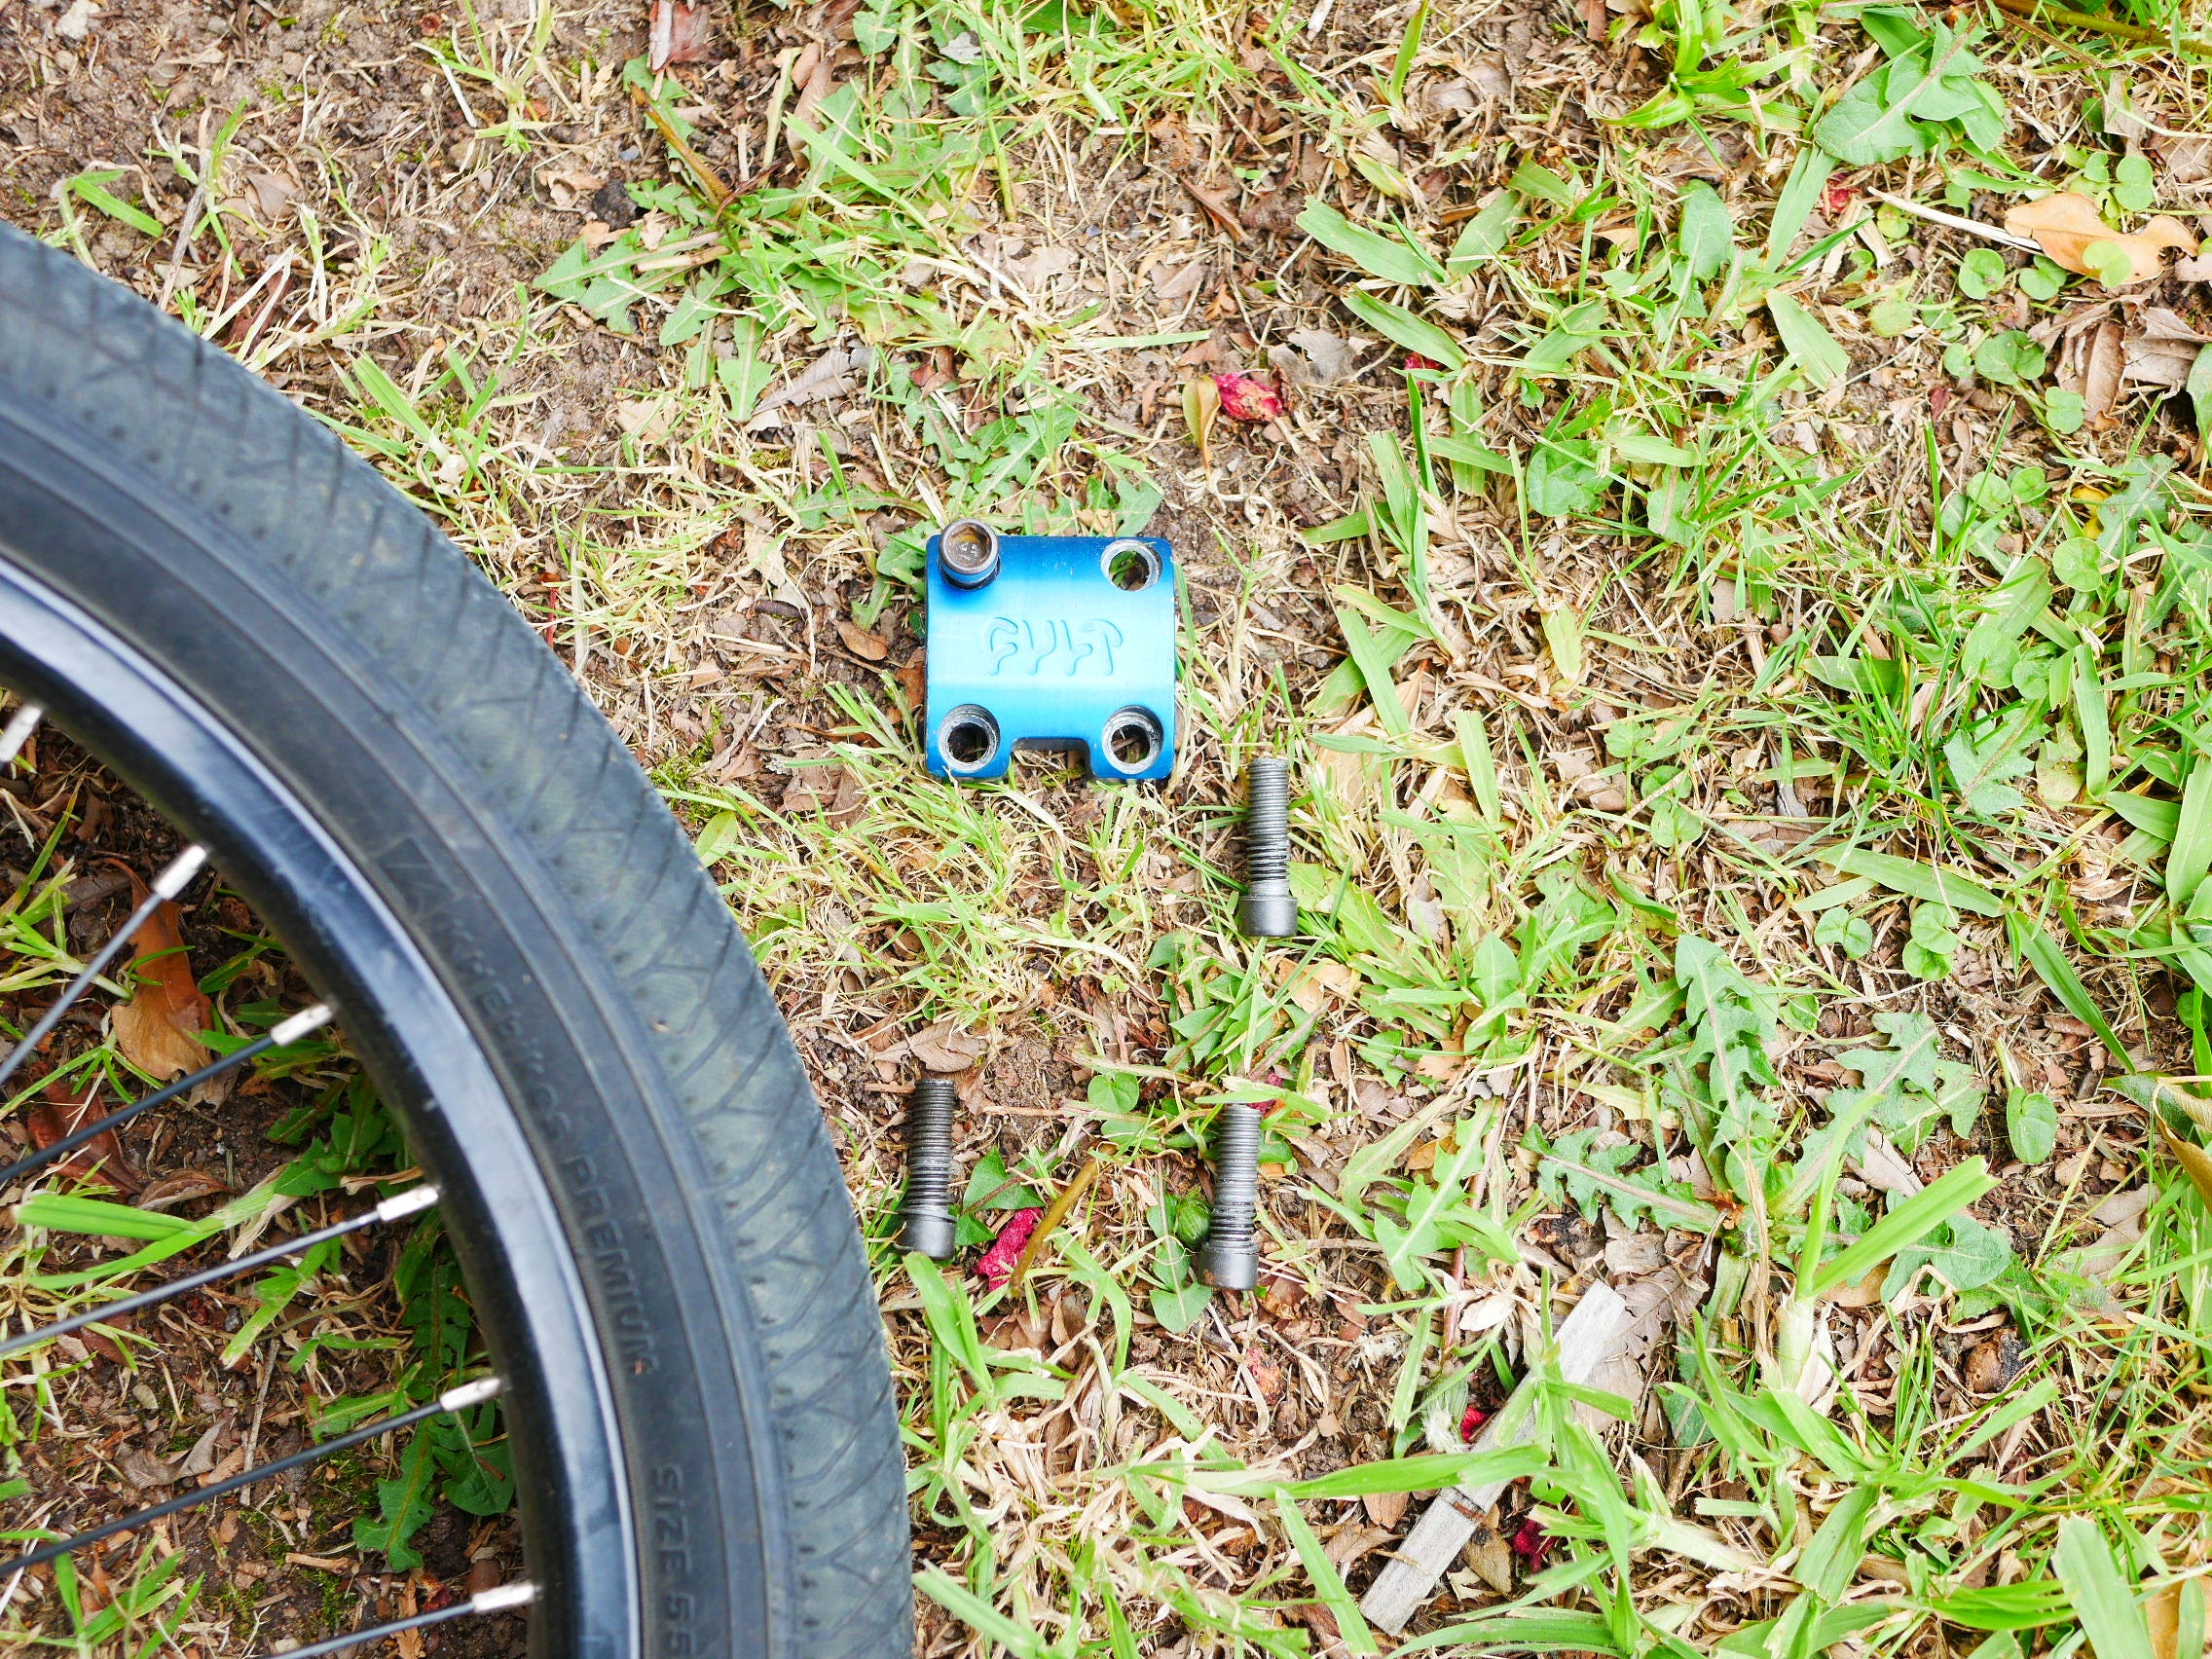
Which allows the old Handlebars to be fully removable as displayed below.
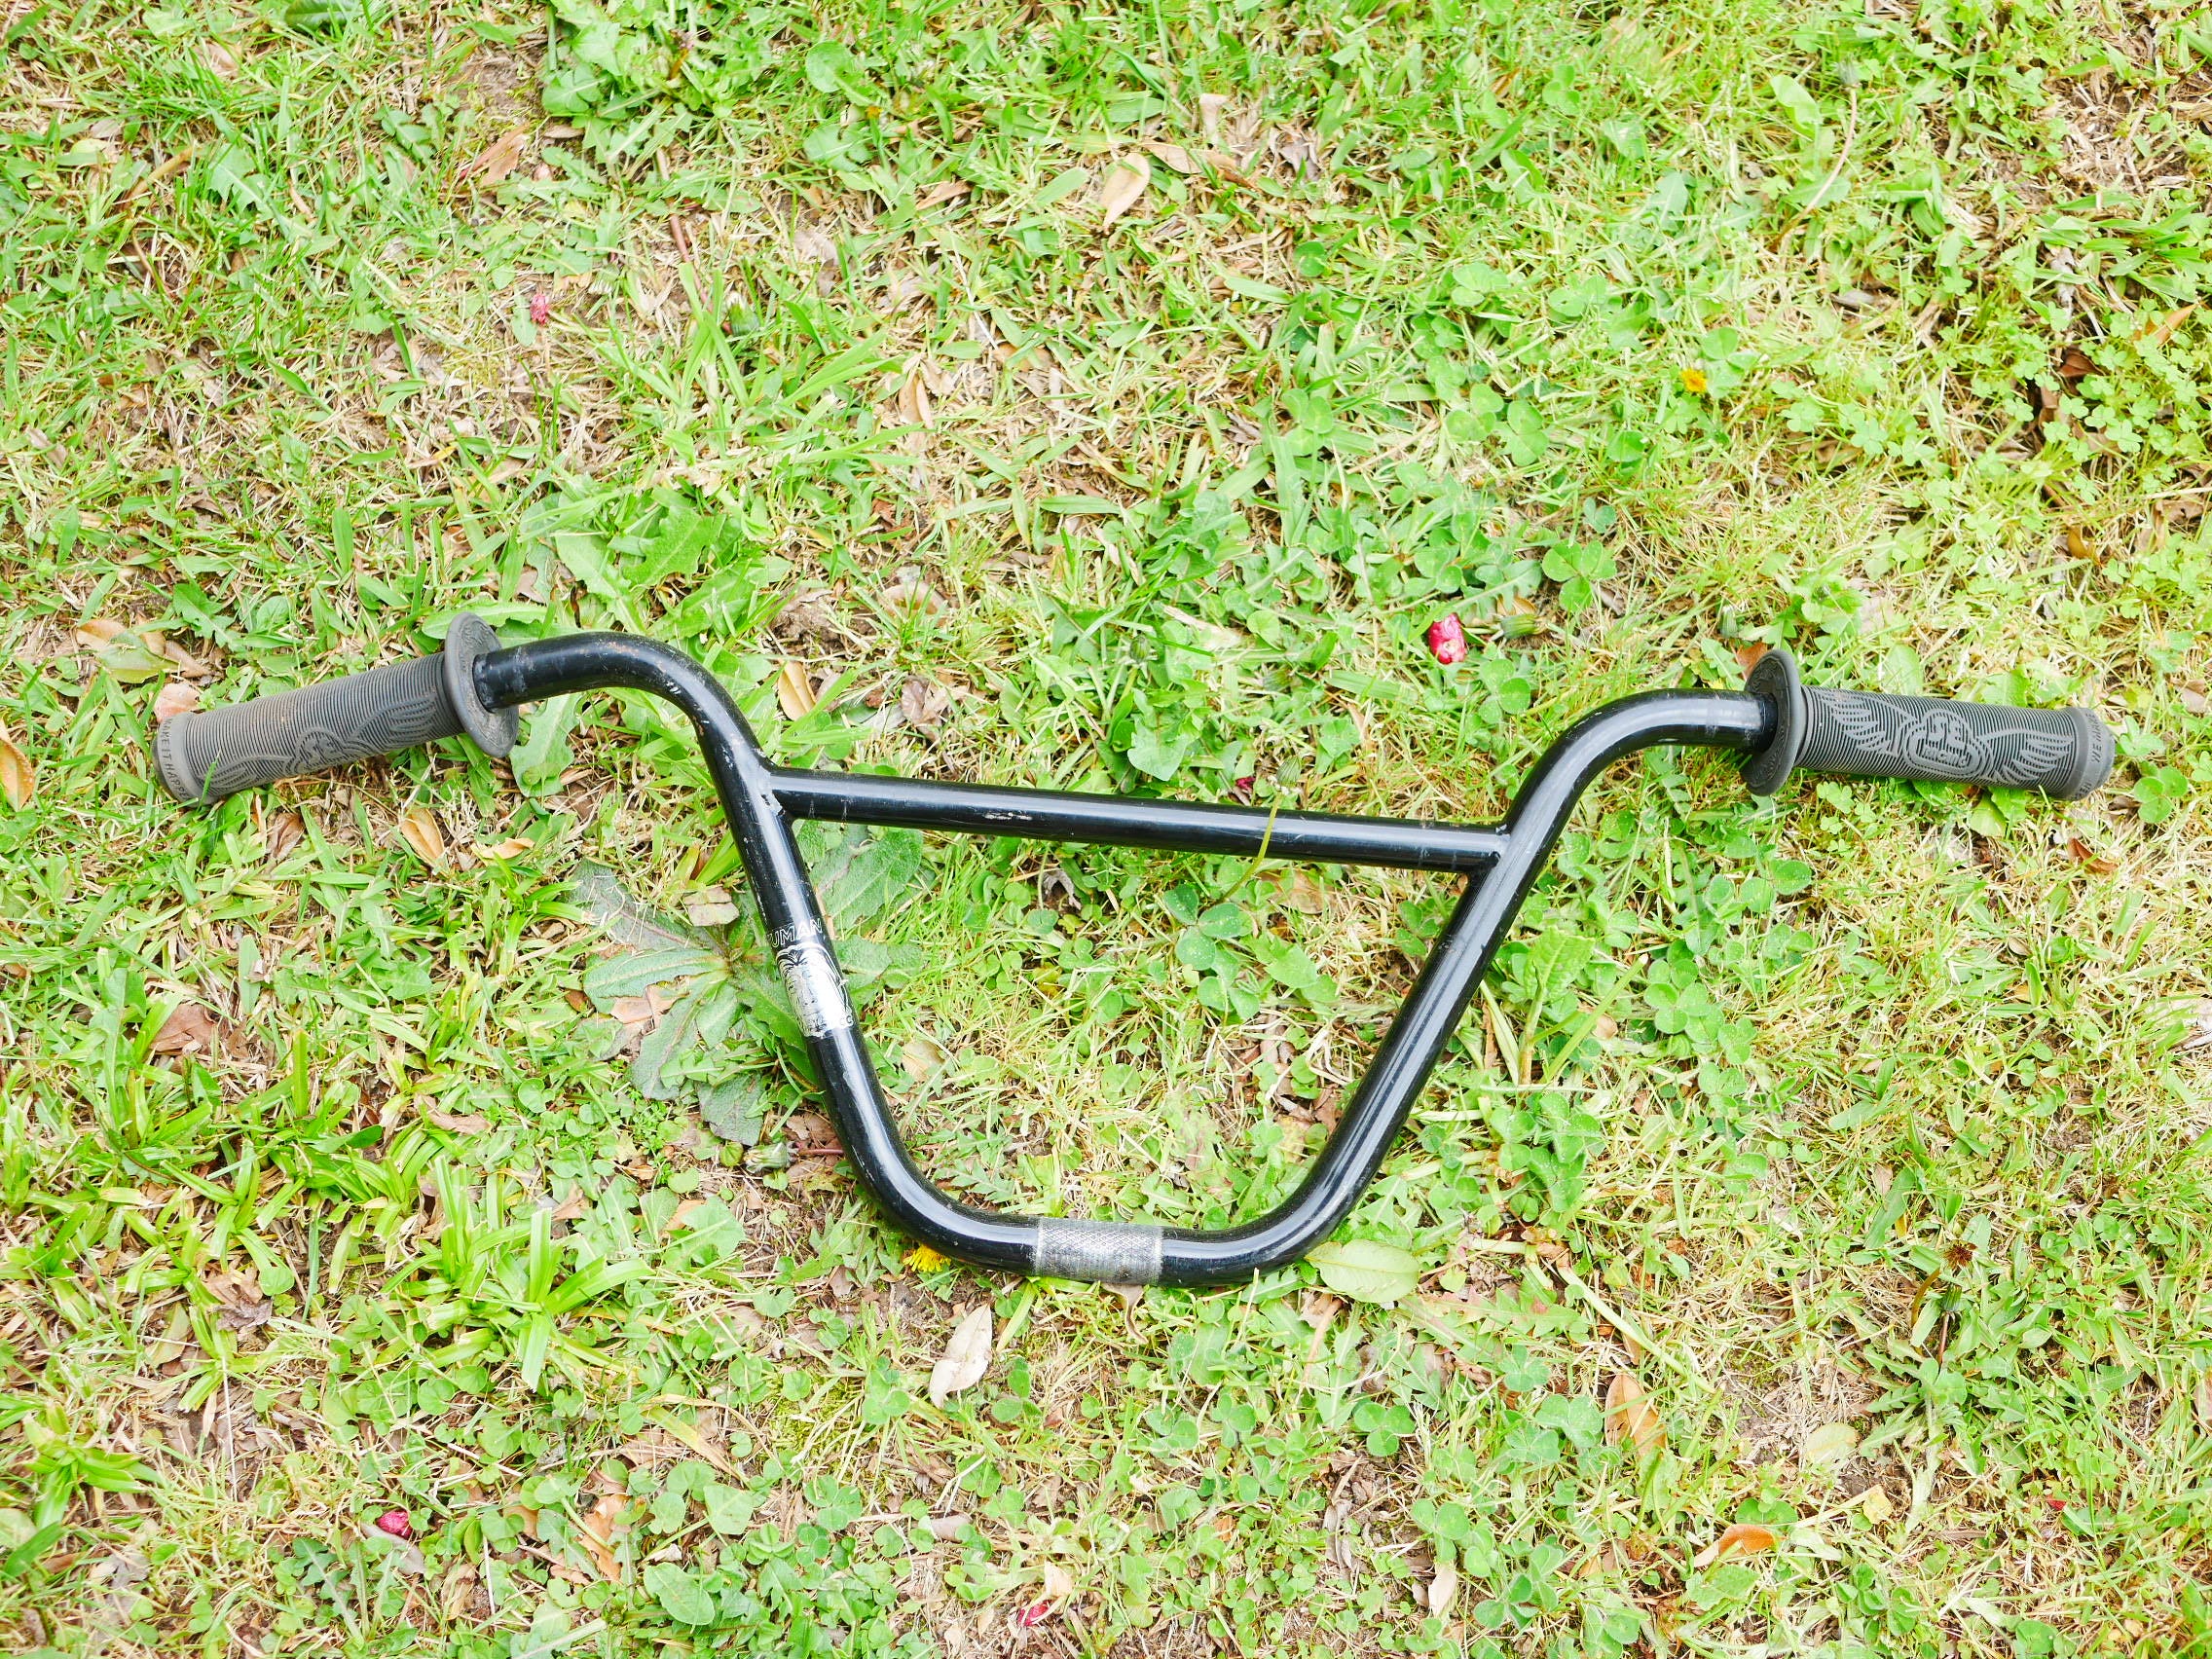
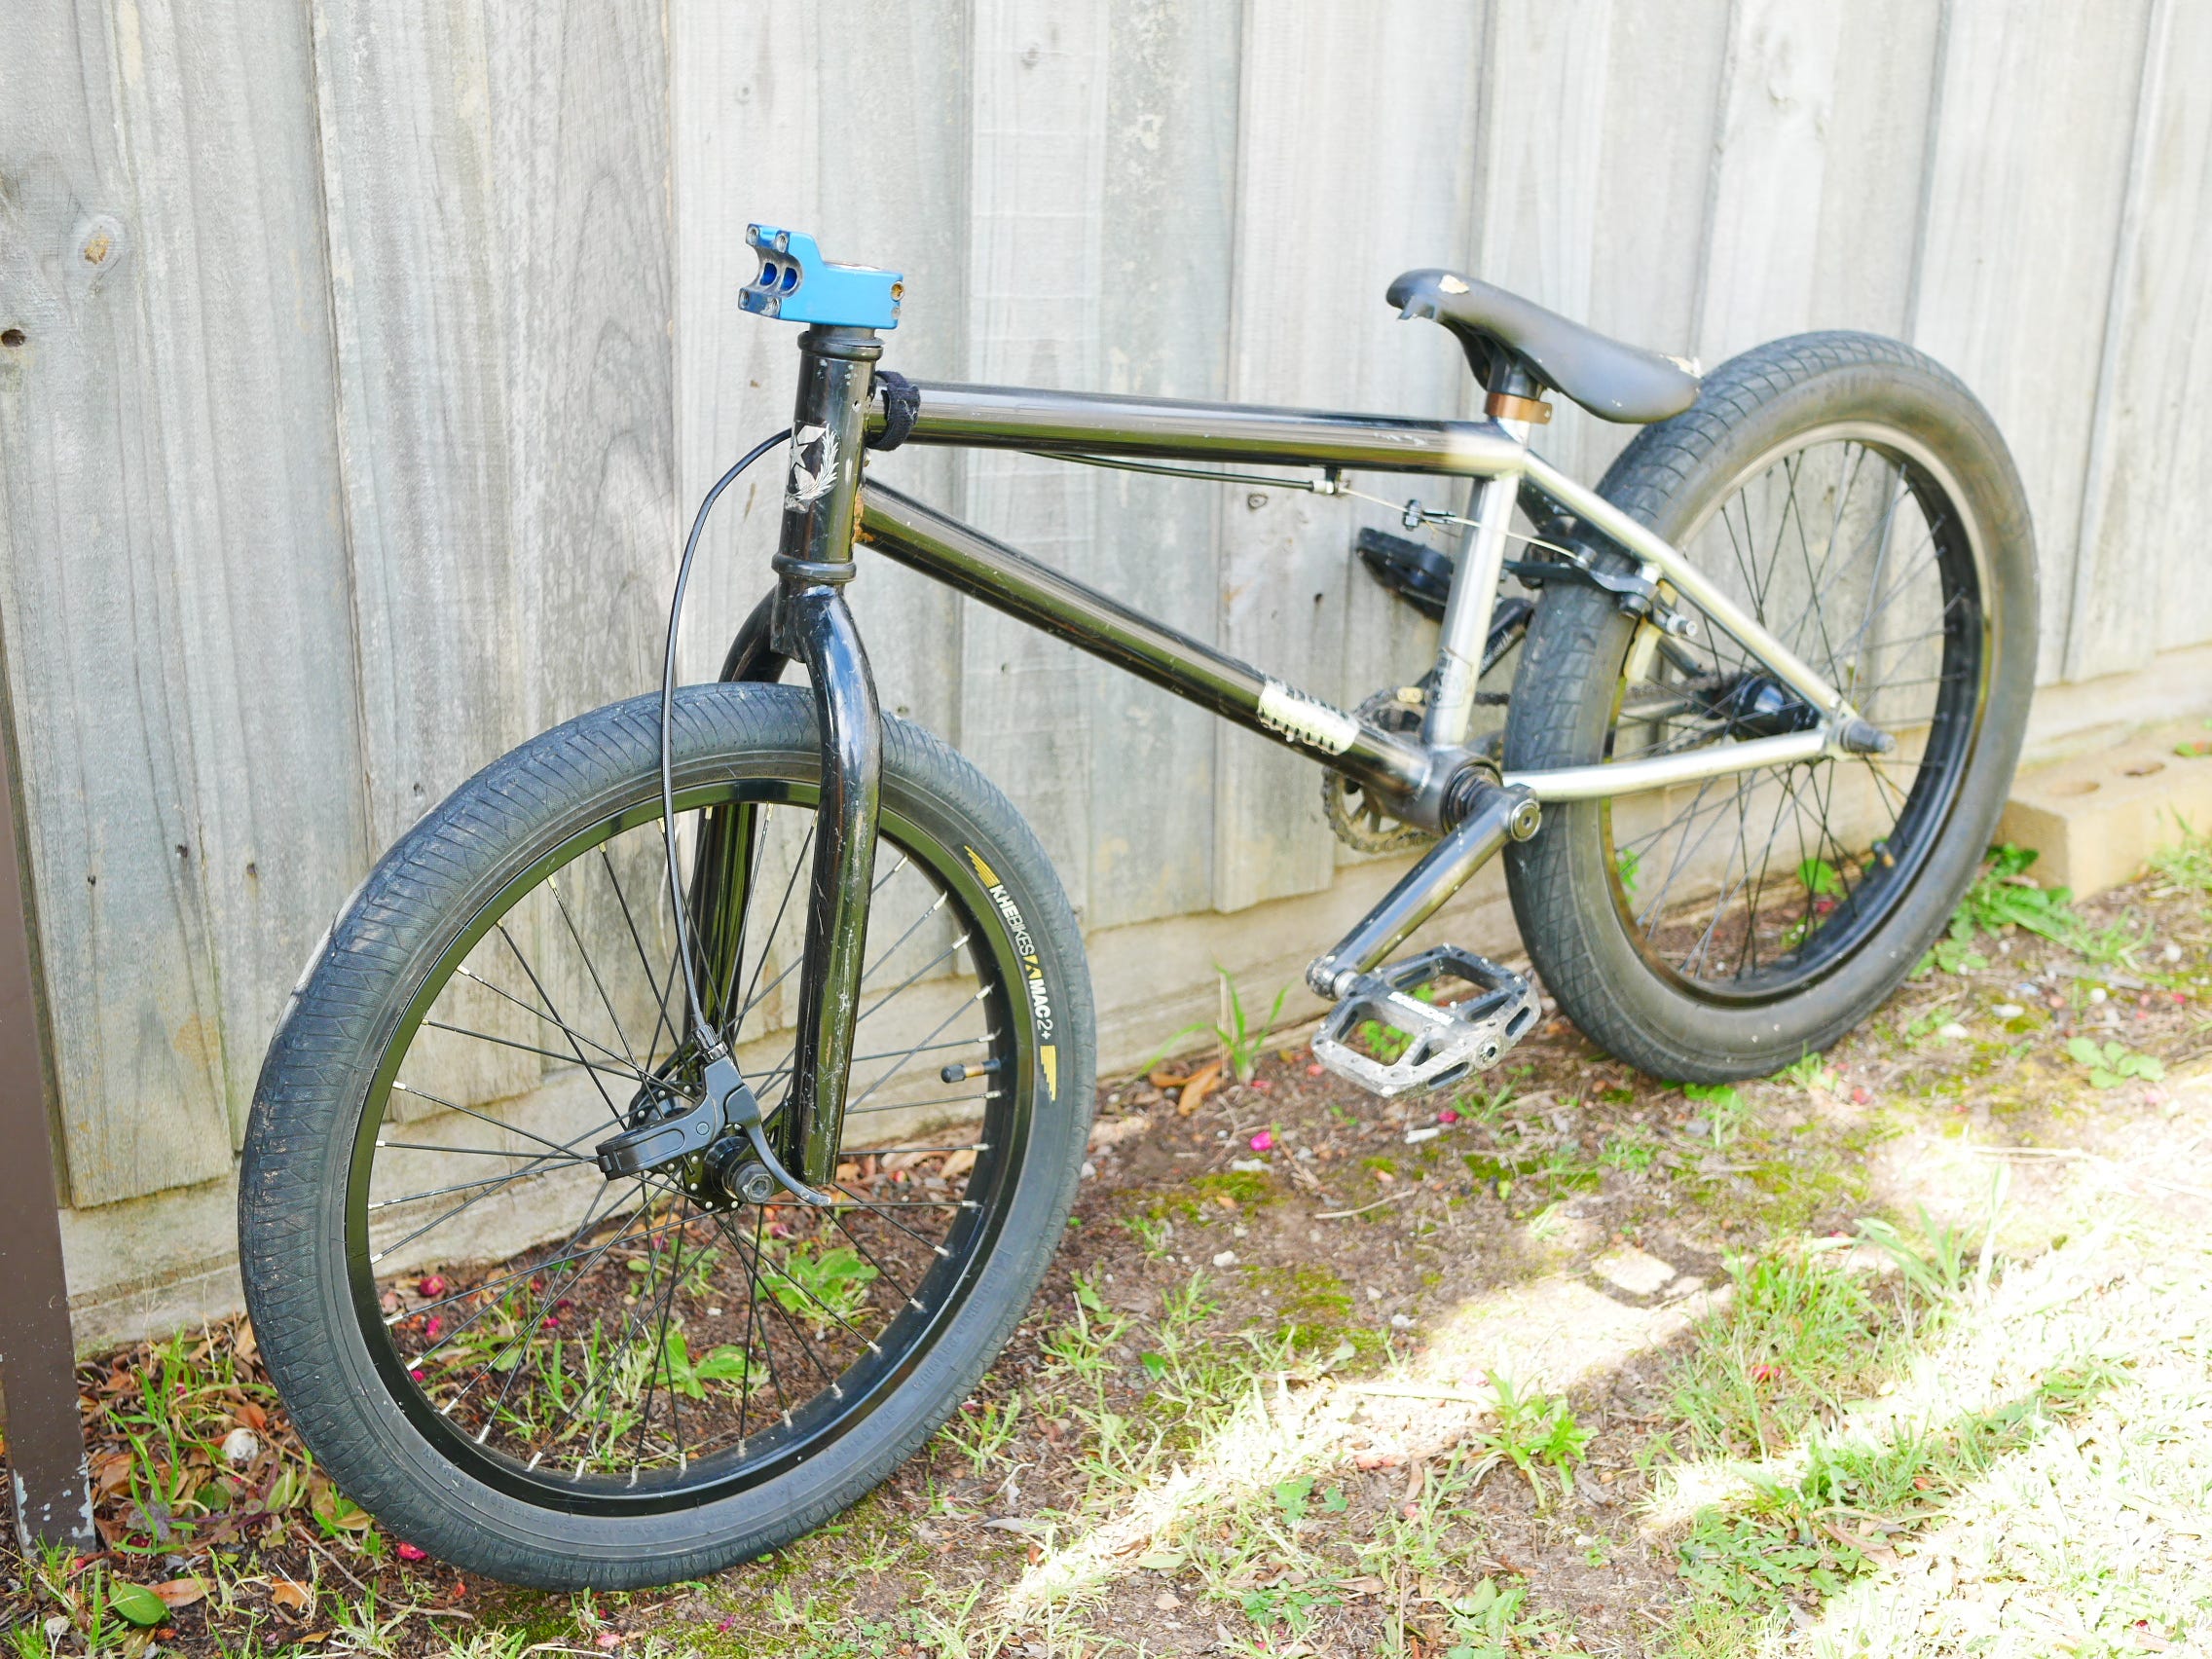
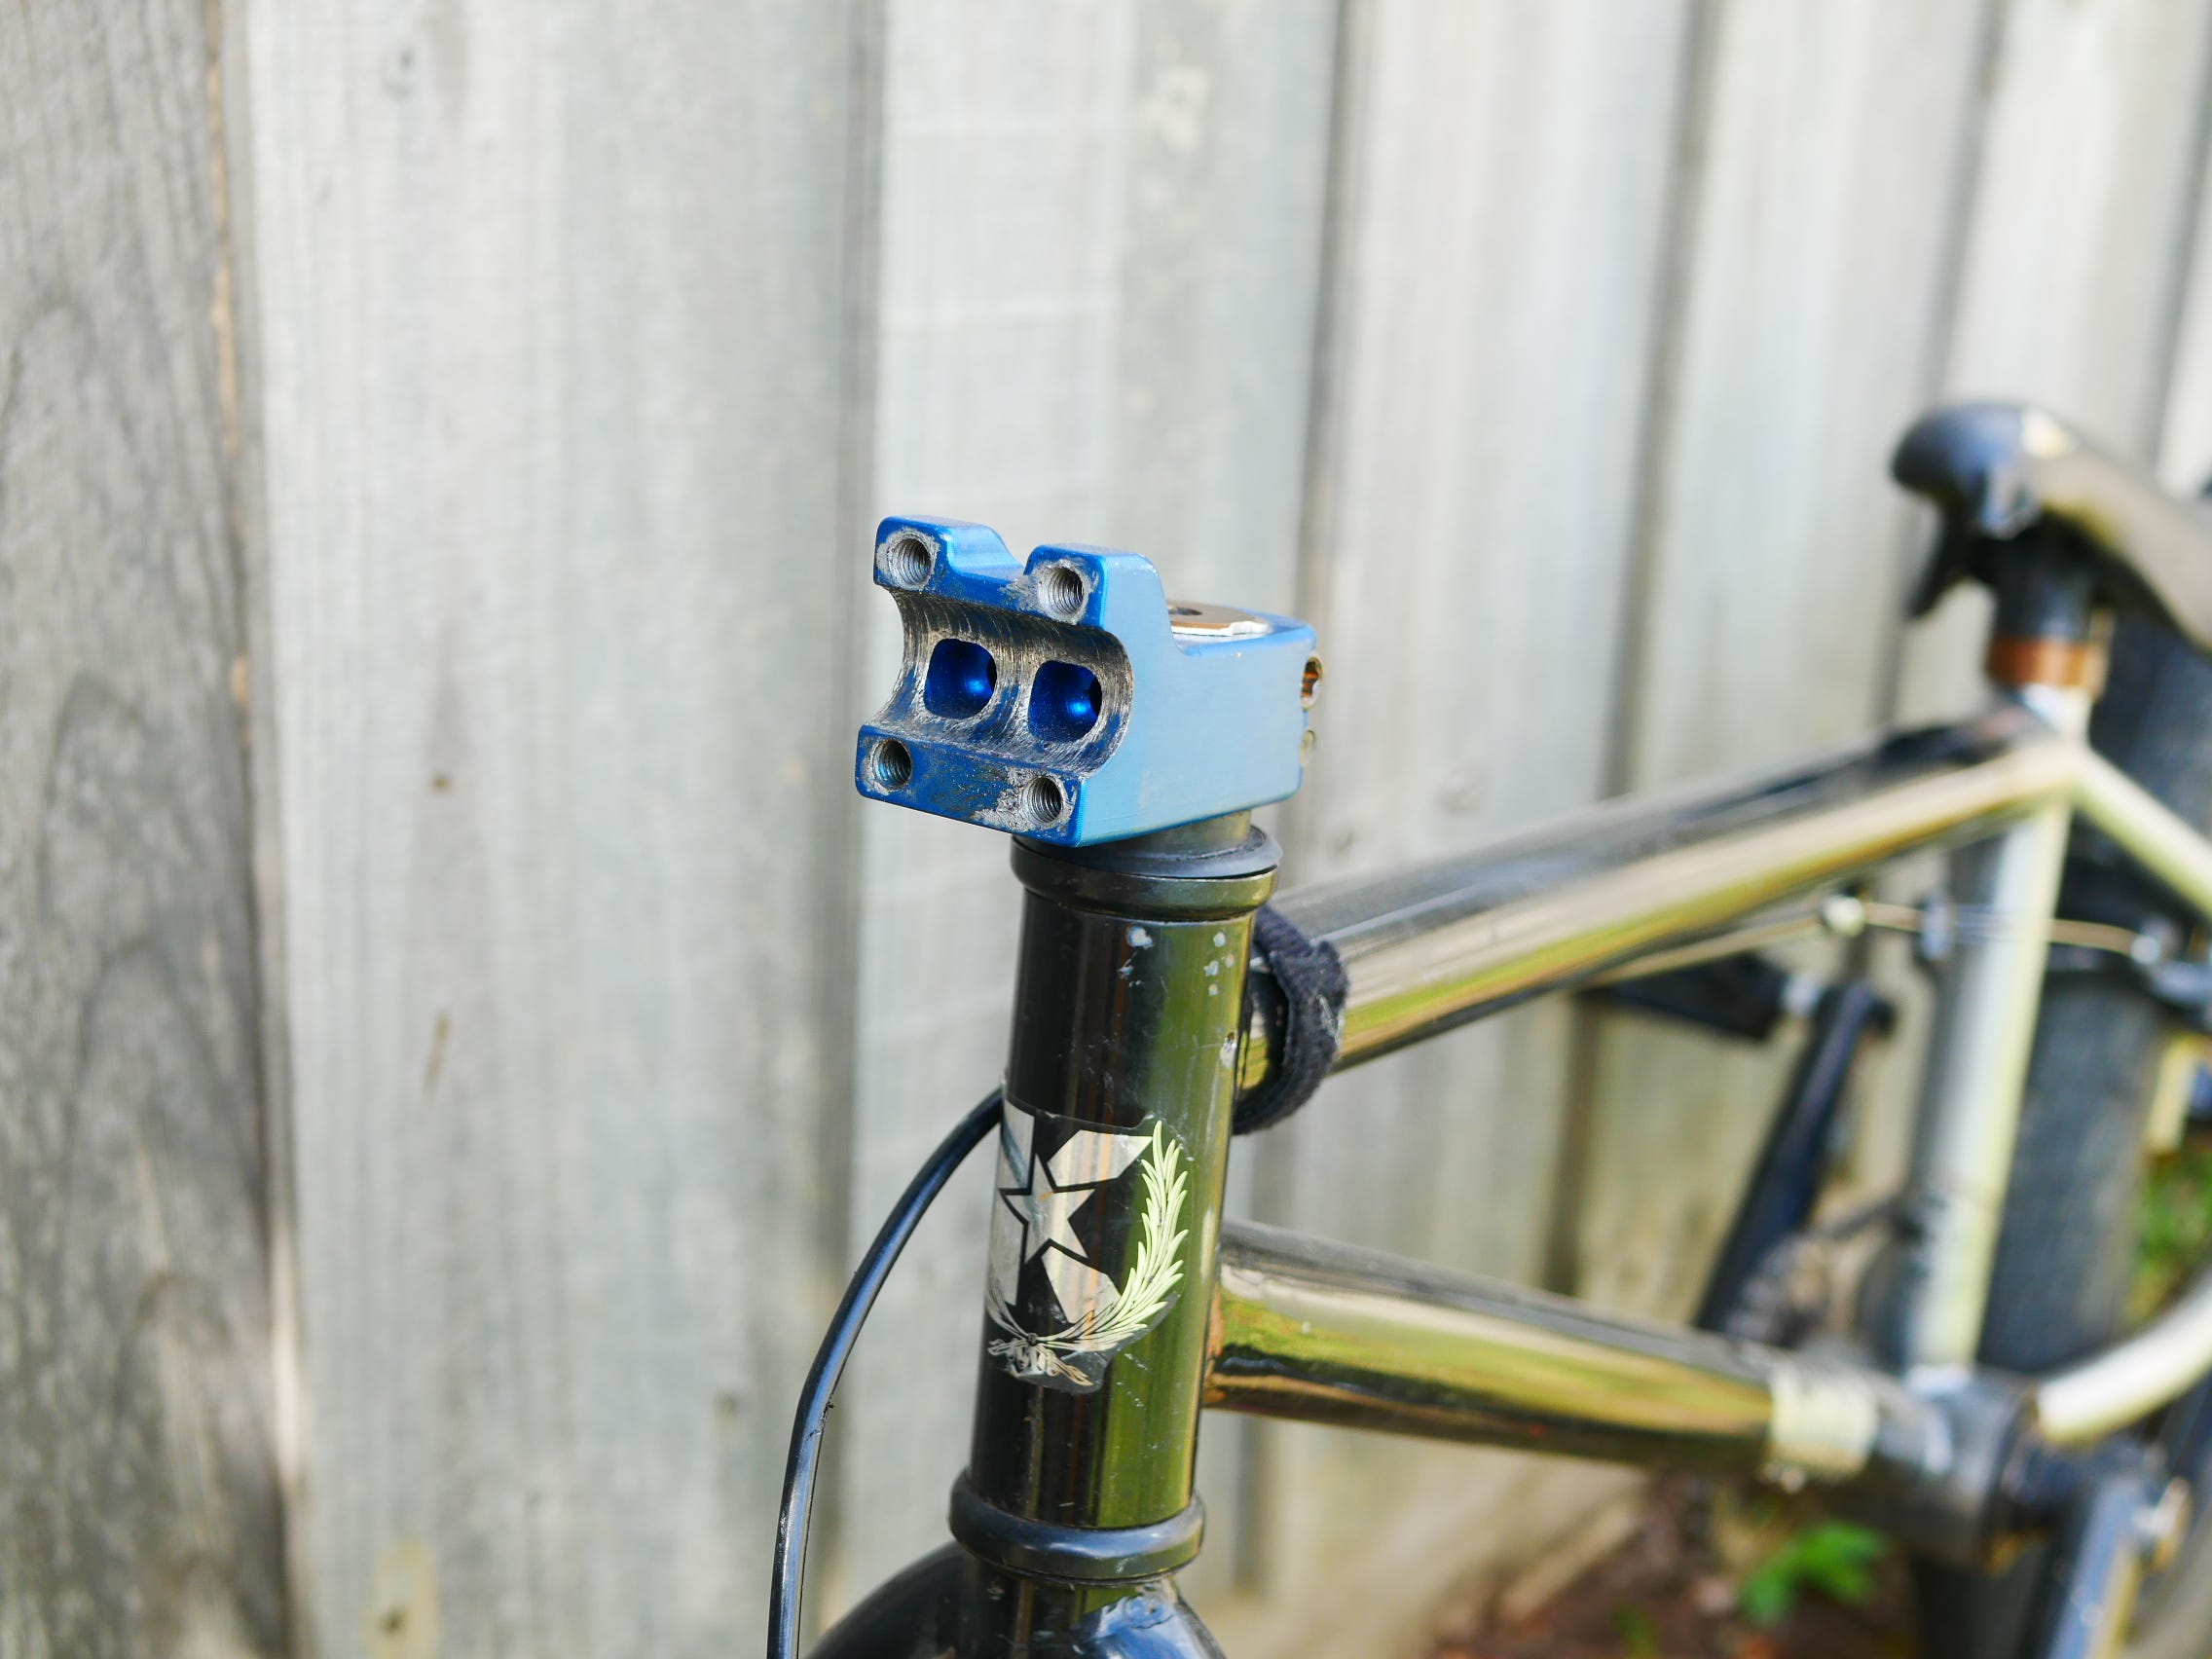
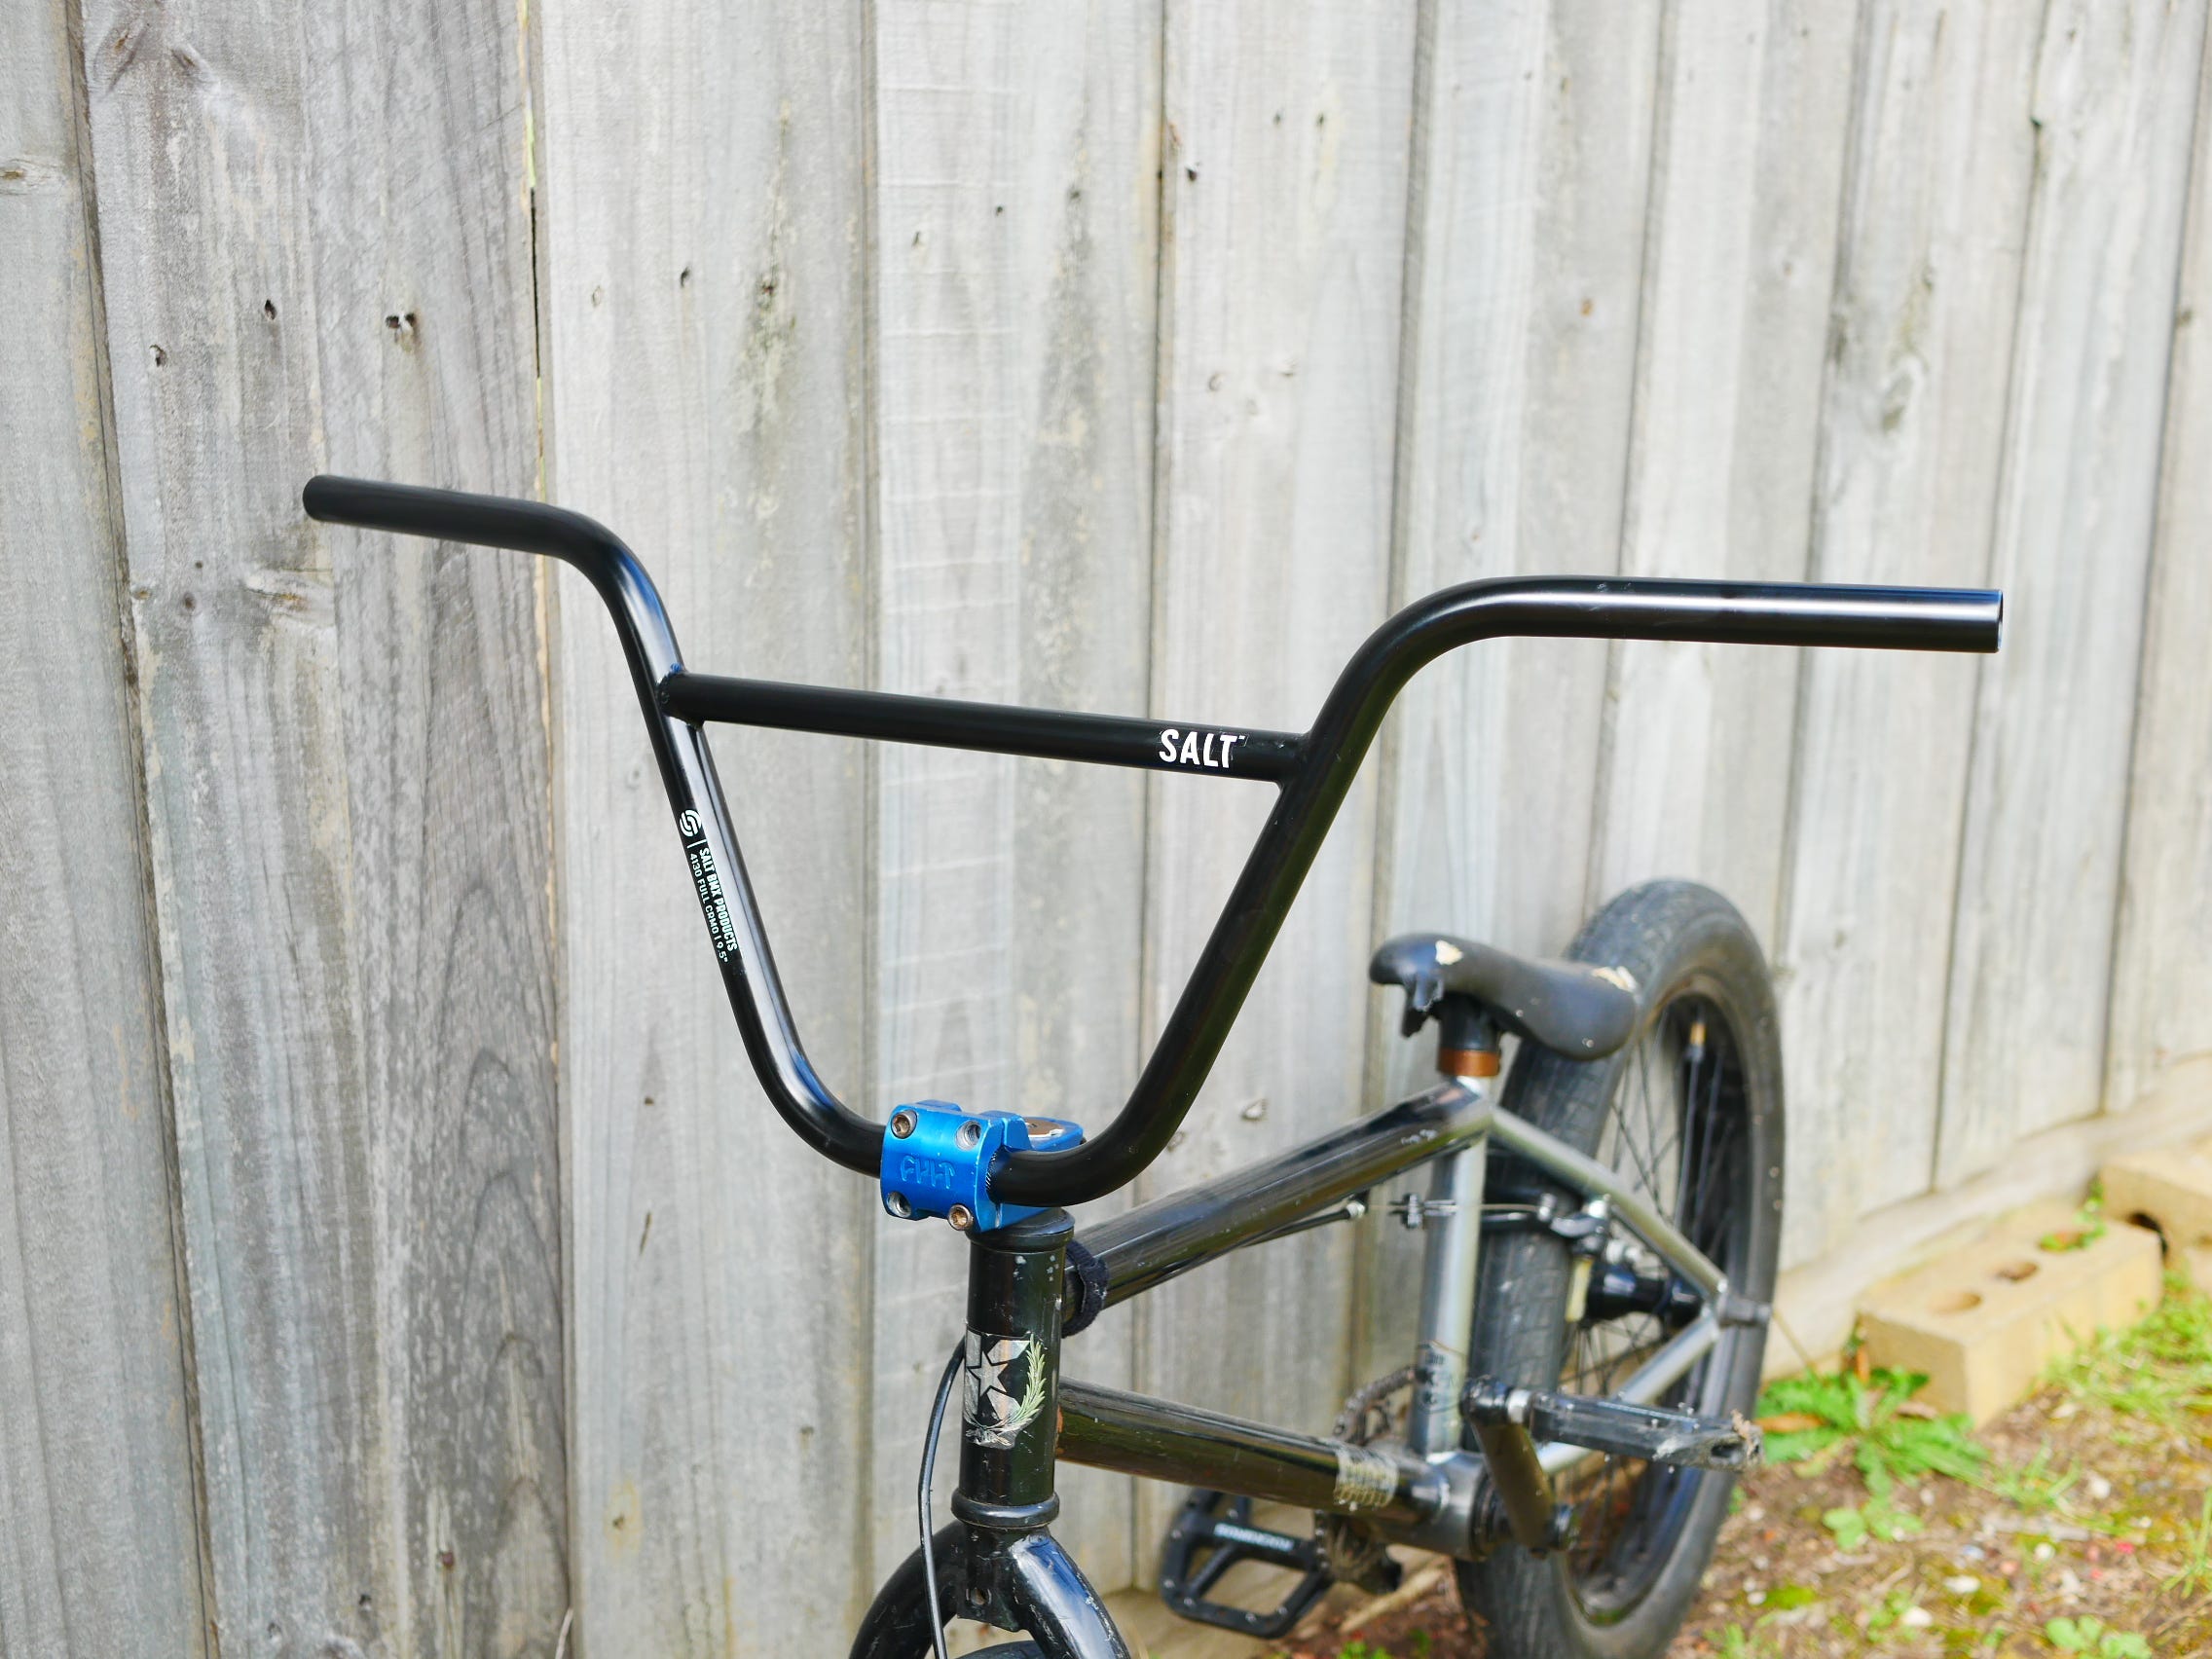
Making way for the New Ones to be fitted in its place.
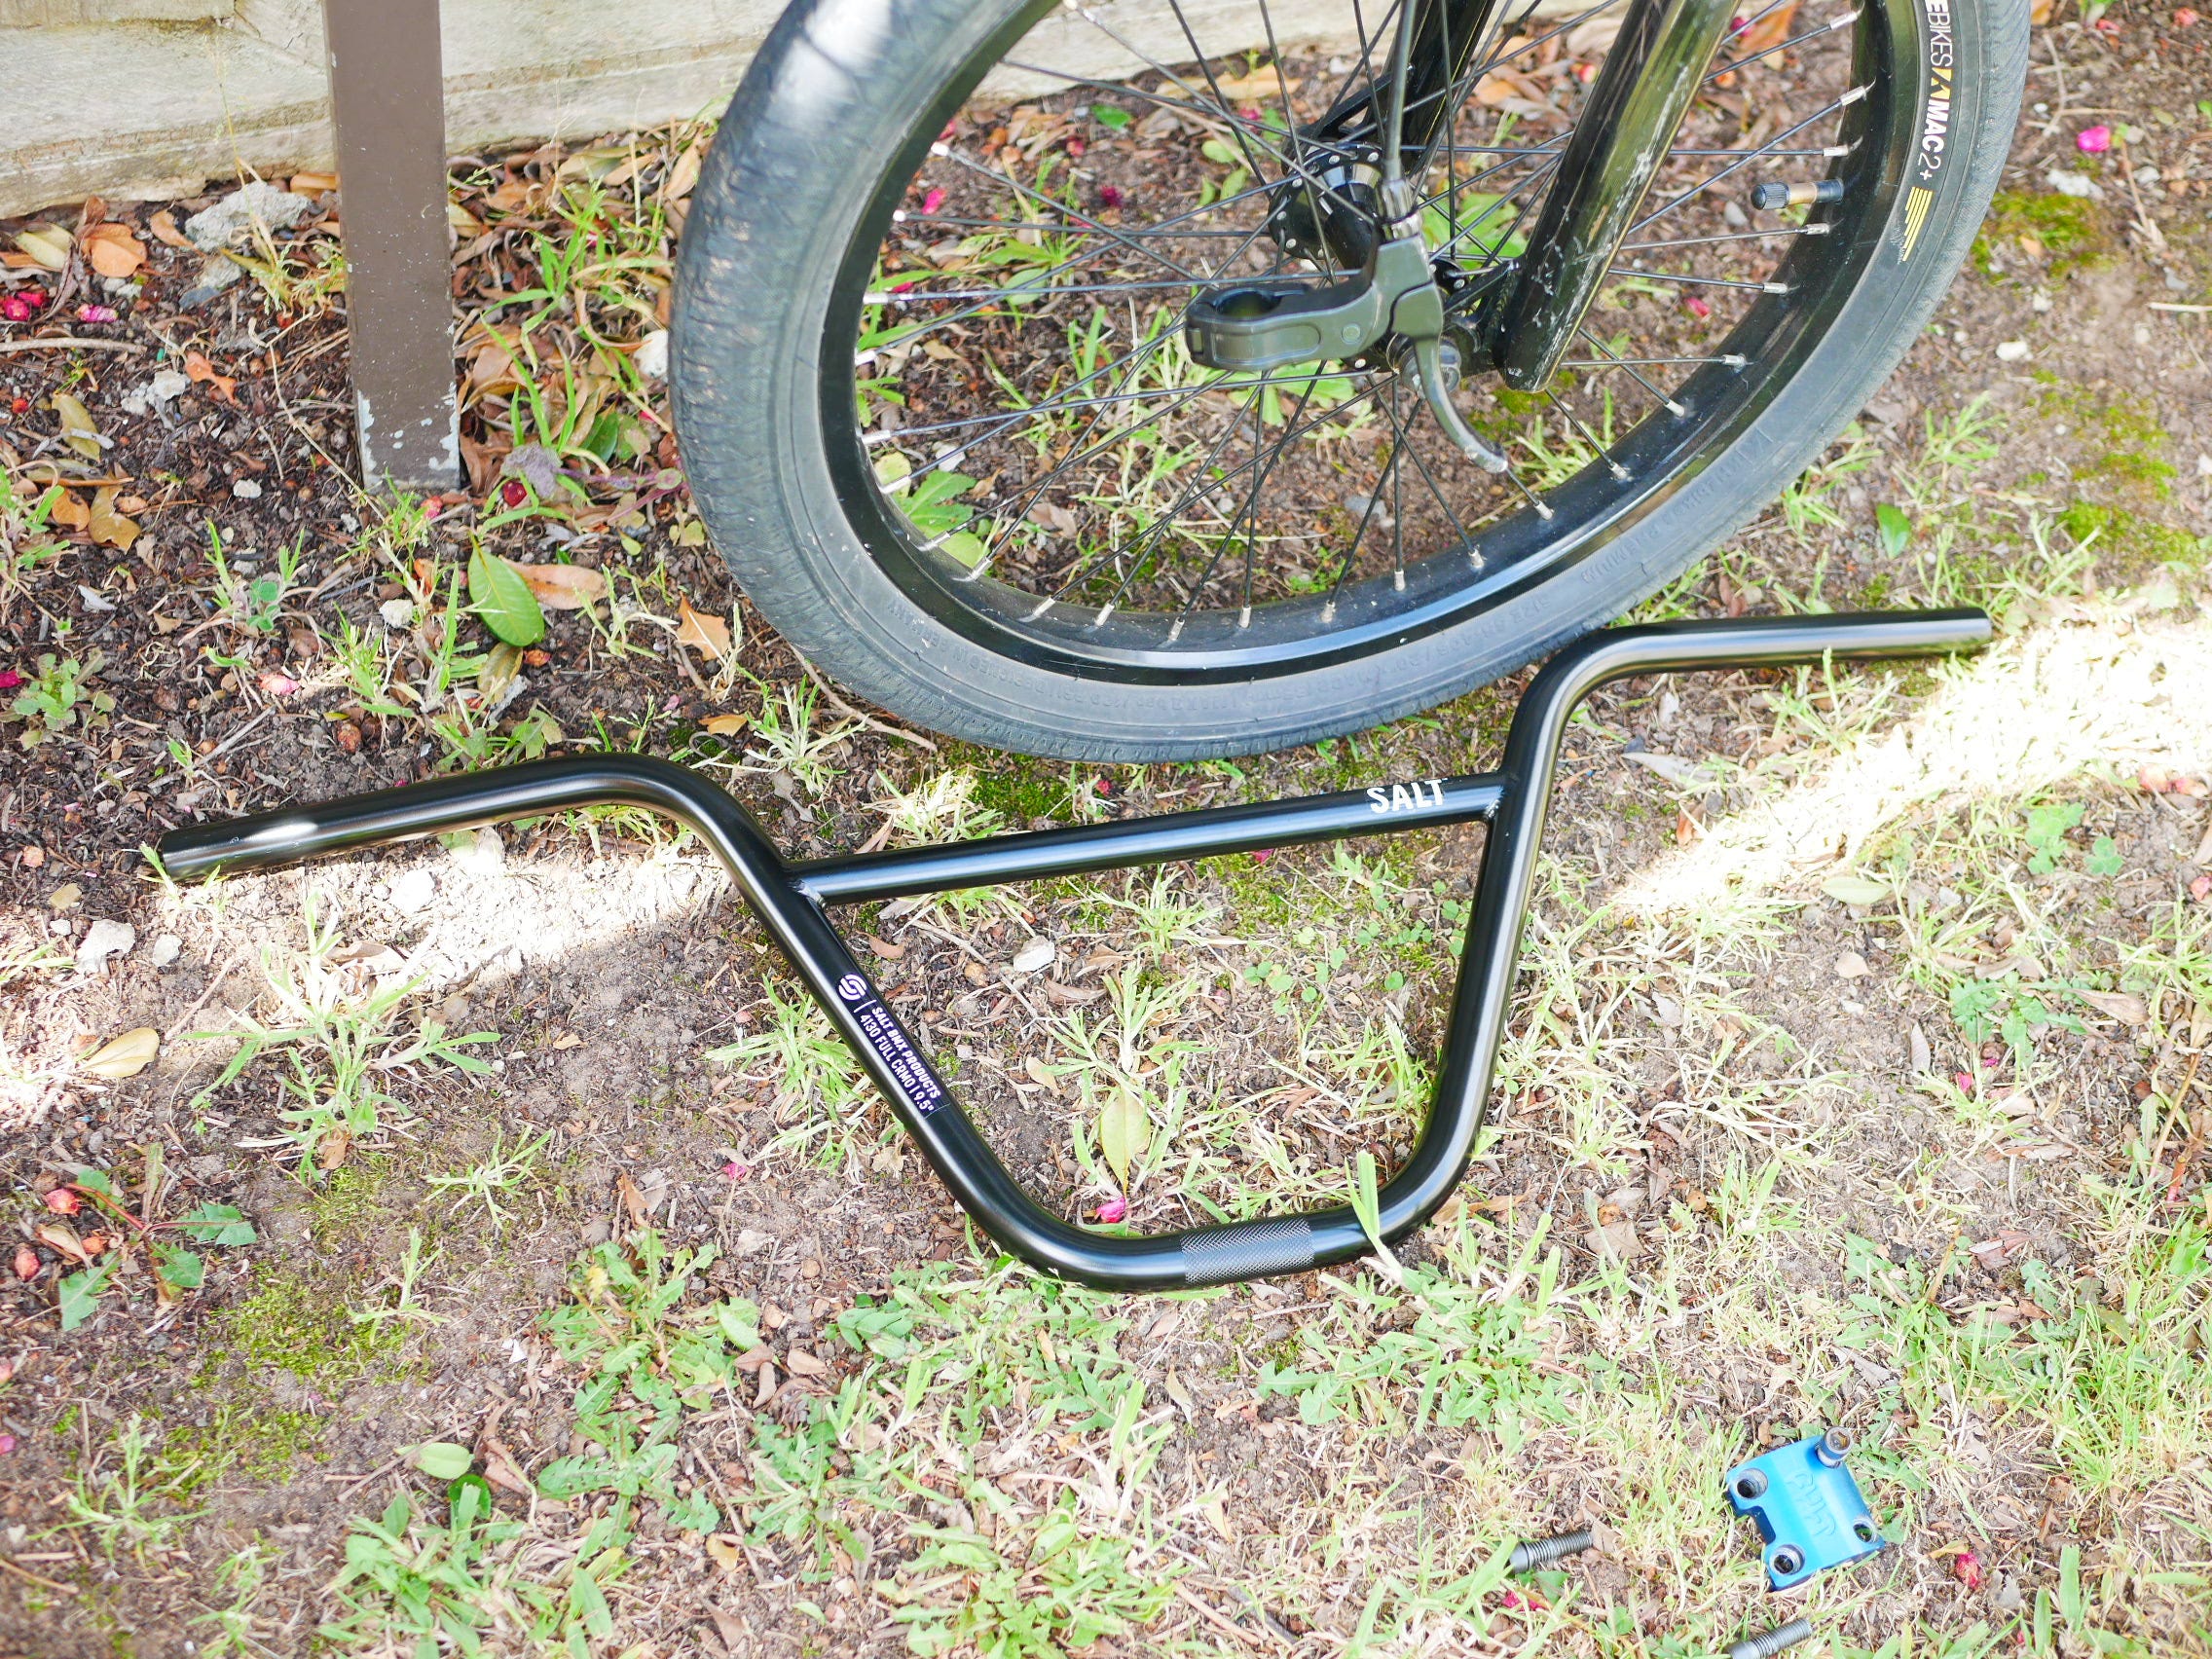
Like so….
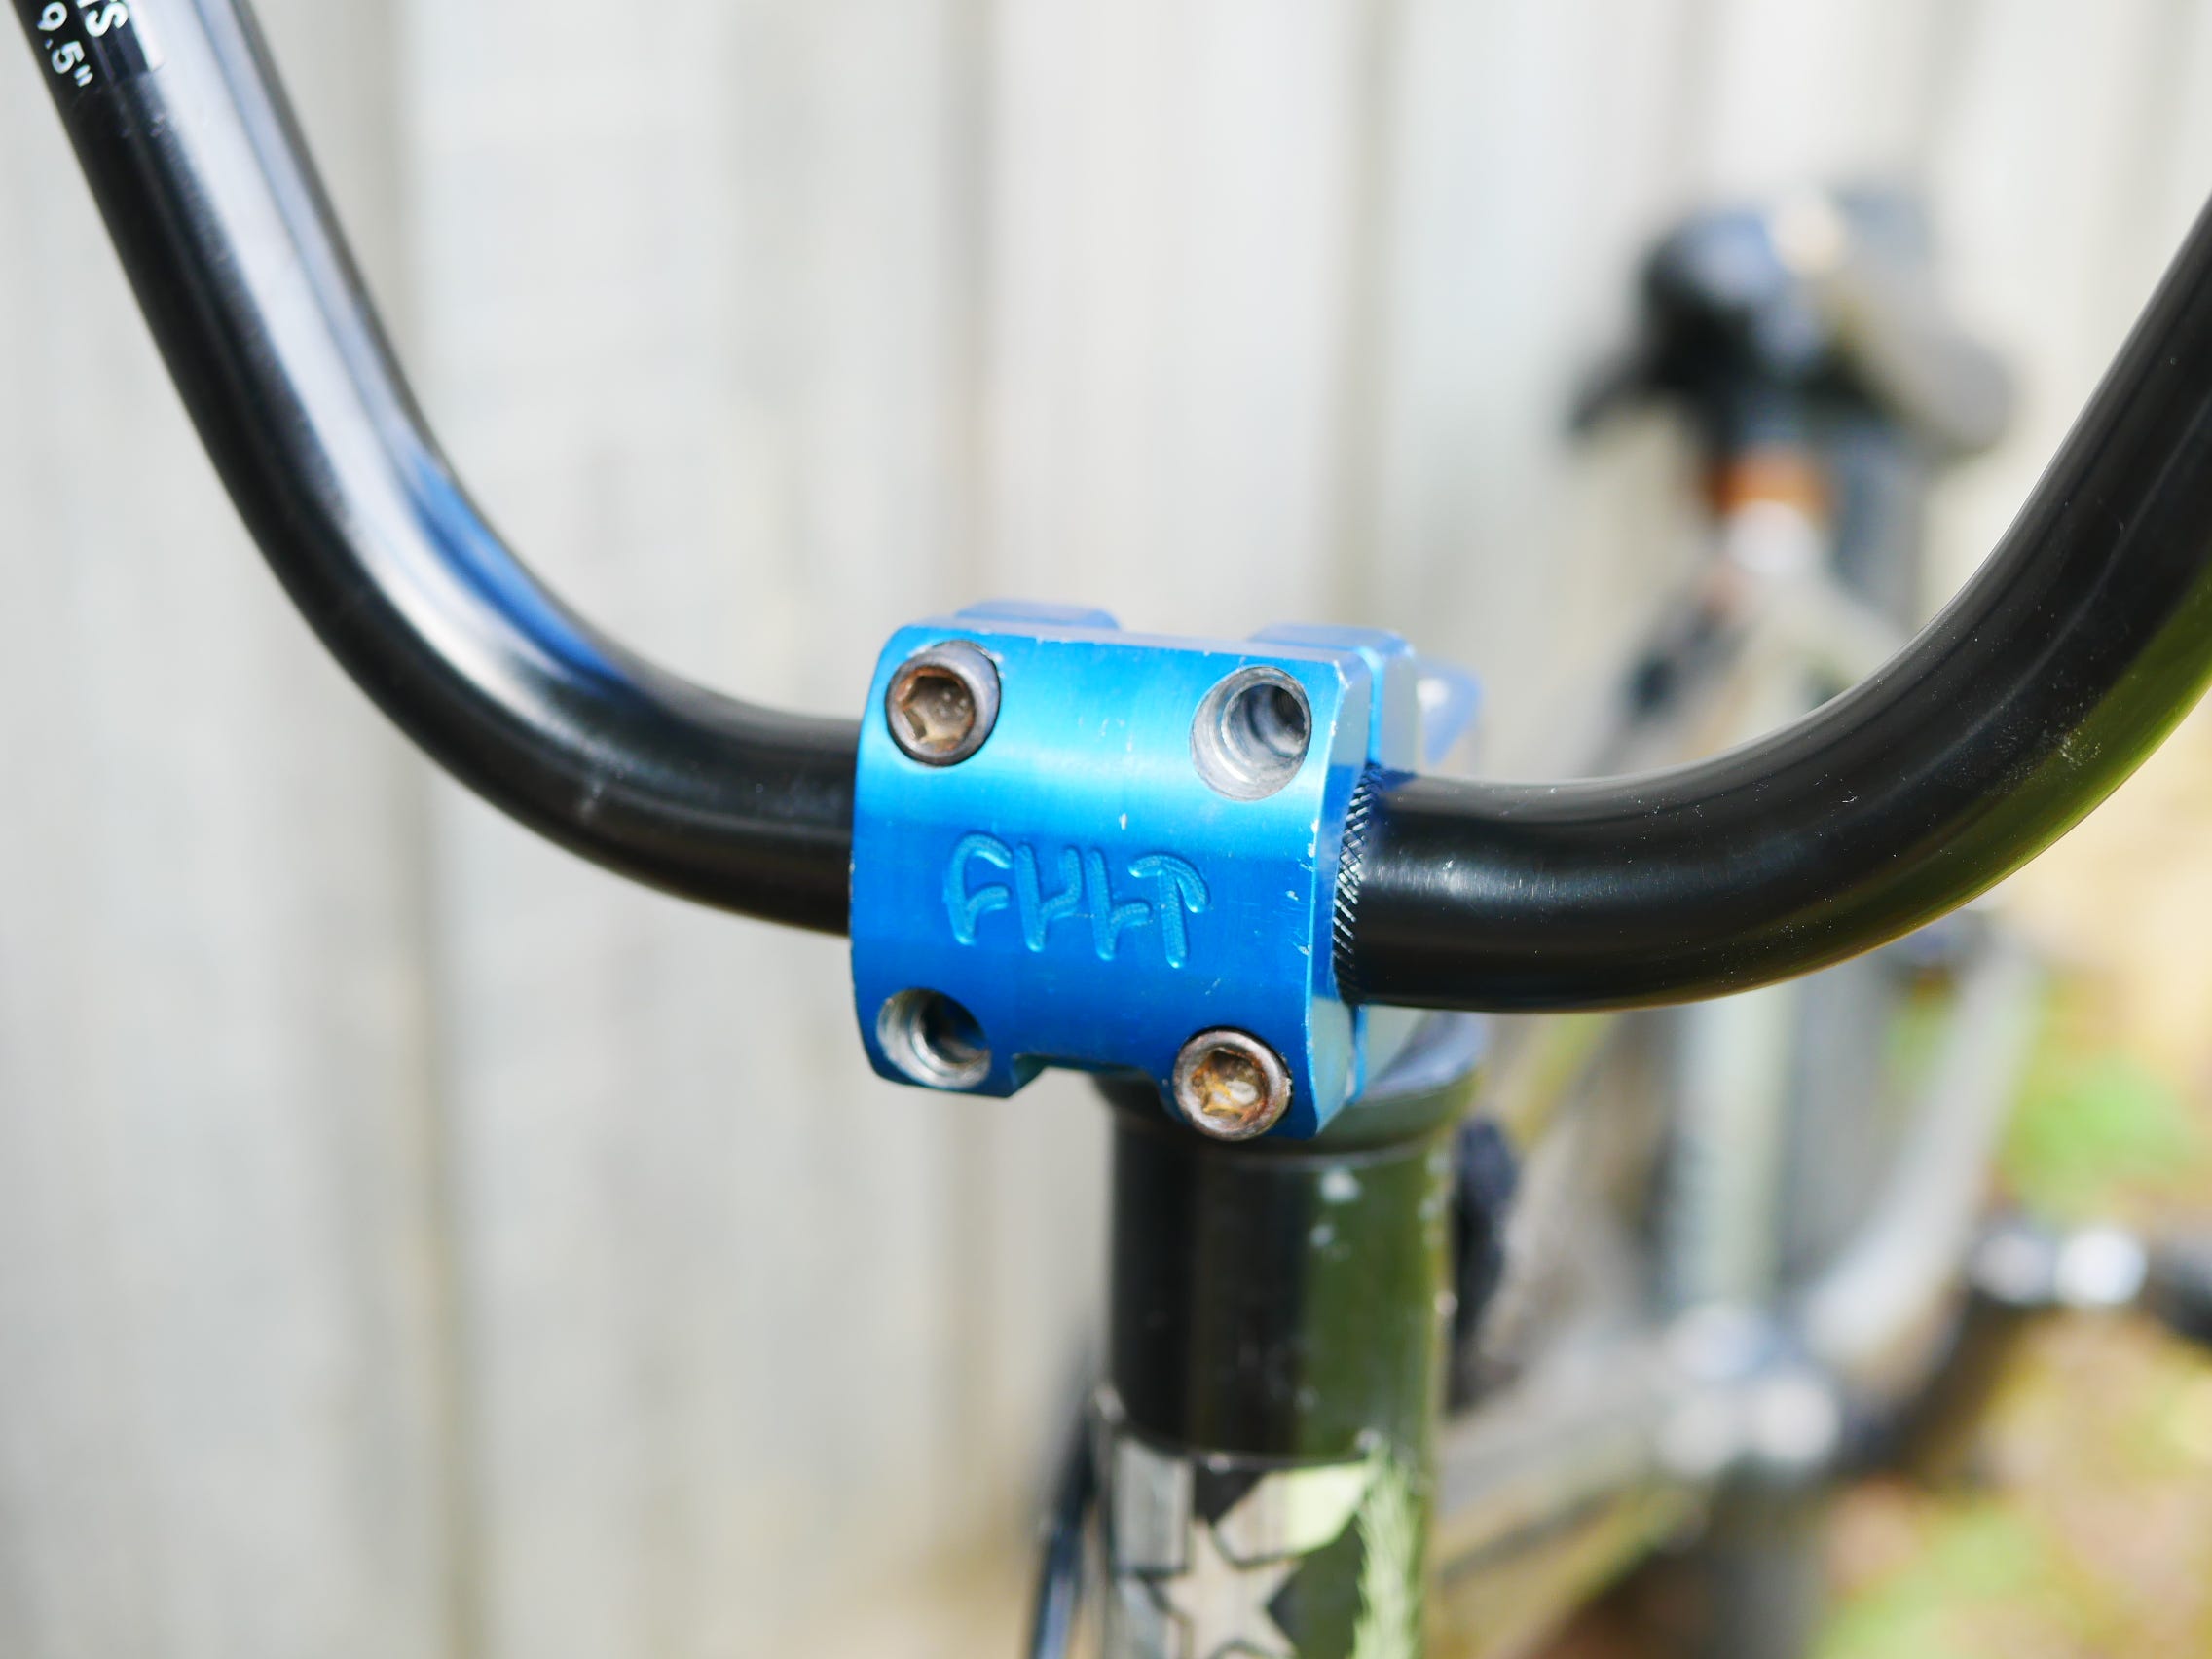
With the Stem’s Front Panel being nipped up in a criss-cross direction.
“The reason the Stem’s Front Panel was only nipped up is so that the Bars can be adjusted for rider preference”
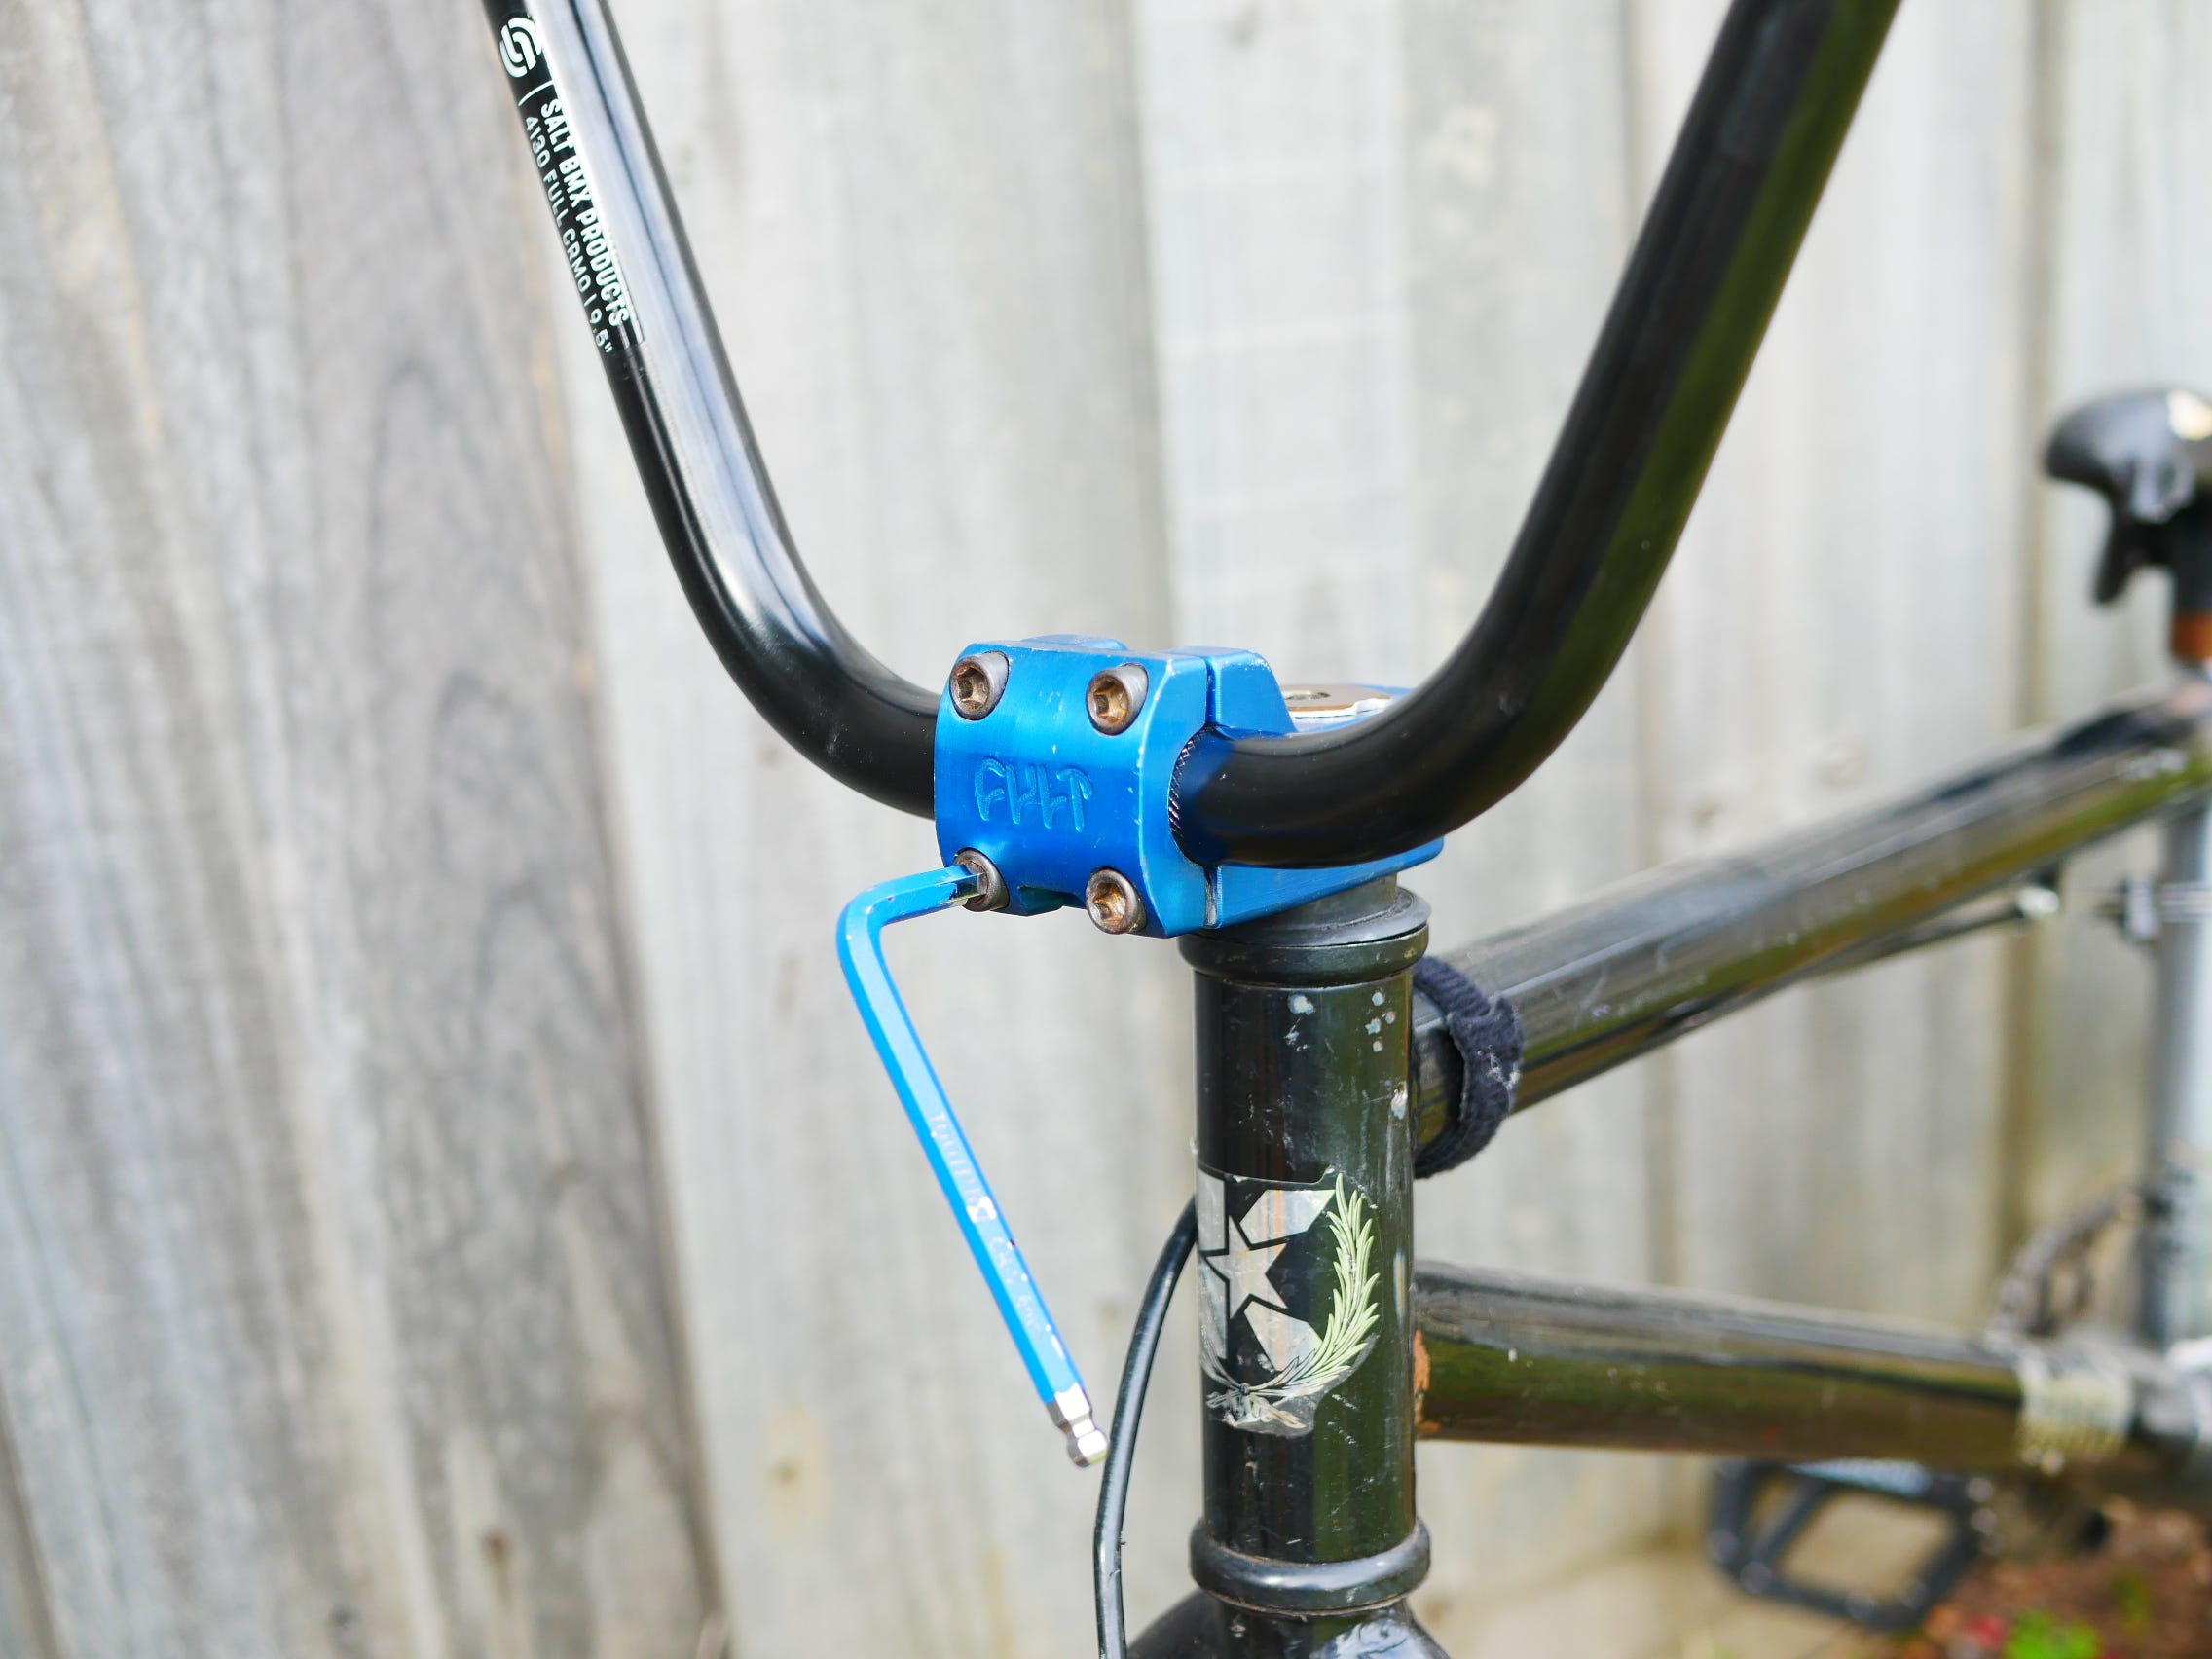
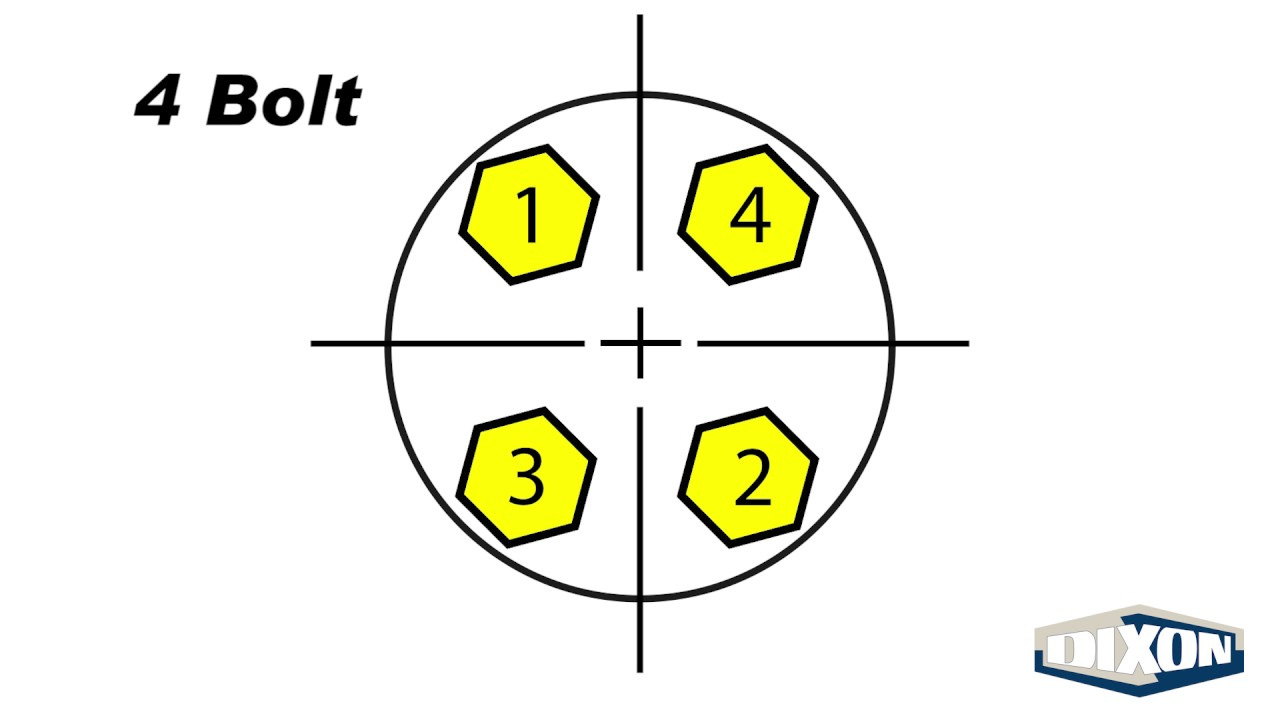
Once that was done, it was tightened in a criss-cross like manner.
“The reason the Stem’s Front Panel is tightened in a criss-cross direction is to prevent the Stem’s Front Panel either twisting or not tightening correctly.”
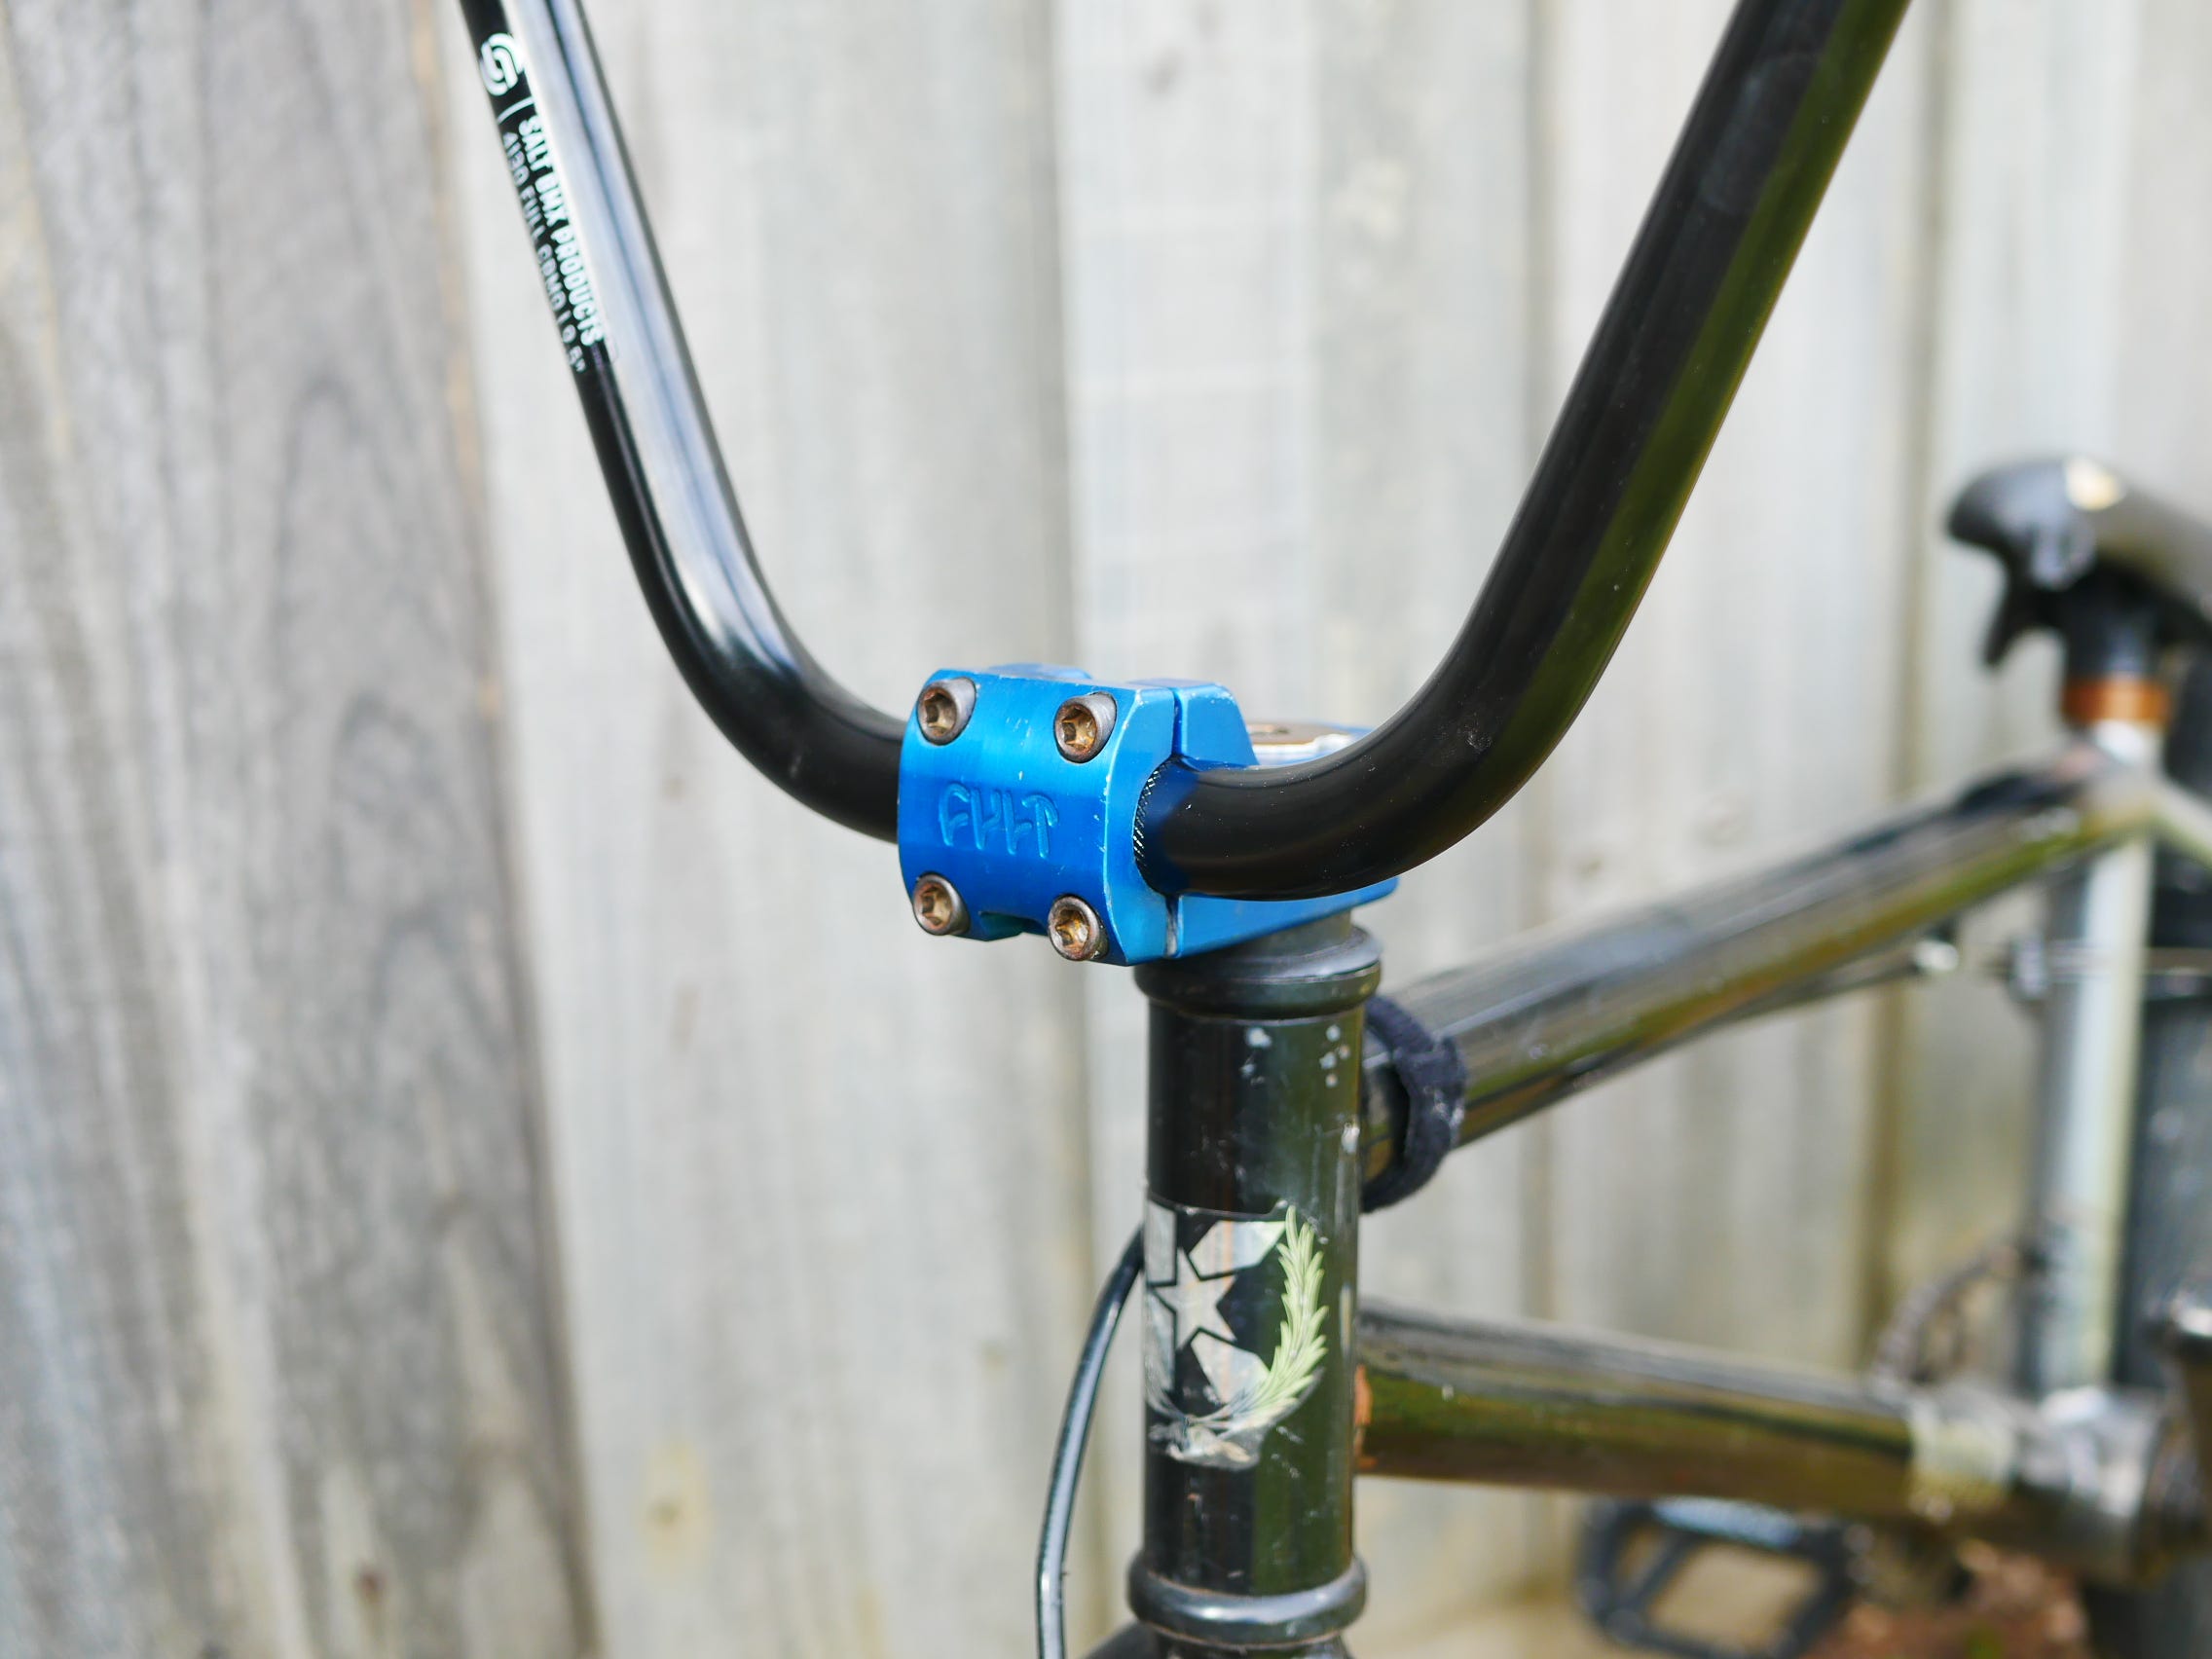
Followed with placing the Front Brake Handle back on.
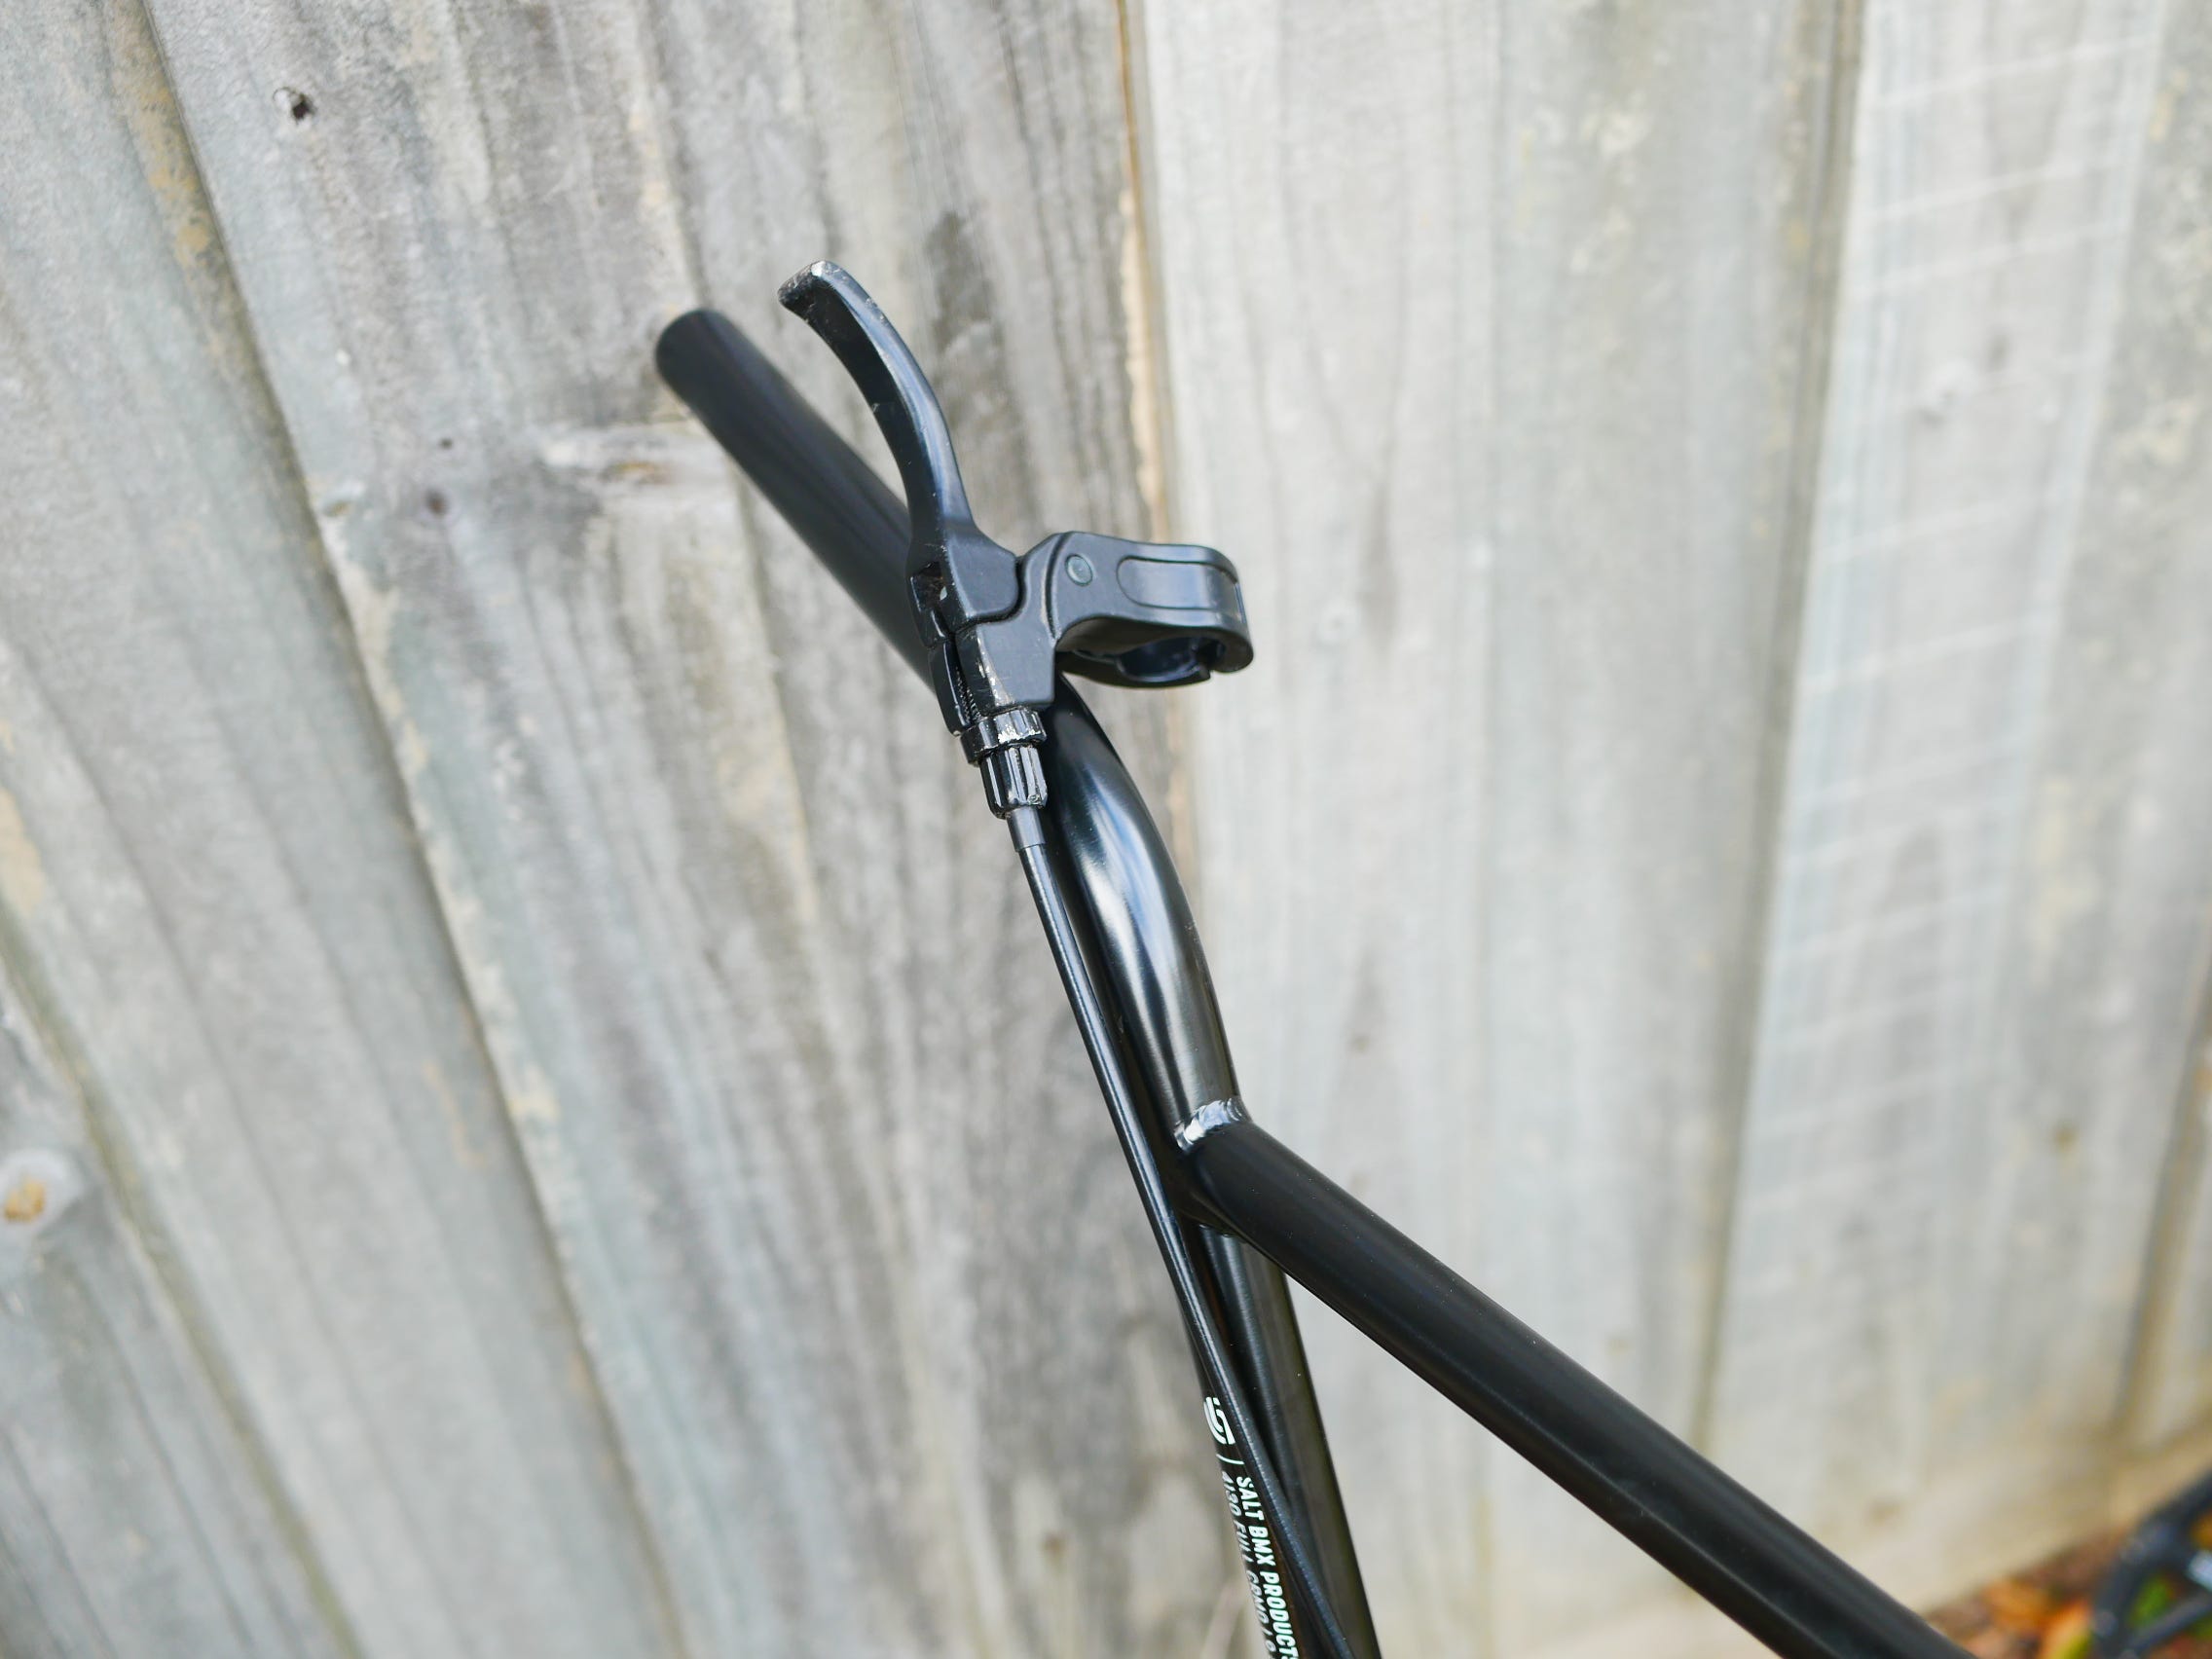
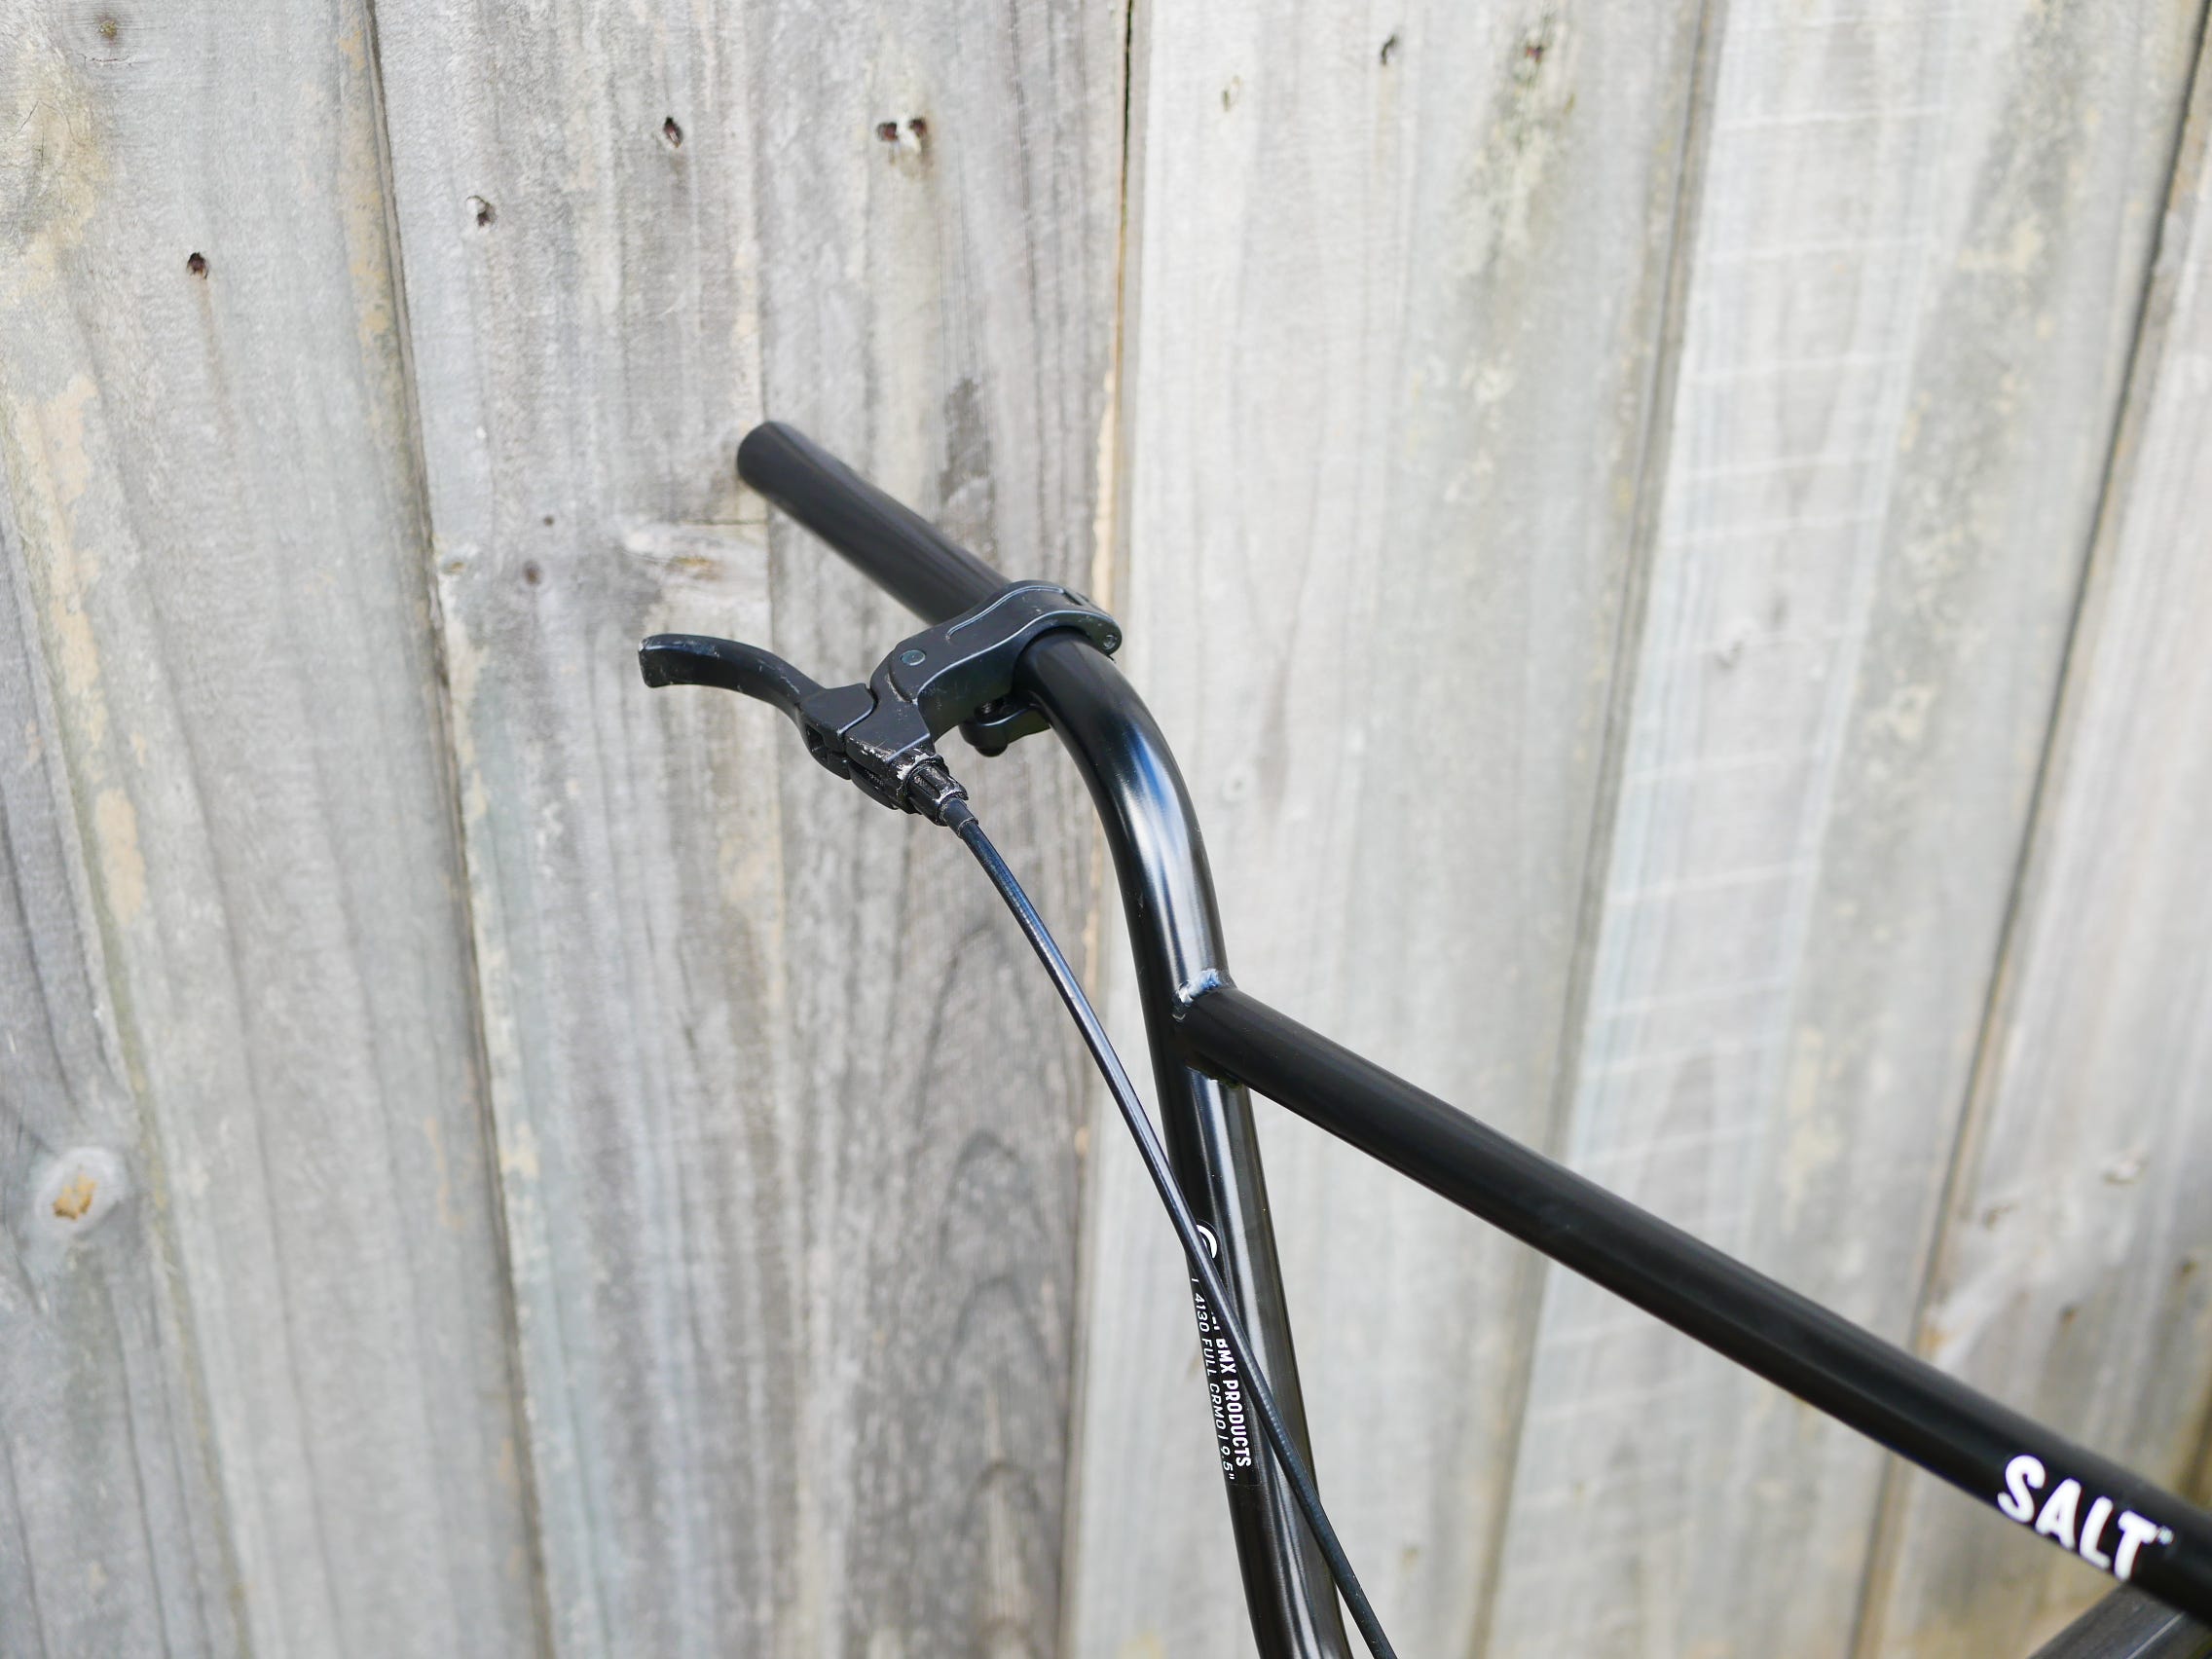
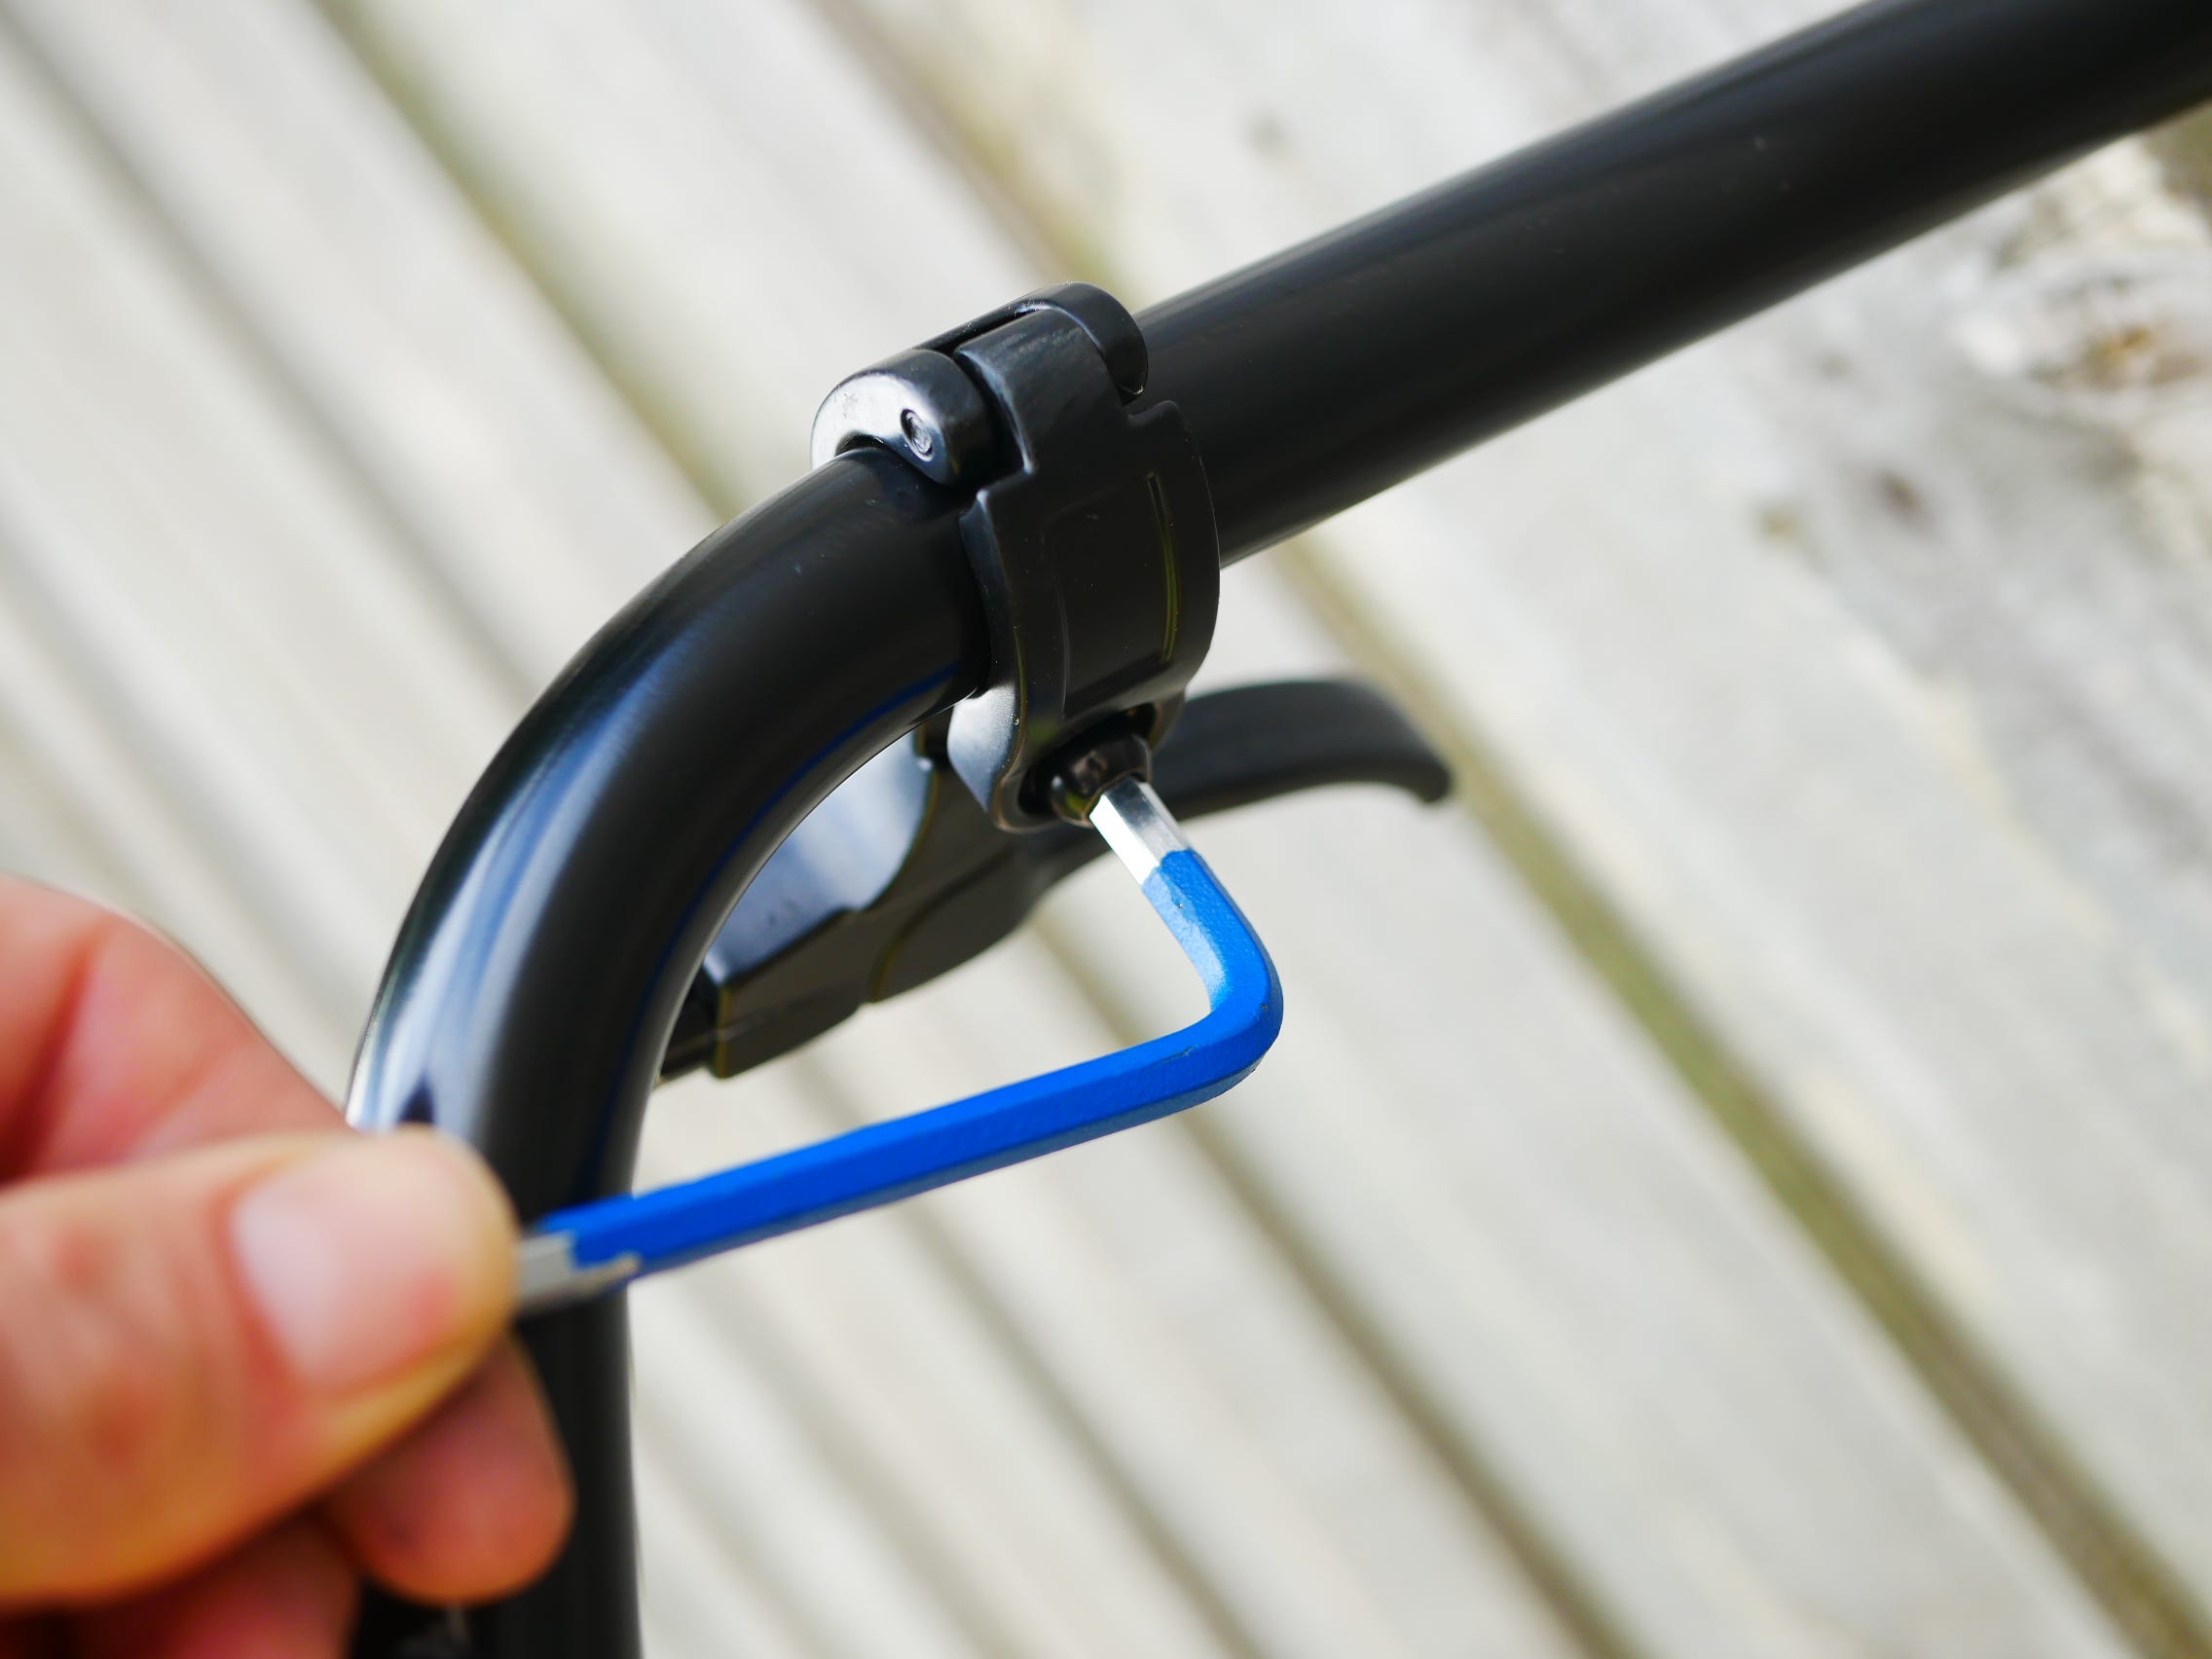
To have it looking great once again.
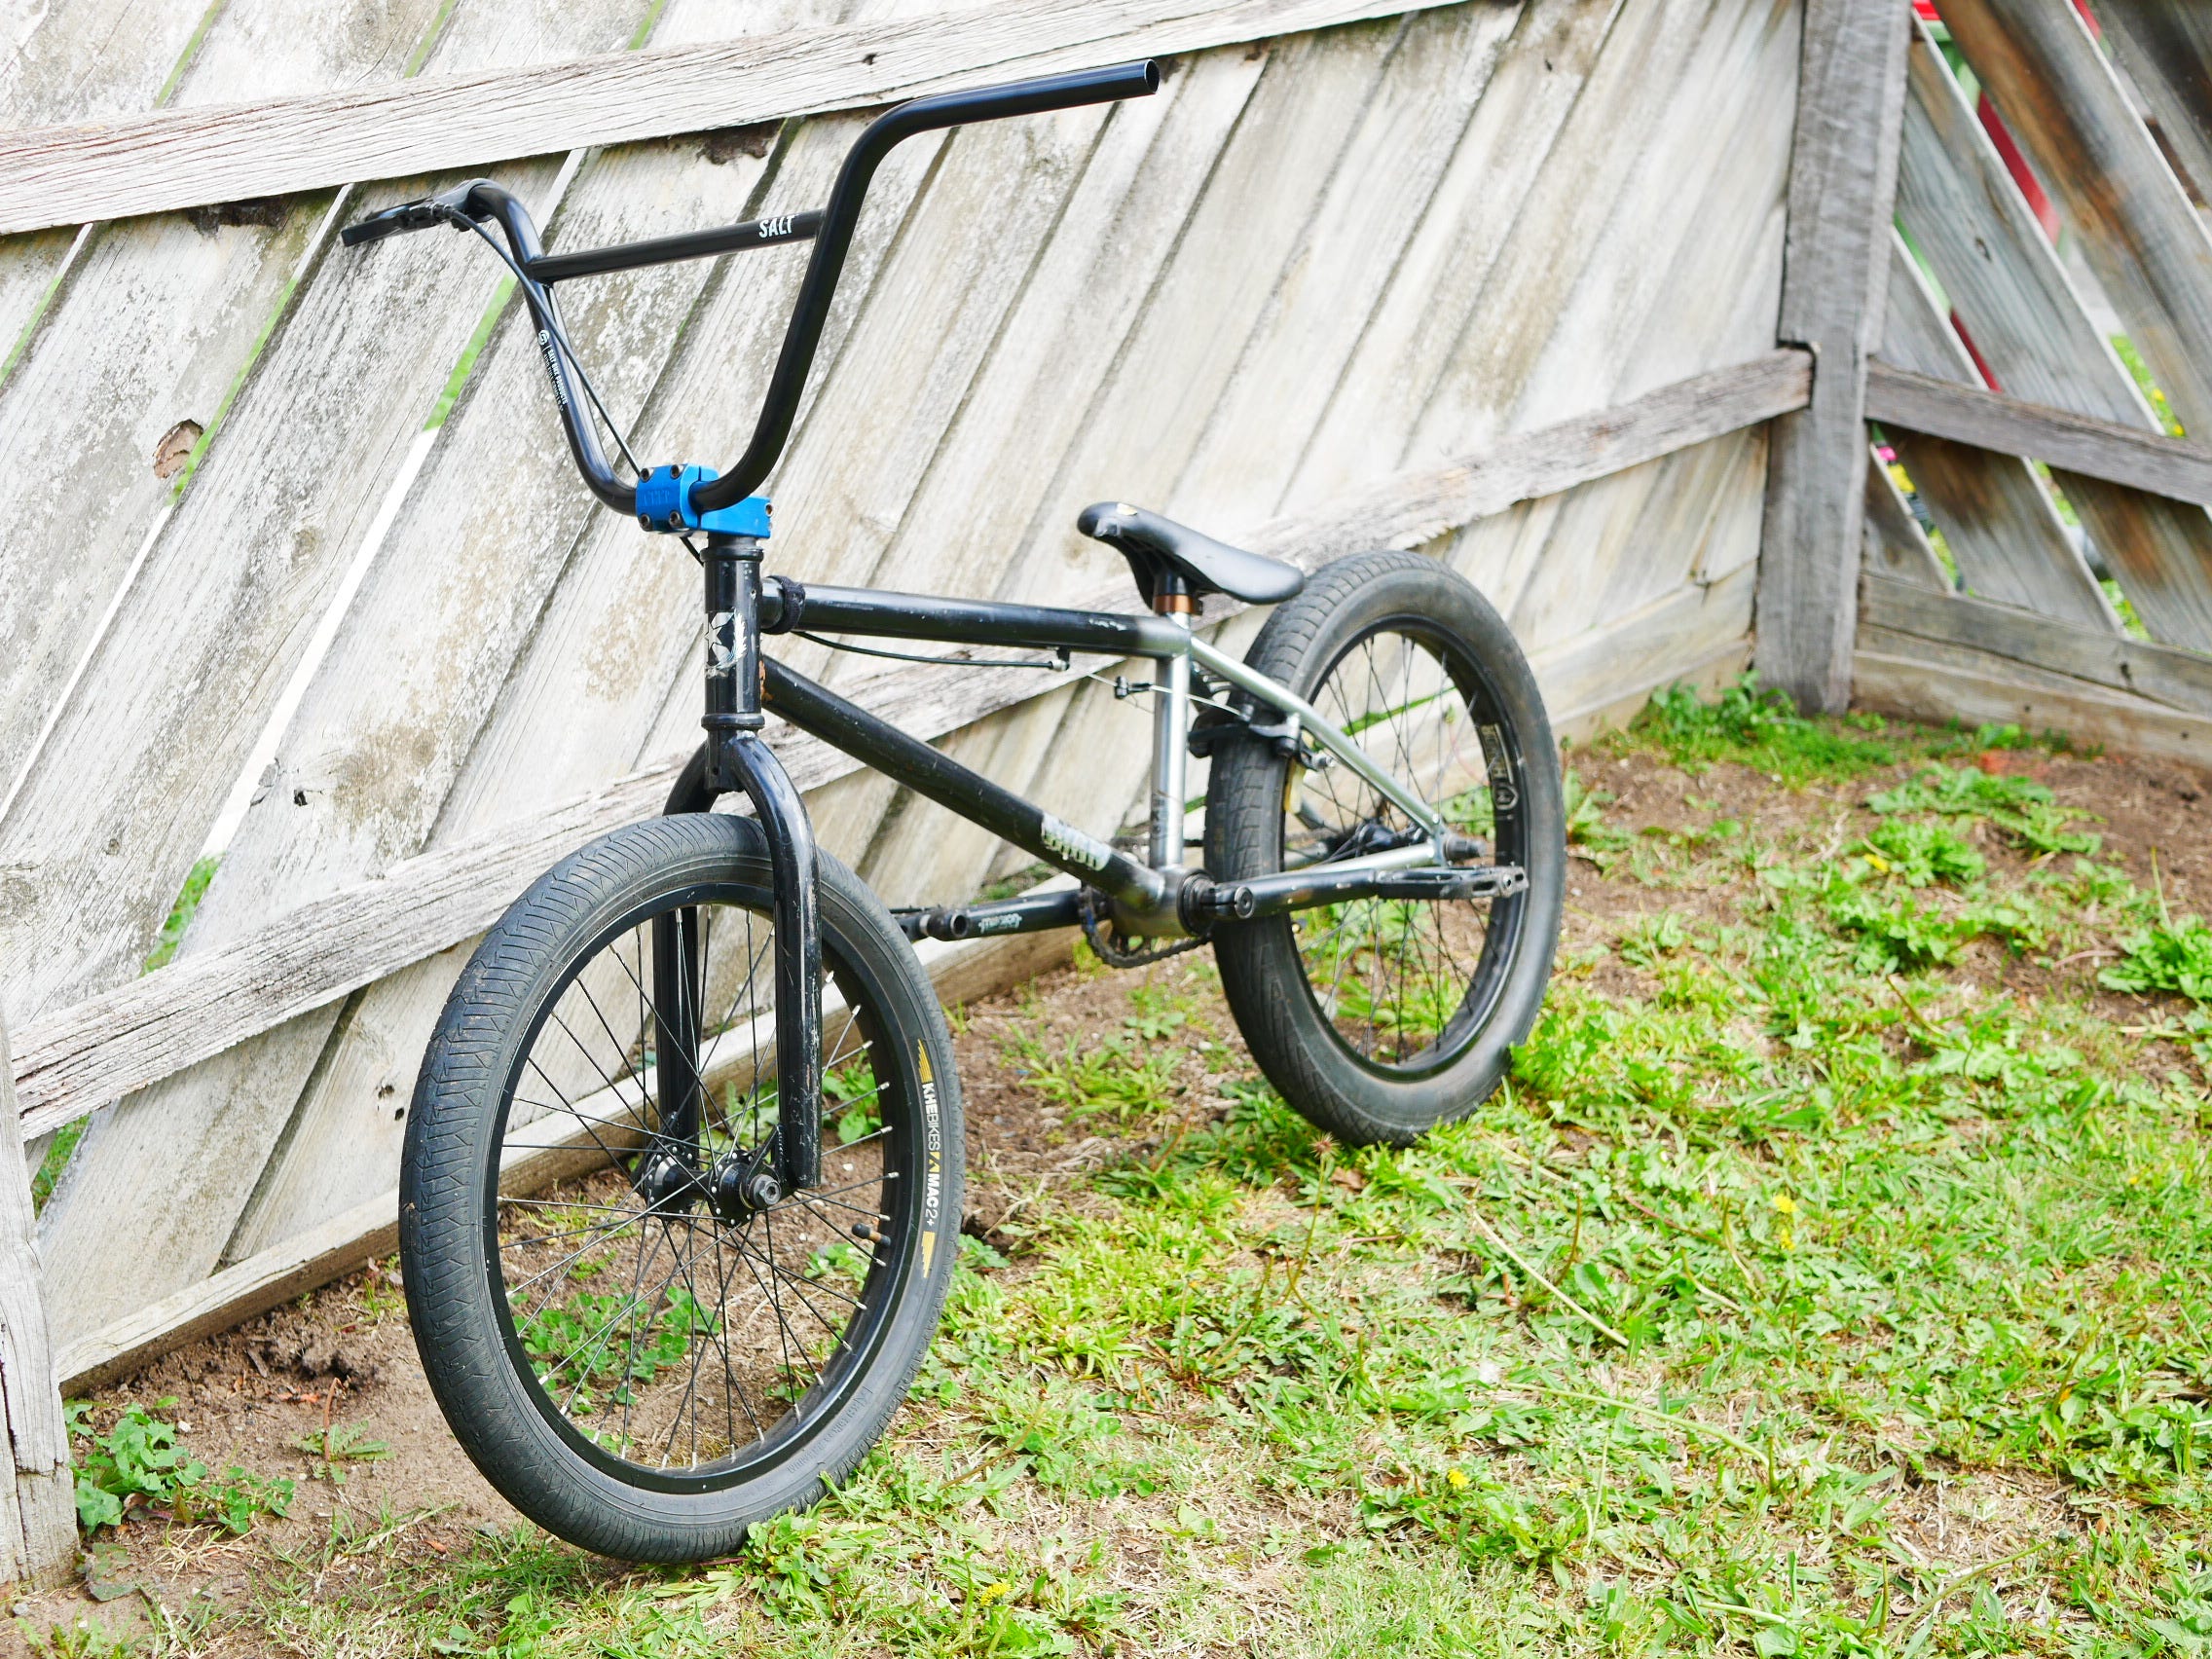
However, the only thing left was to place on the Grips and Bar-ends.
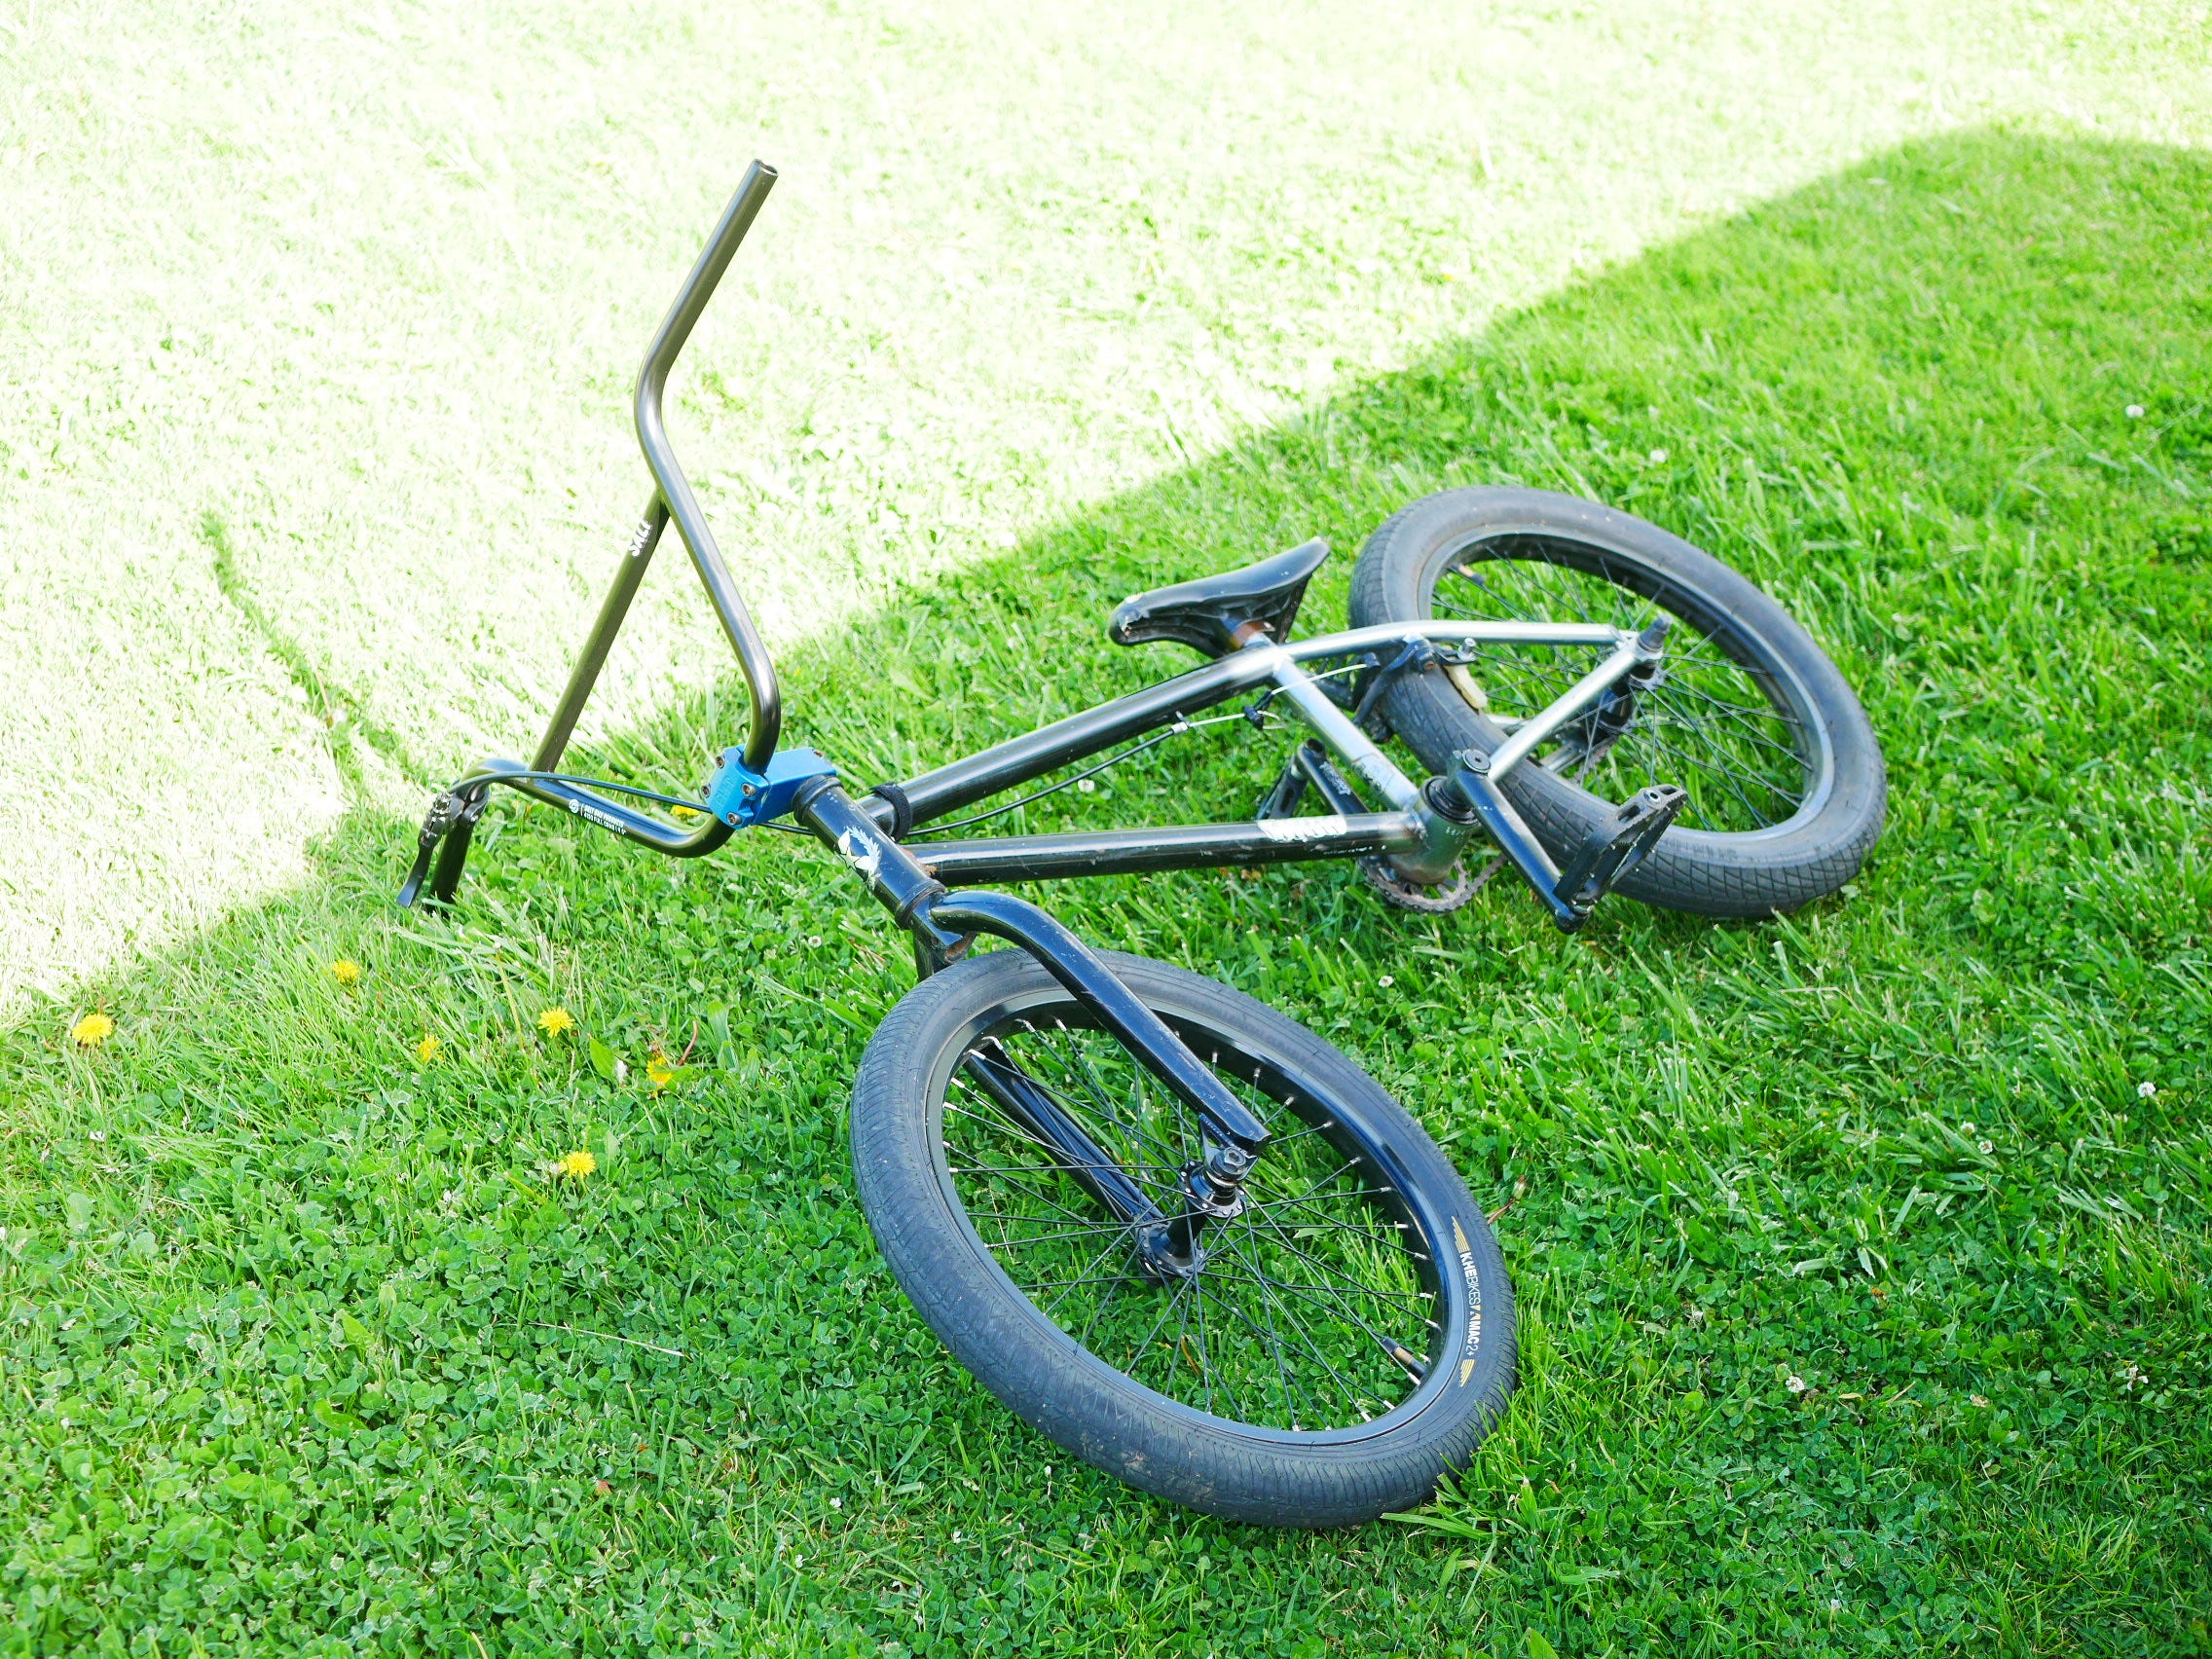
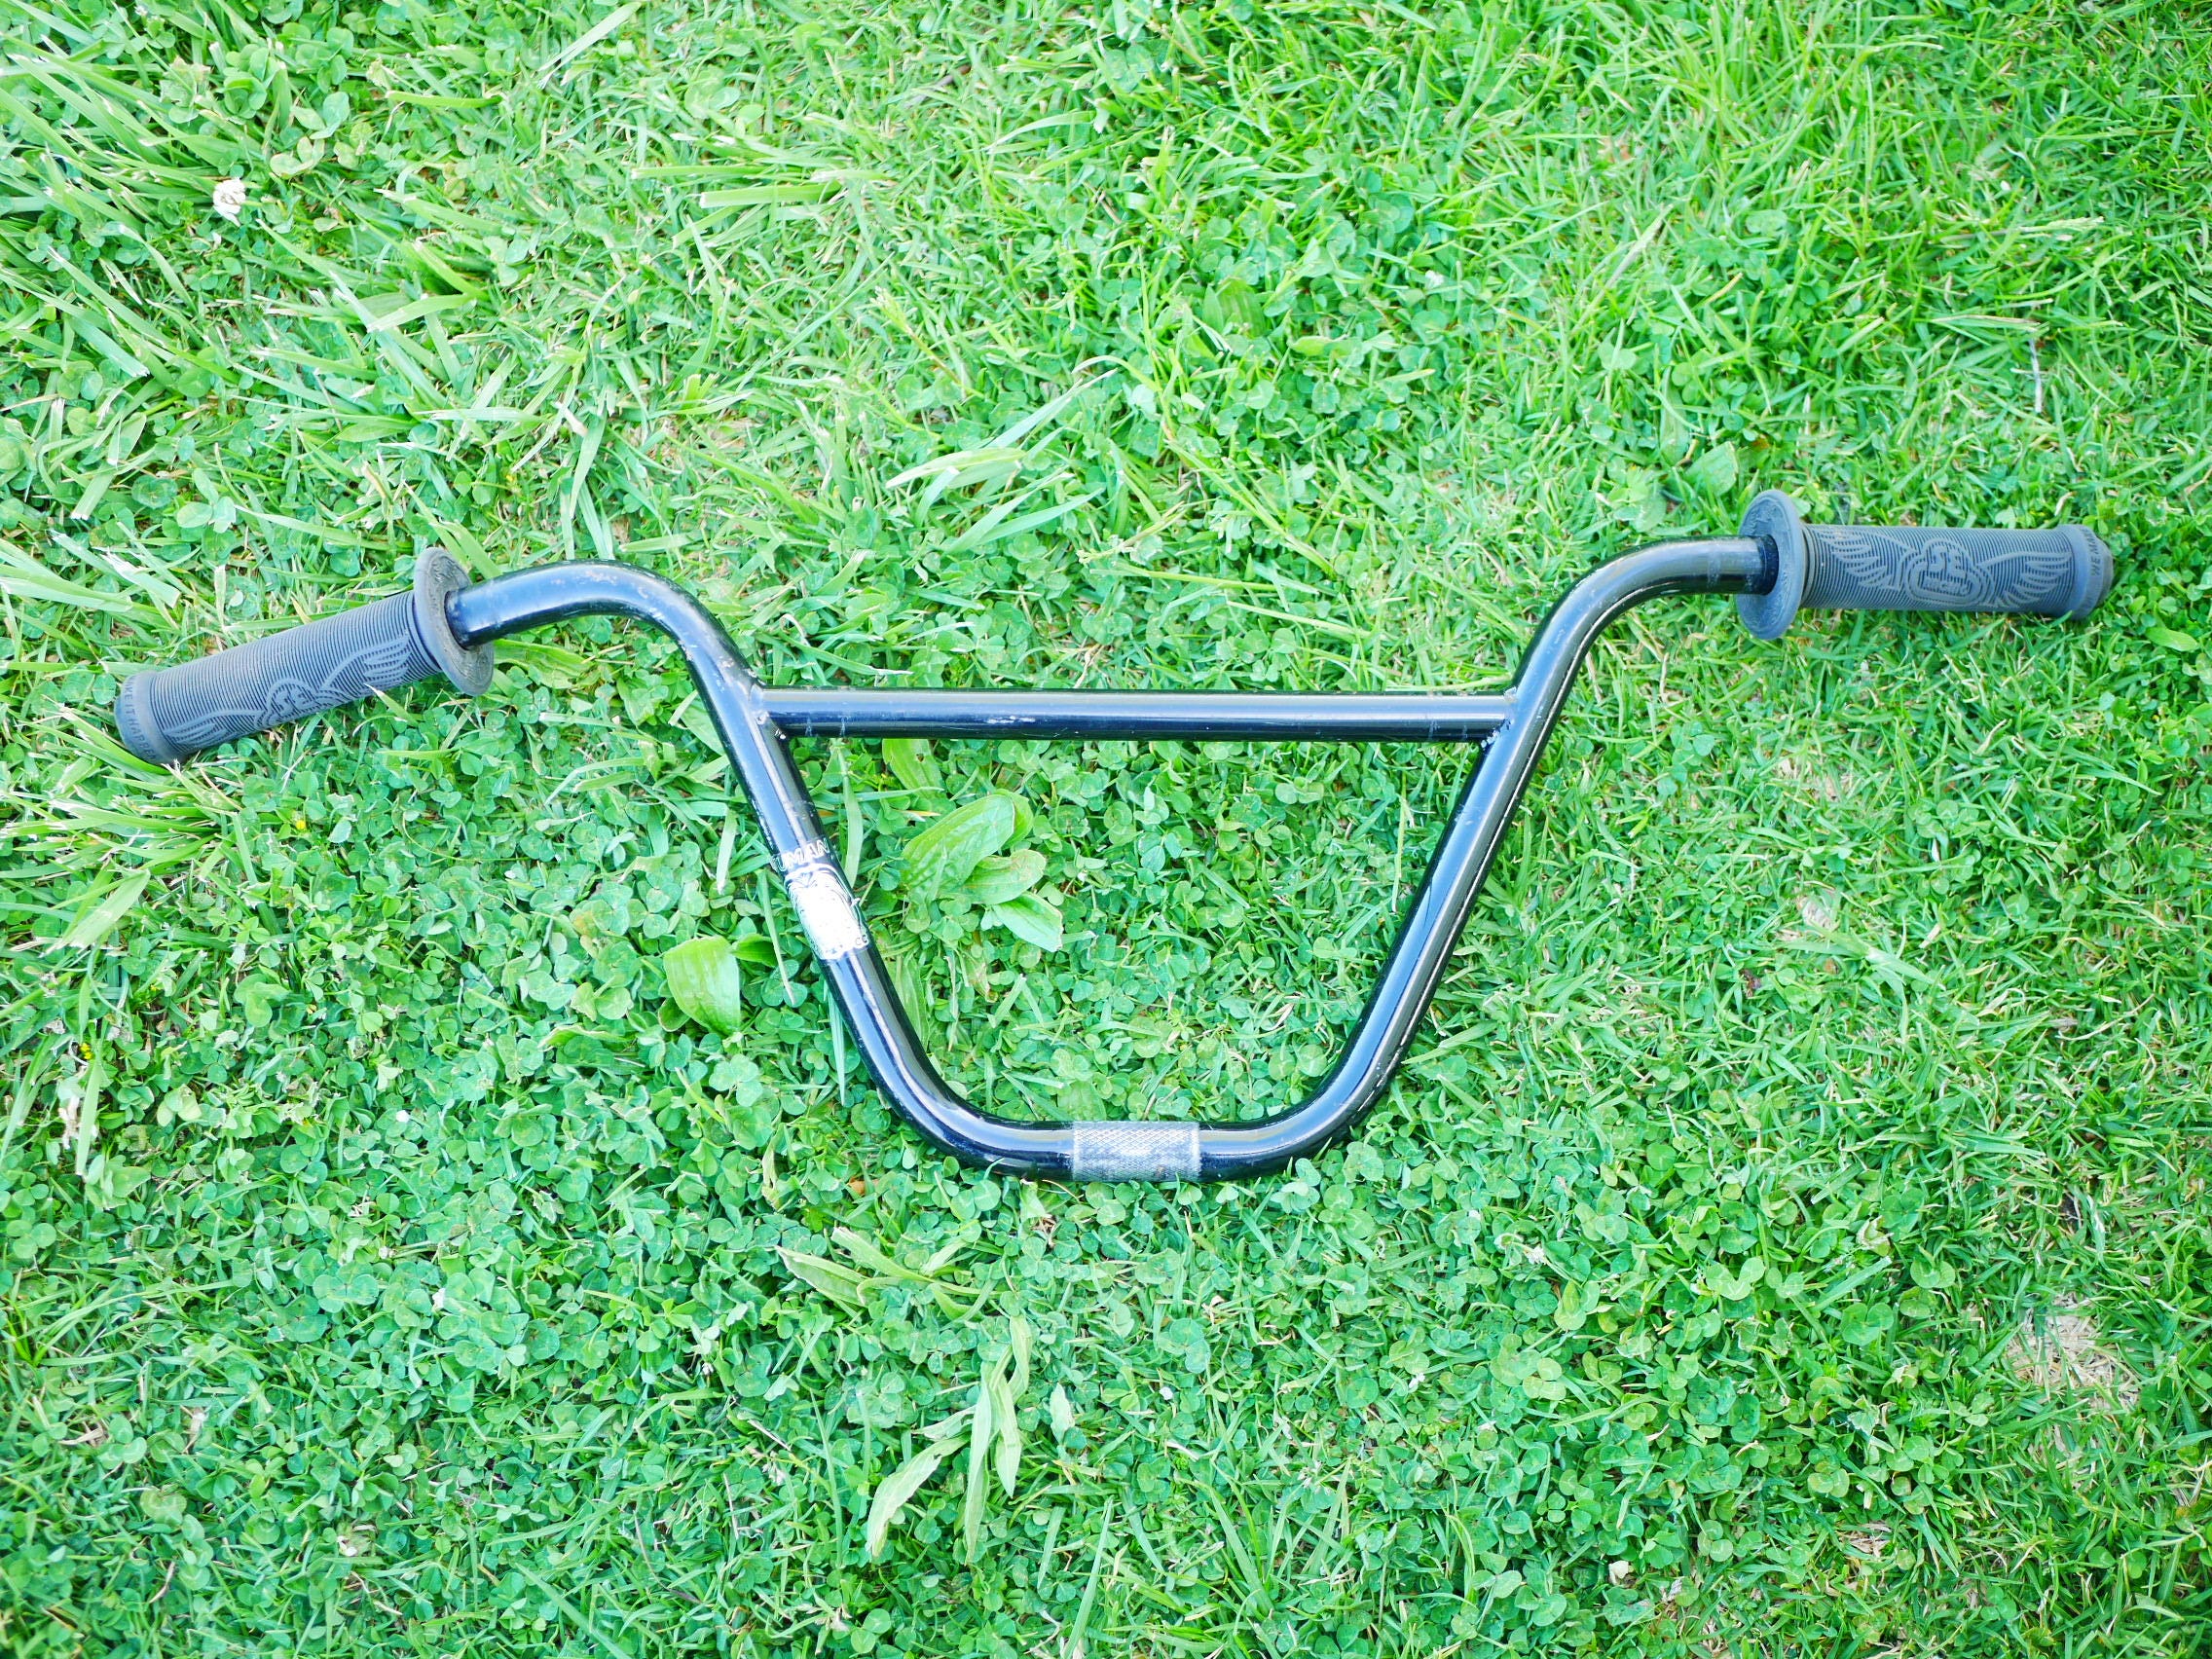
So the first thing was to take off the Ends from the old Bras.
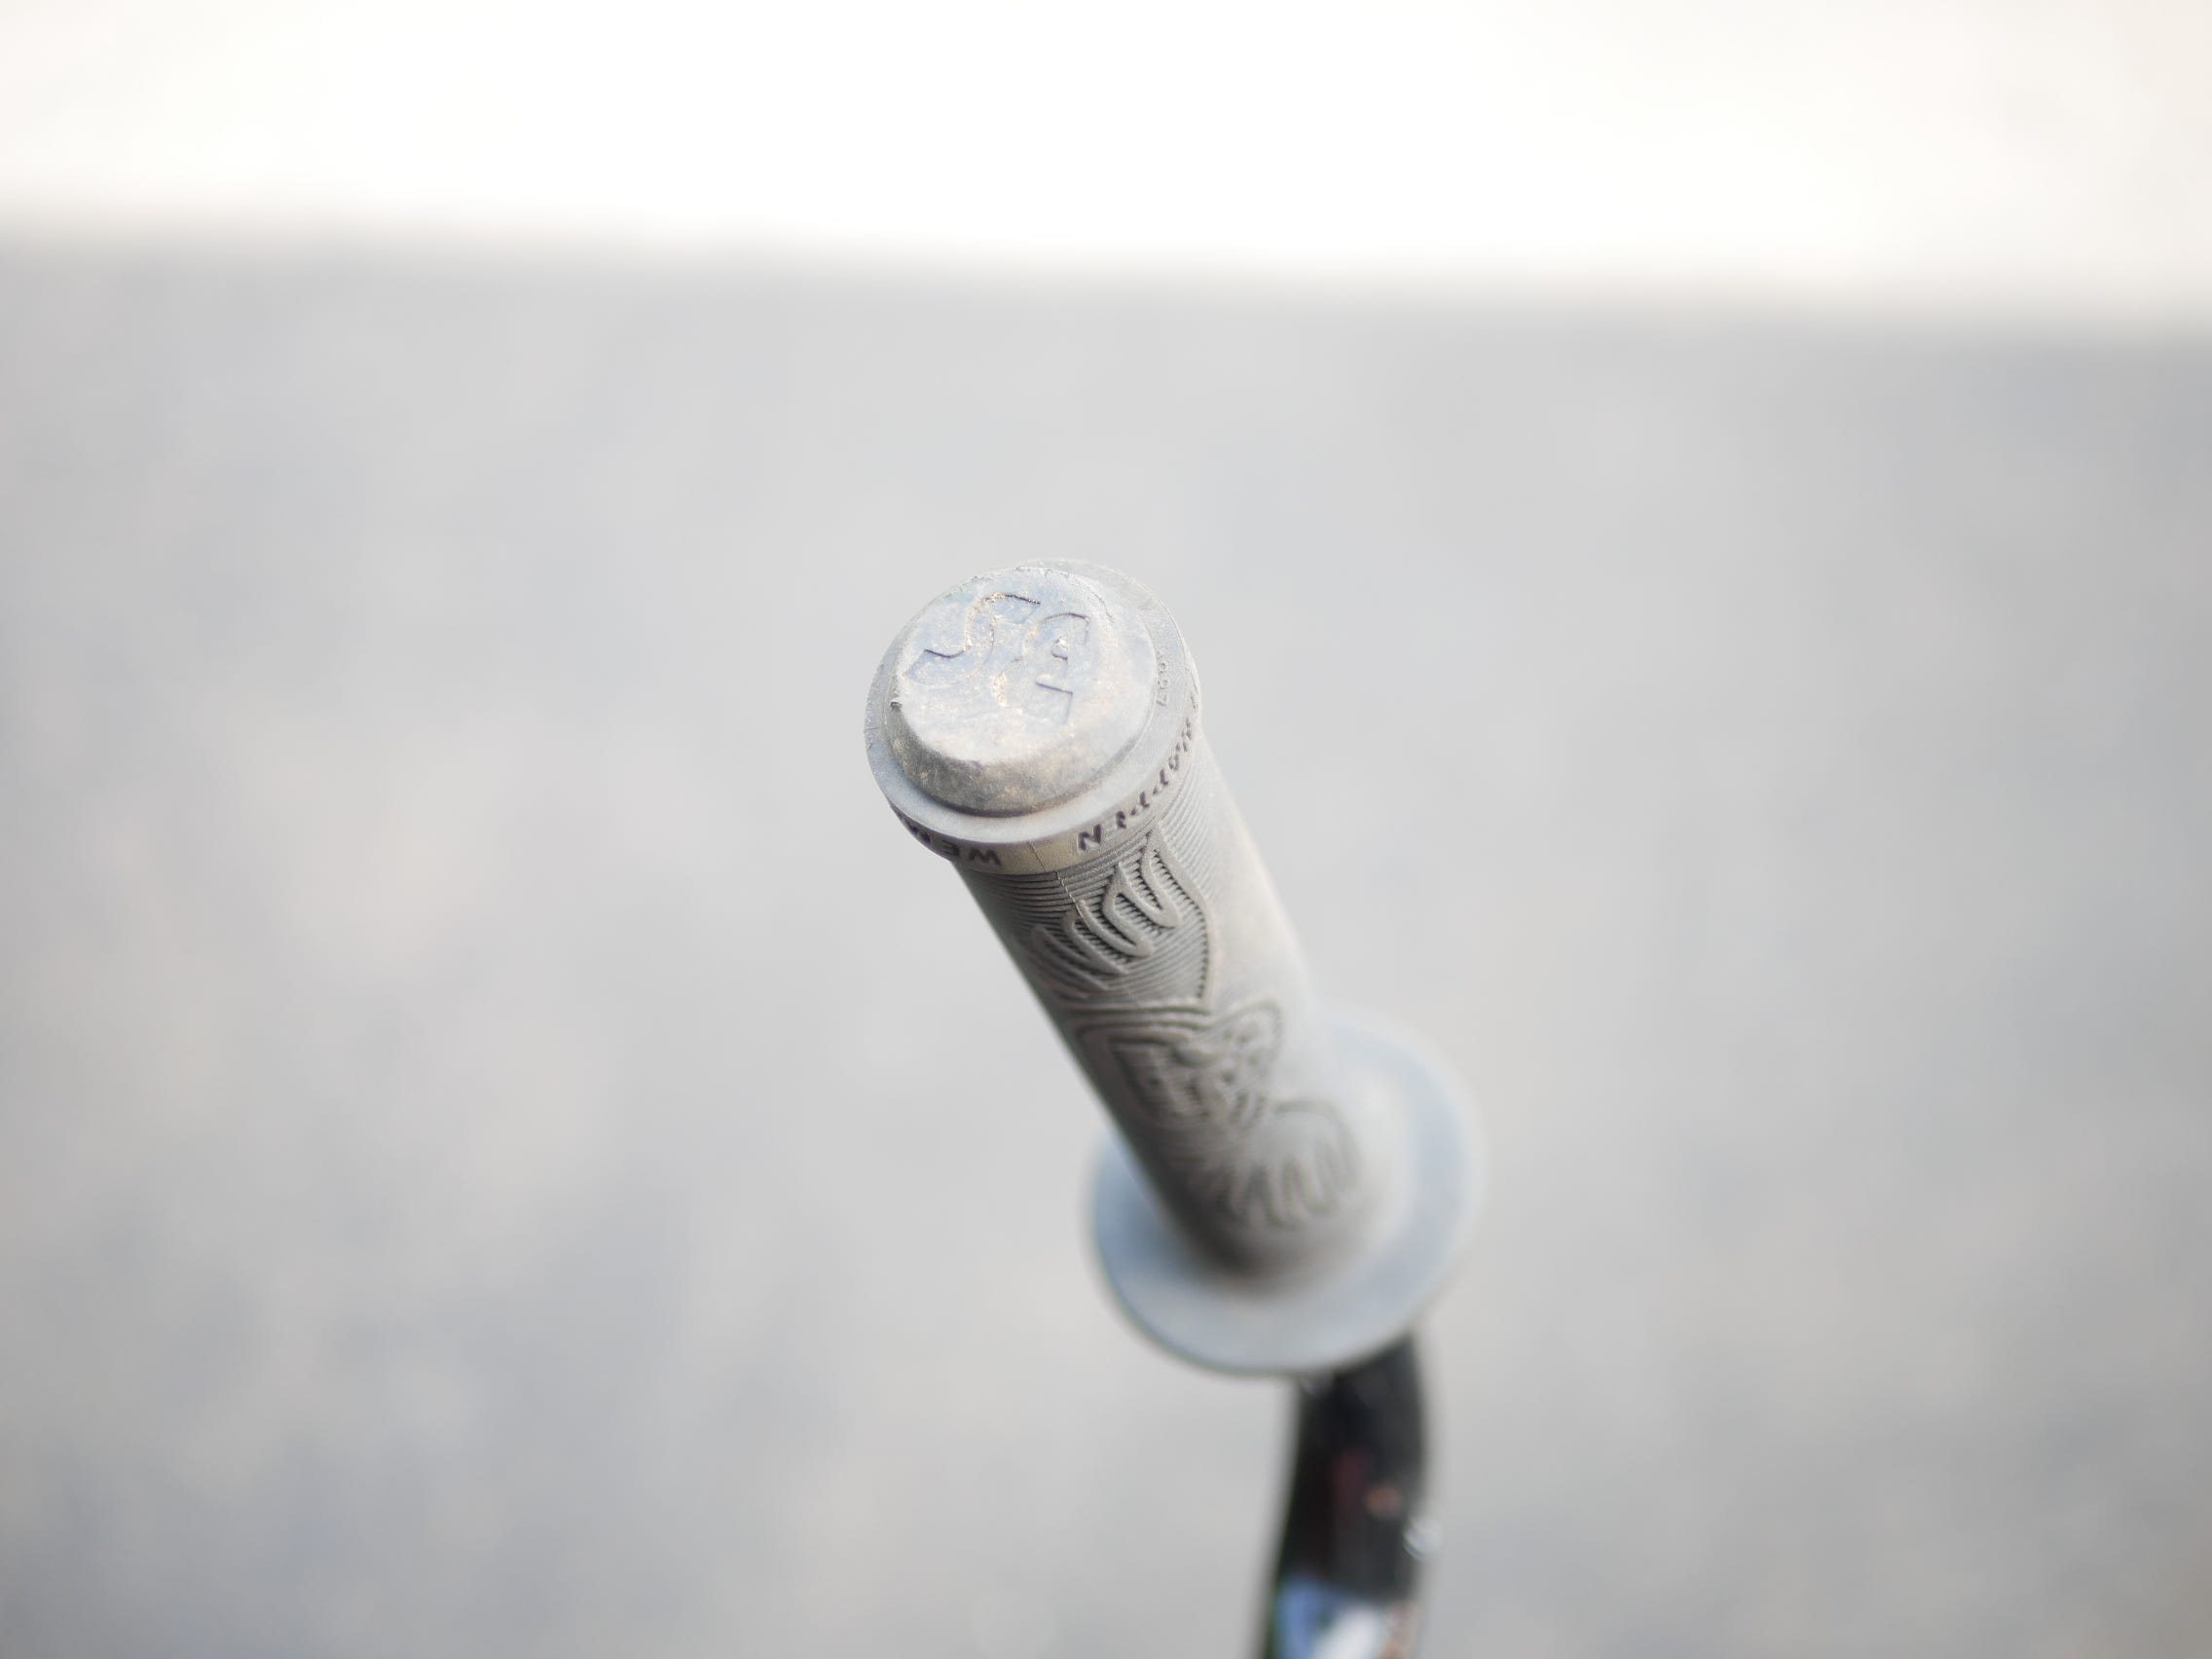
This was done using a flat-blade to try and pry it off.
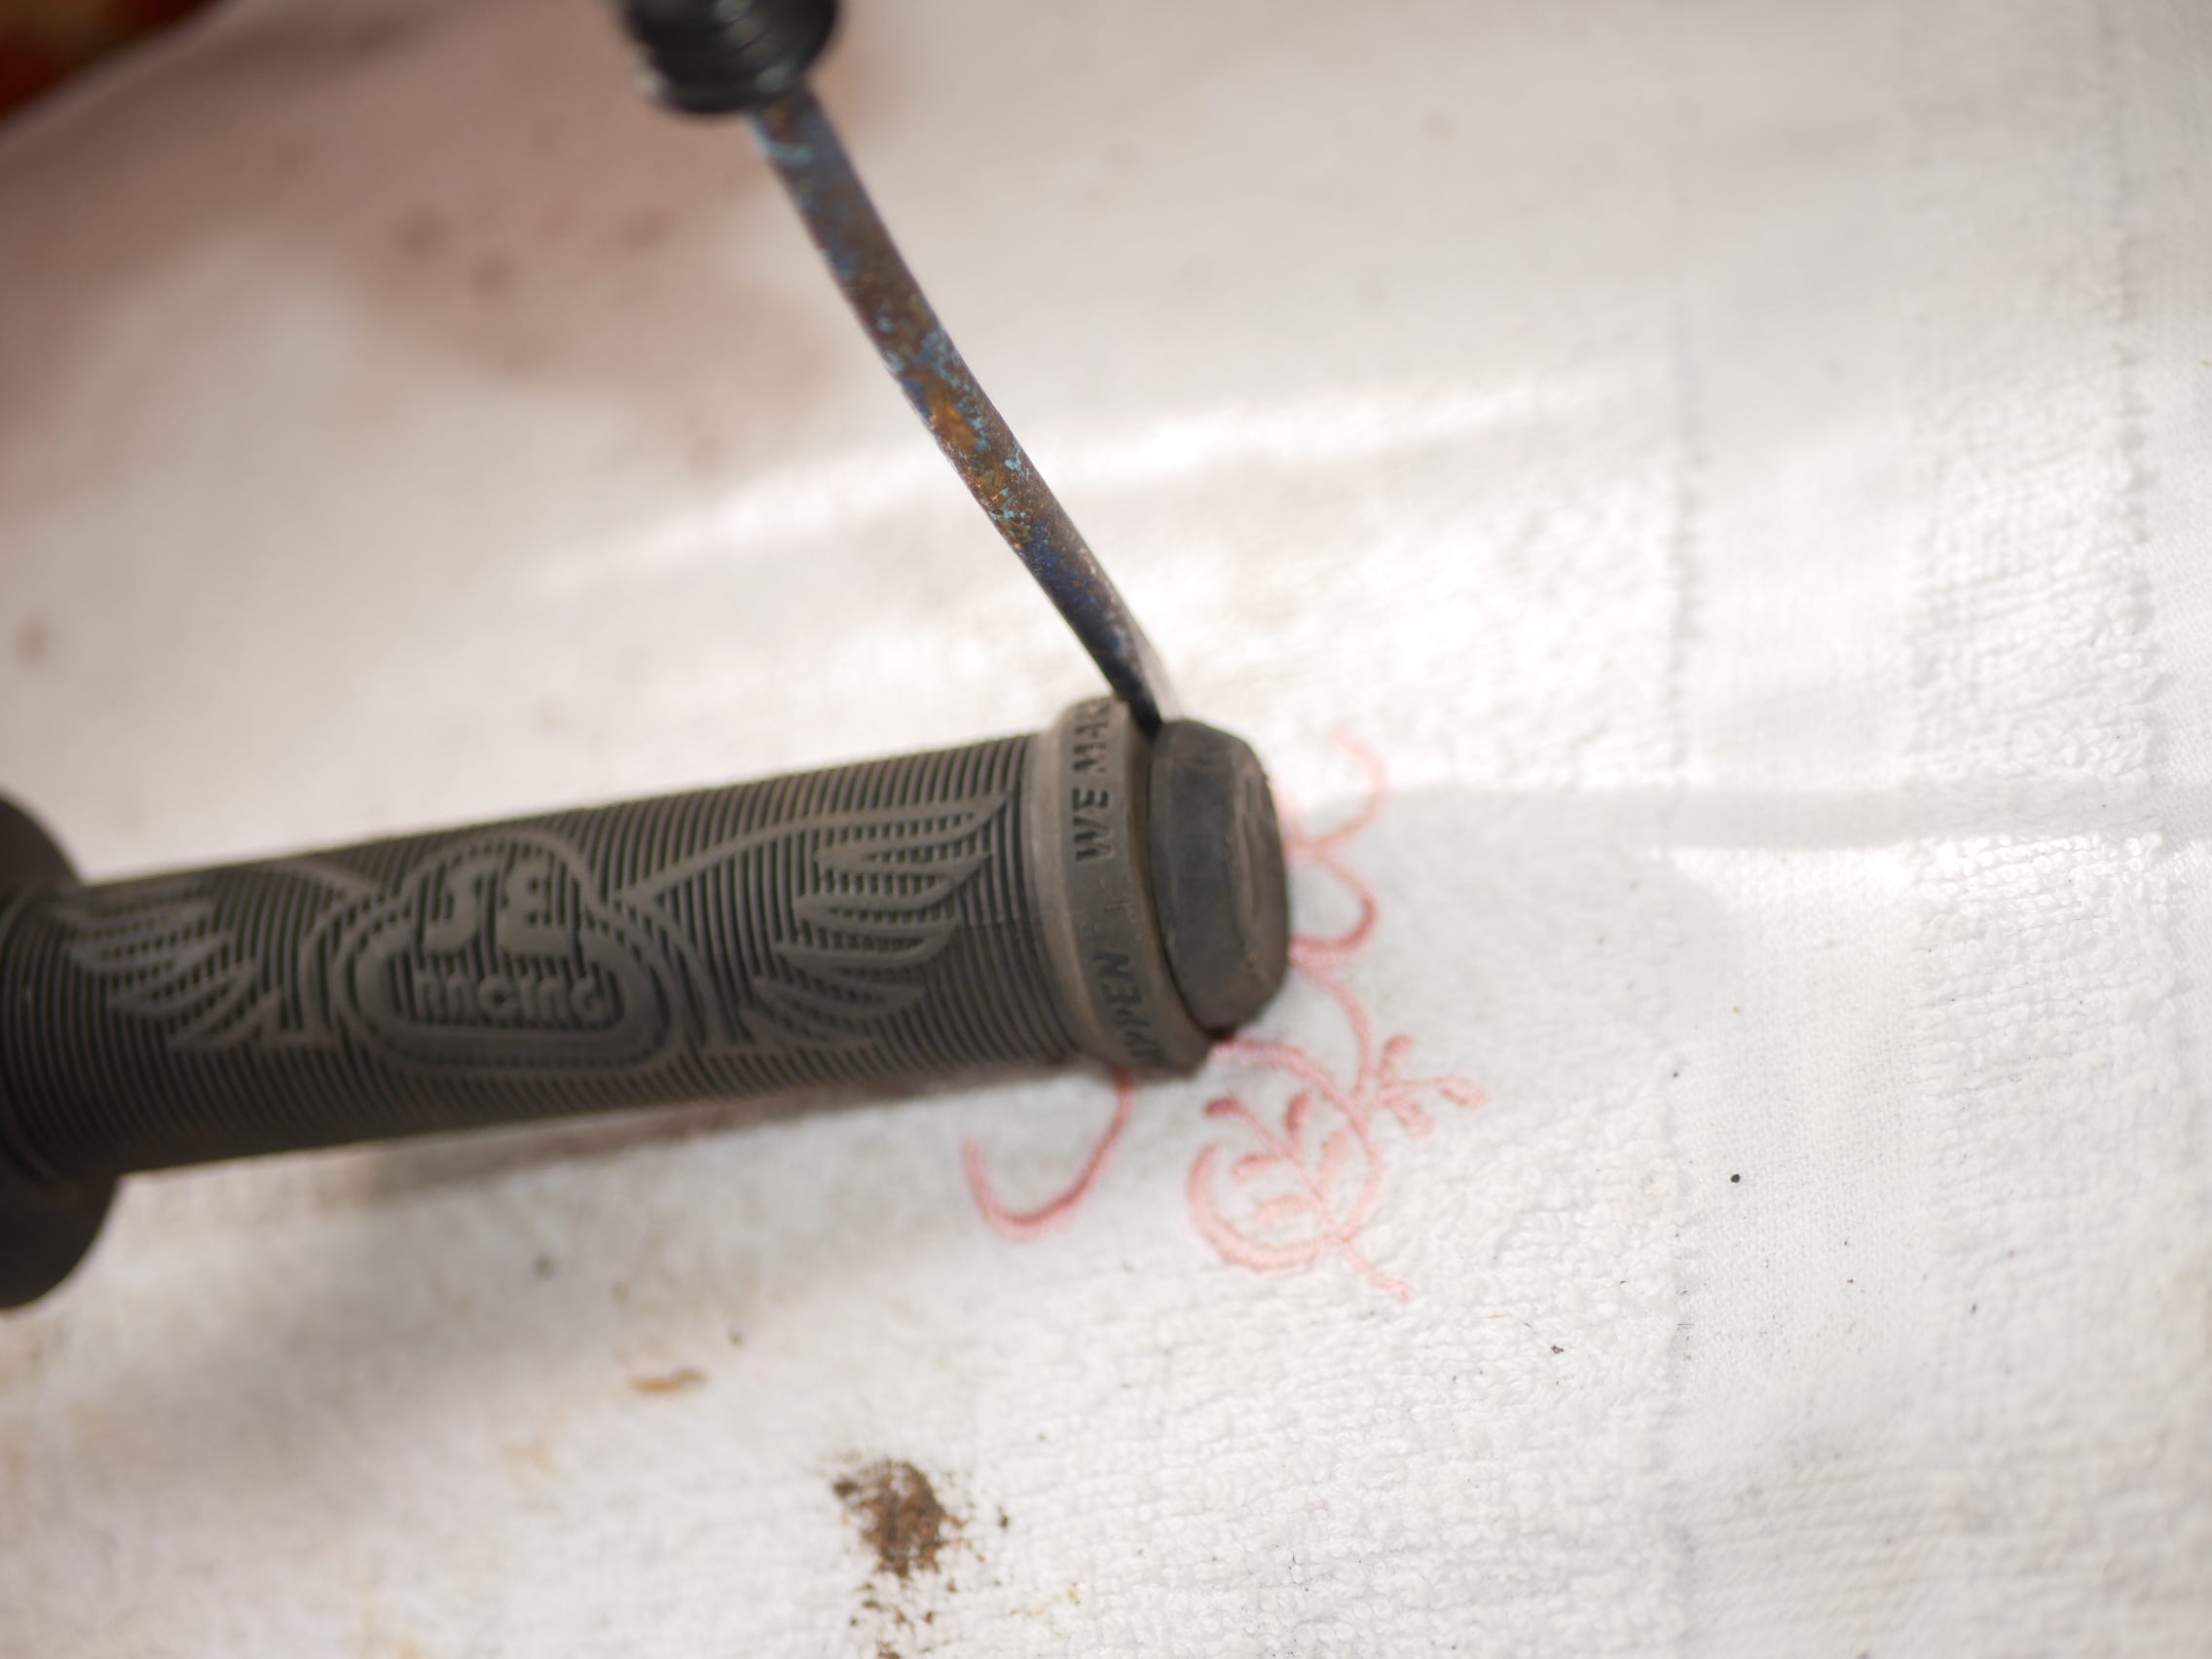
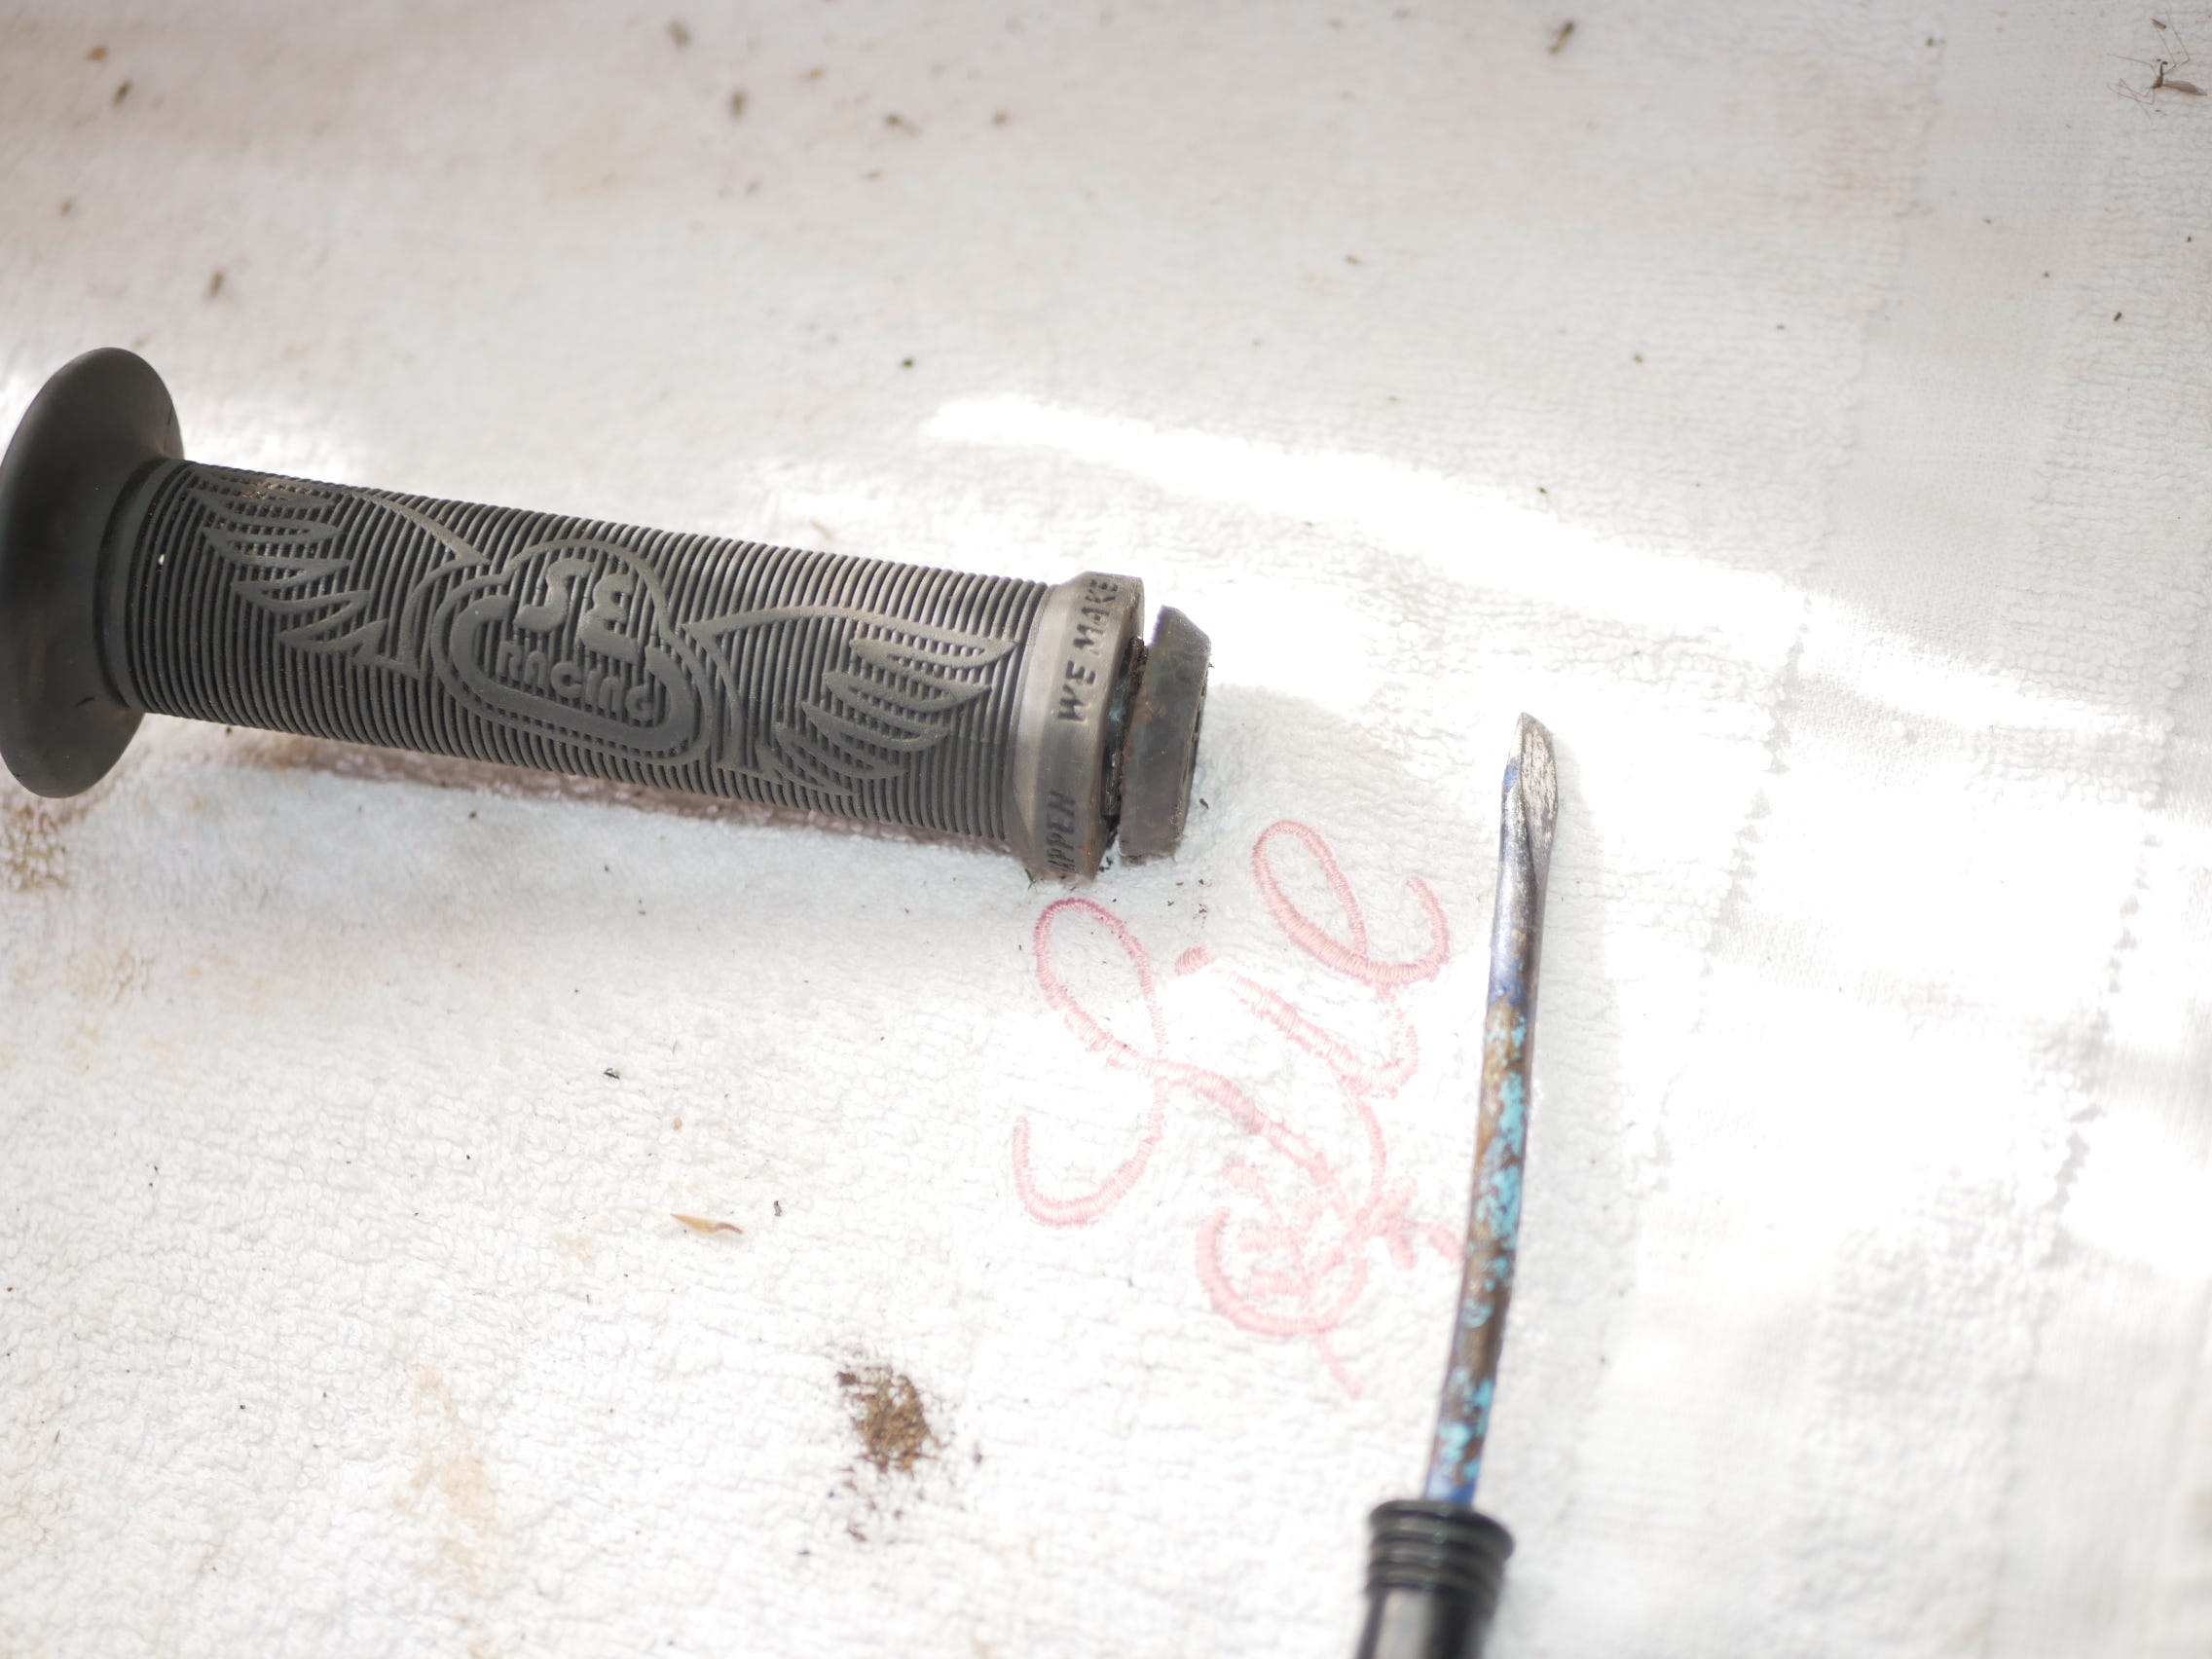
However, it didn’t work all that well thanks to being really stuck in there.
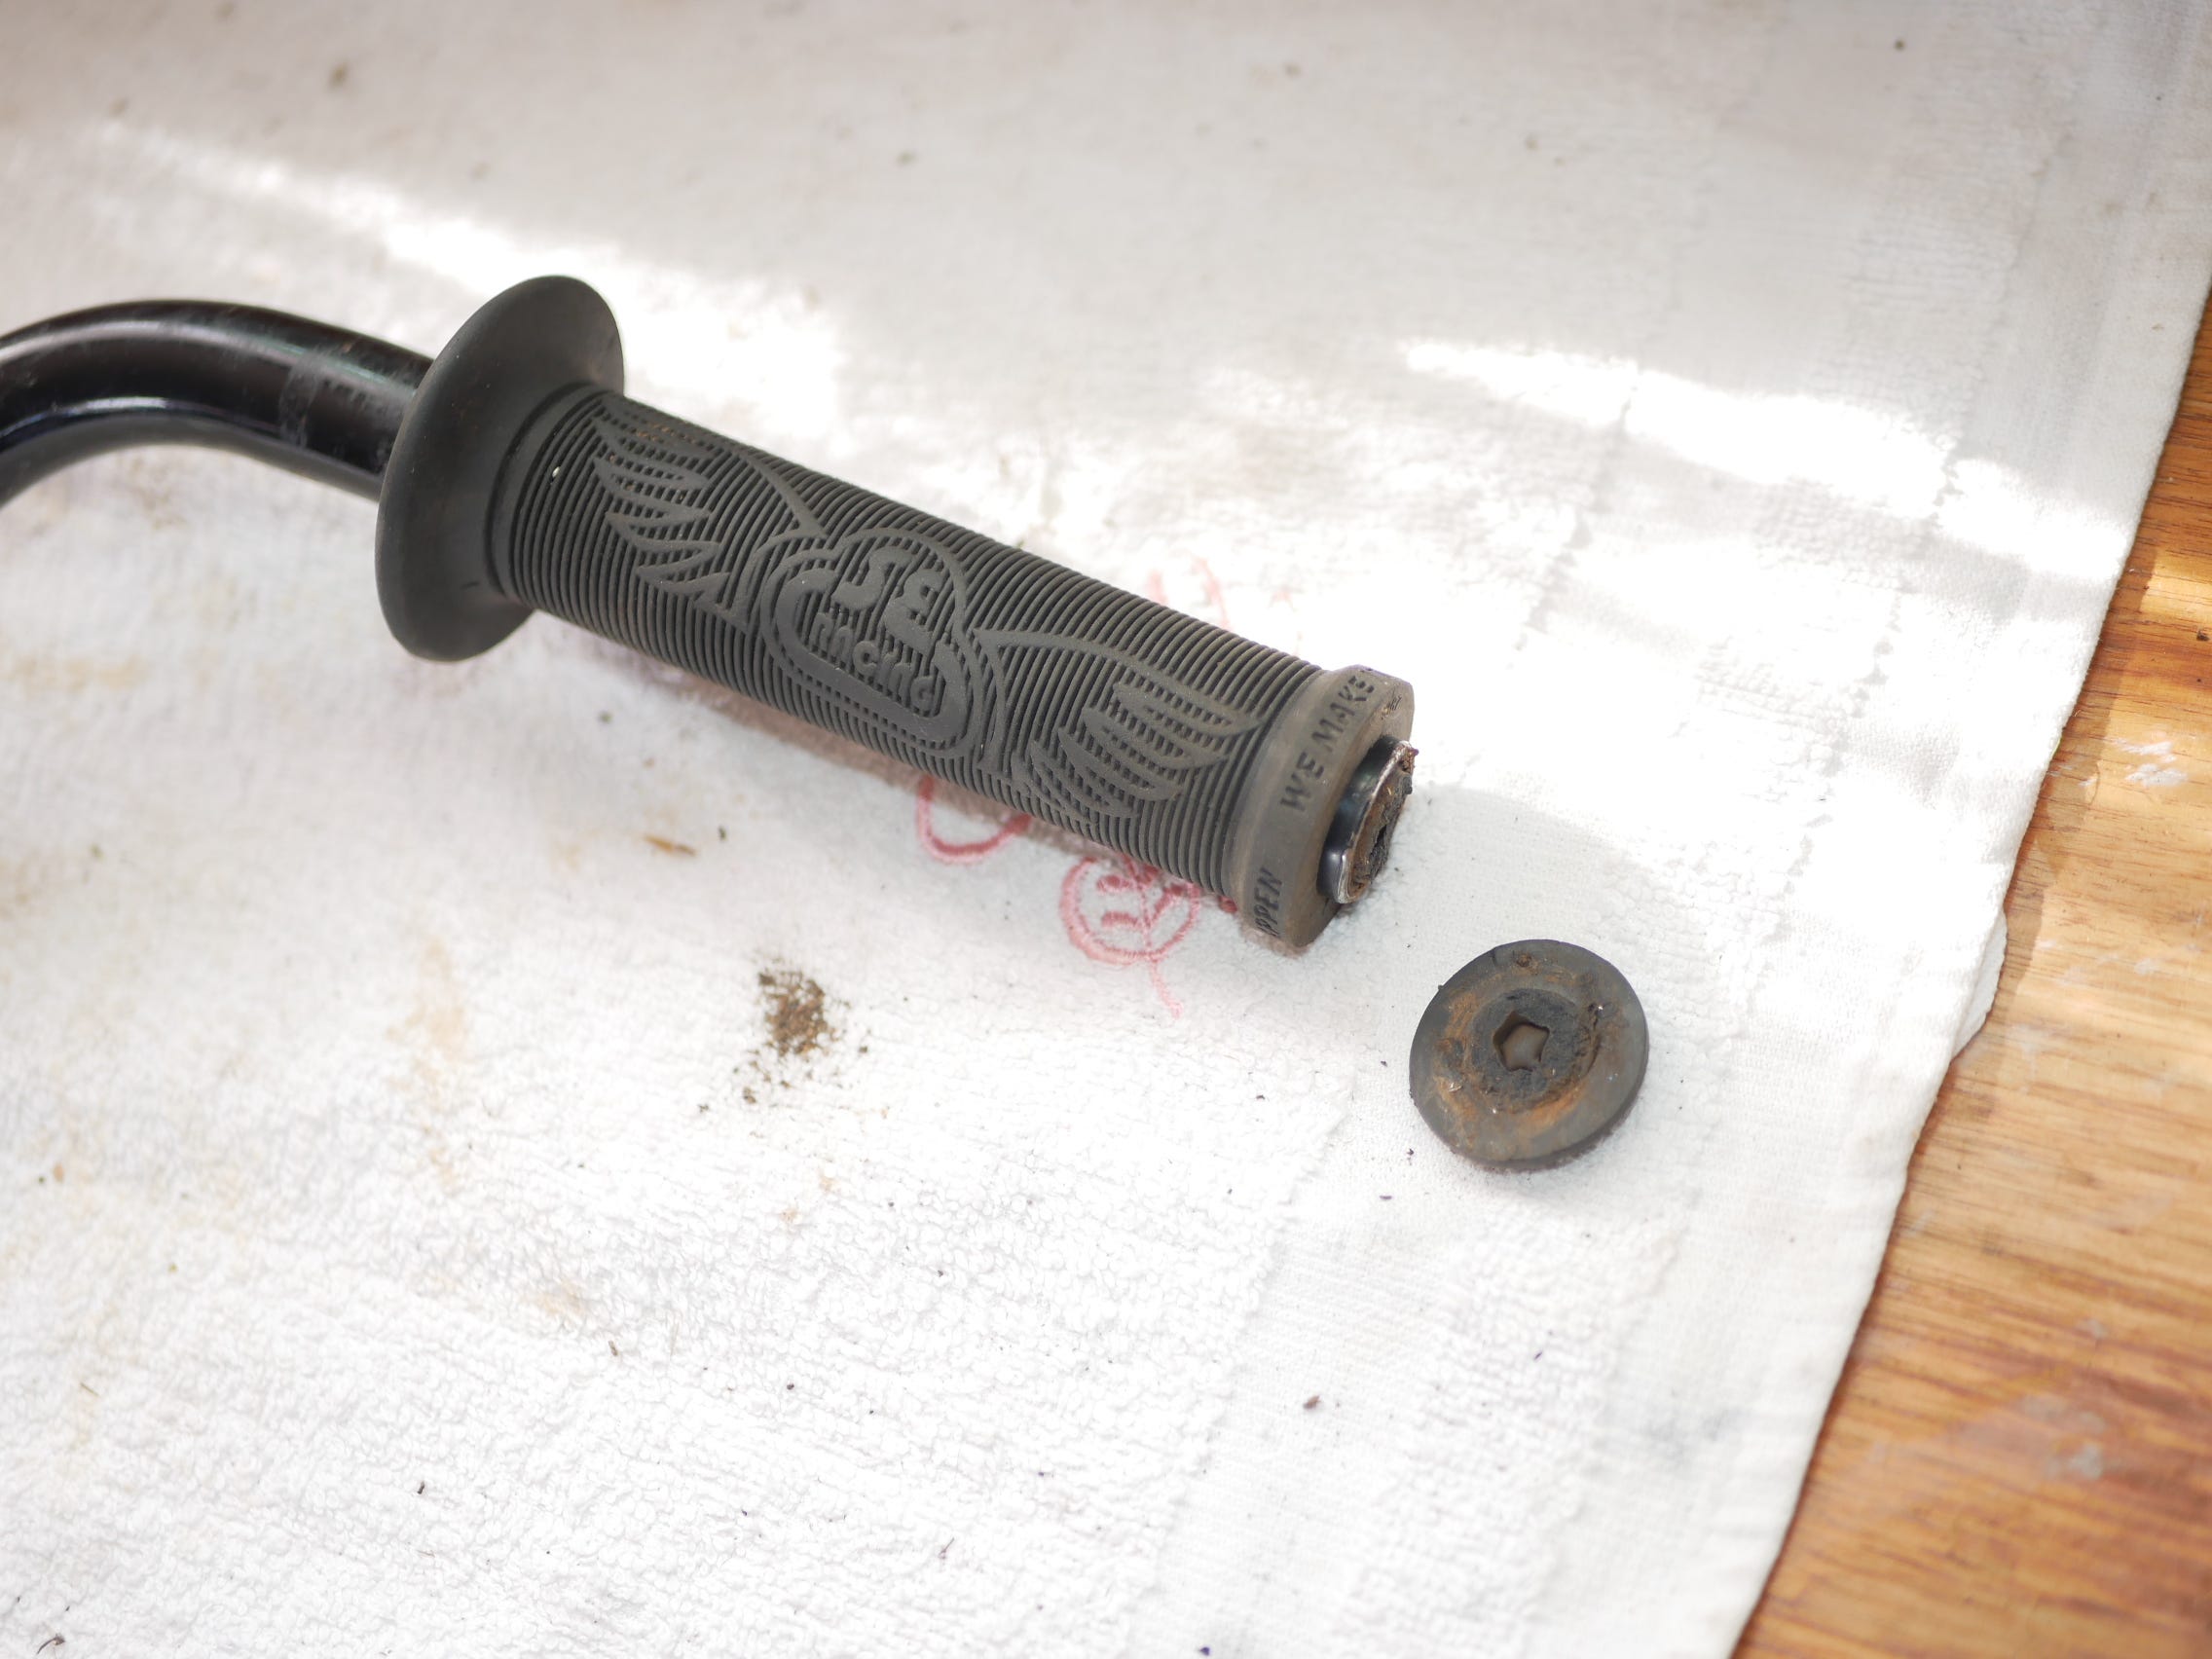
So the rest of it was dug out using the flat-blade.
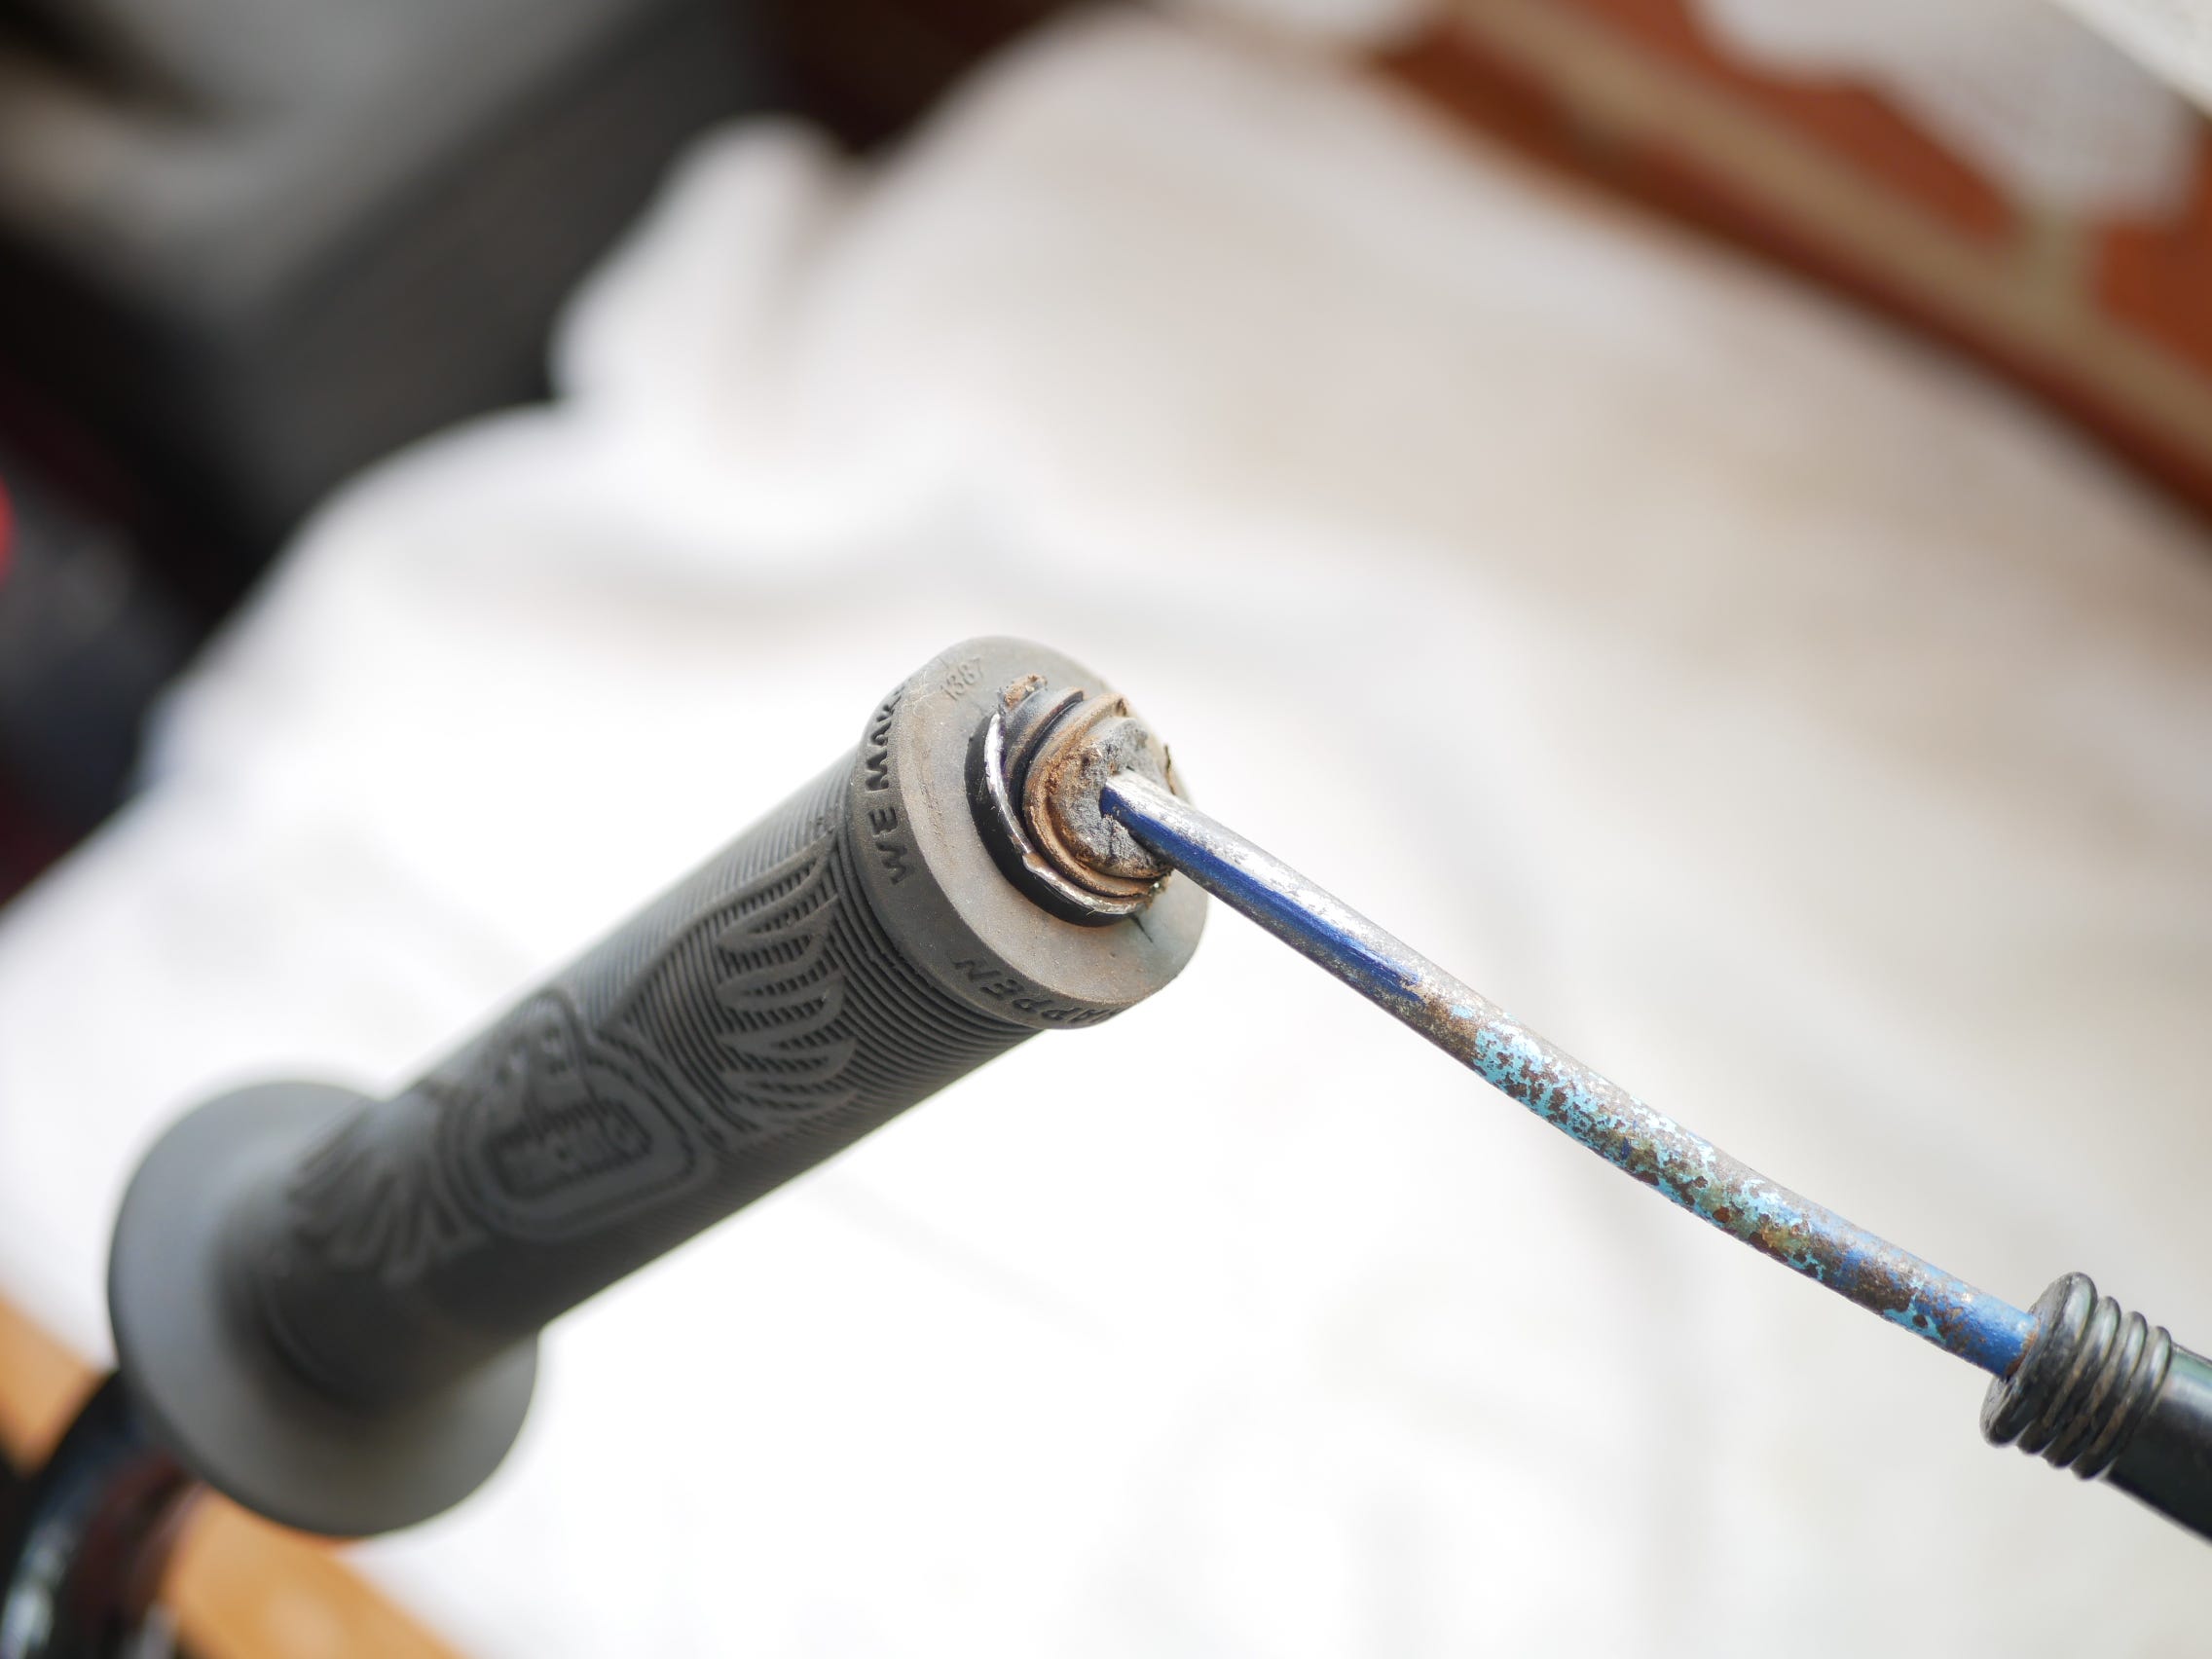
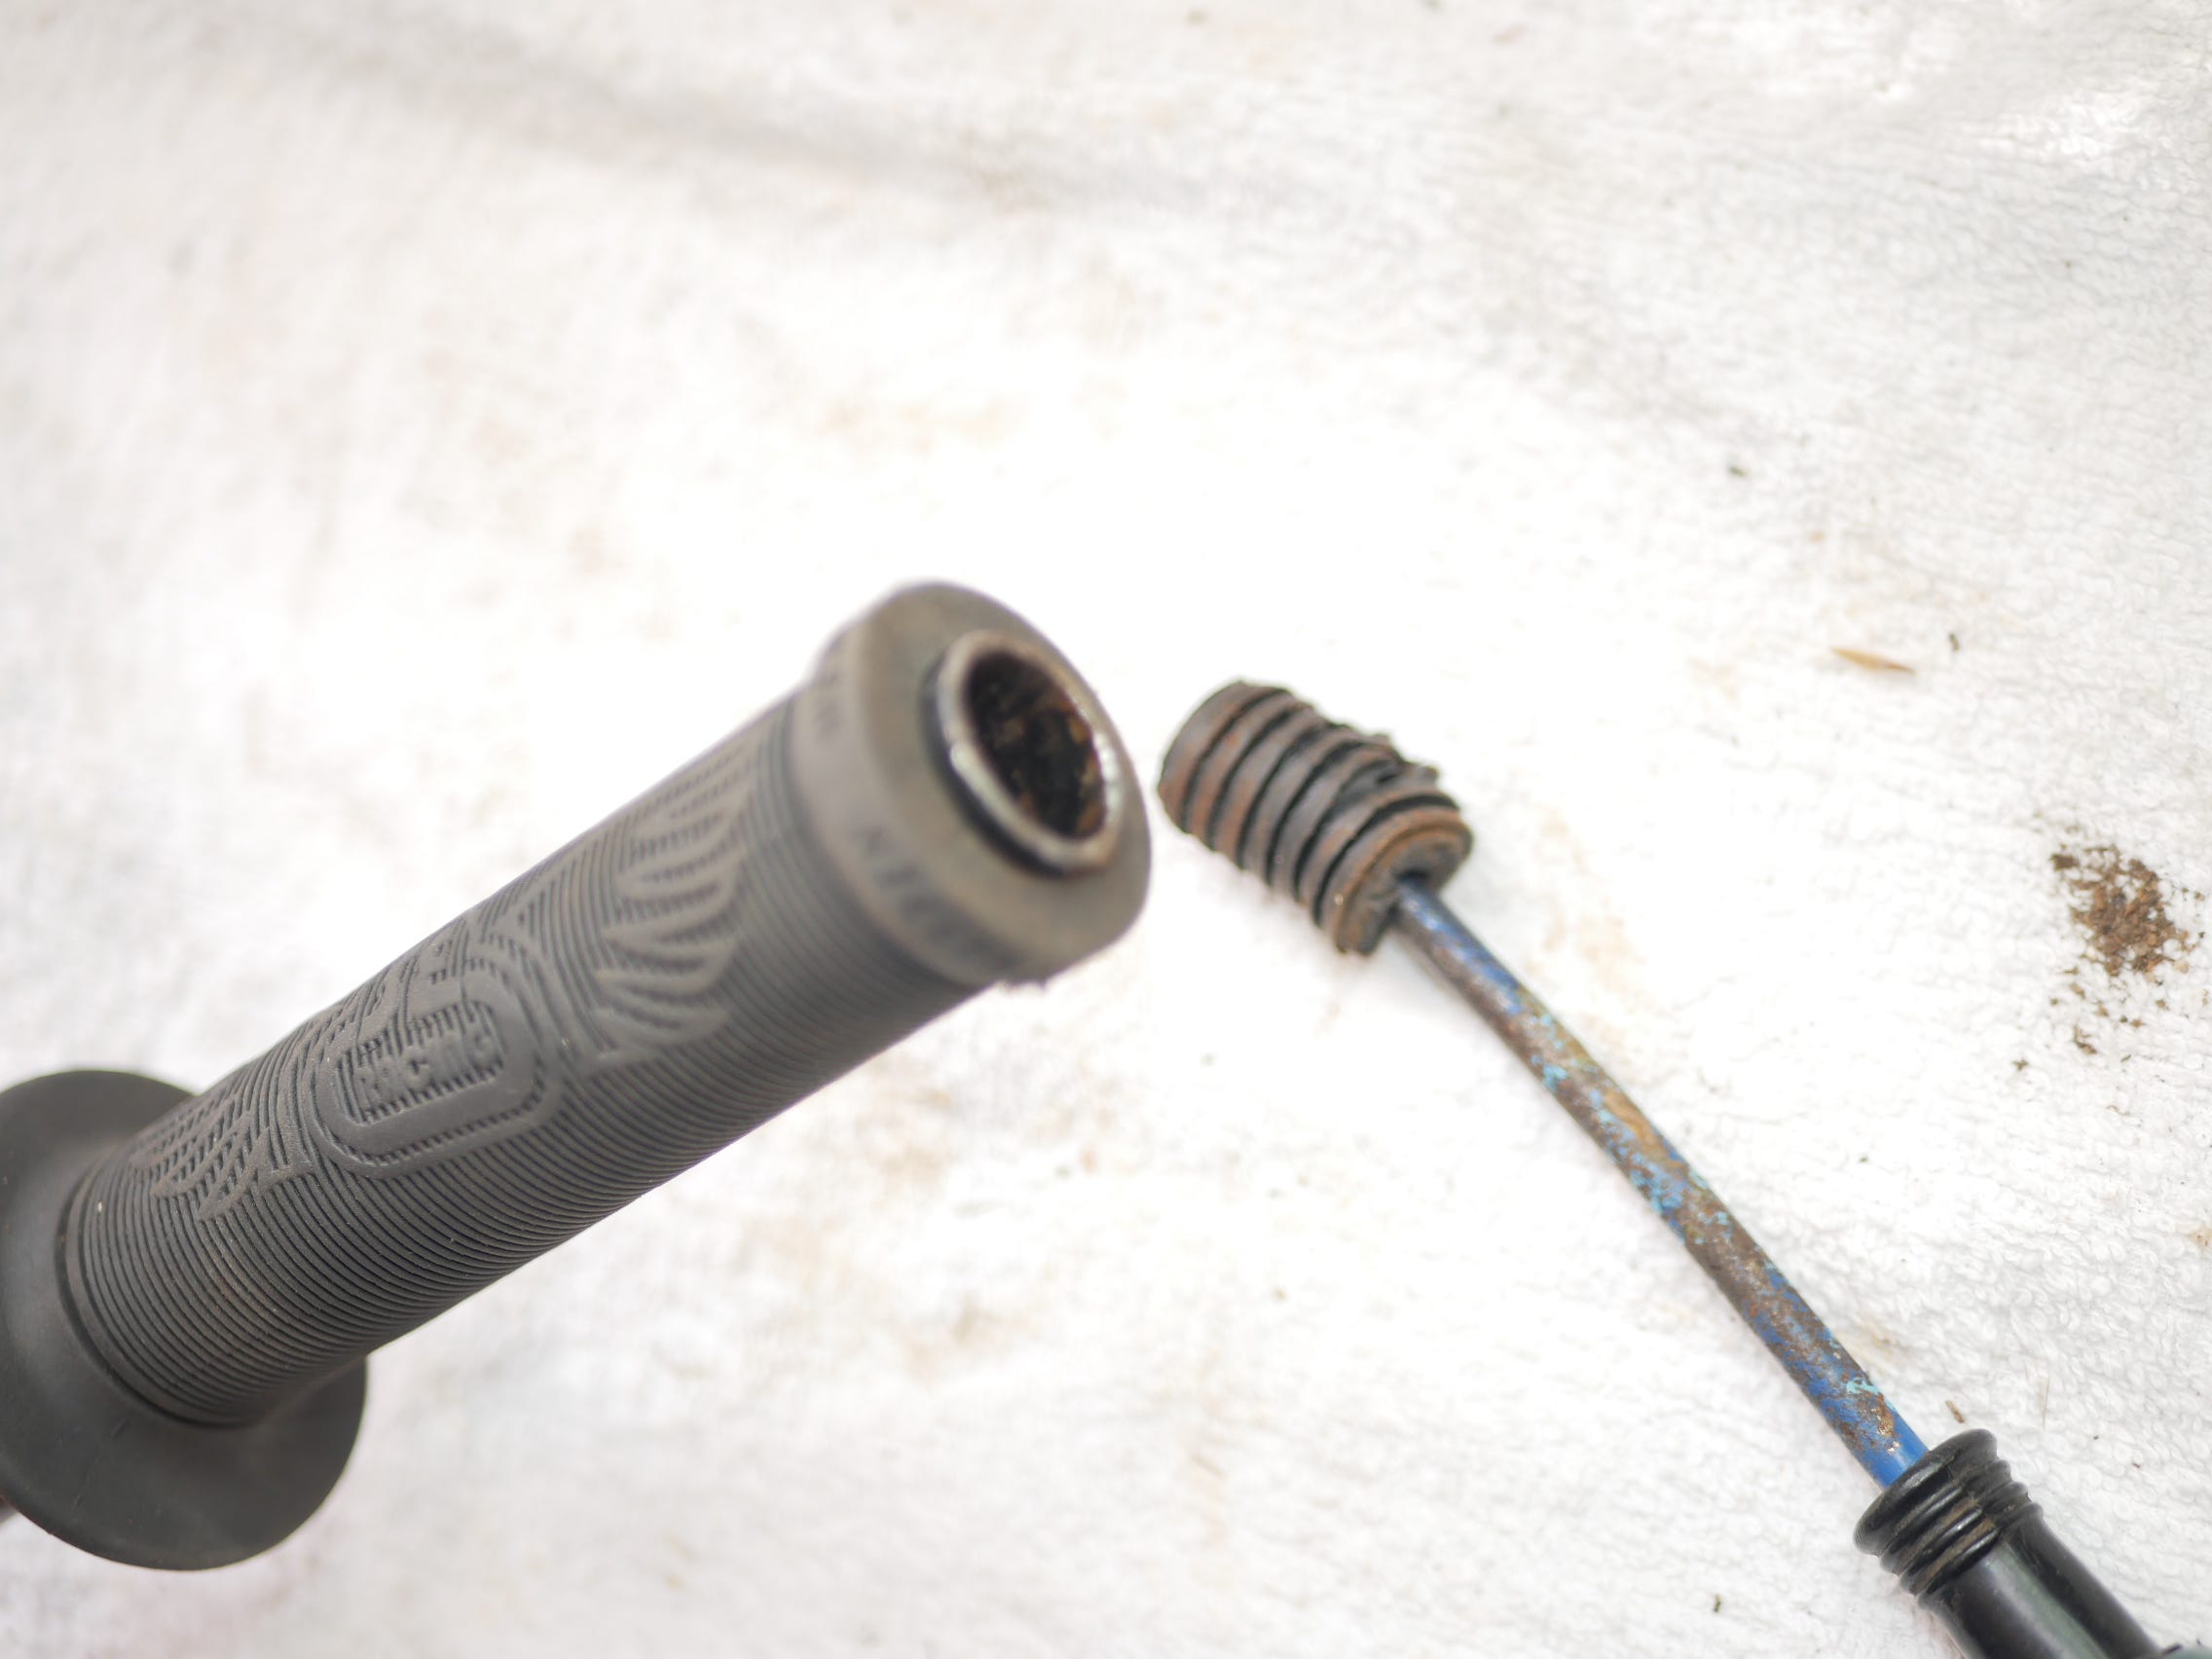
As for the other side, it was not too bad to take out for some reason?
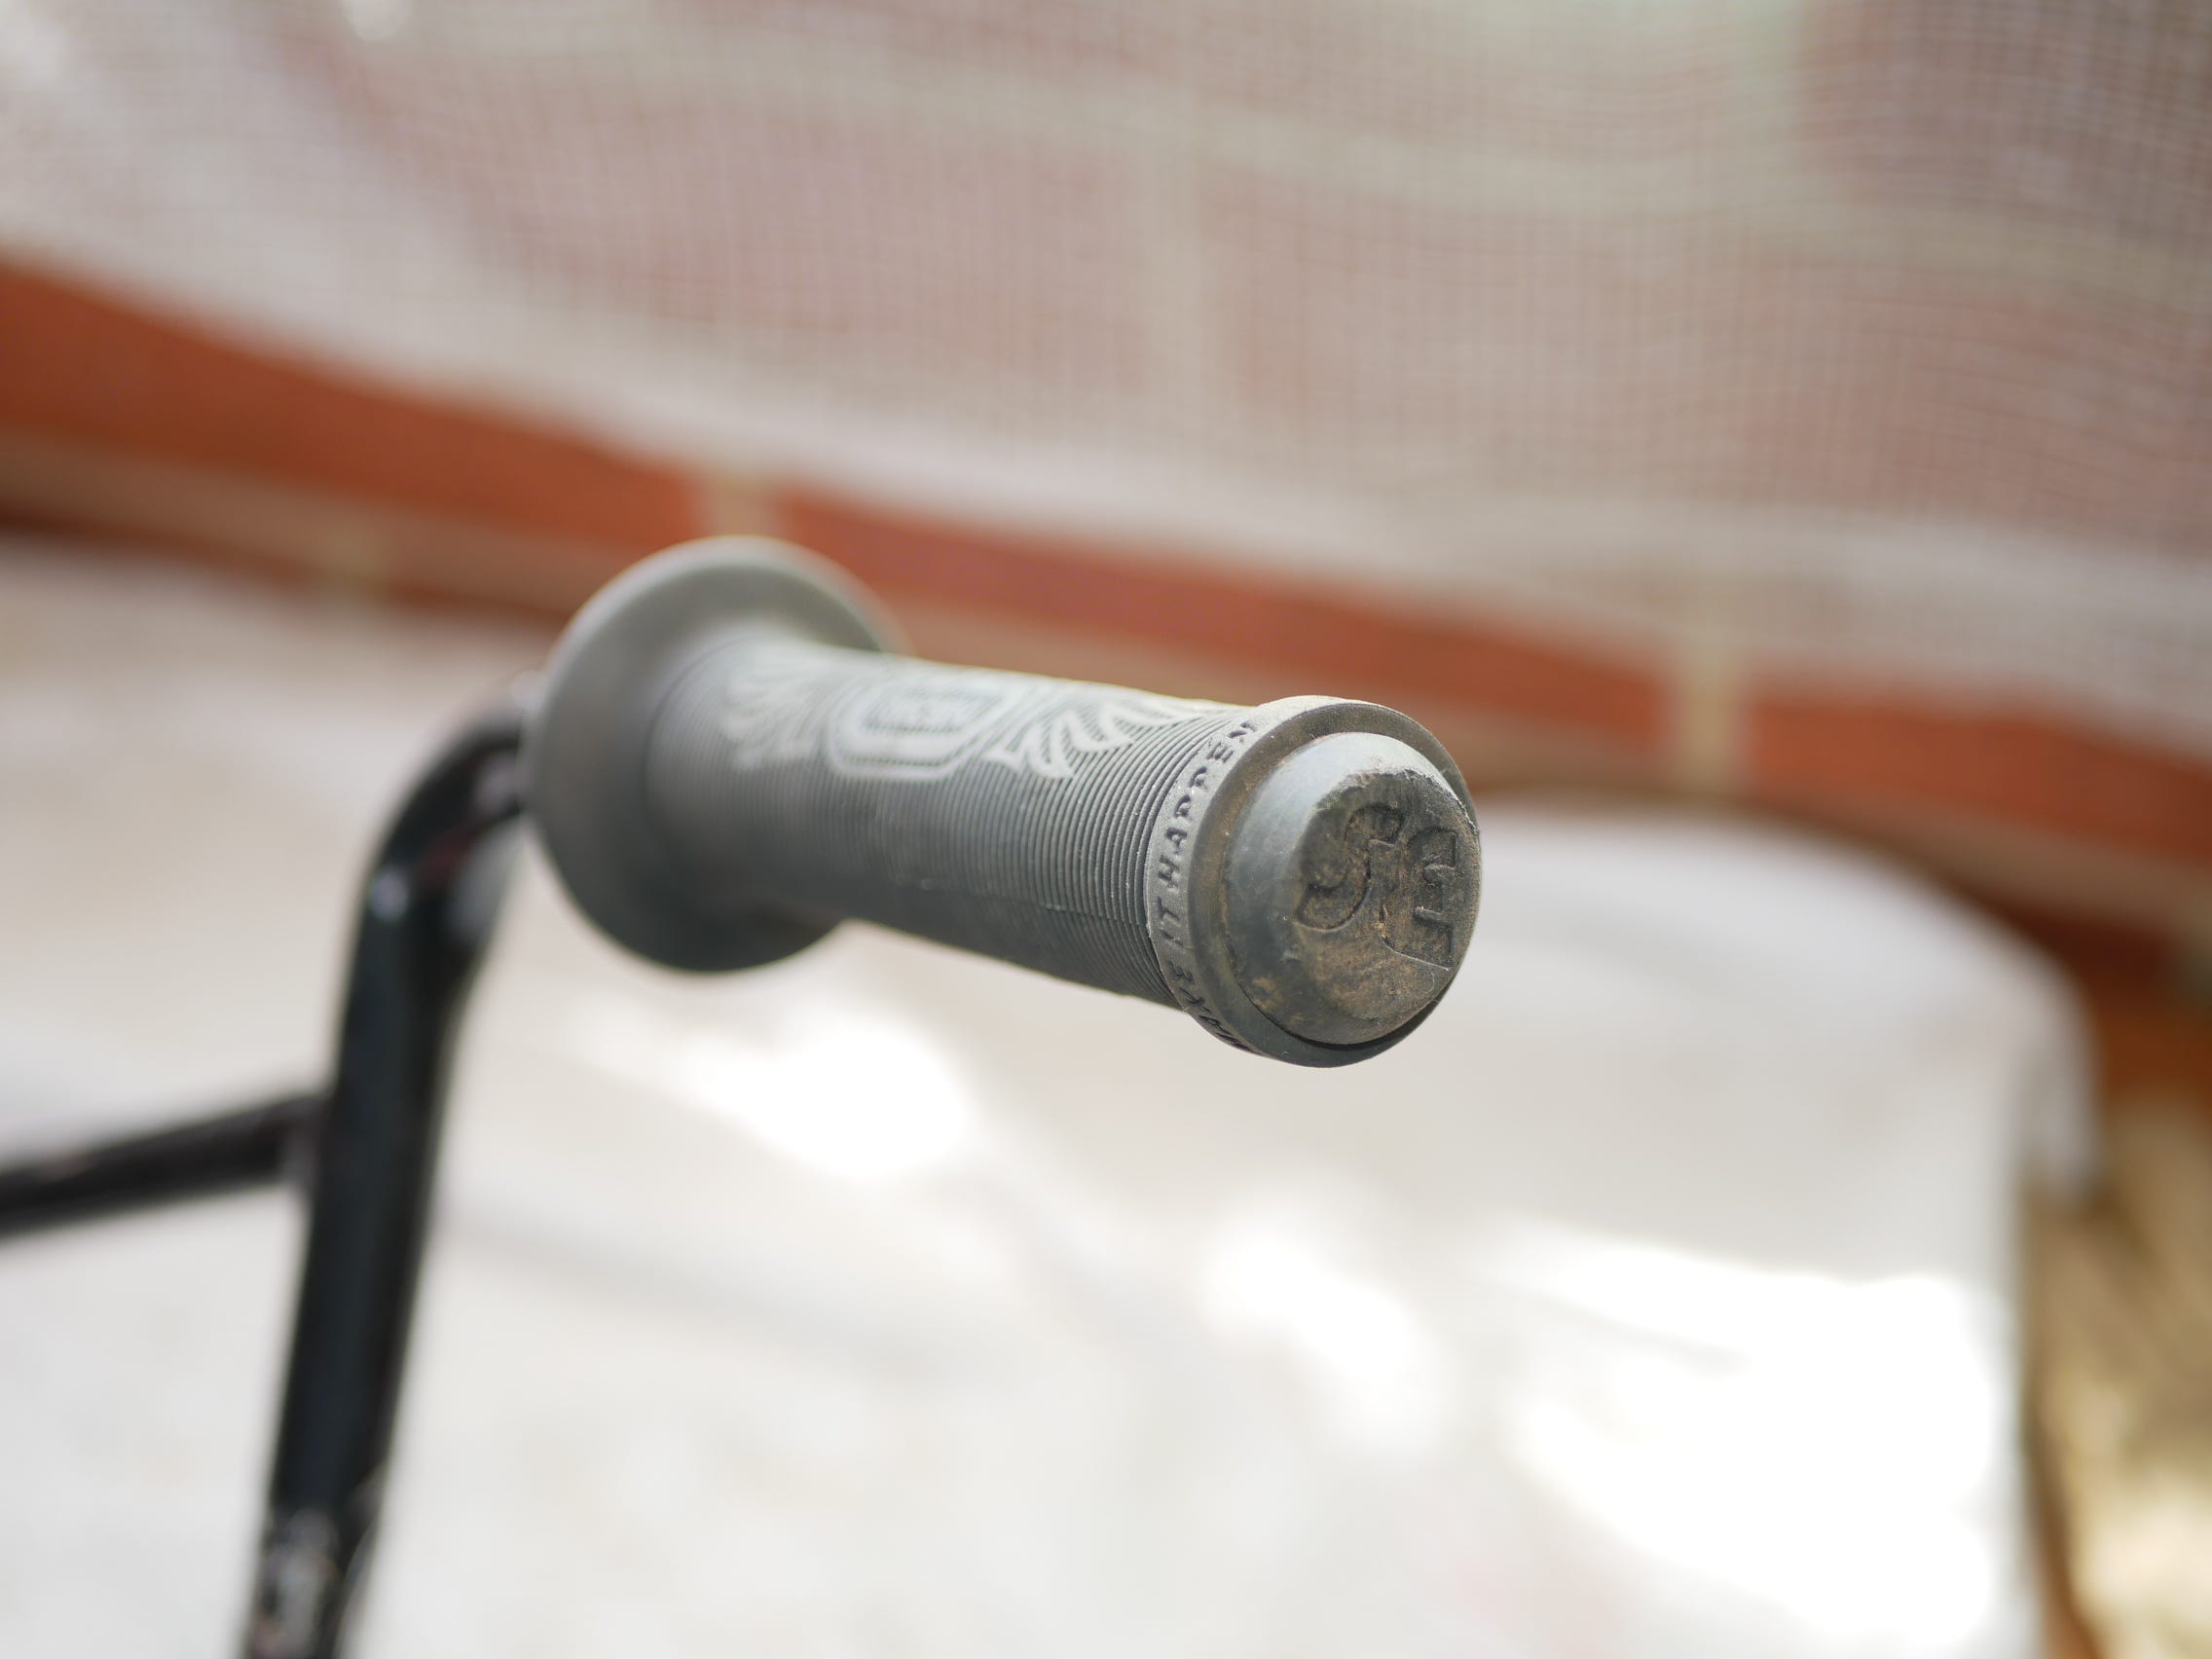
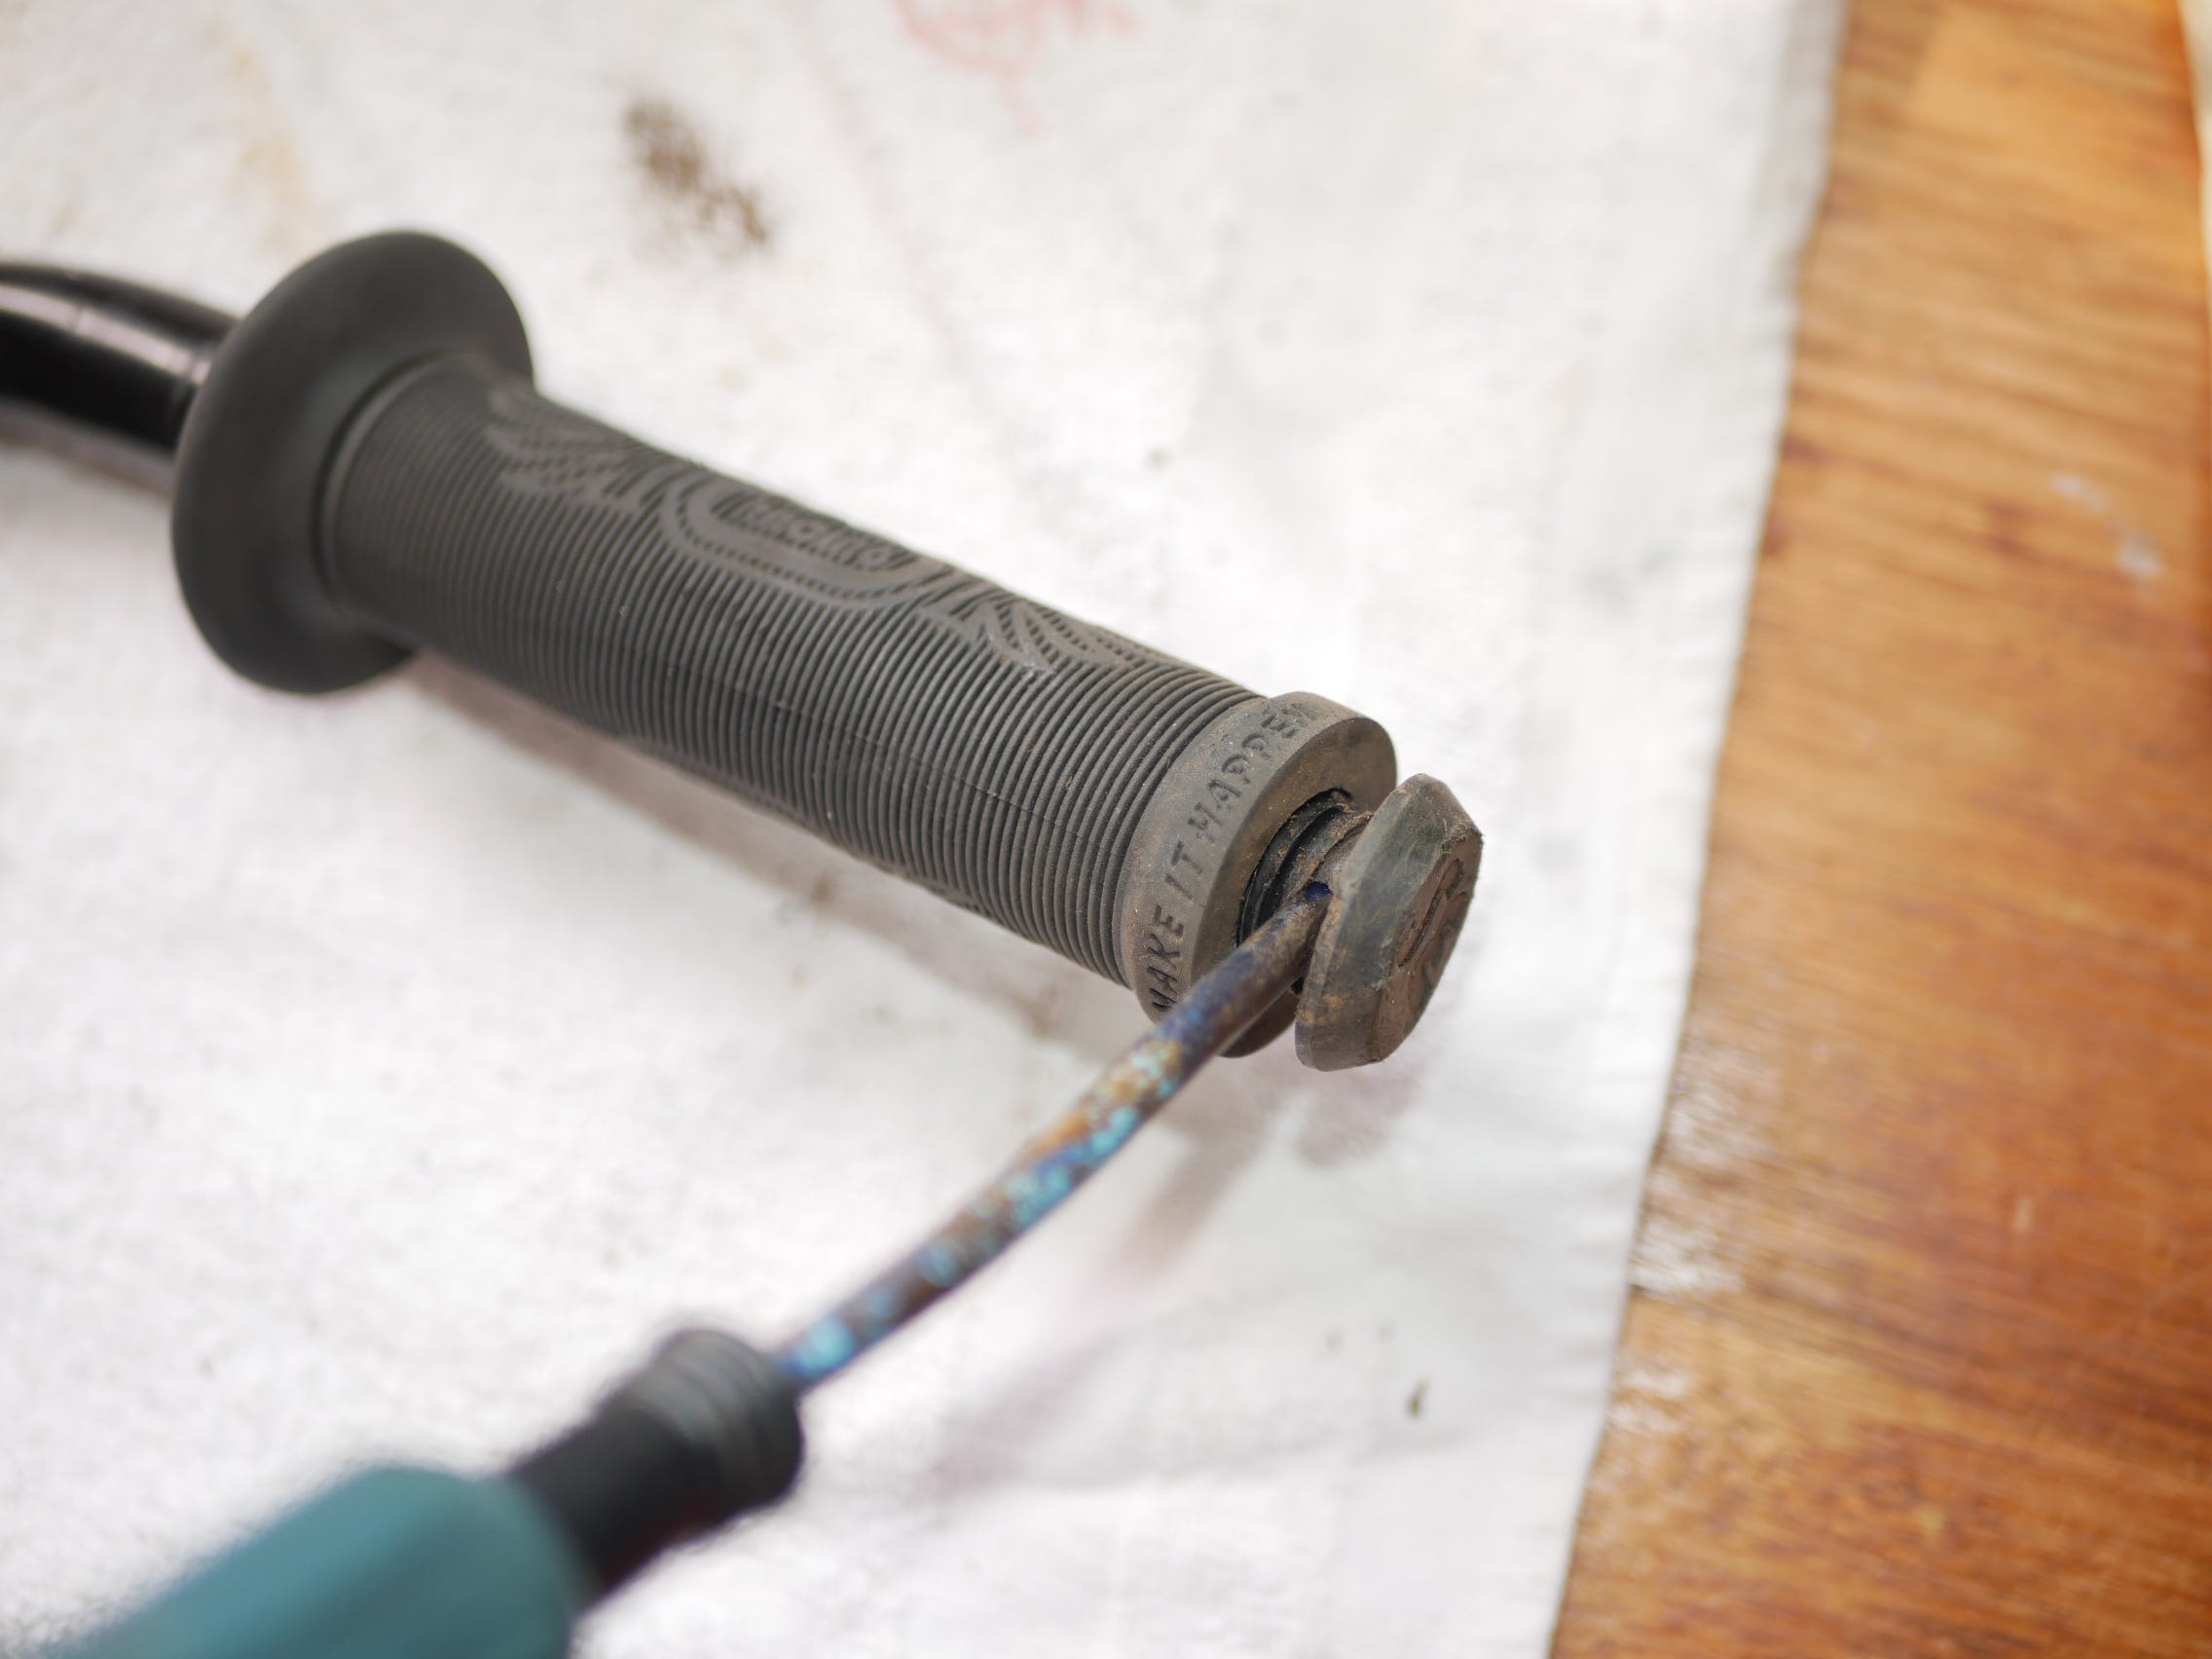
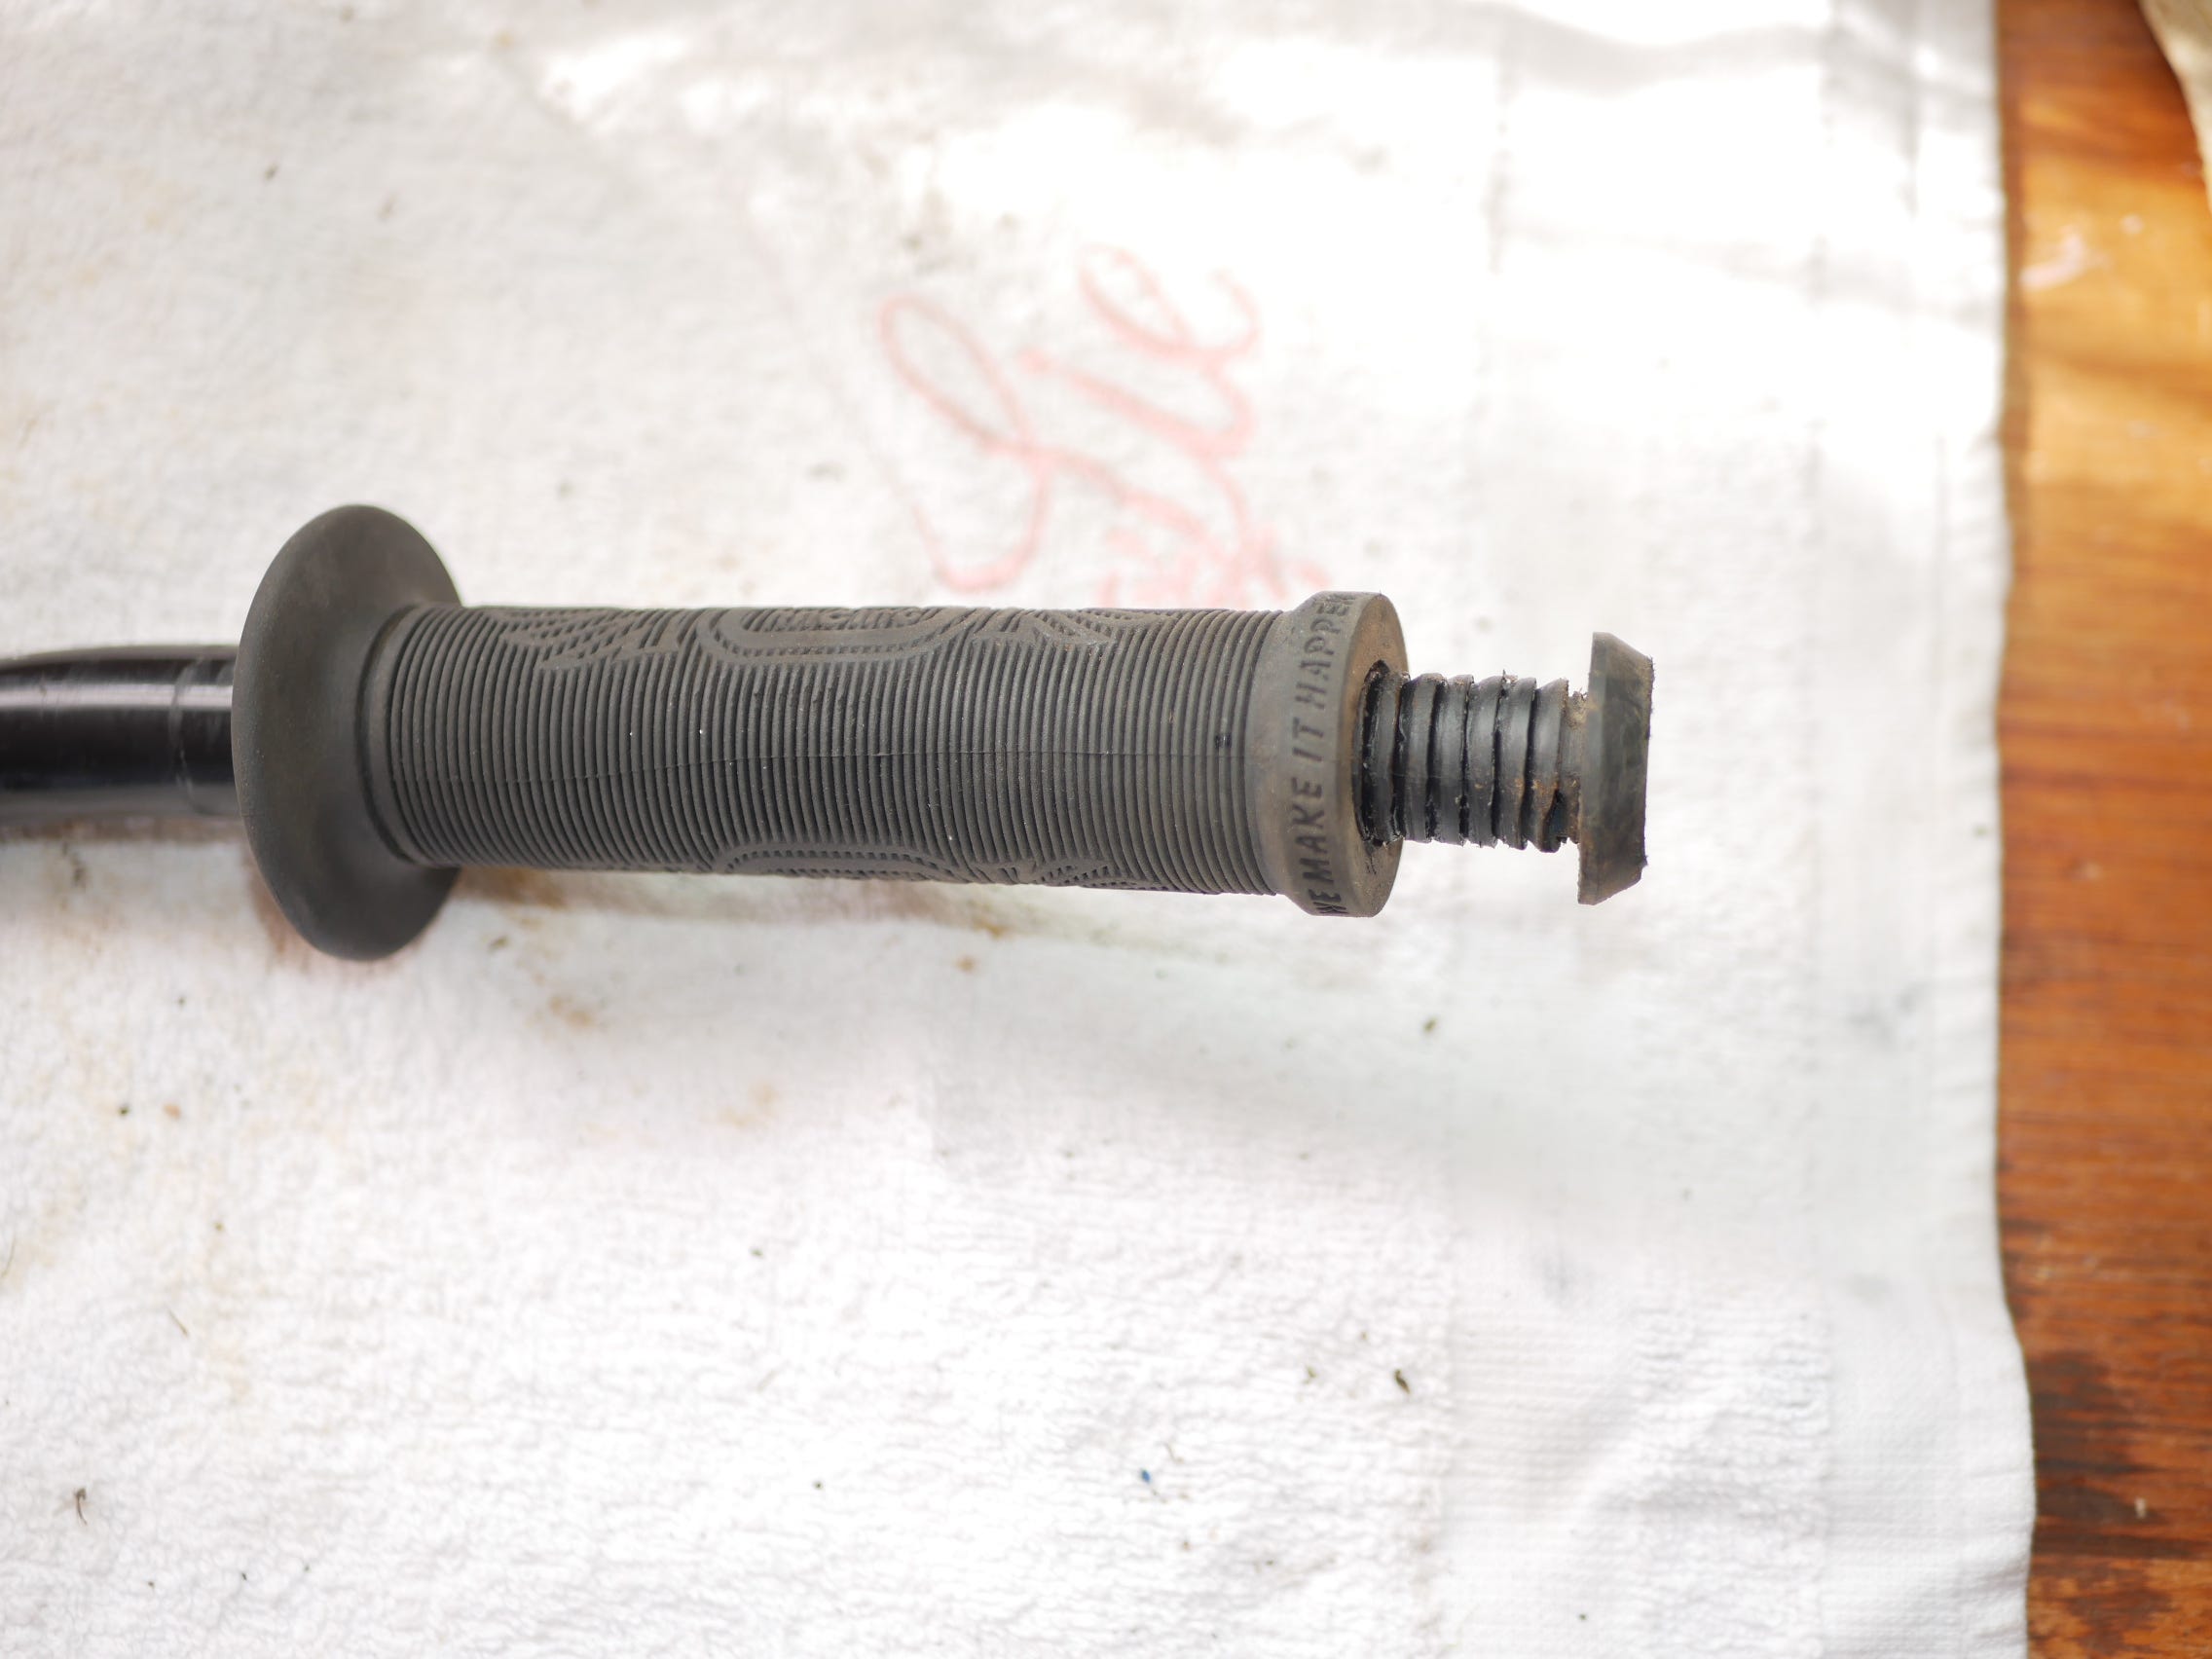
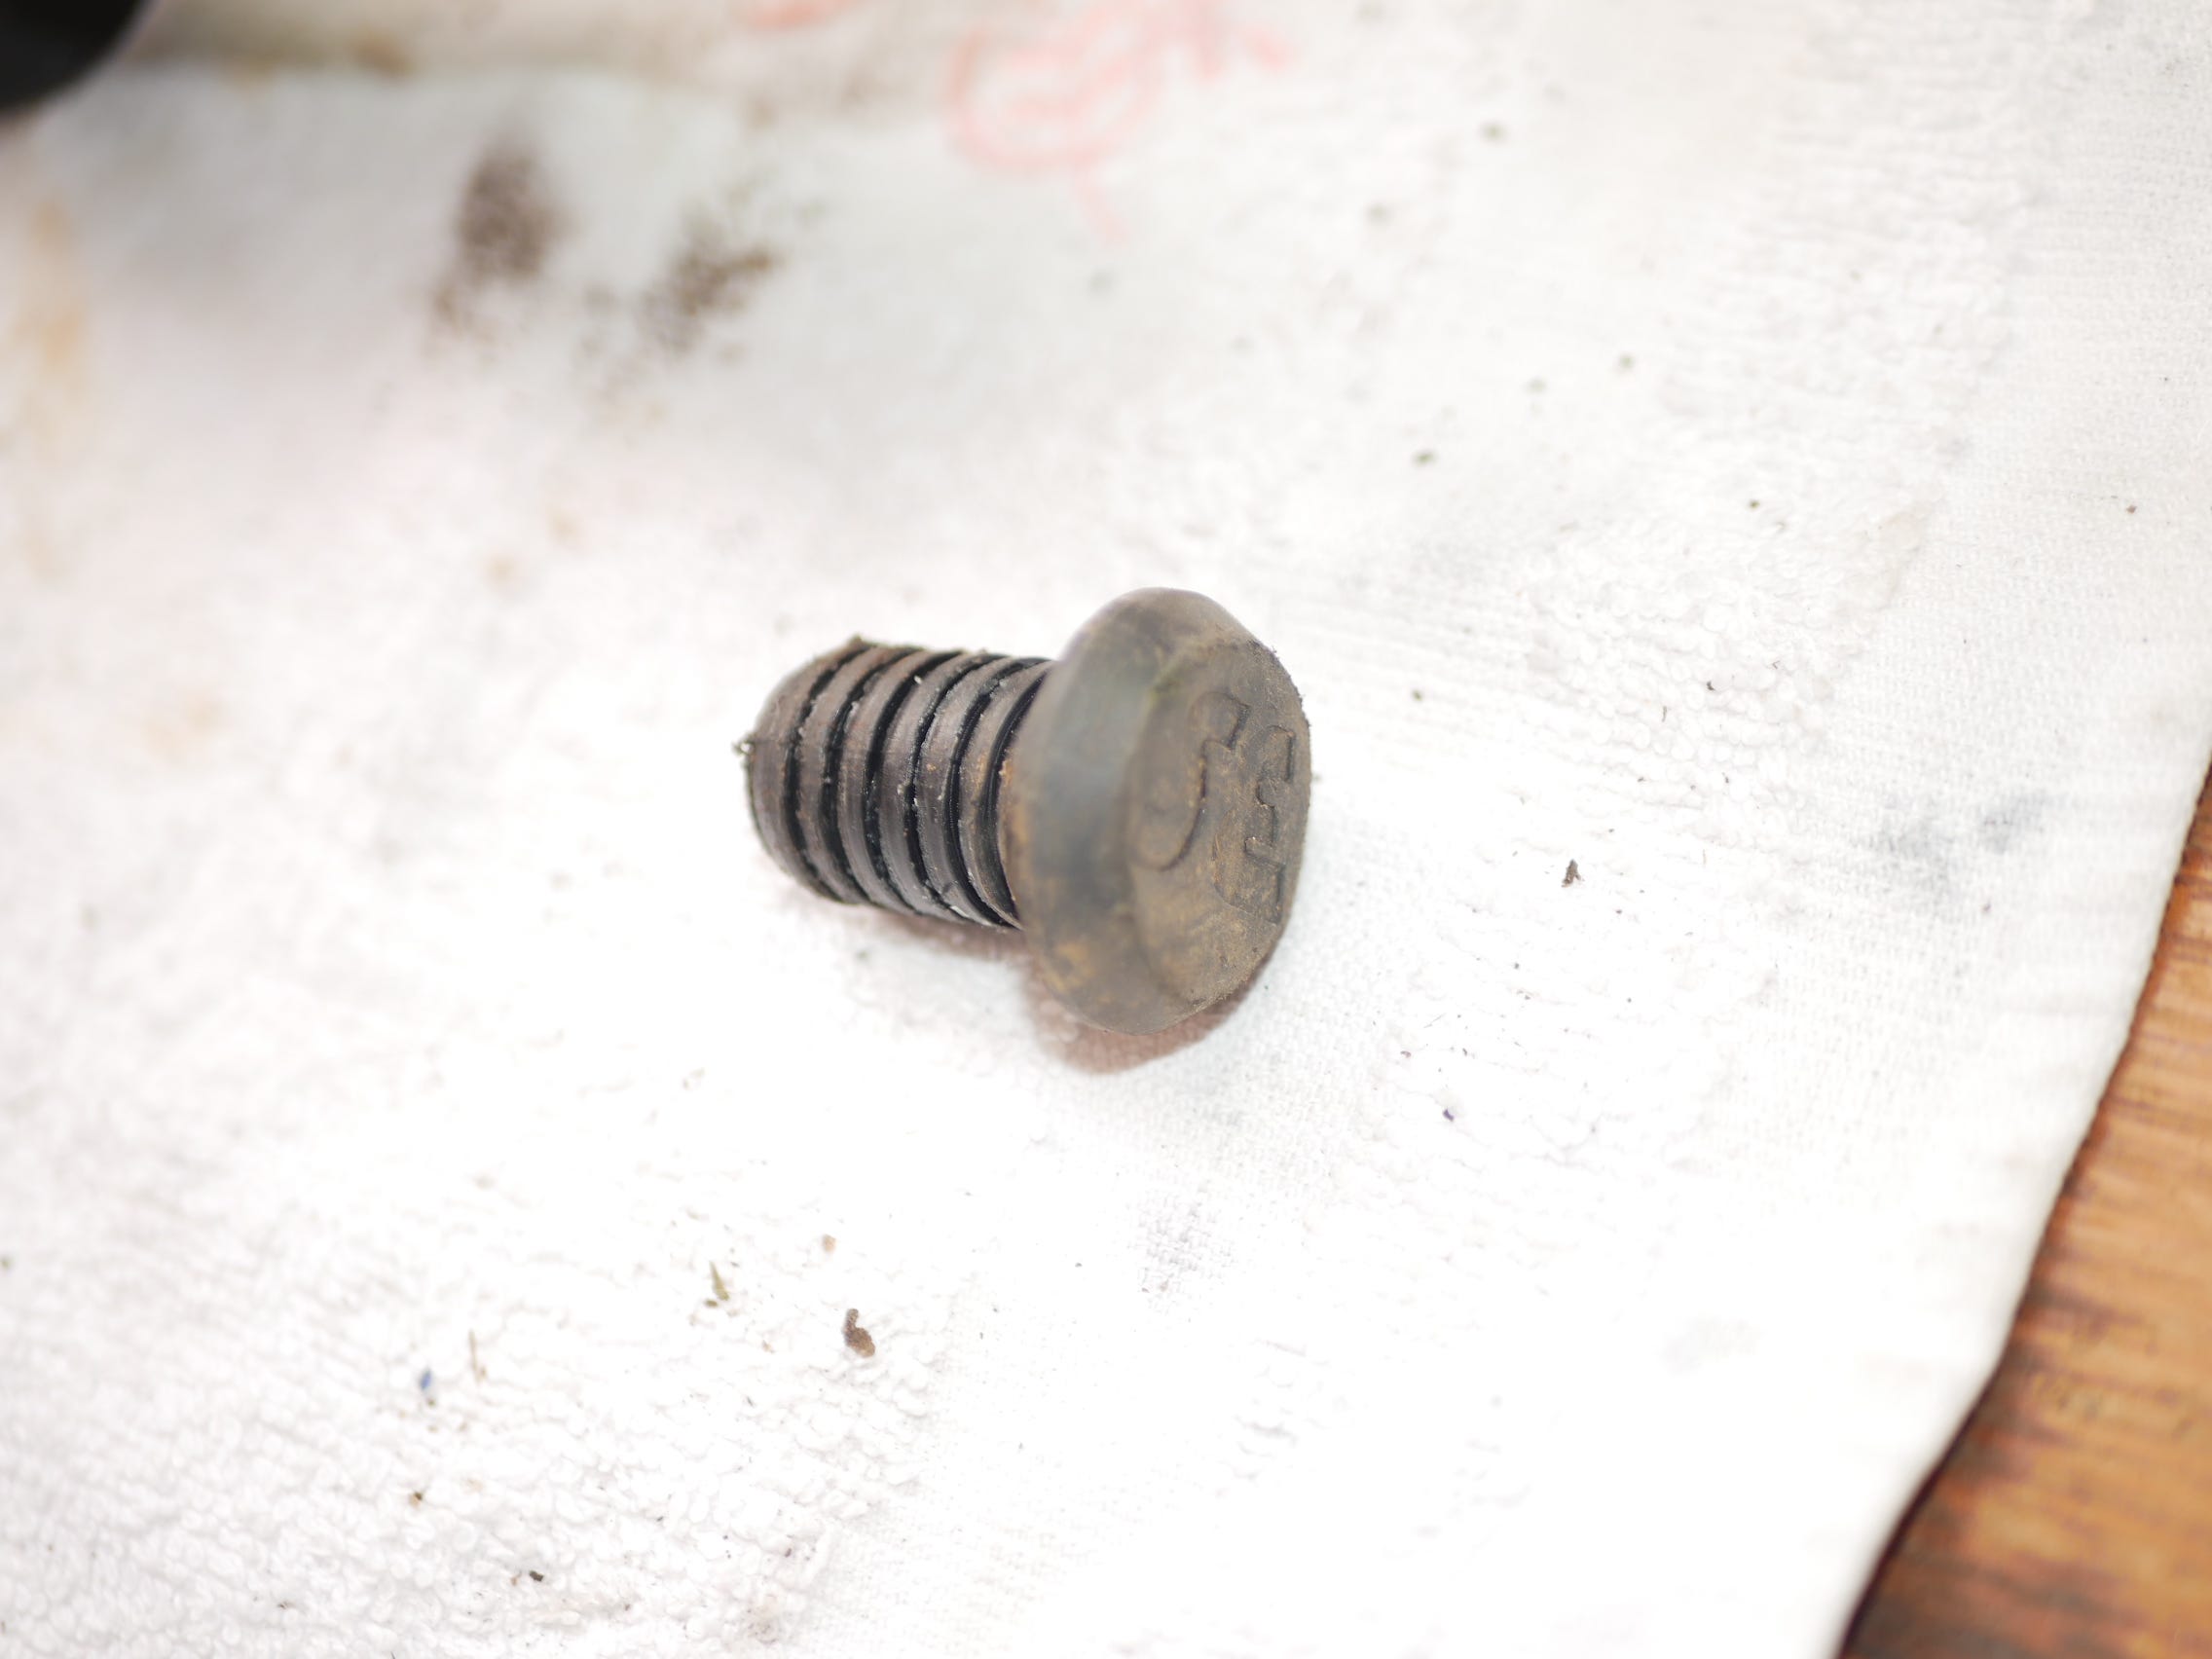
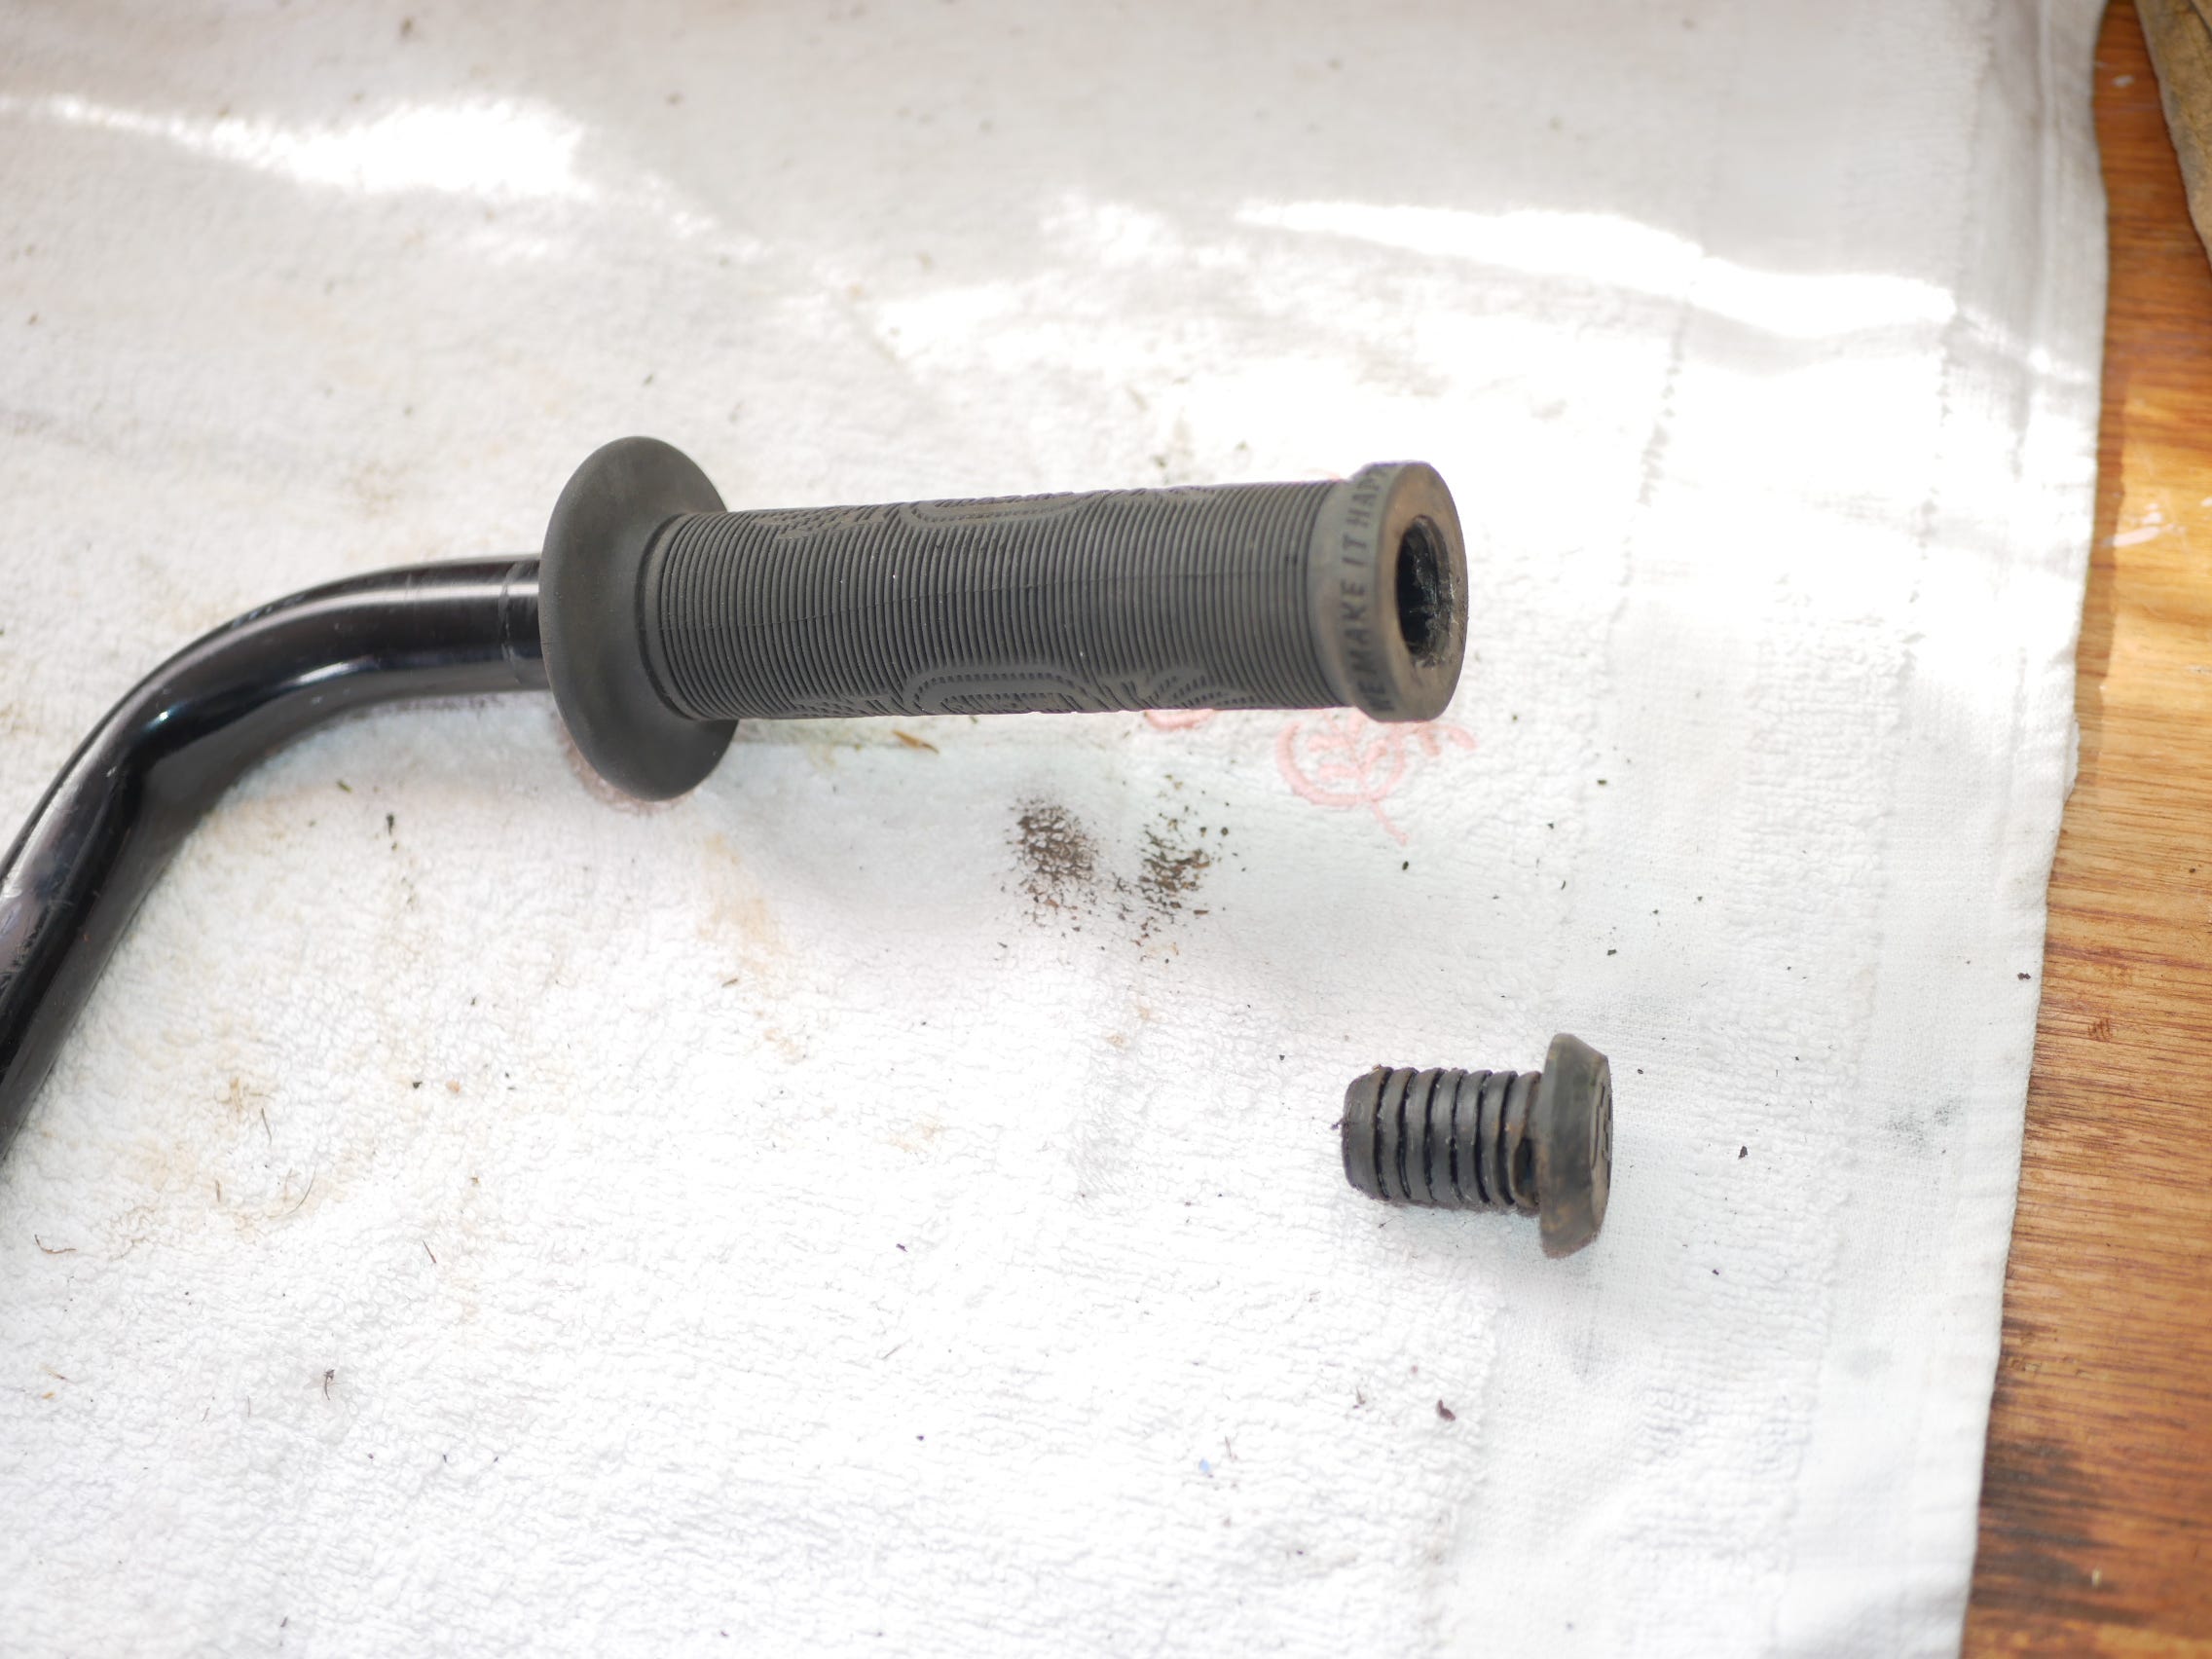
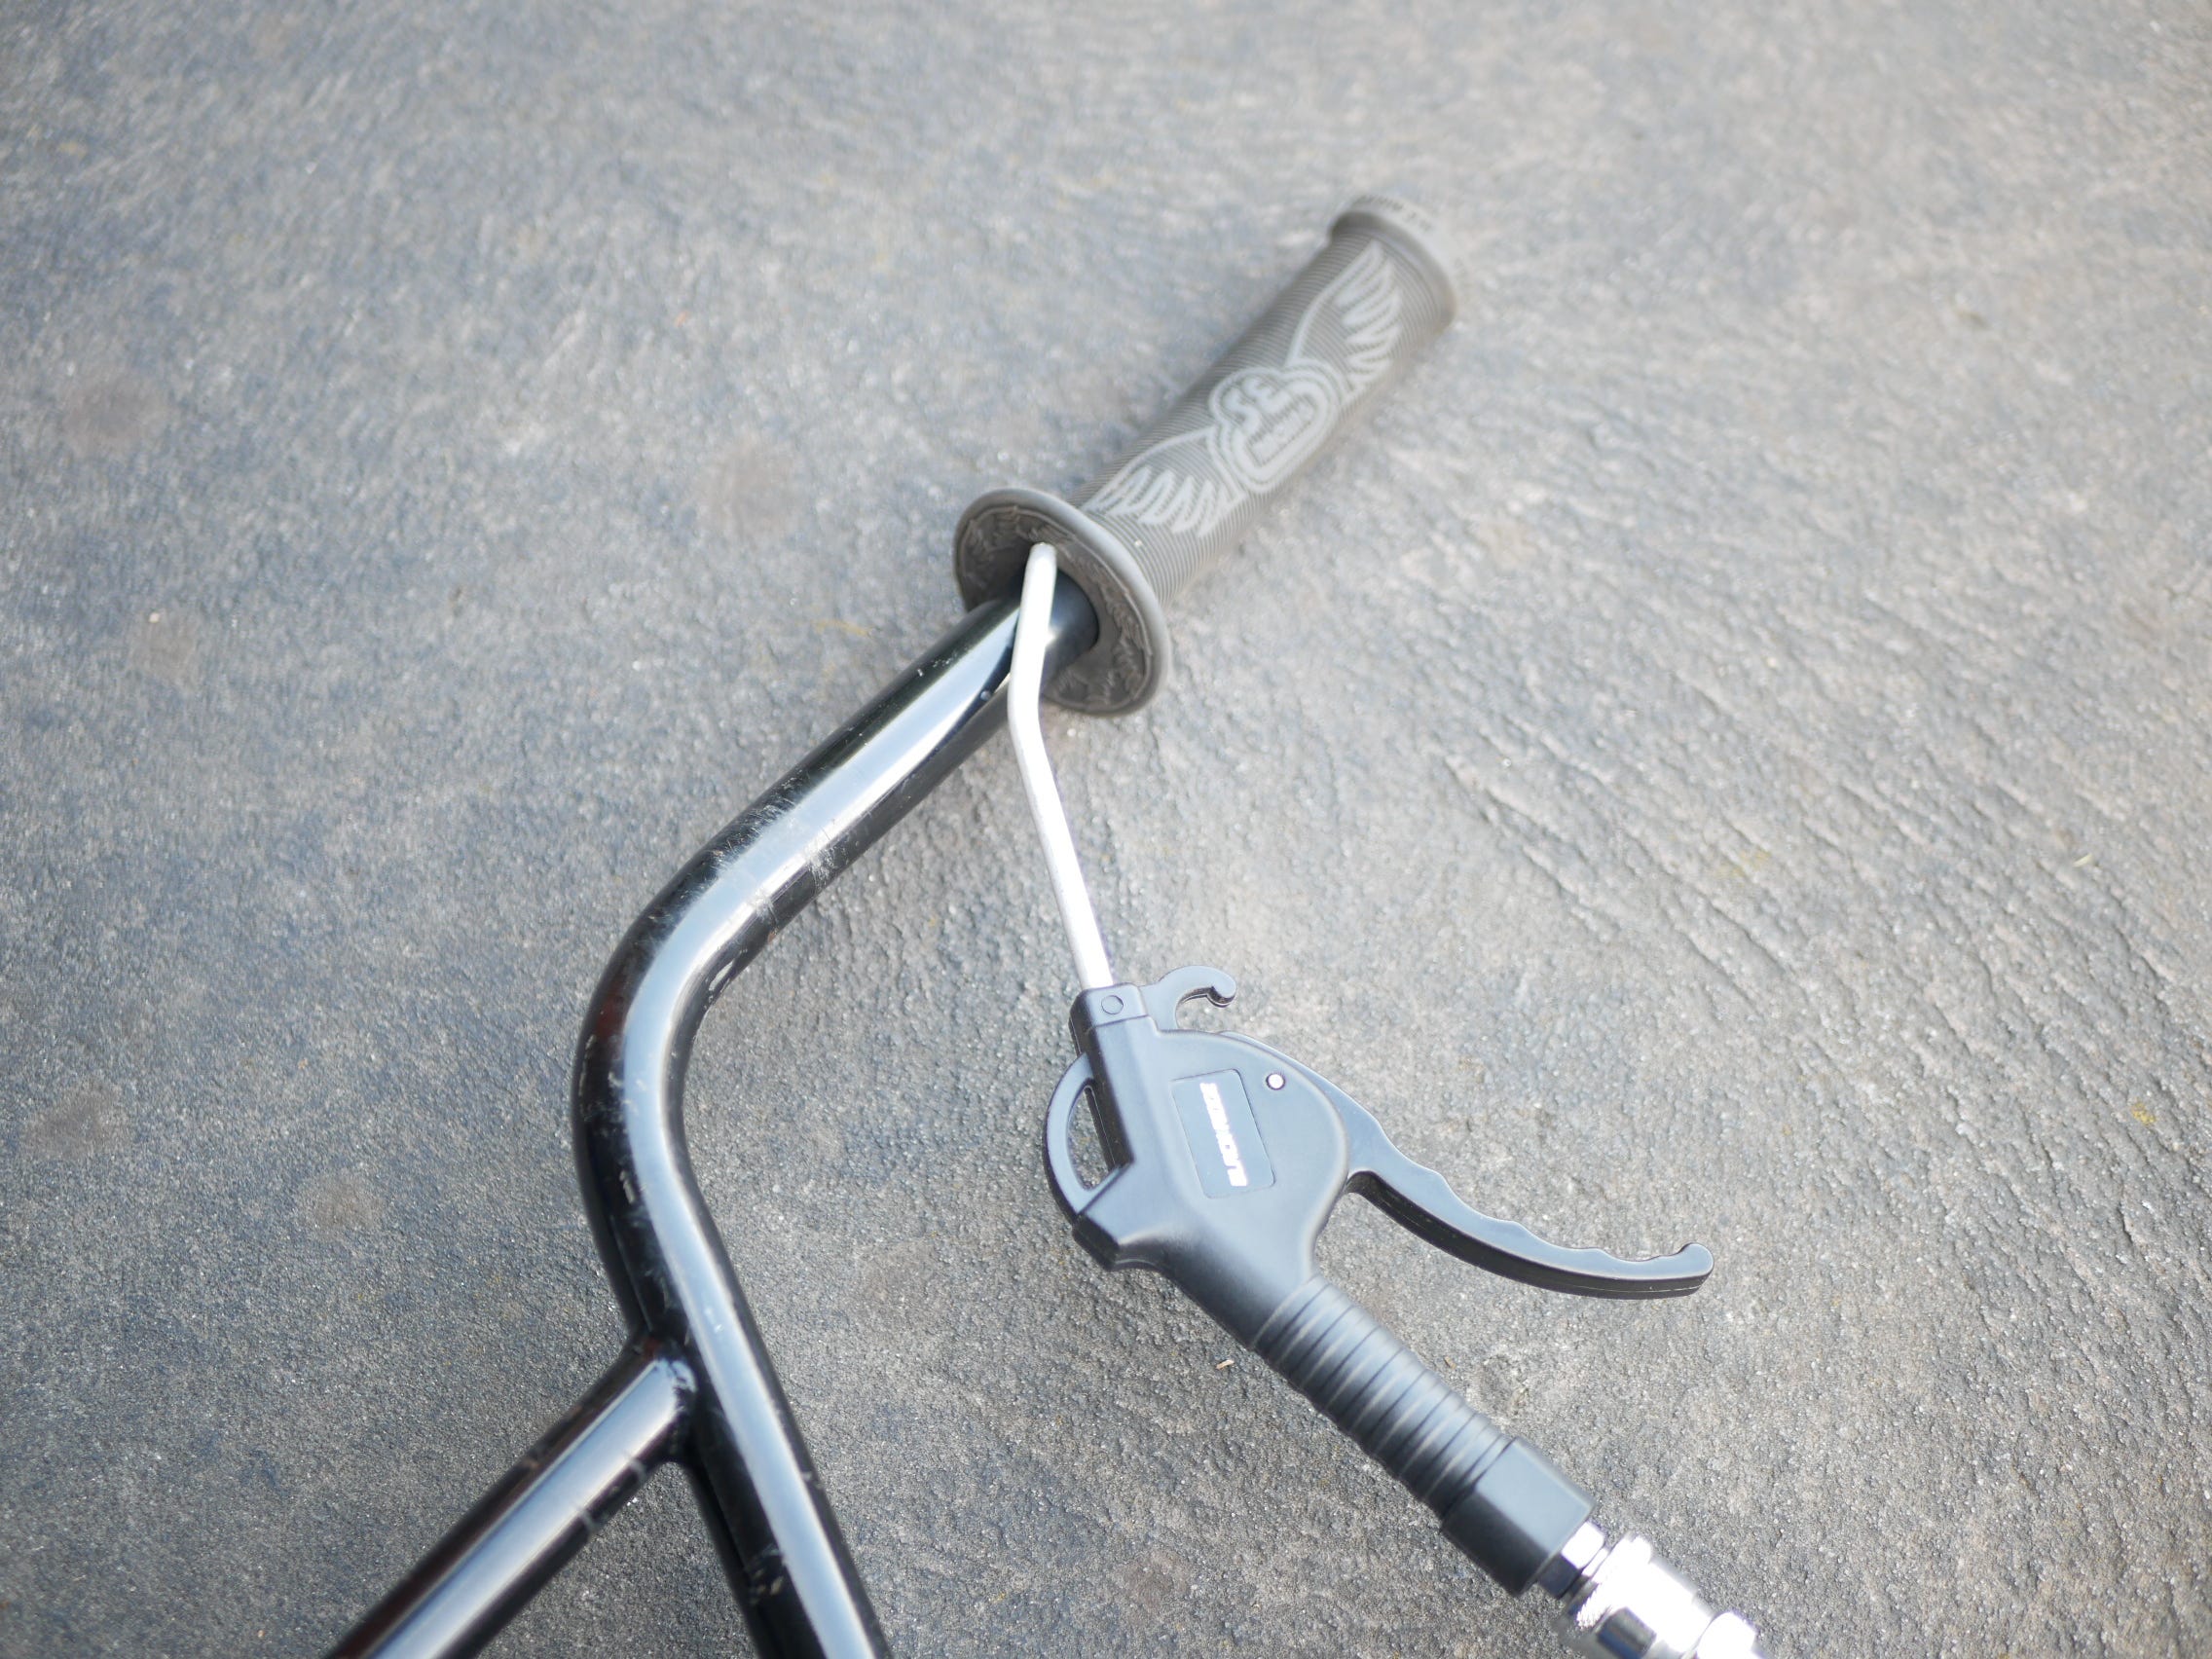
Moving along, it was time to remove one of the Grip’s from the old Bars using some Compressed Air.
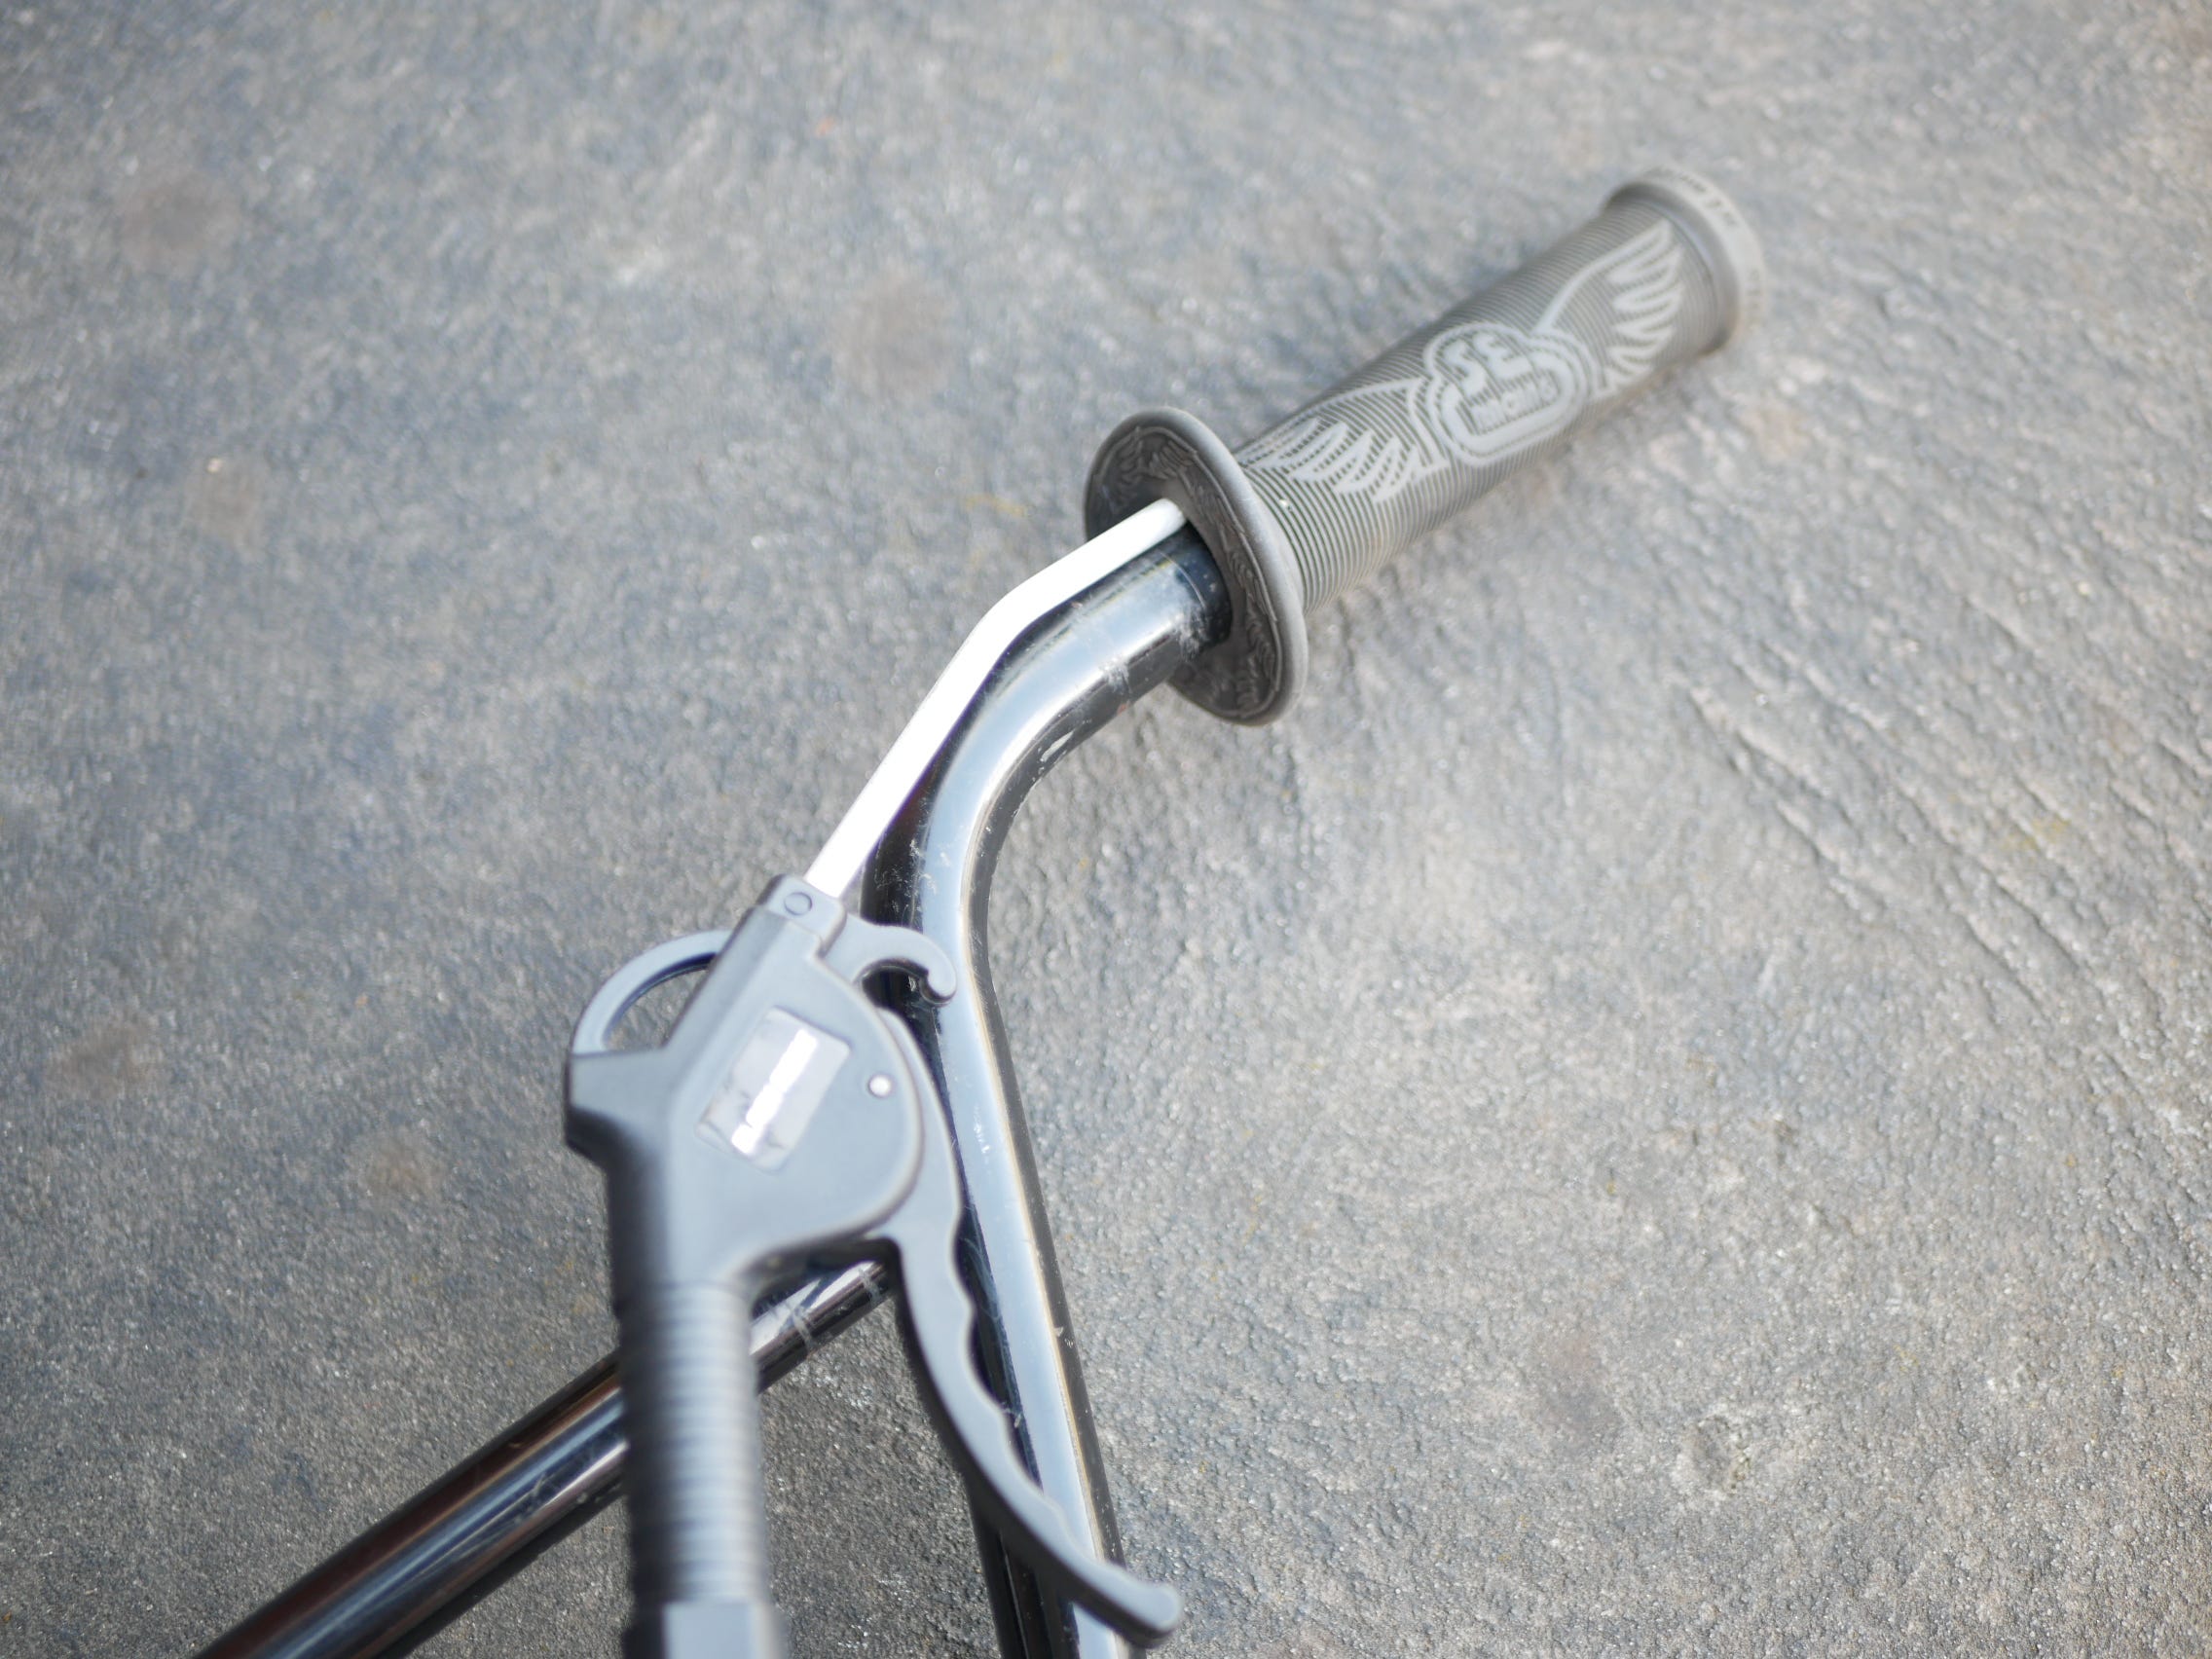
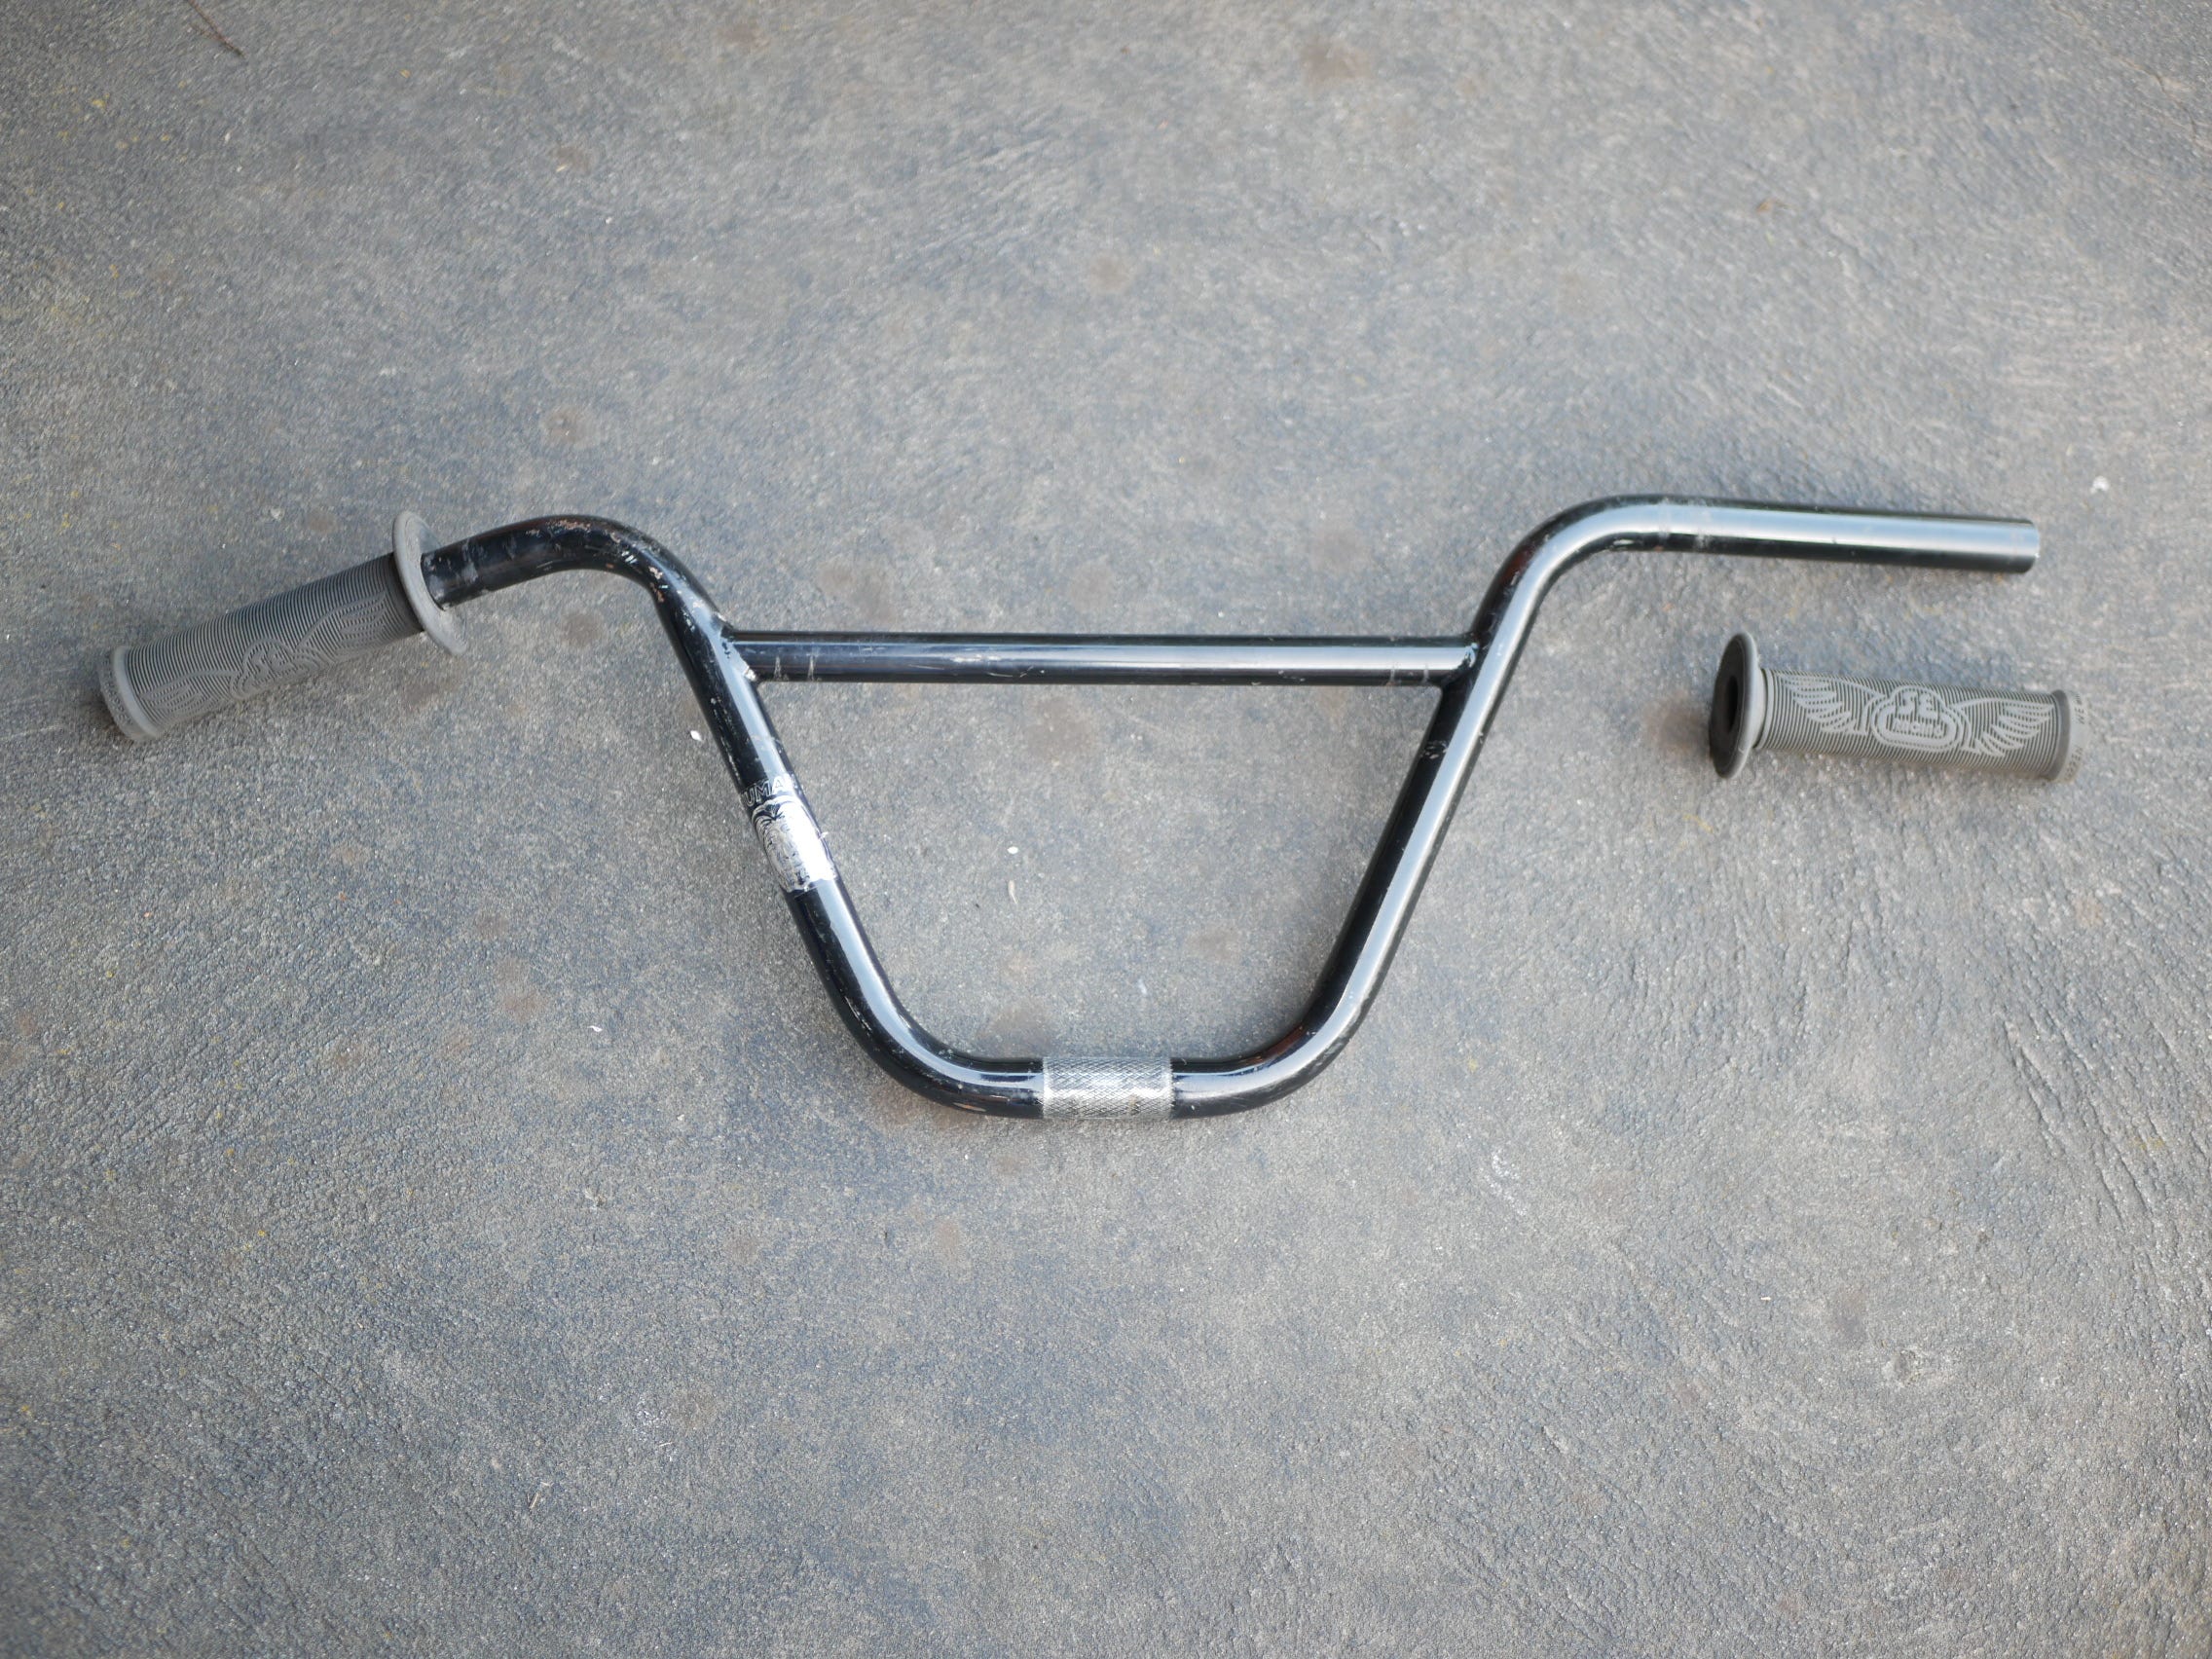
Followed with installing the first Grip.
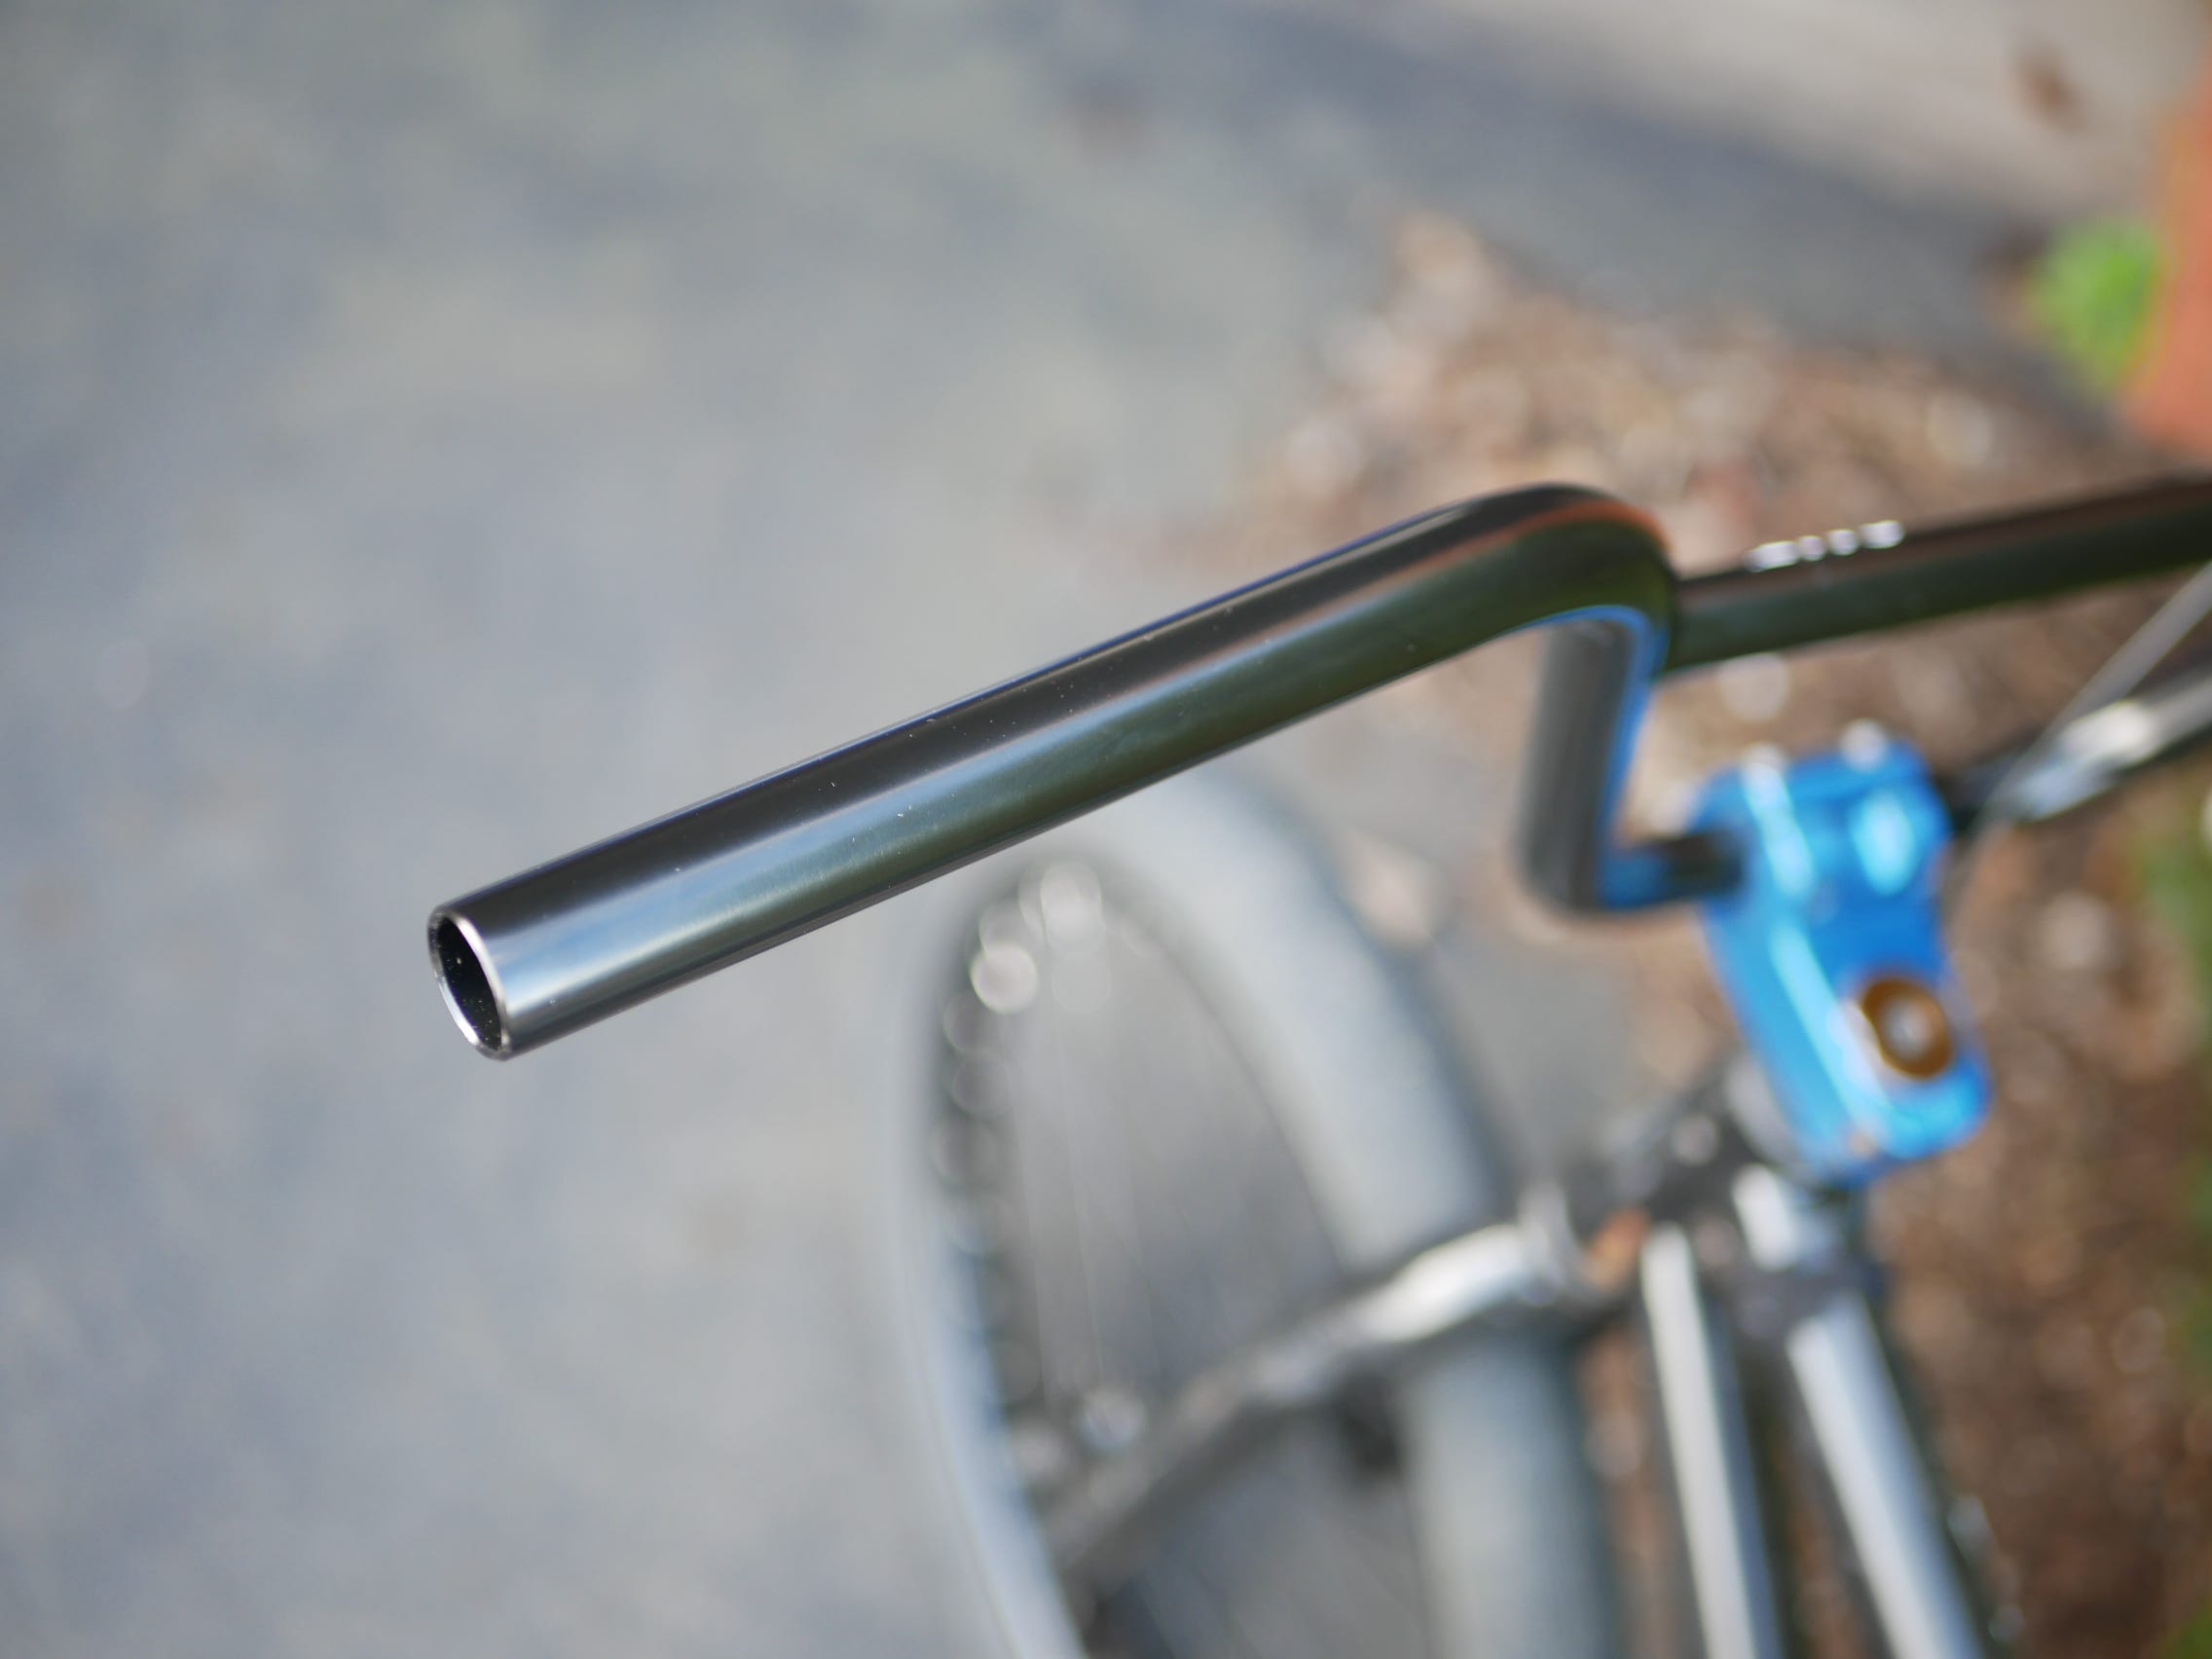
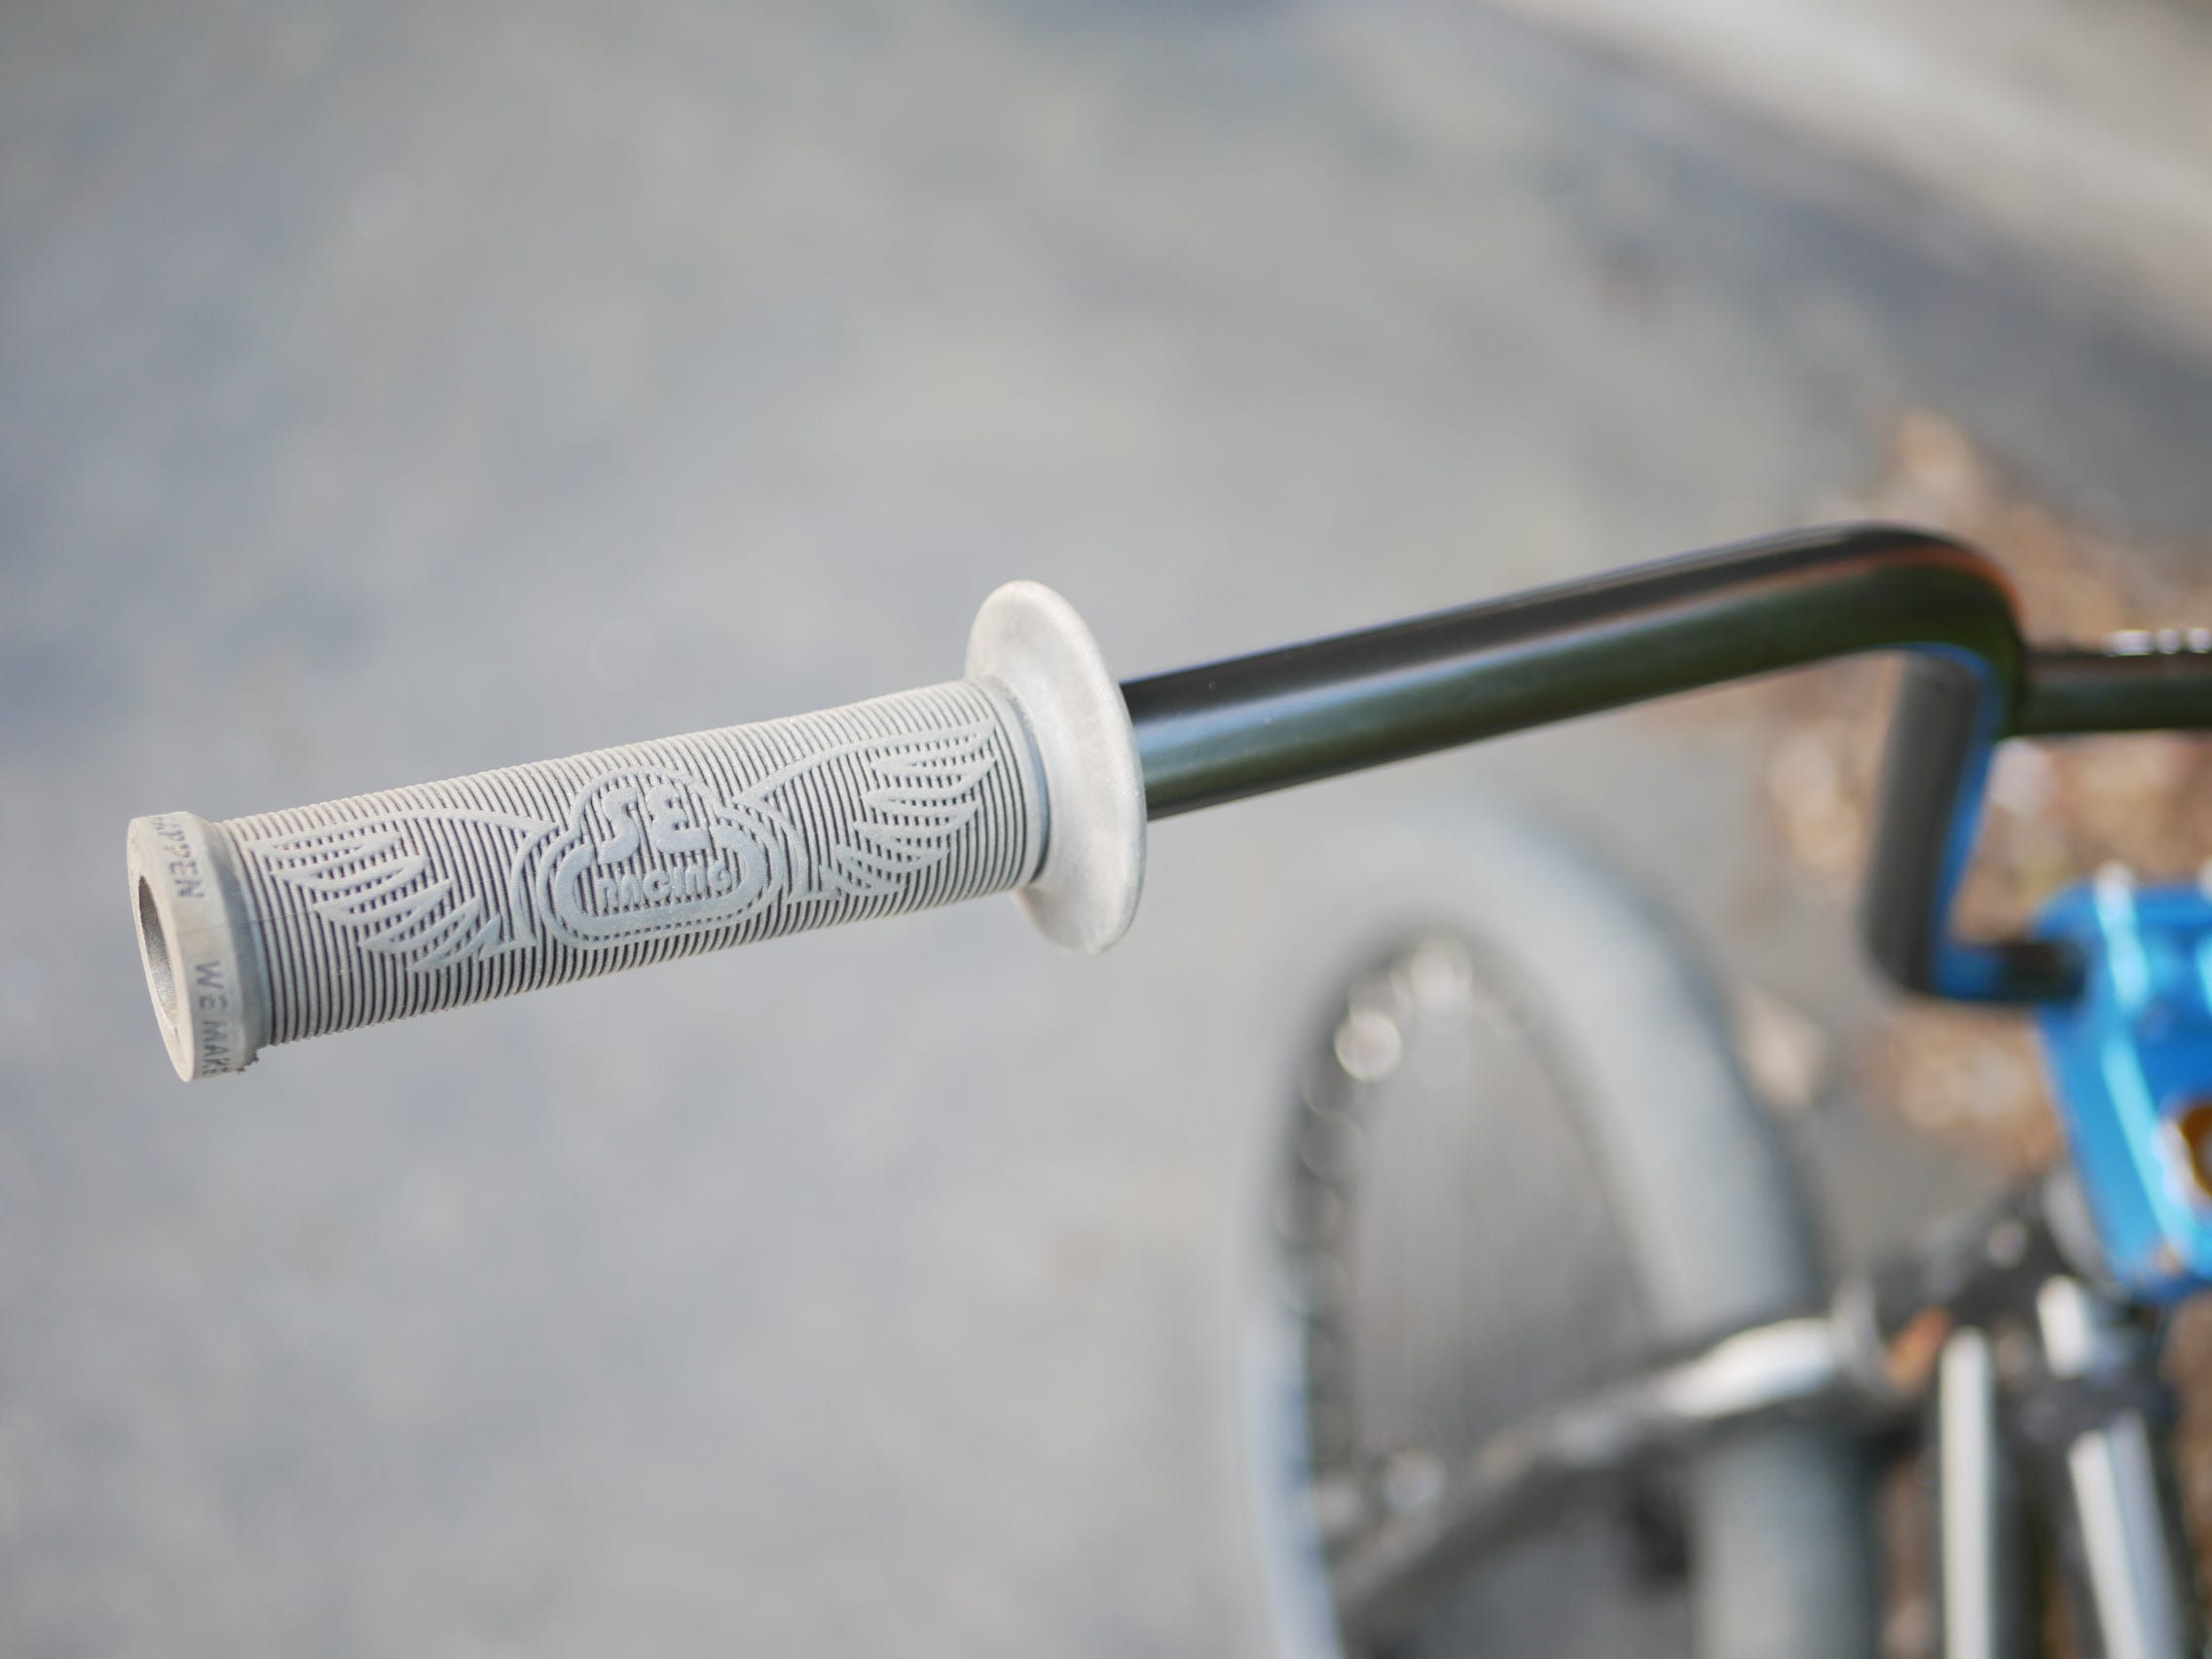
Although it slid on (to some degree), it needed some compressed air to get it the rest of the way on.
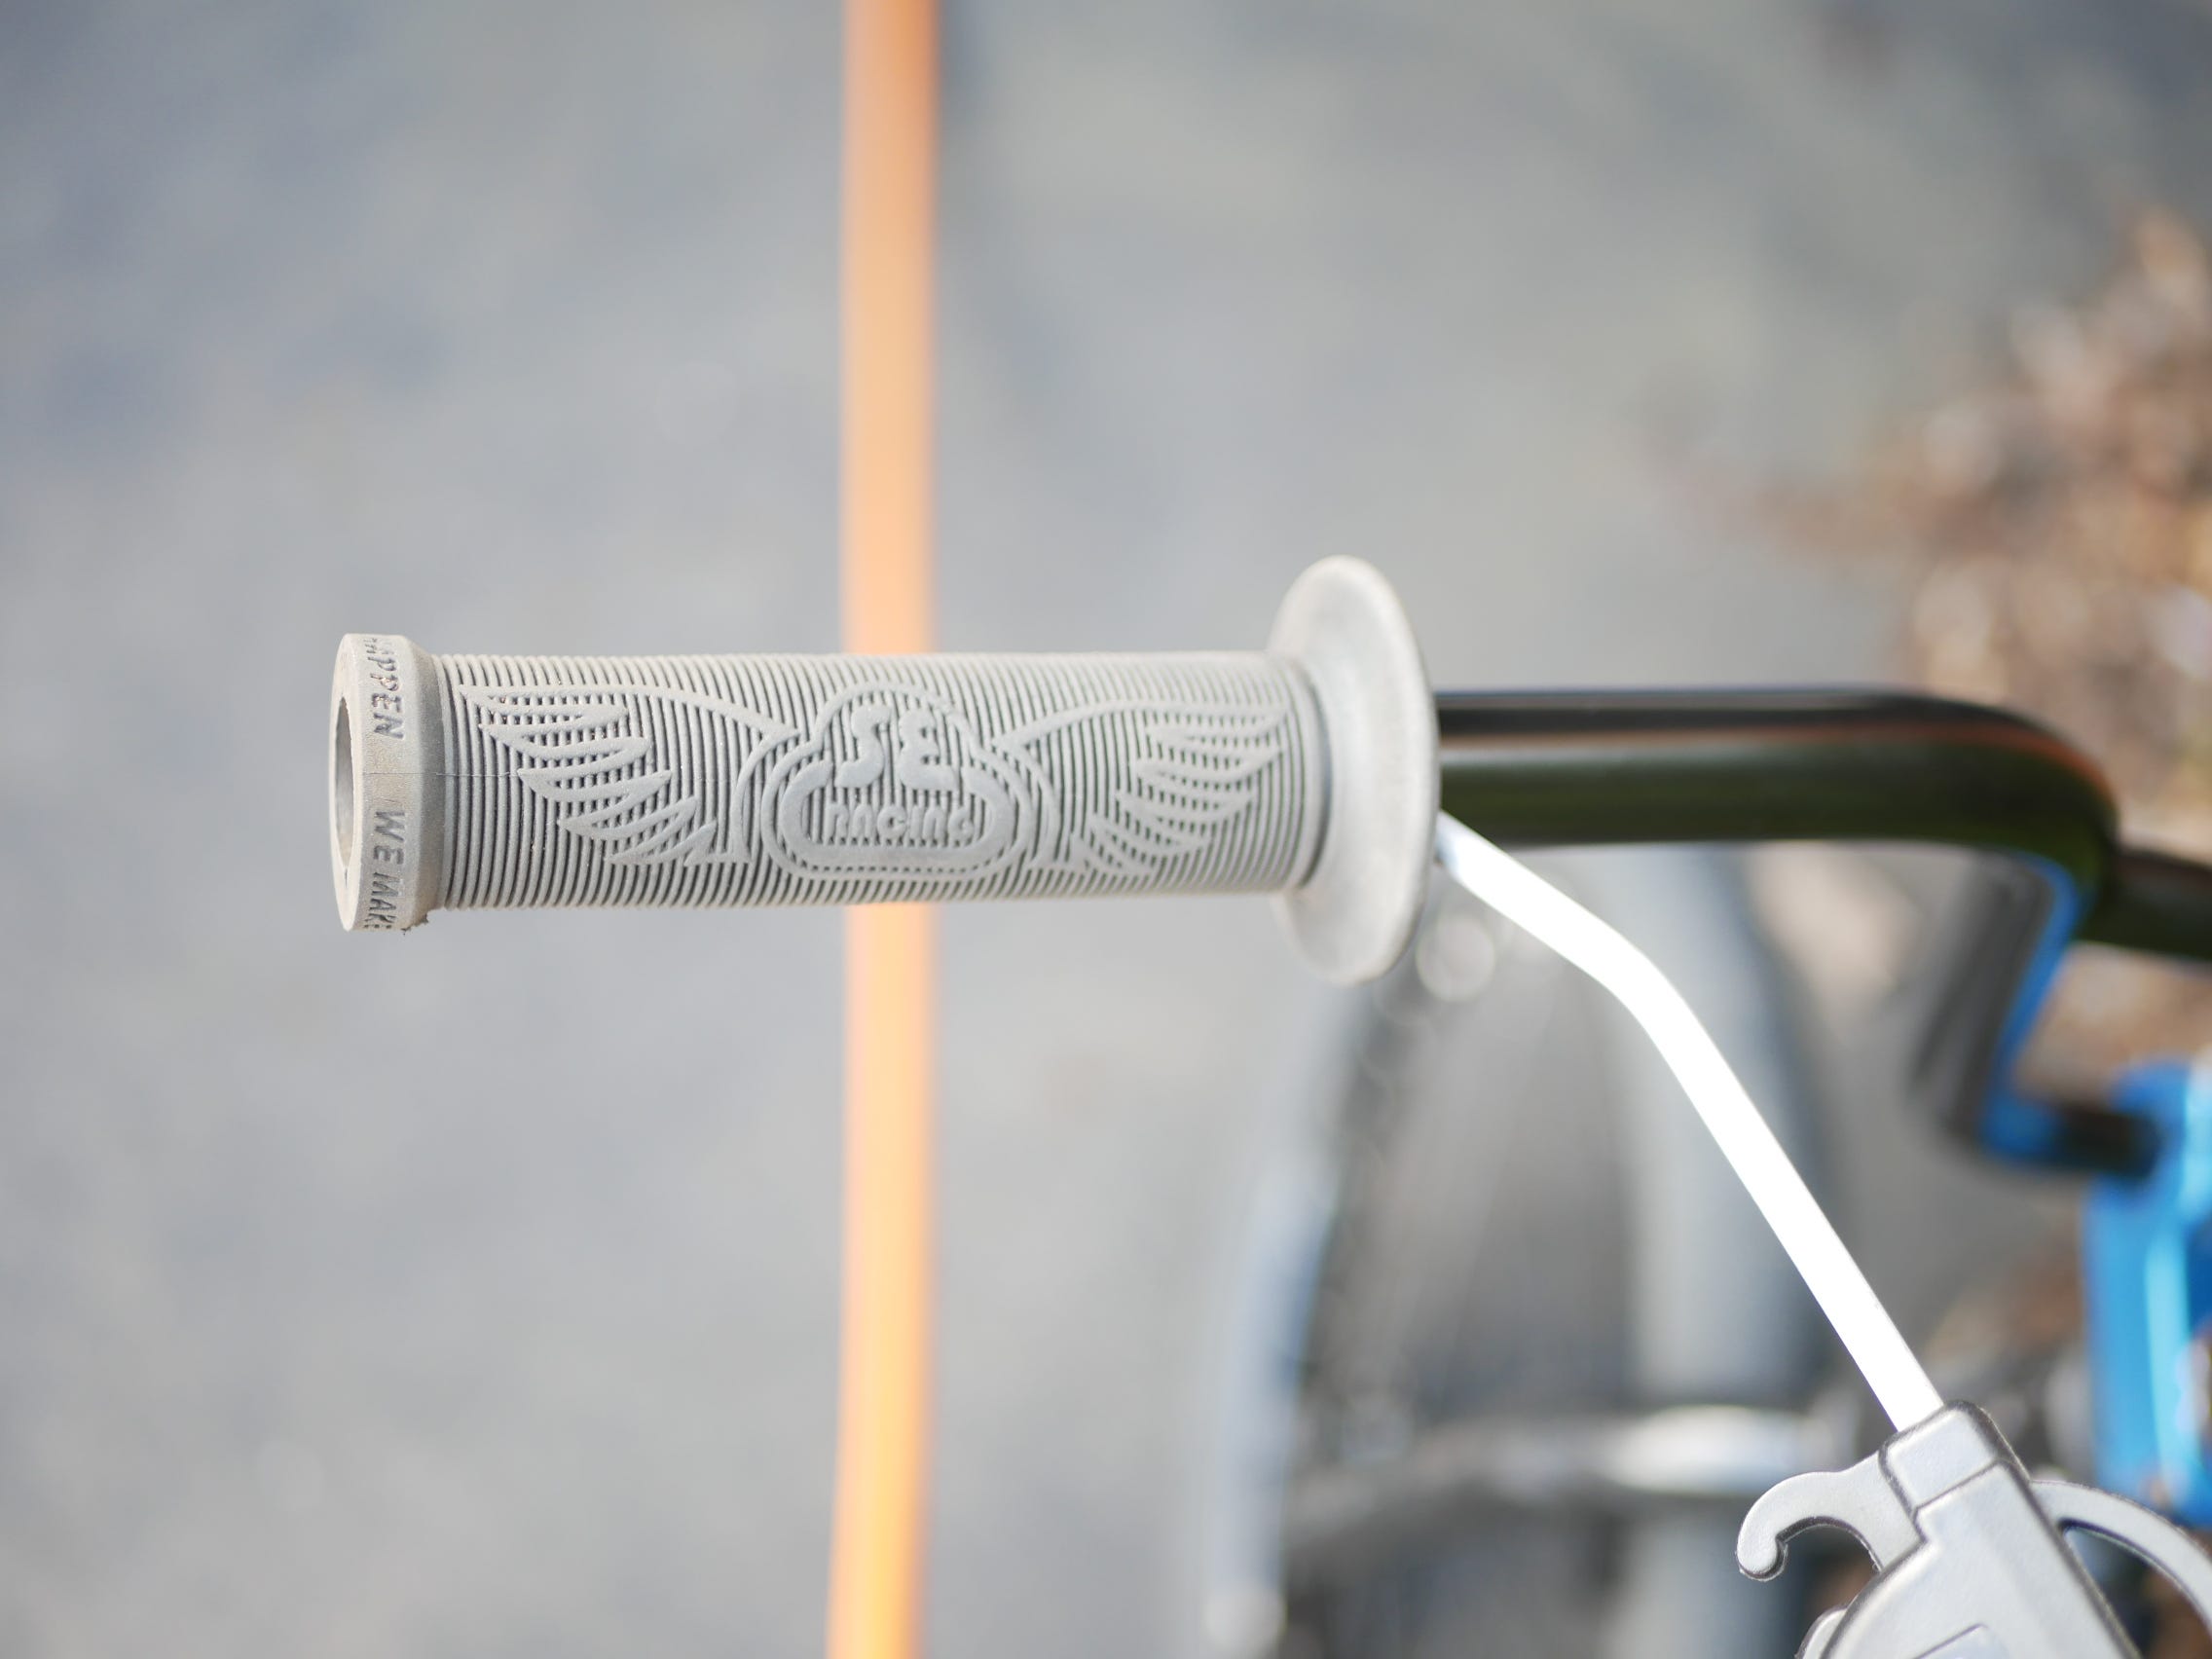
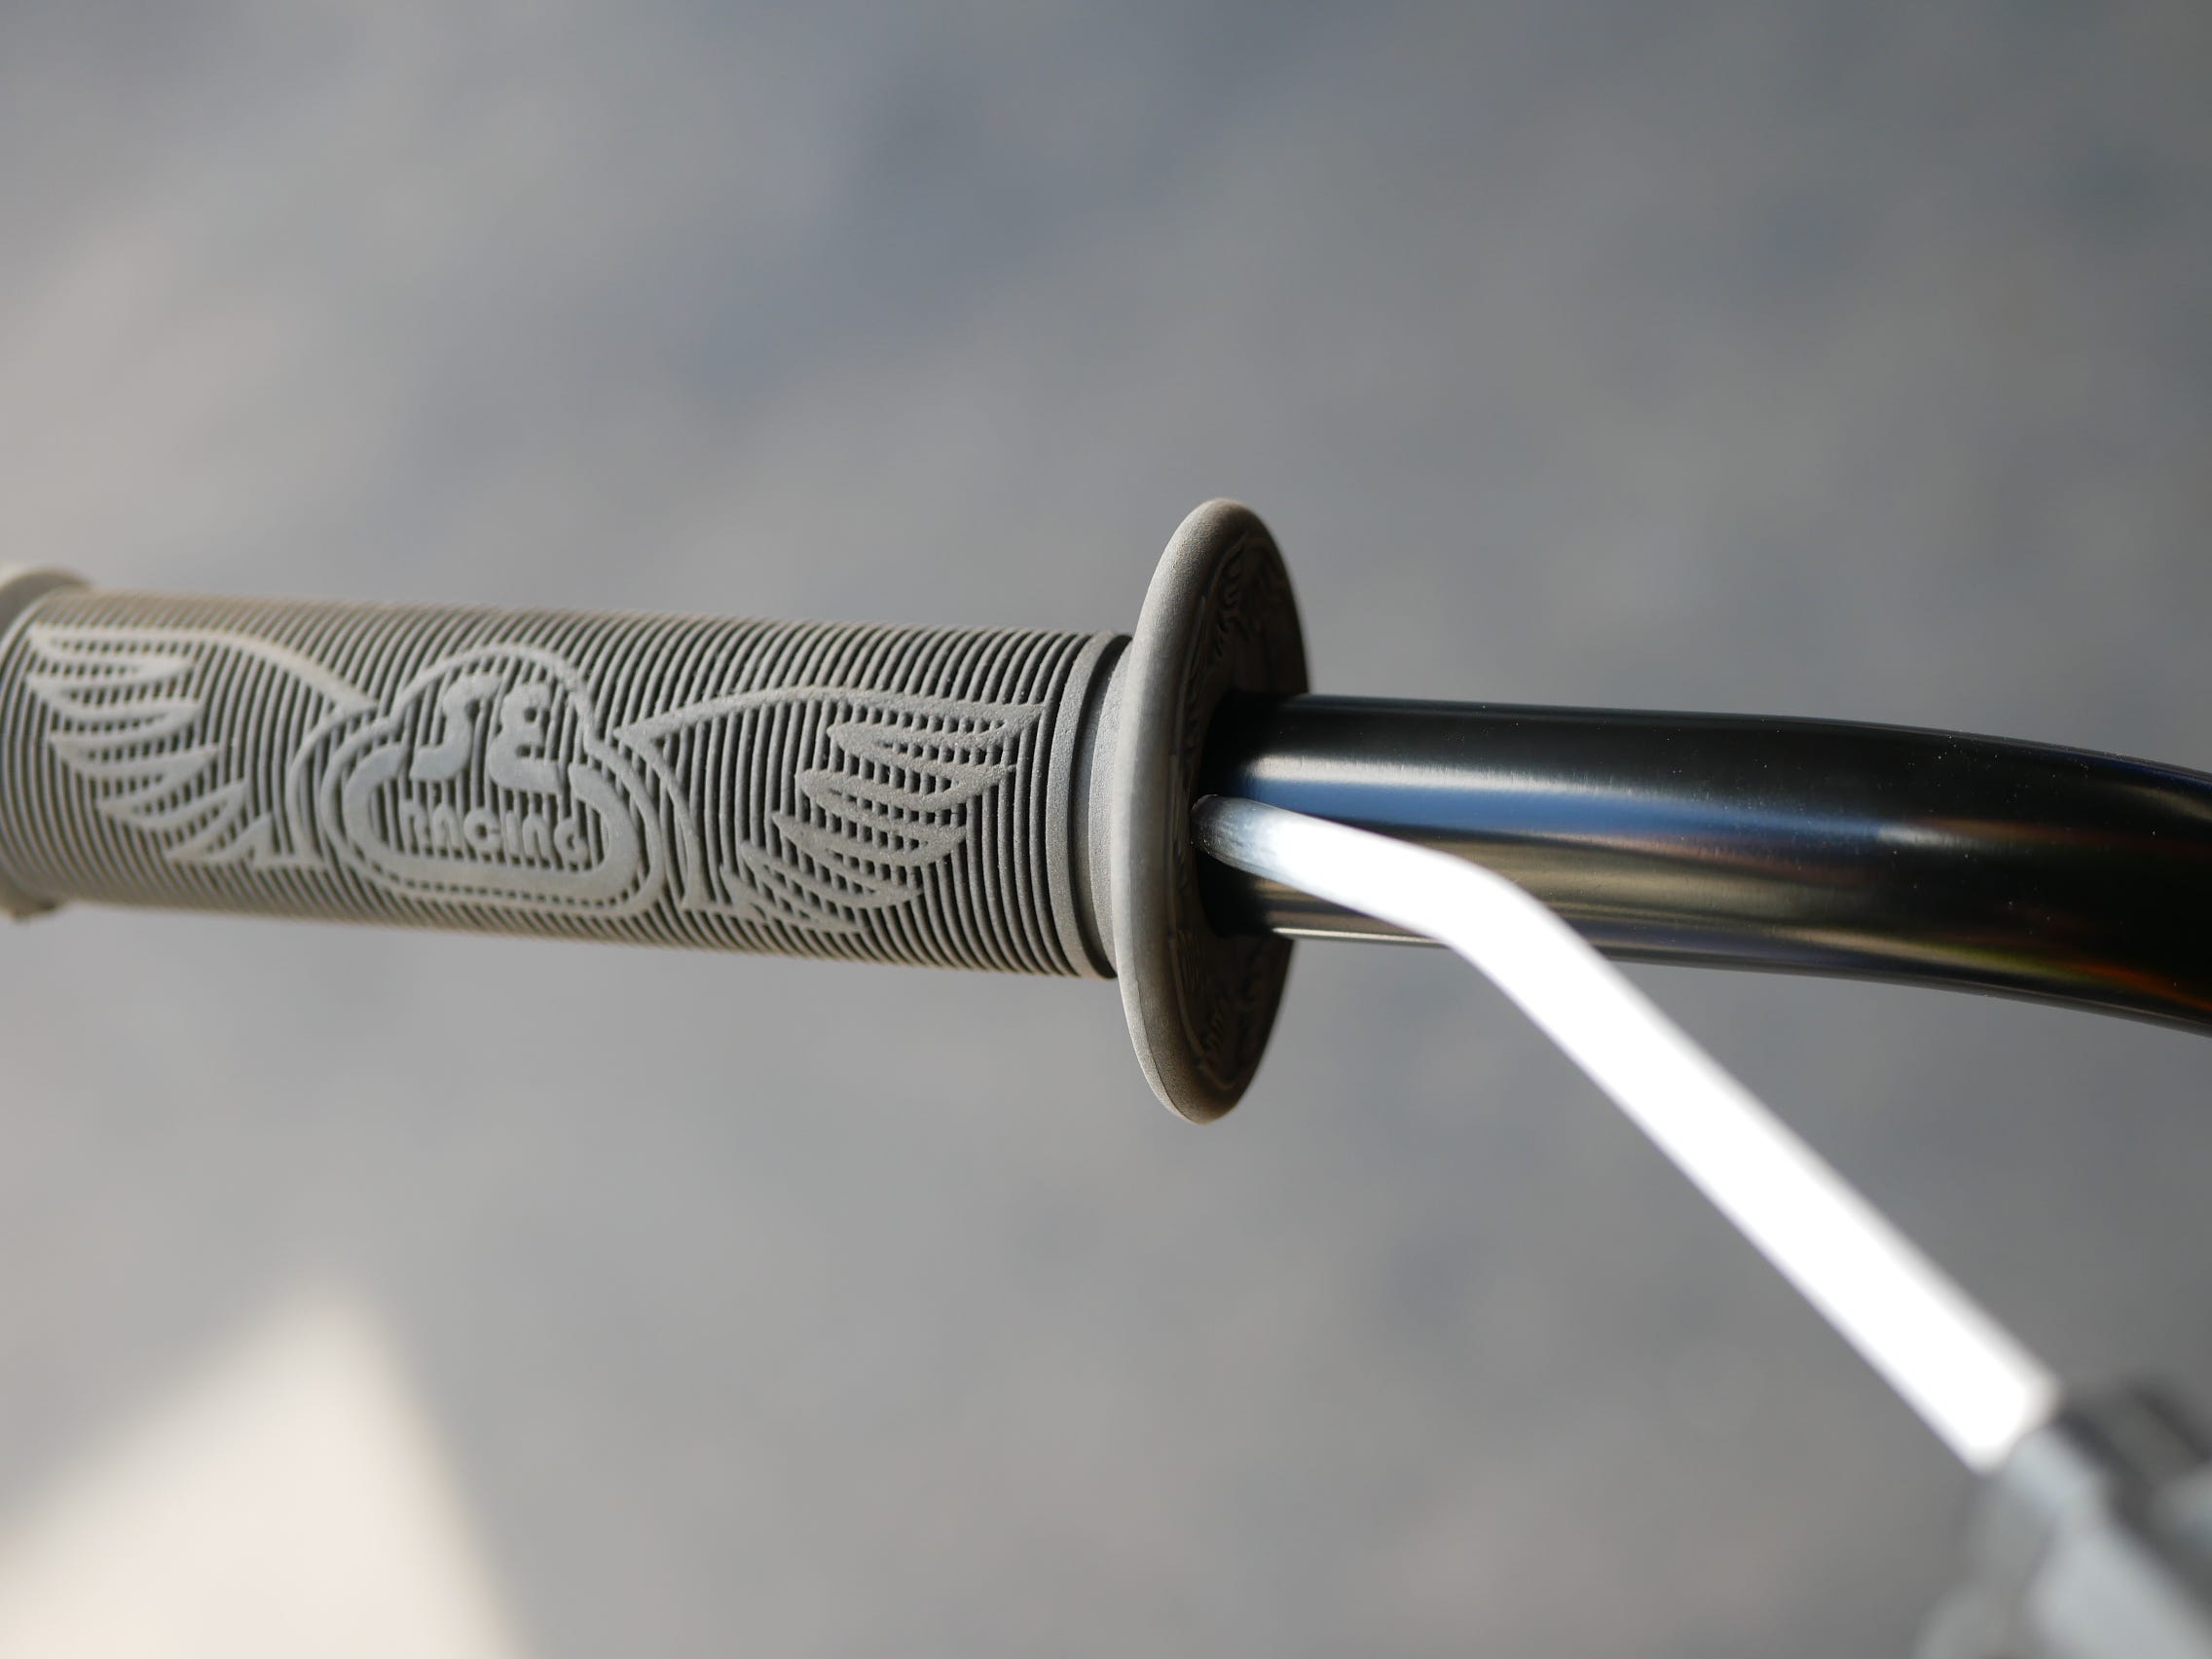
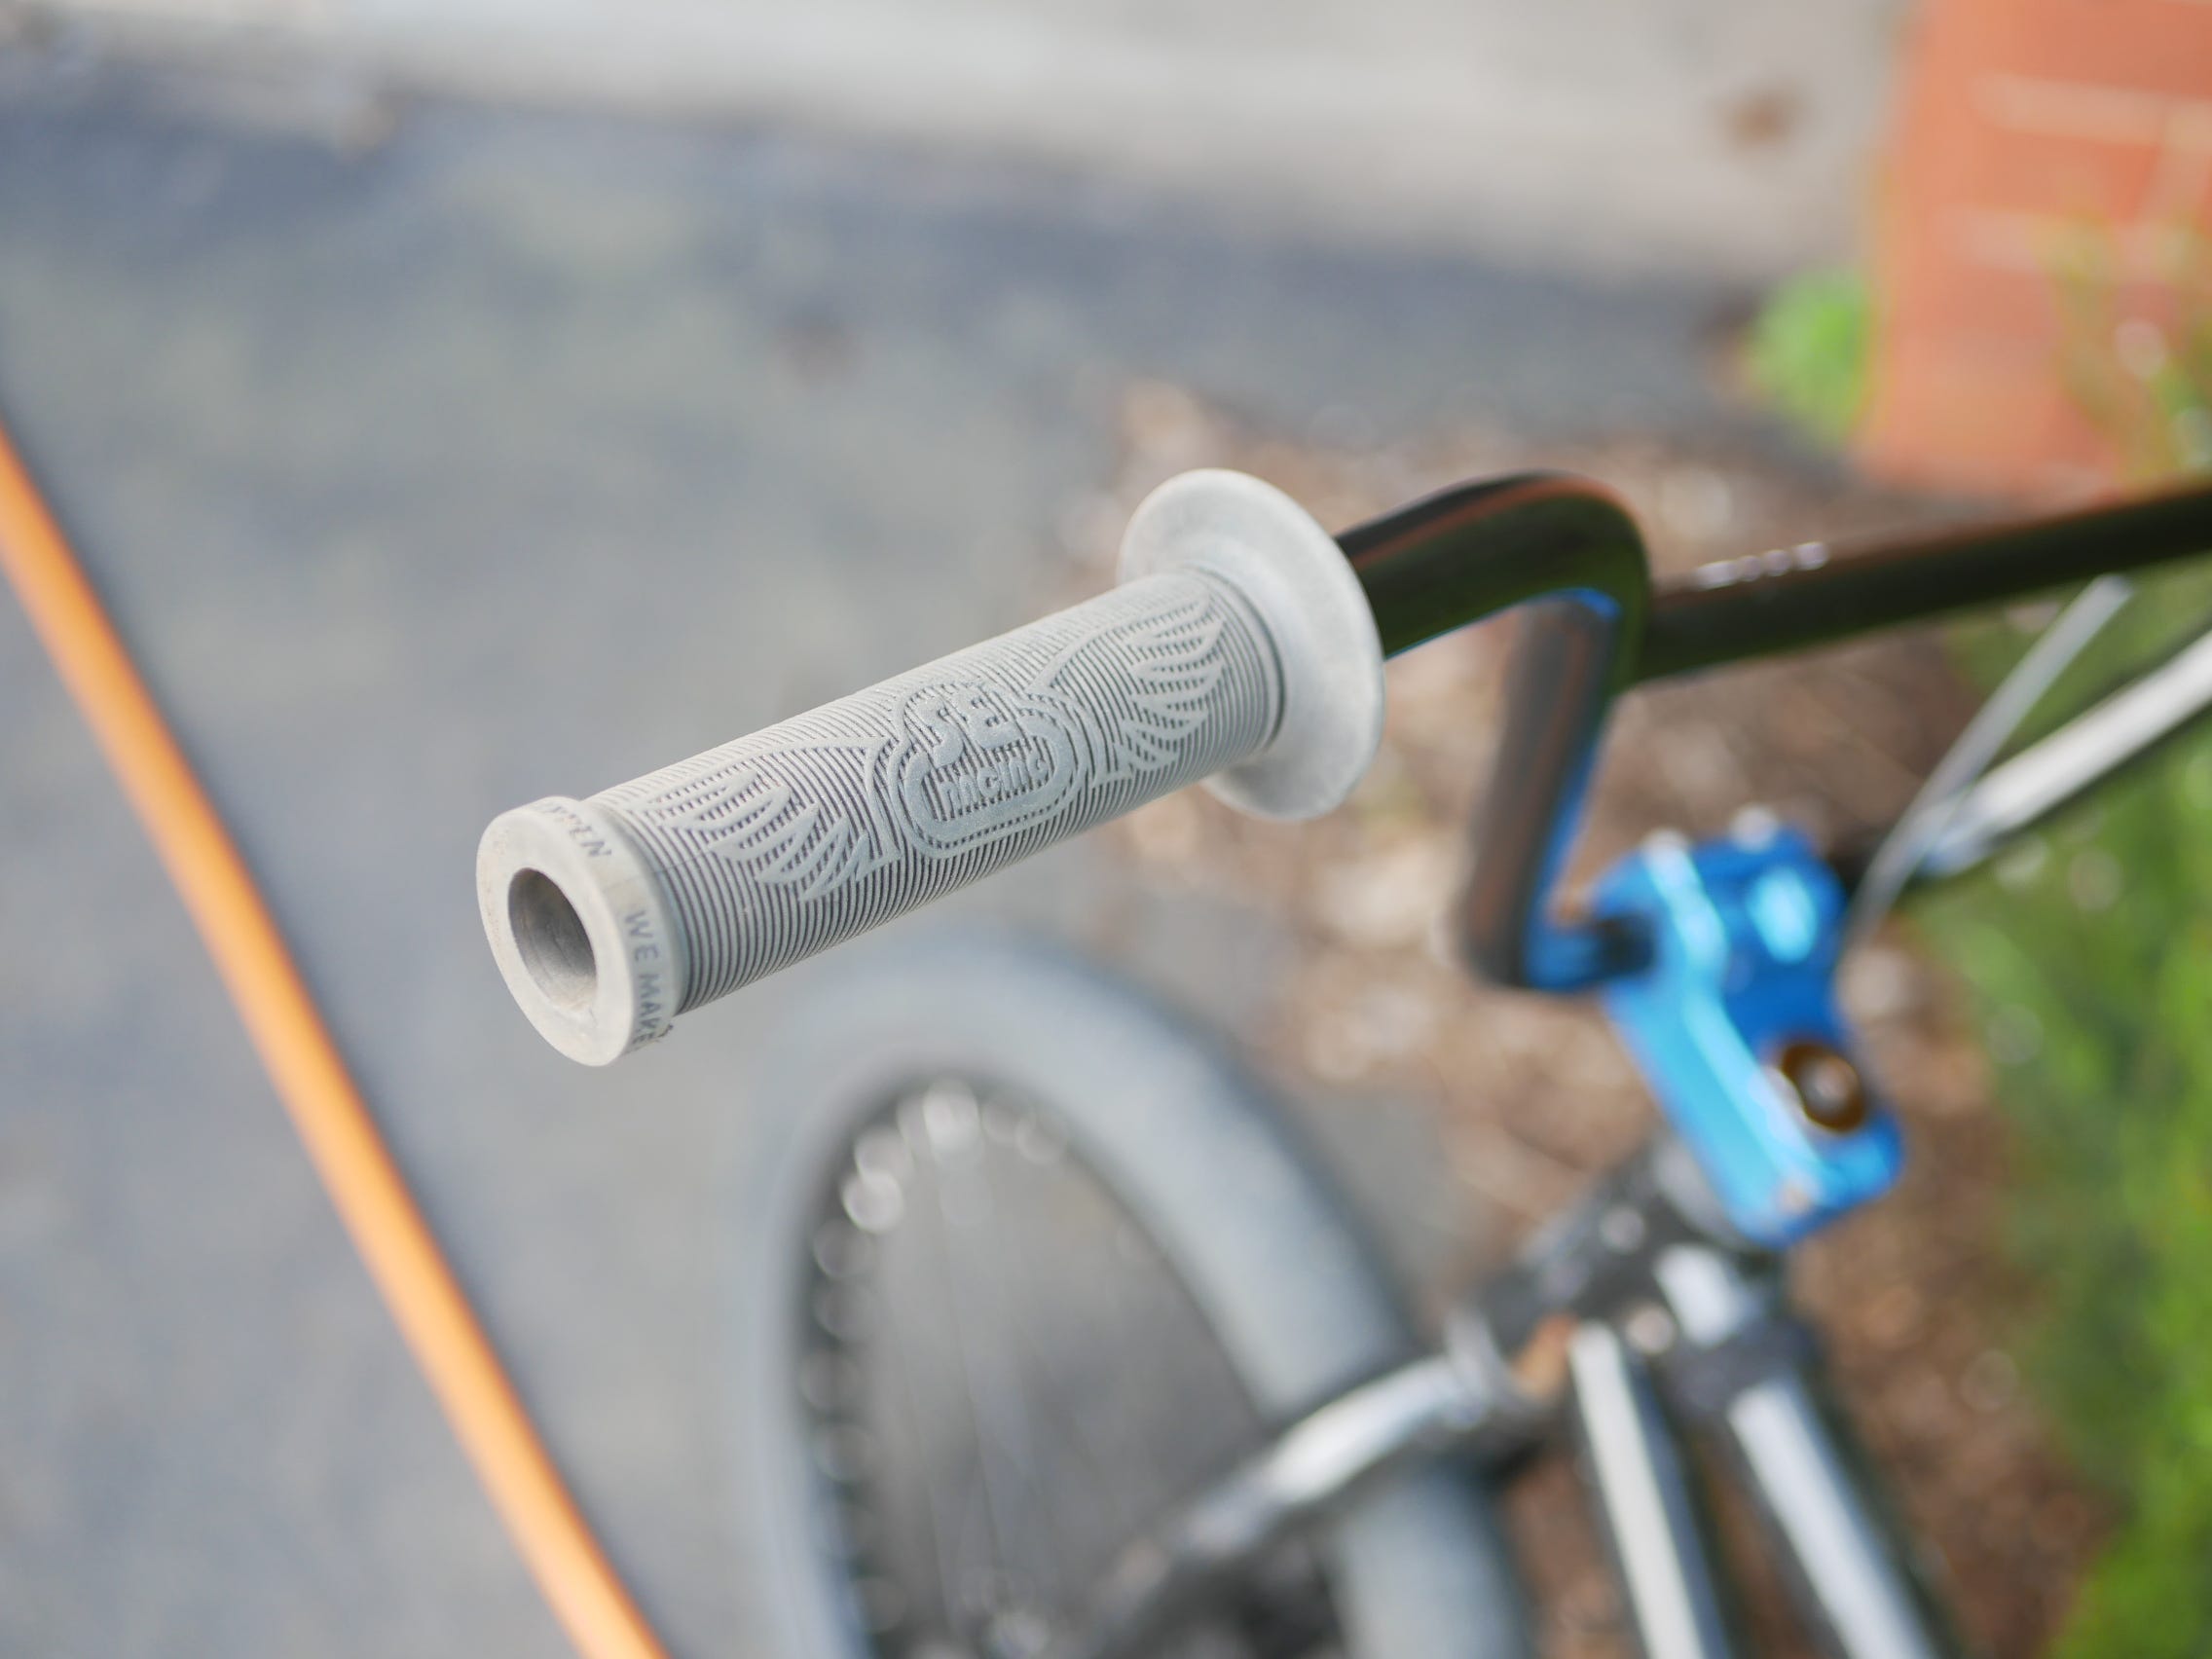
Like so….
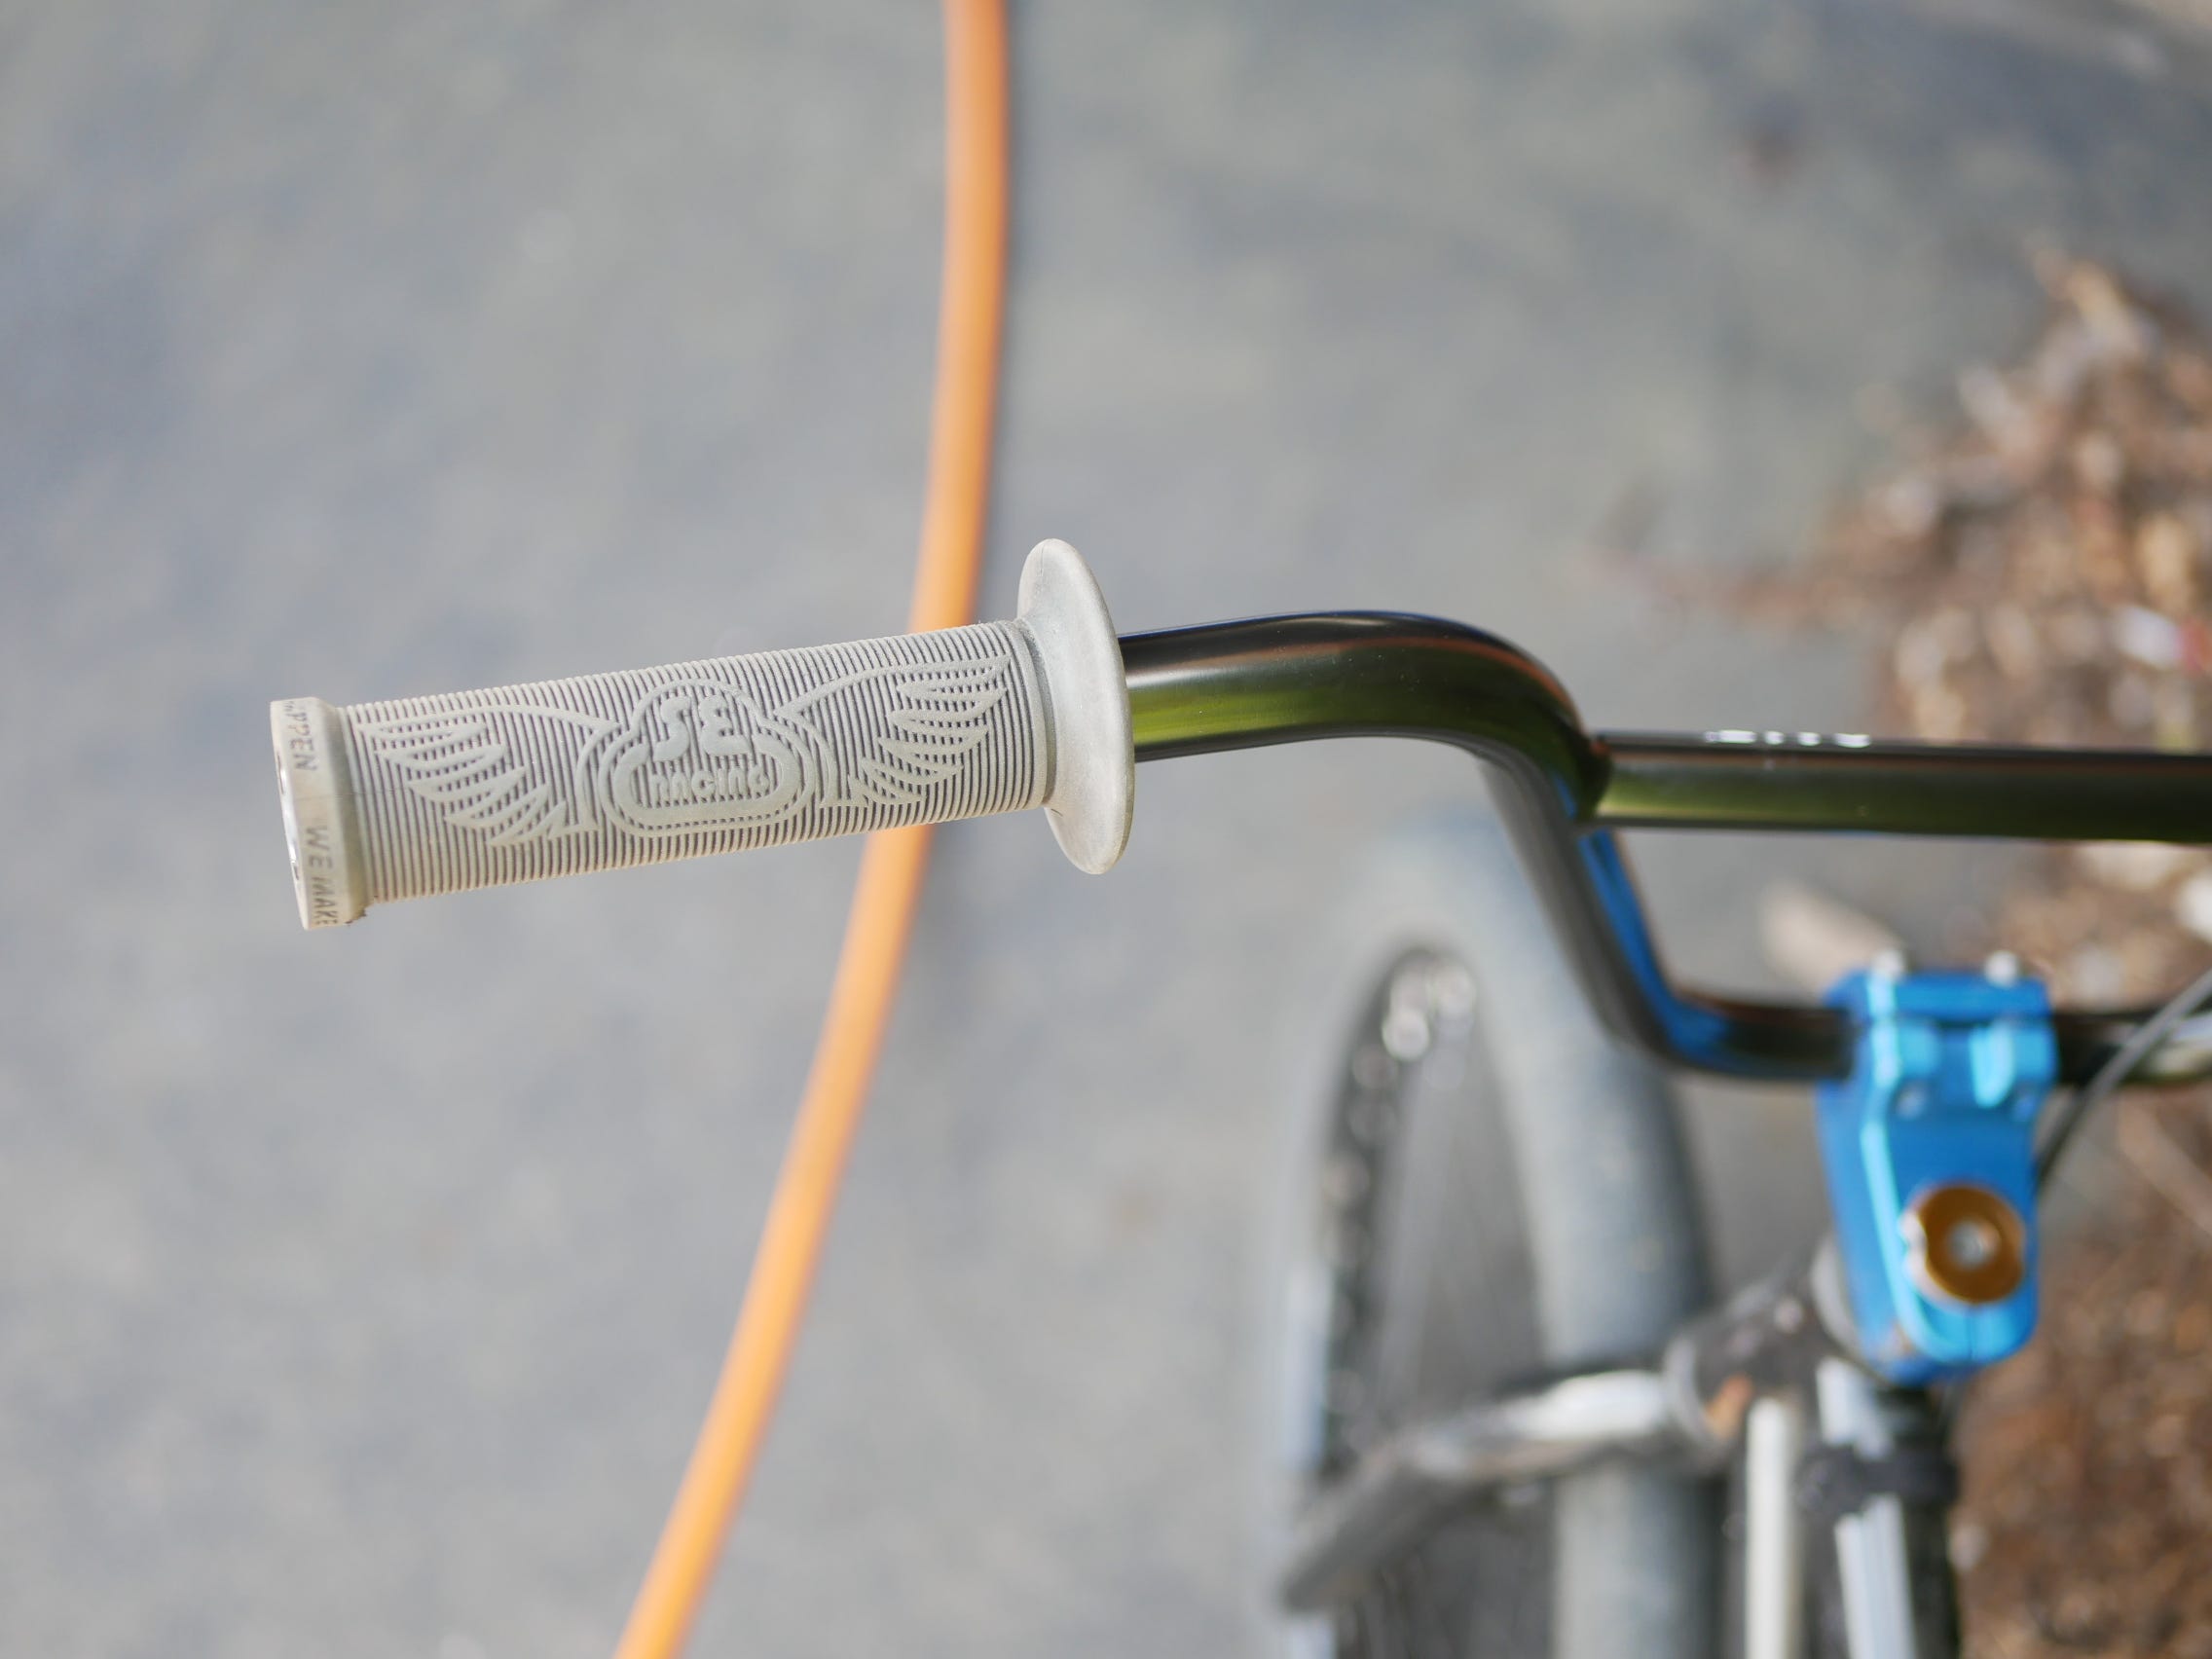
Time for the other Grip to come off.
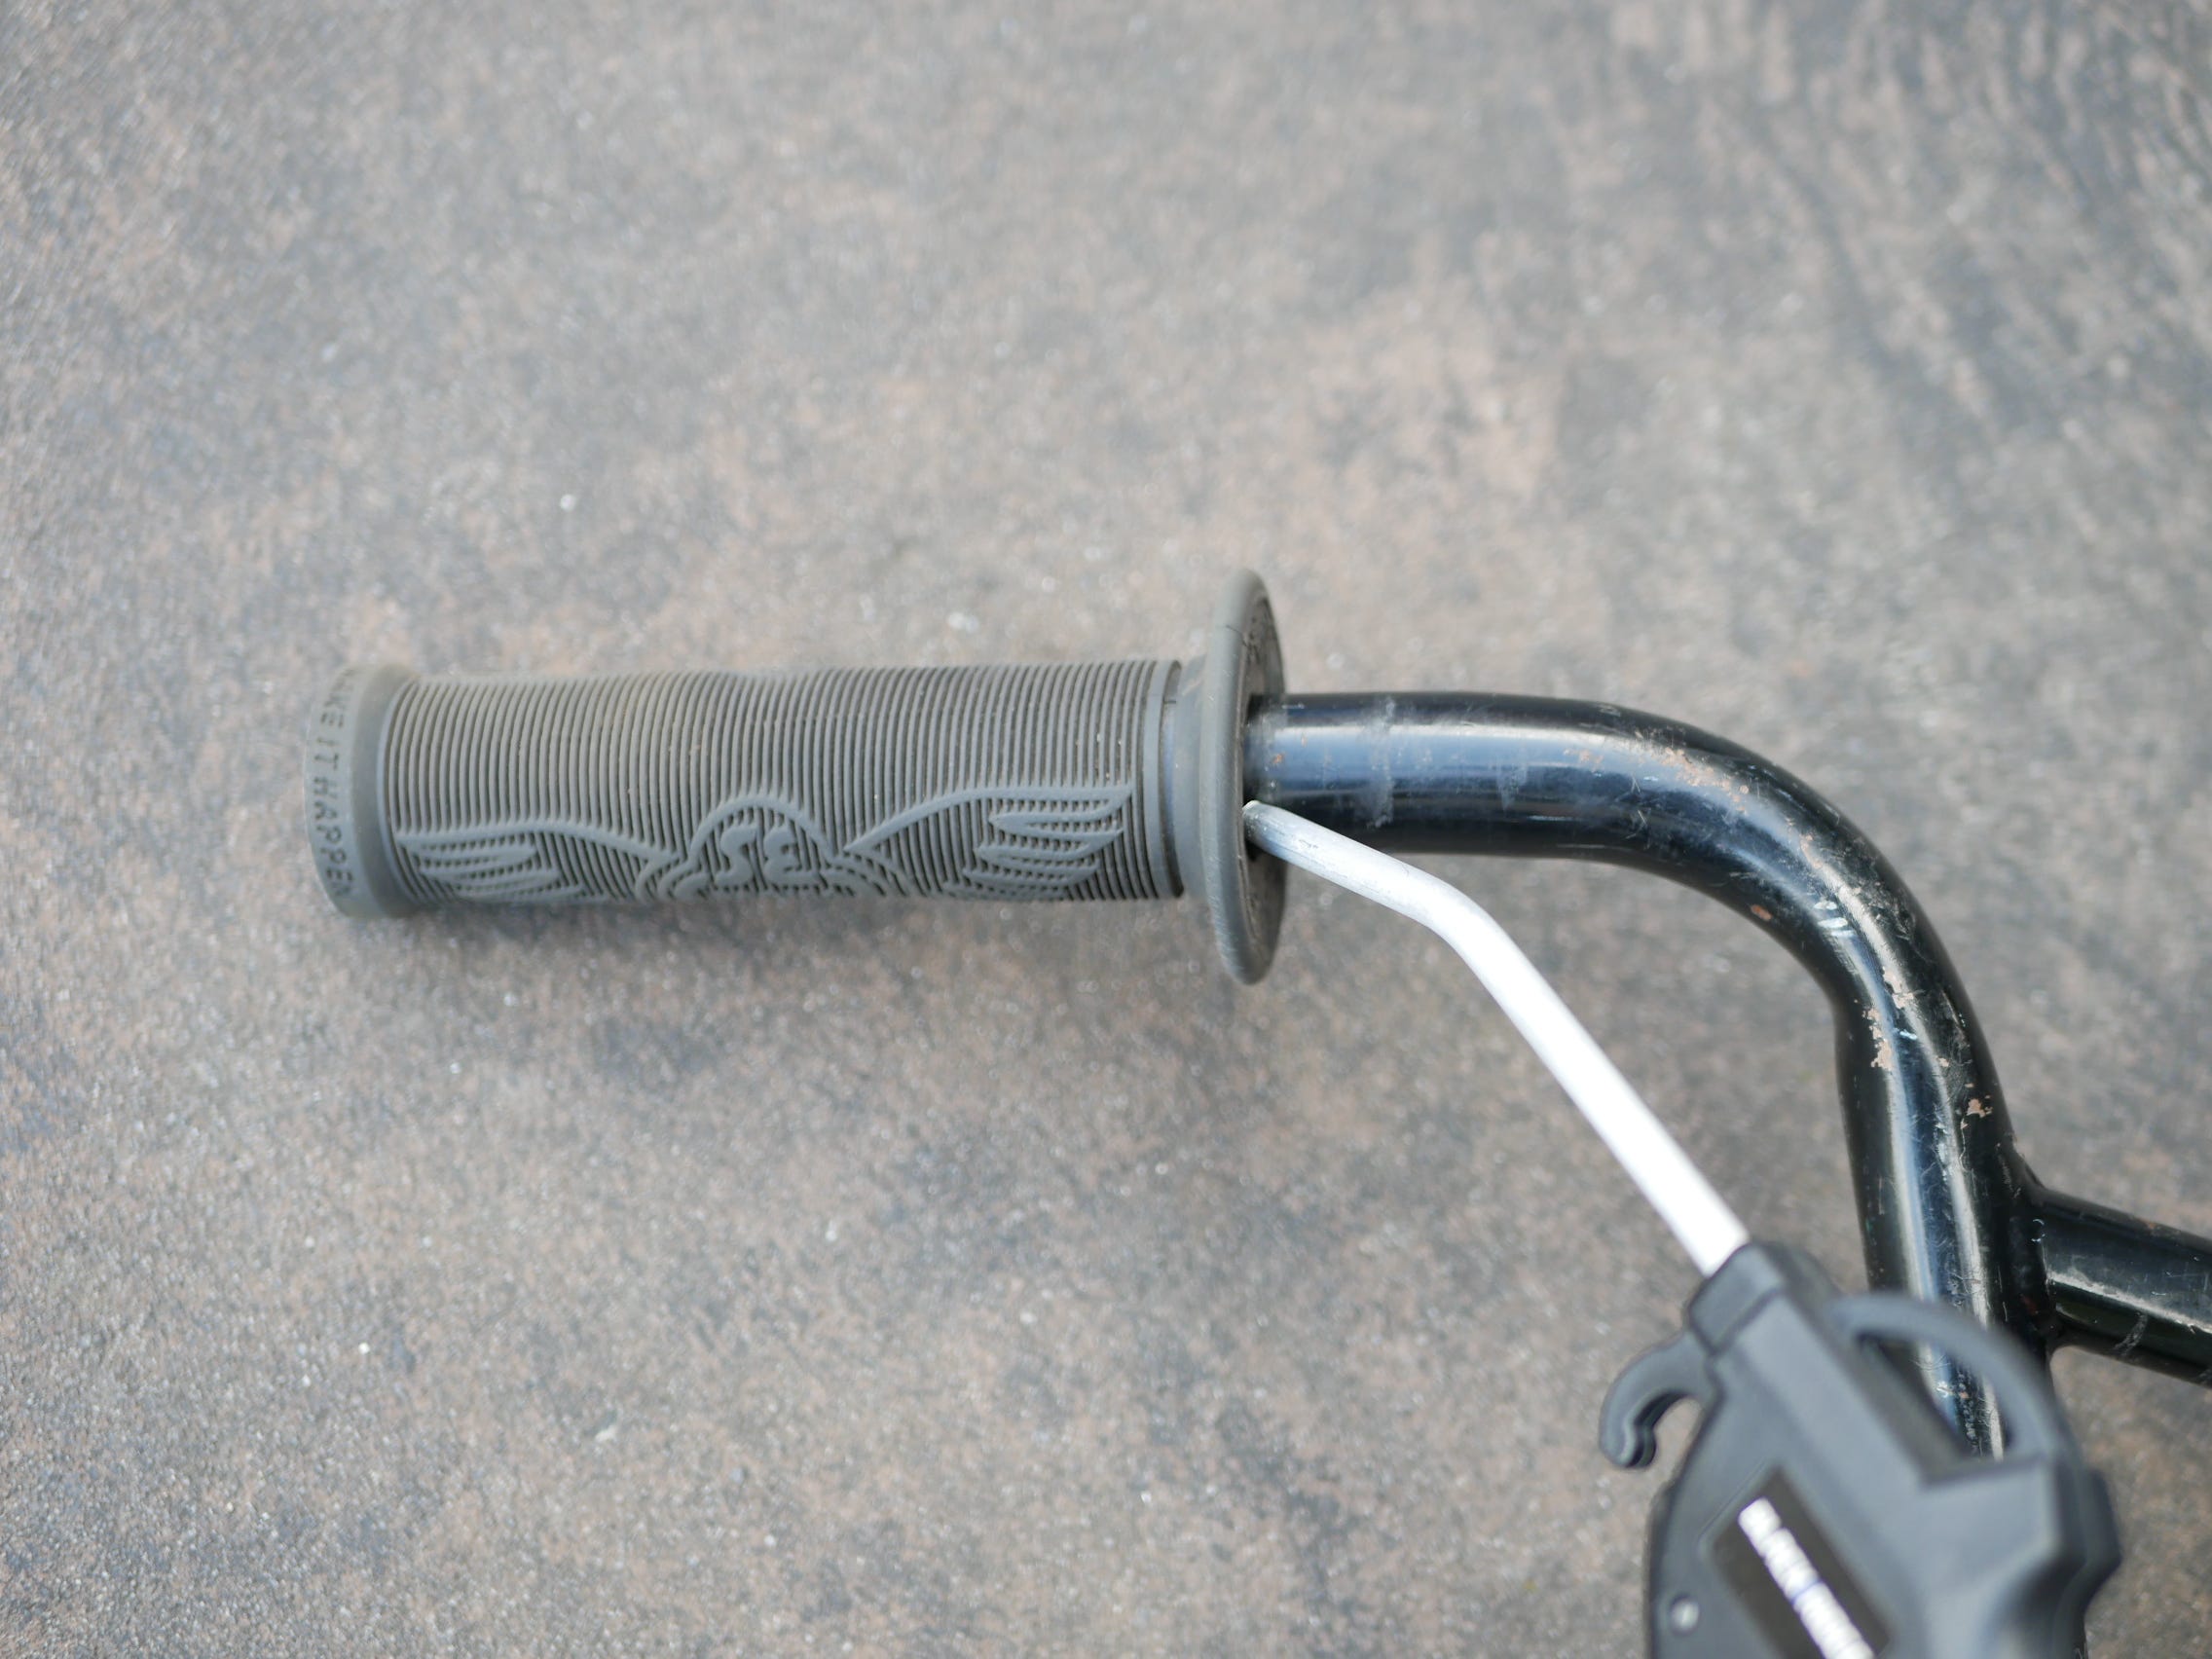
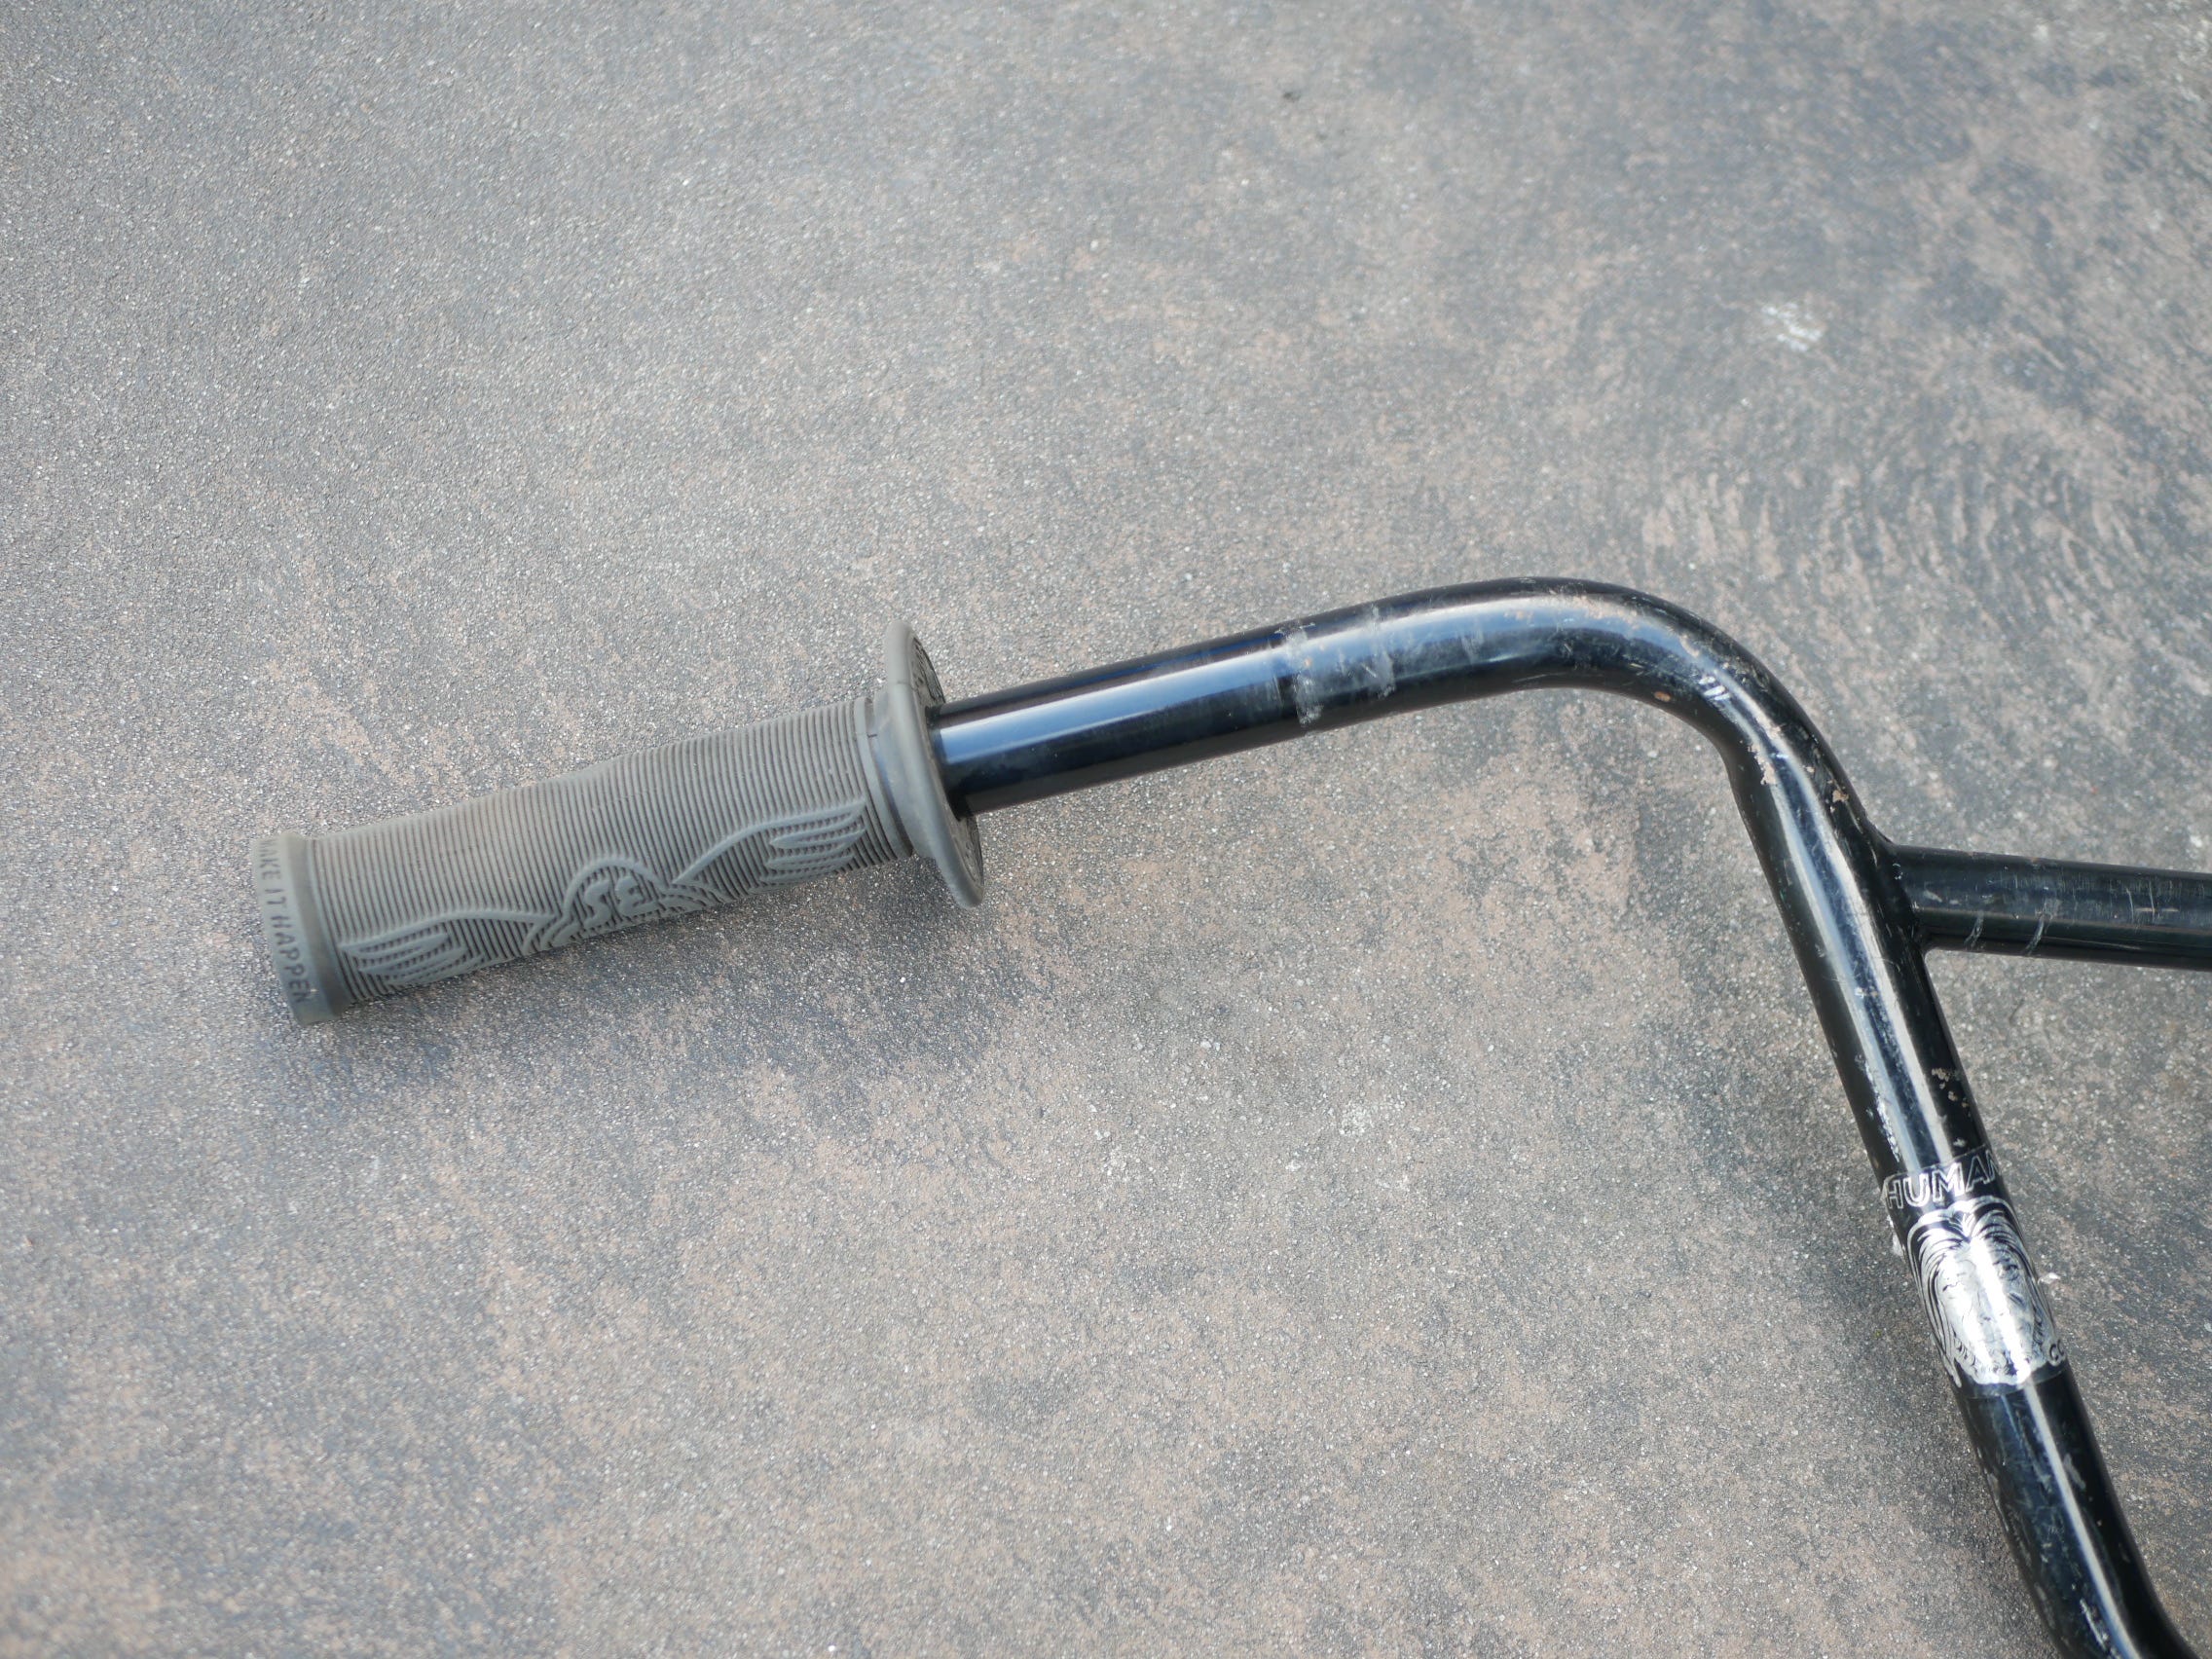
Finally, both the Grips were taken off.
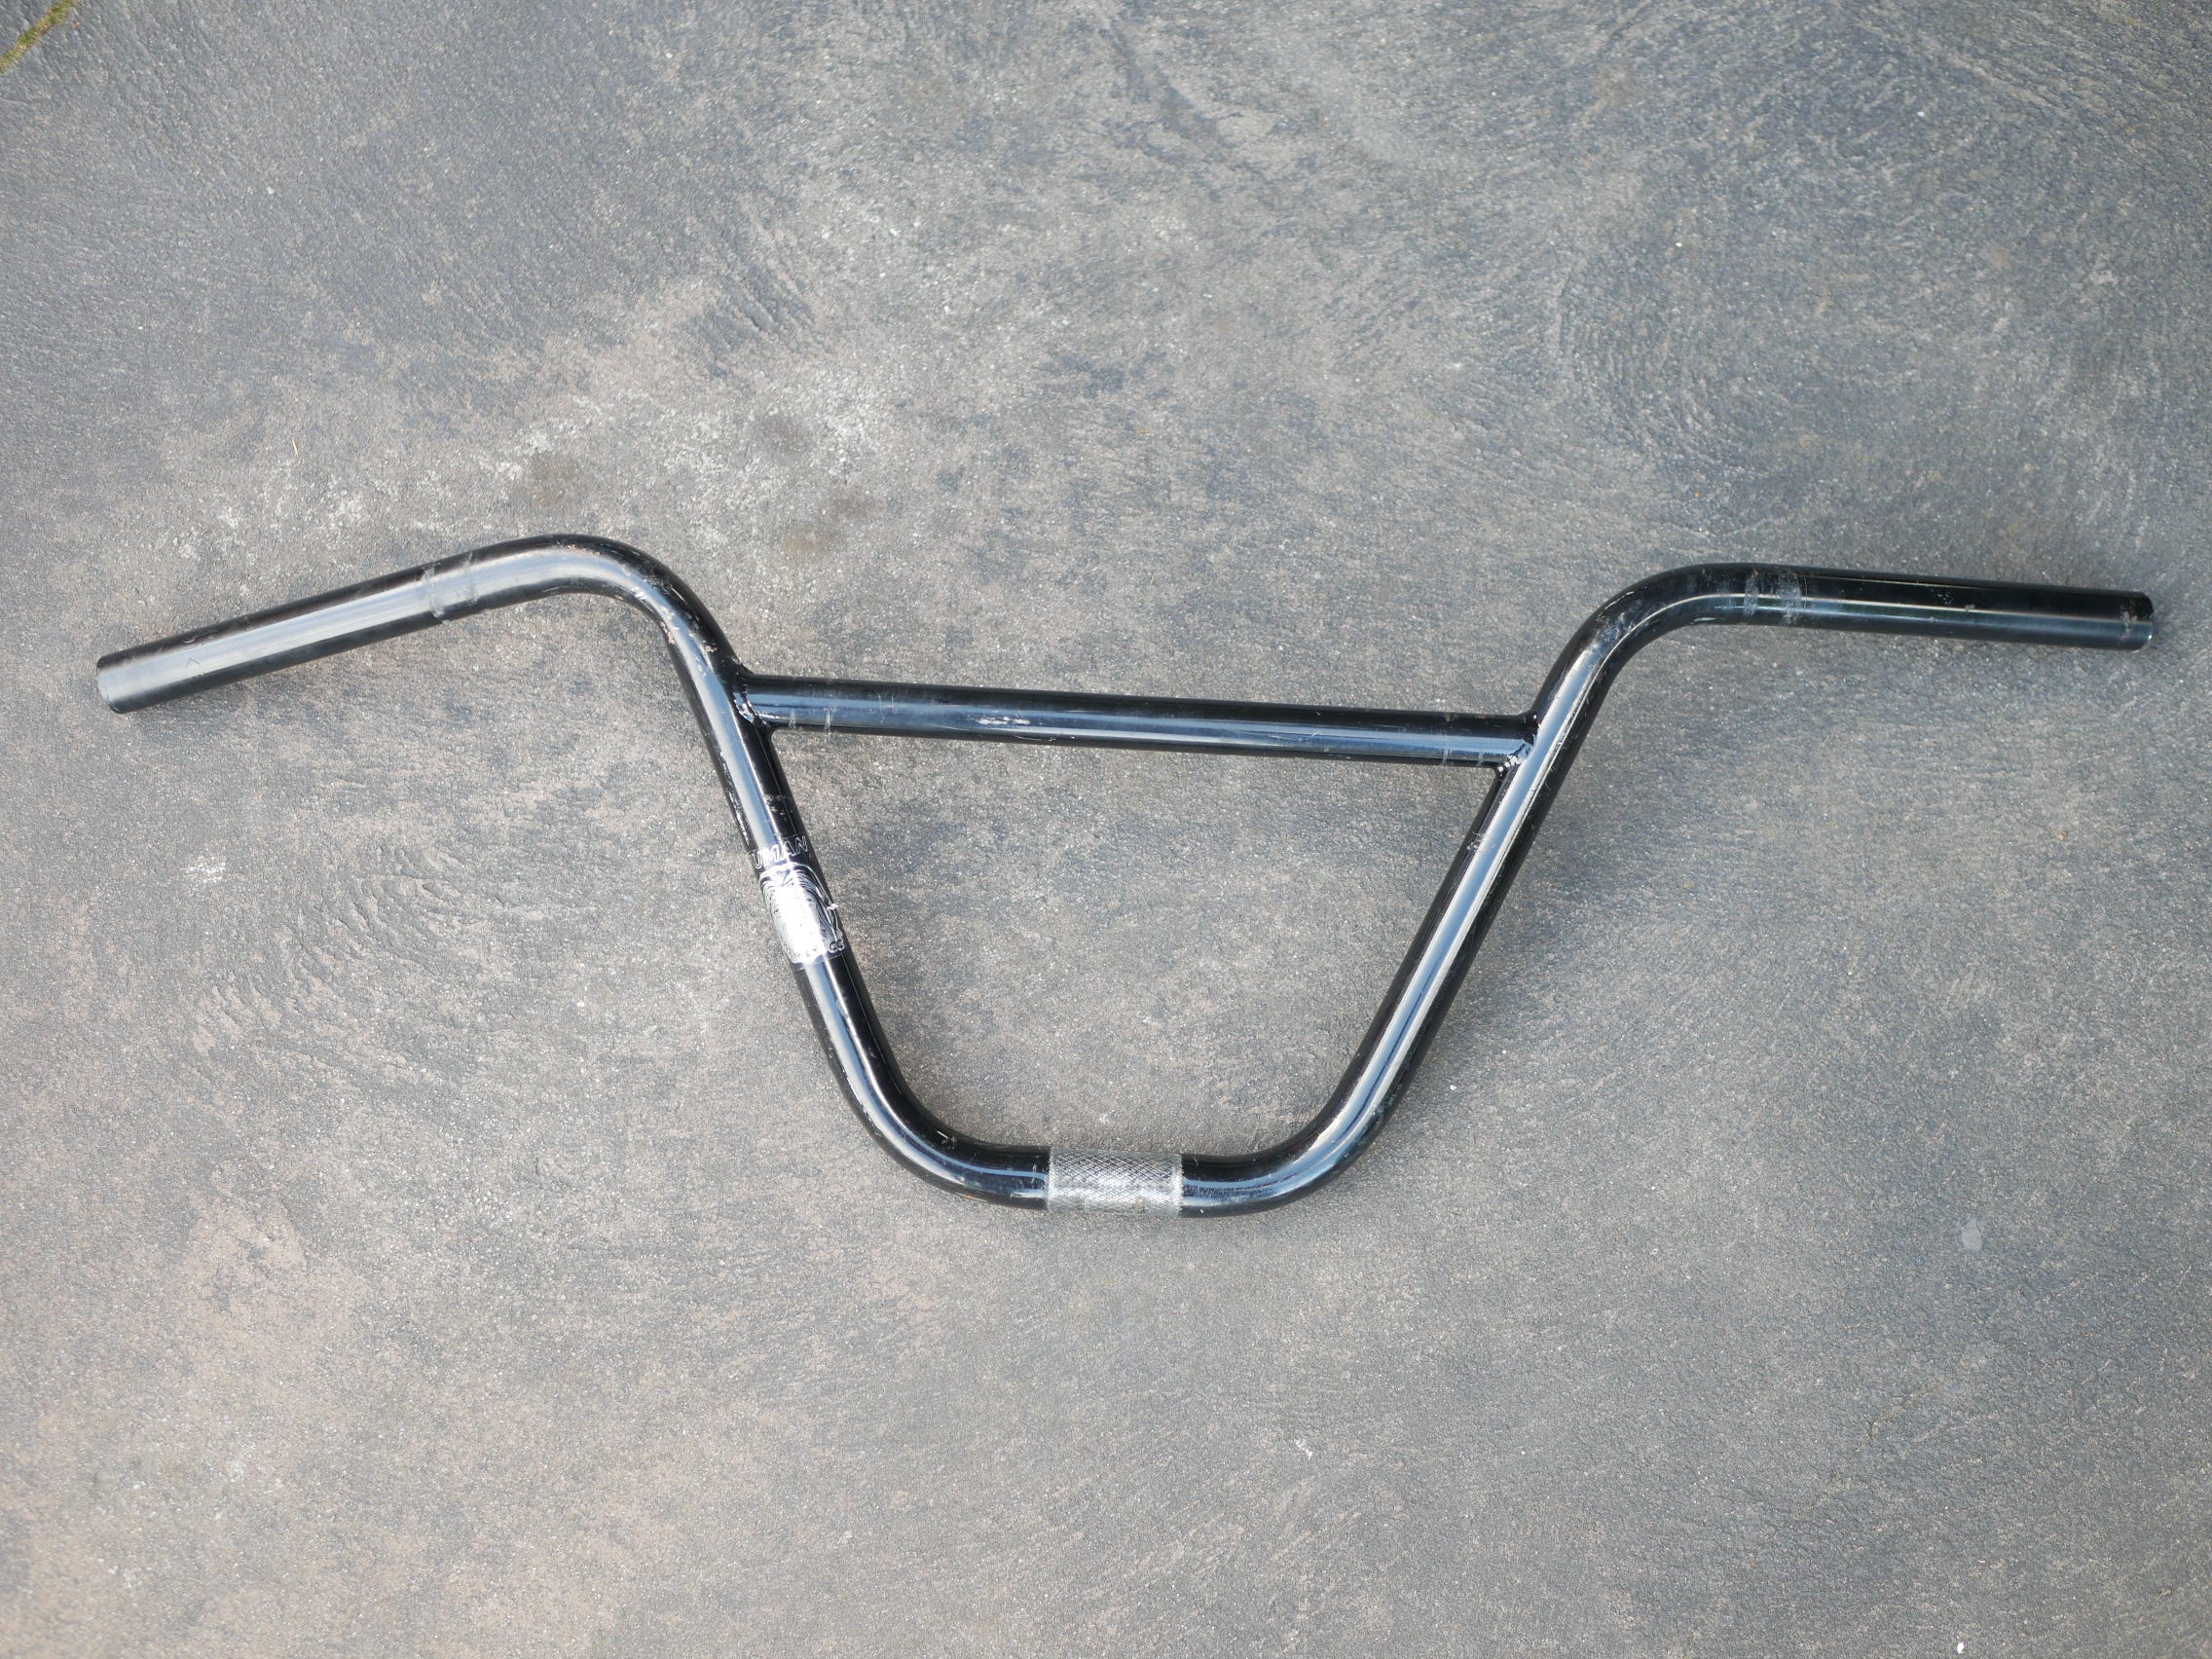
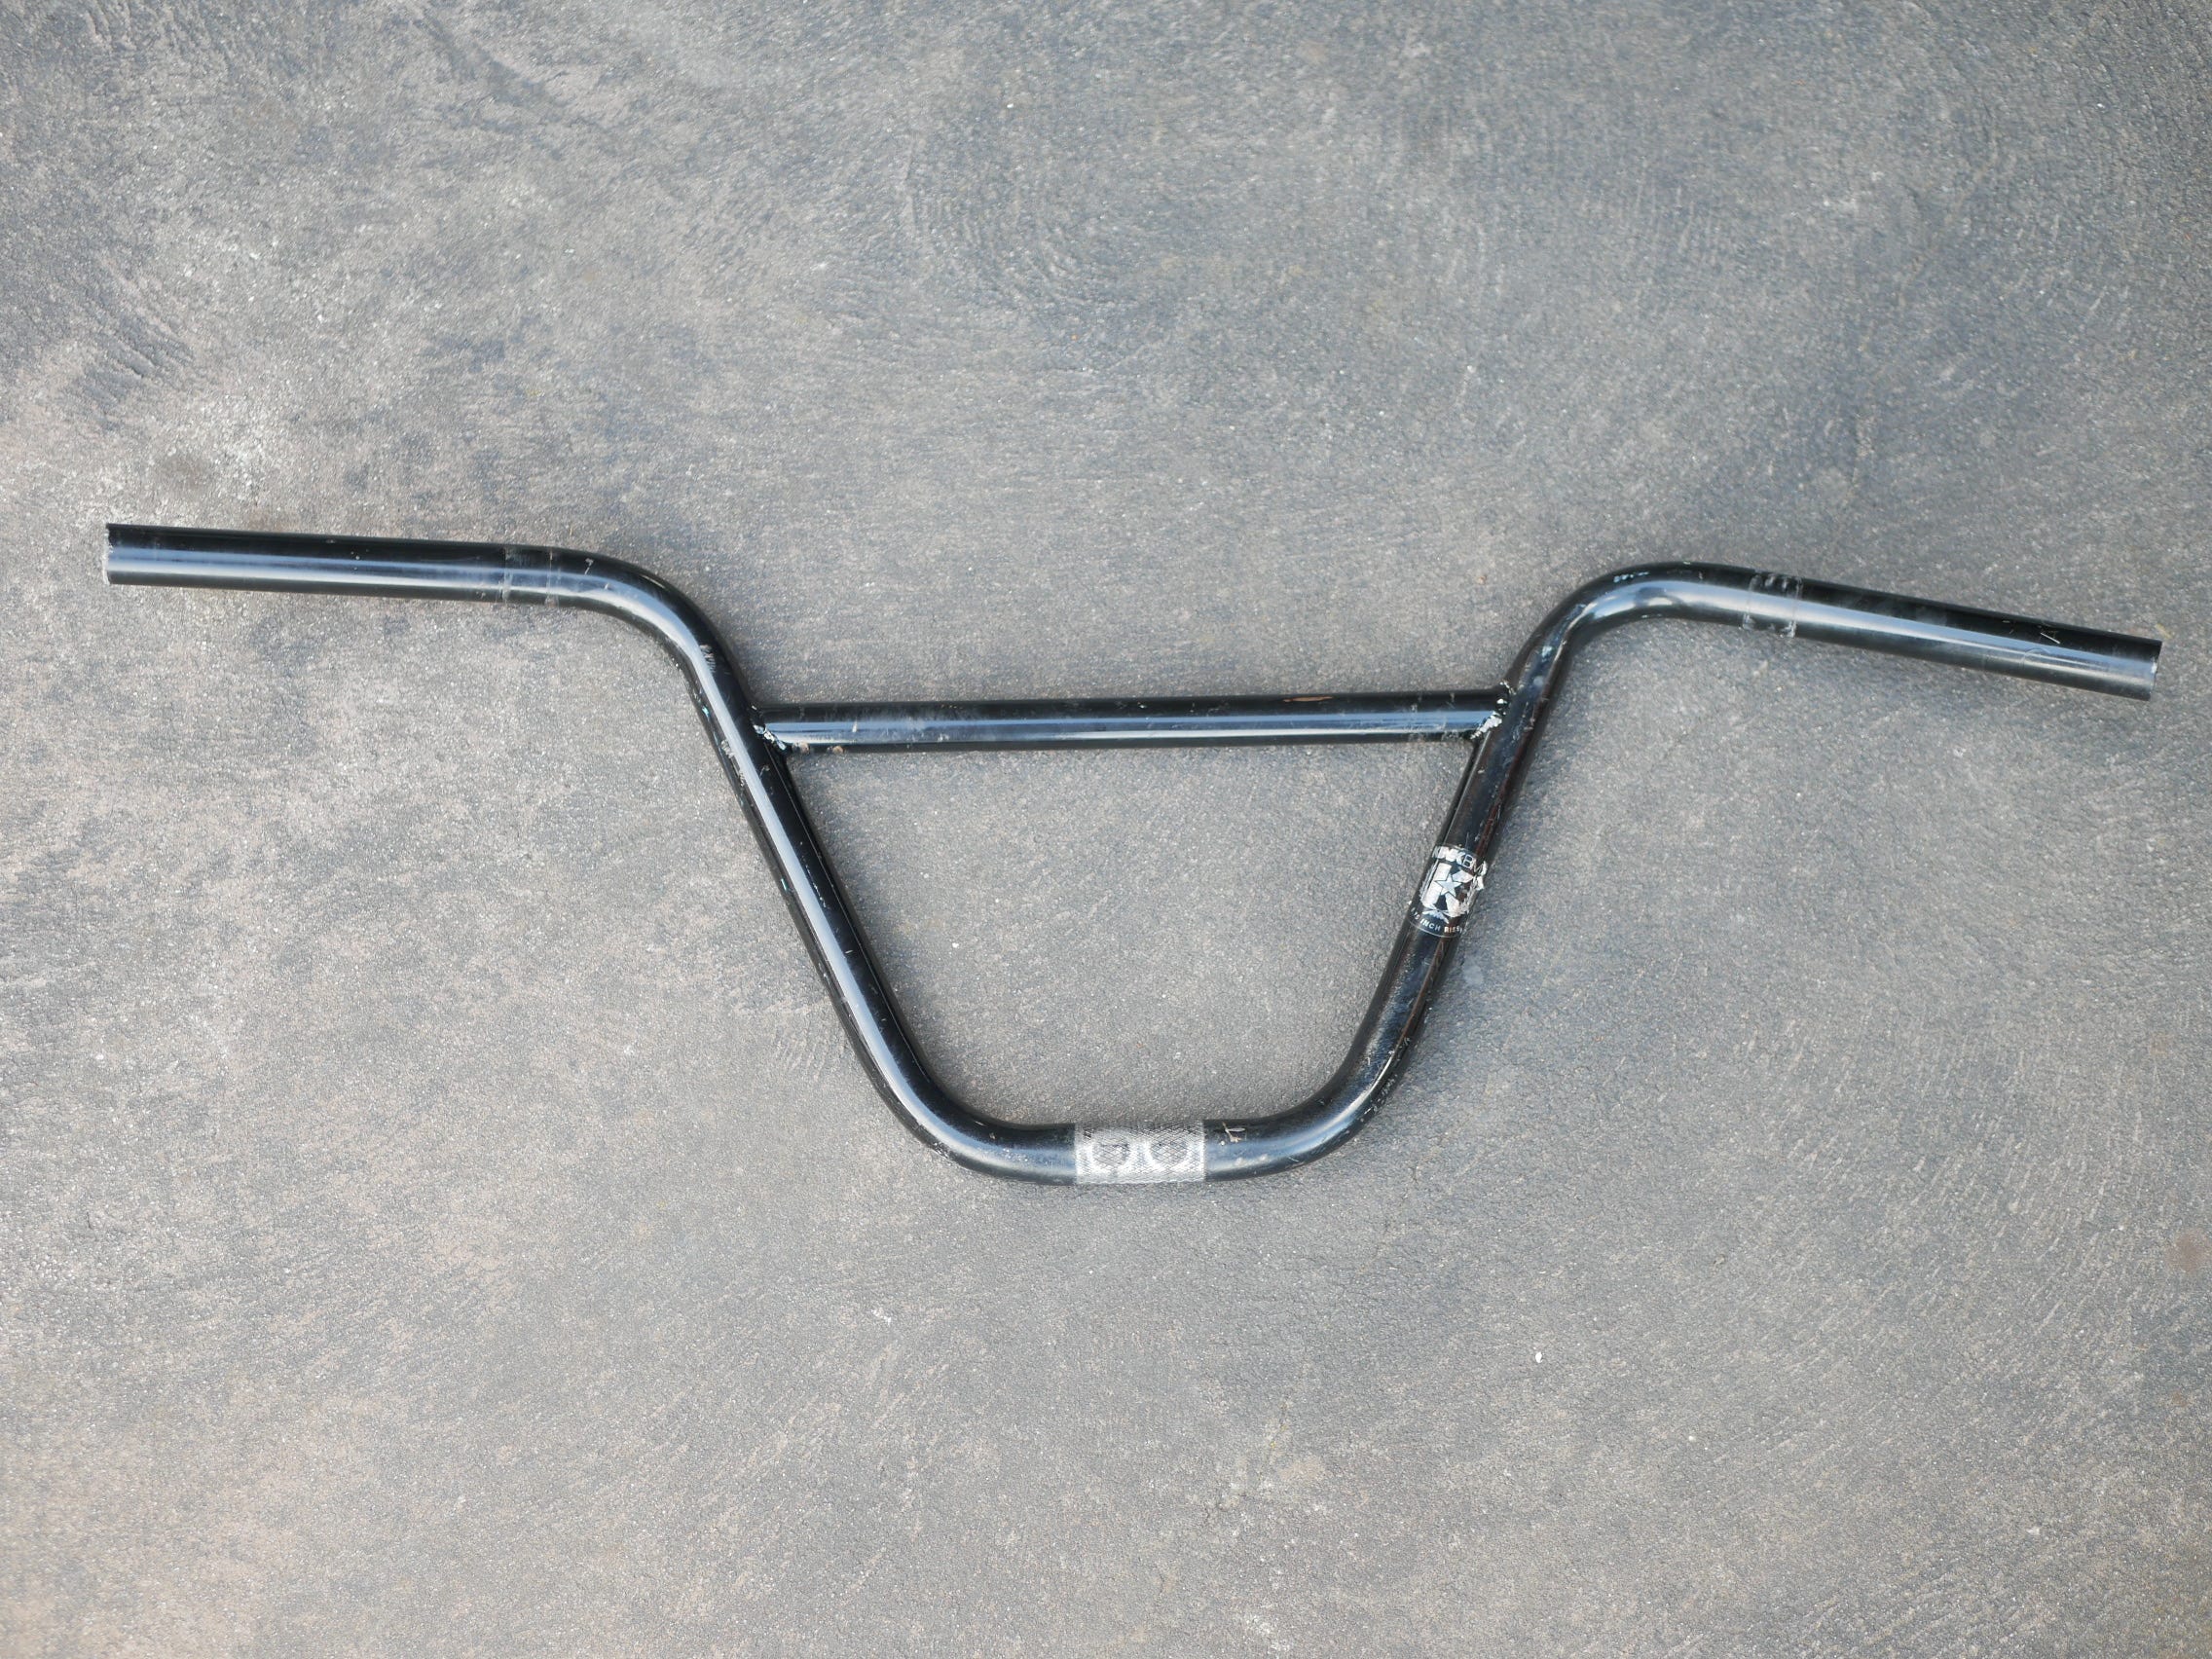
And for the other side Grip to be placed on.
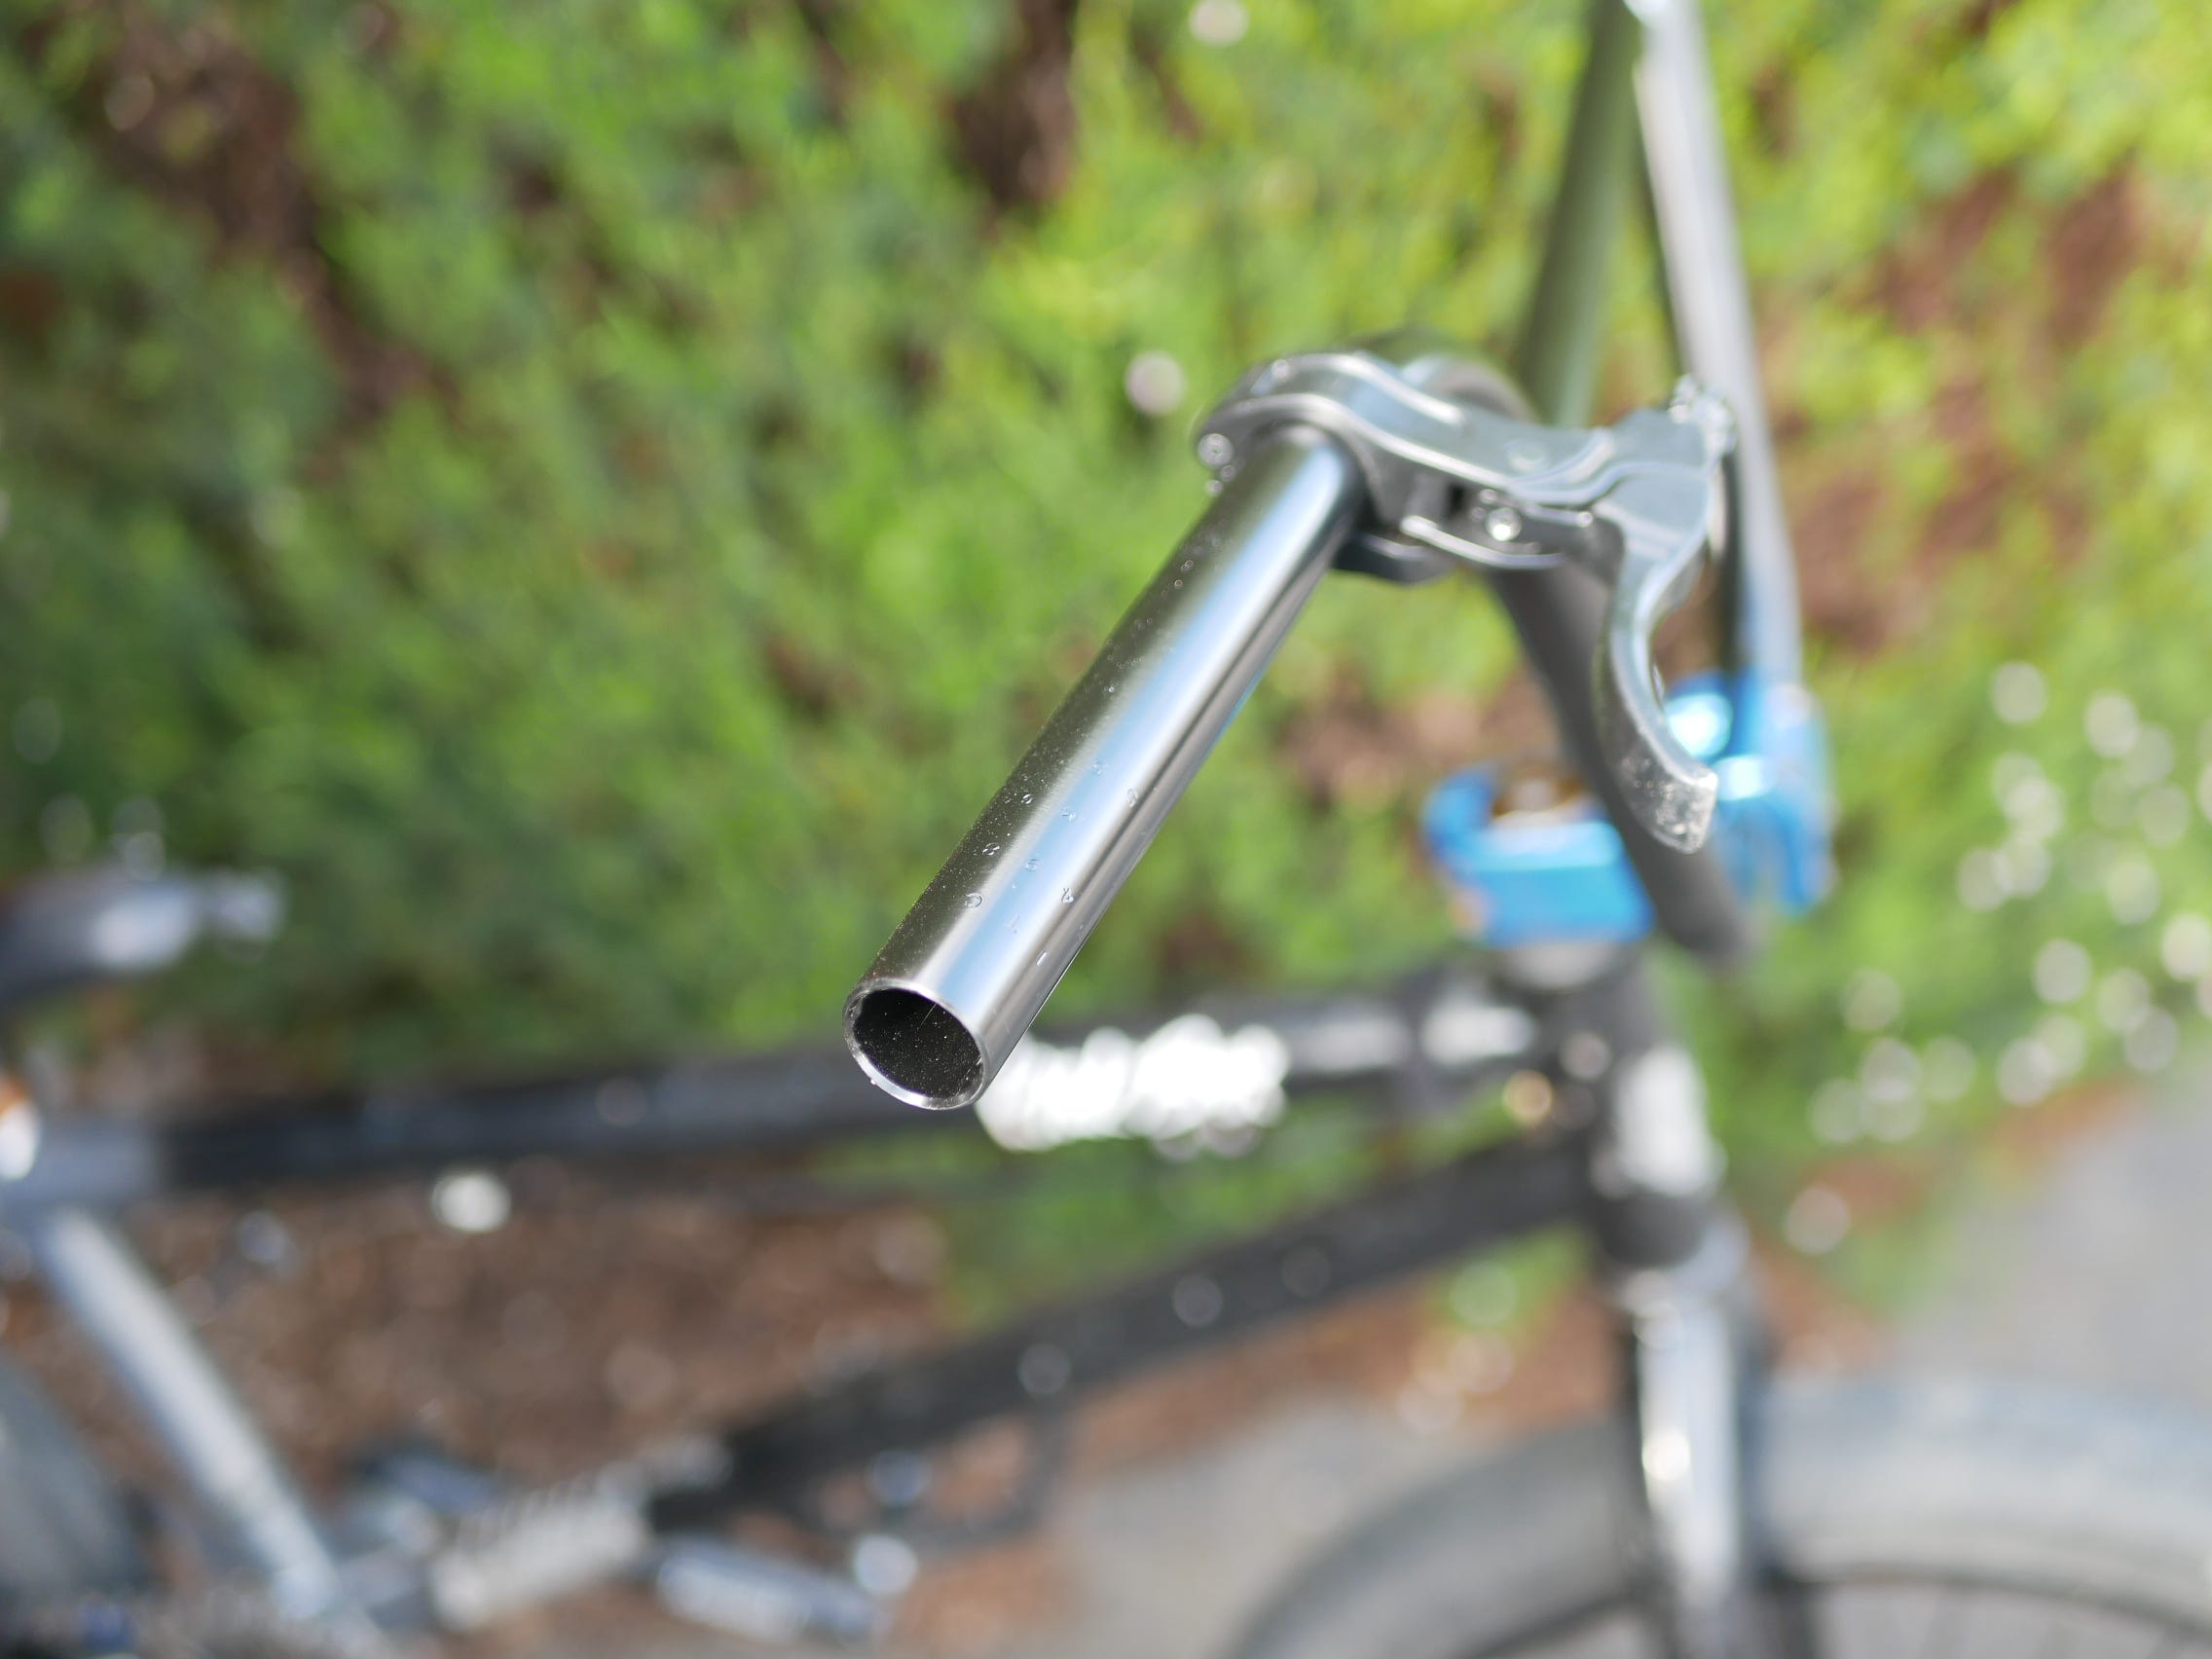
Again, it begins to slide on initially before it gets really tight.
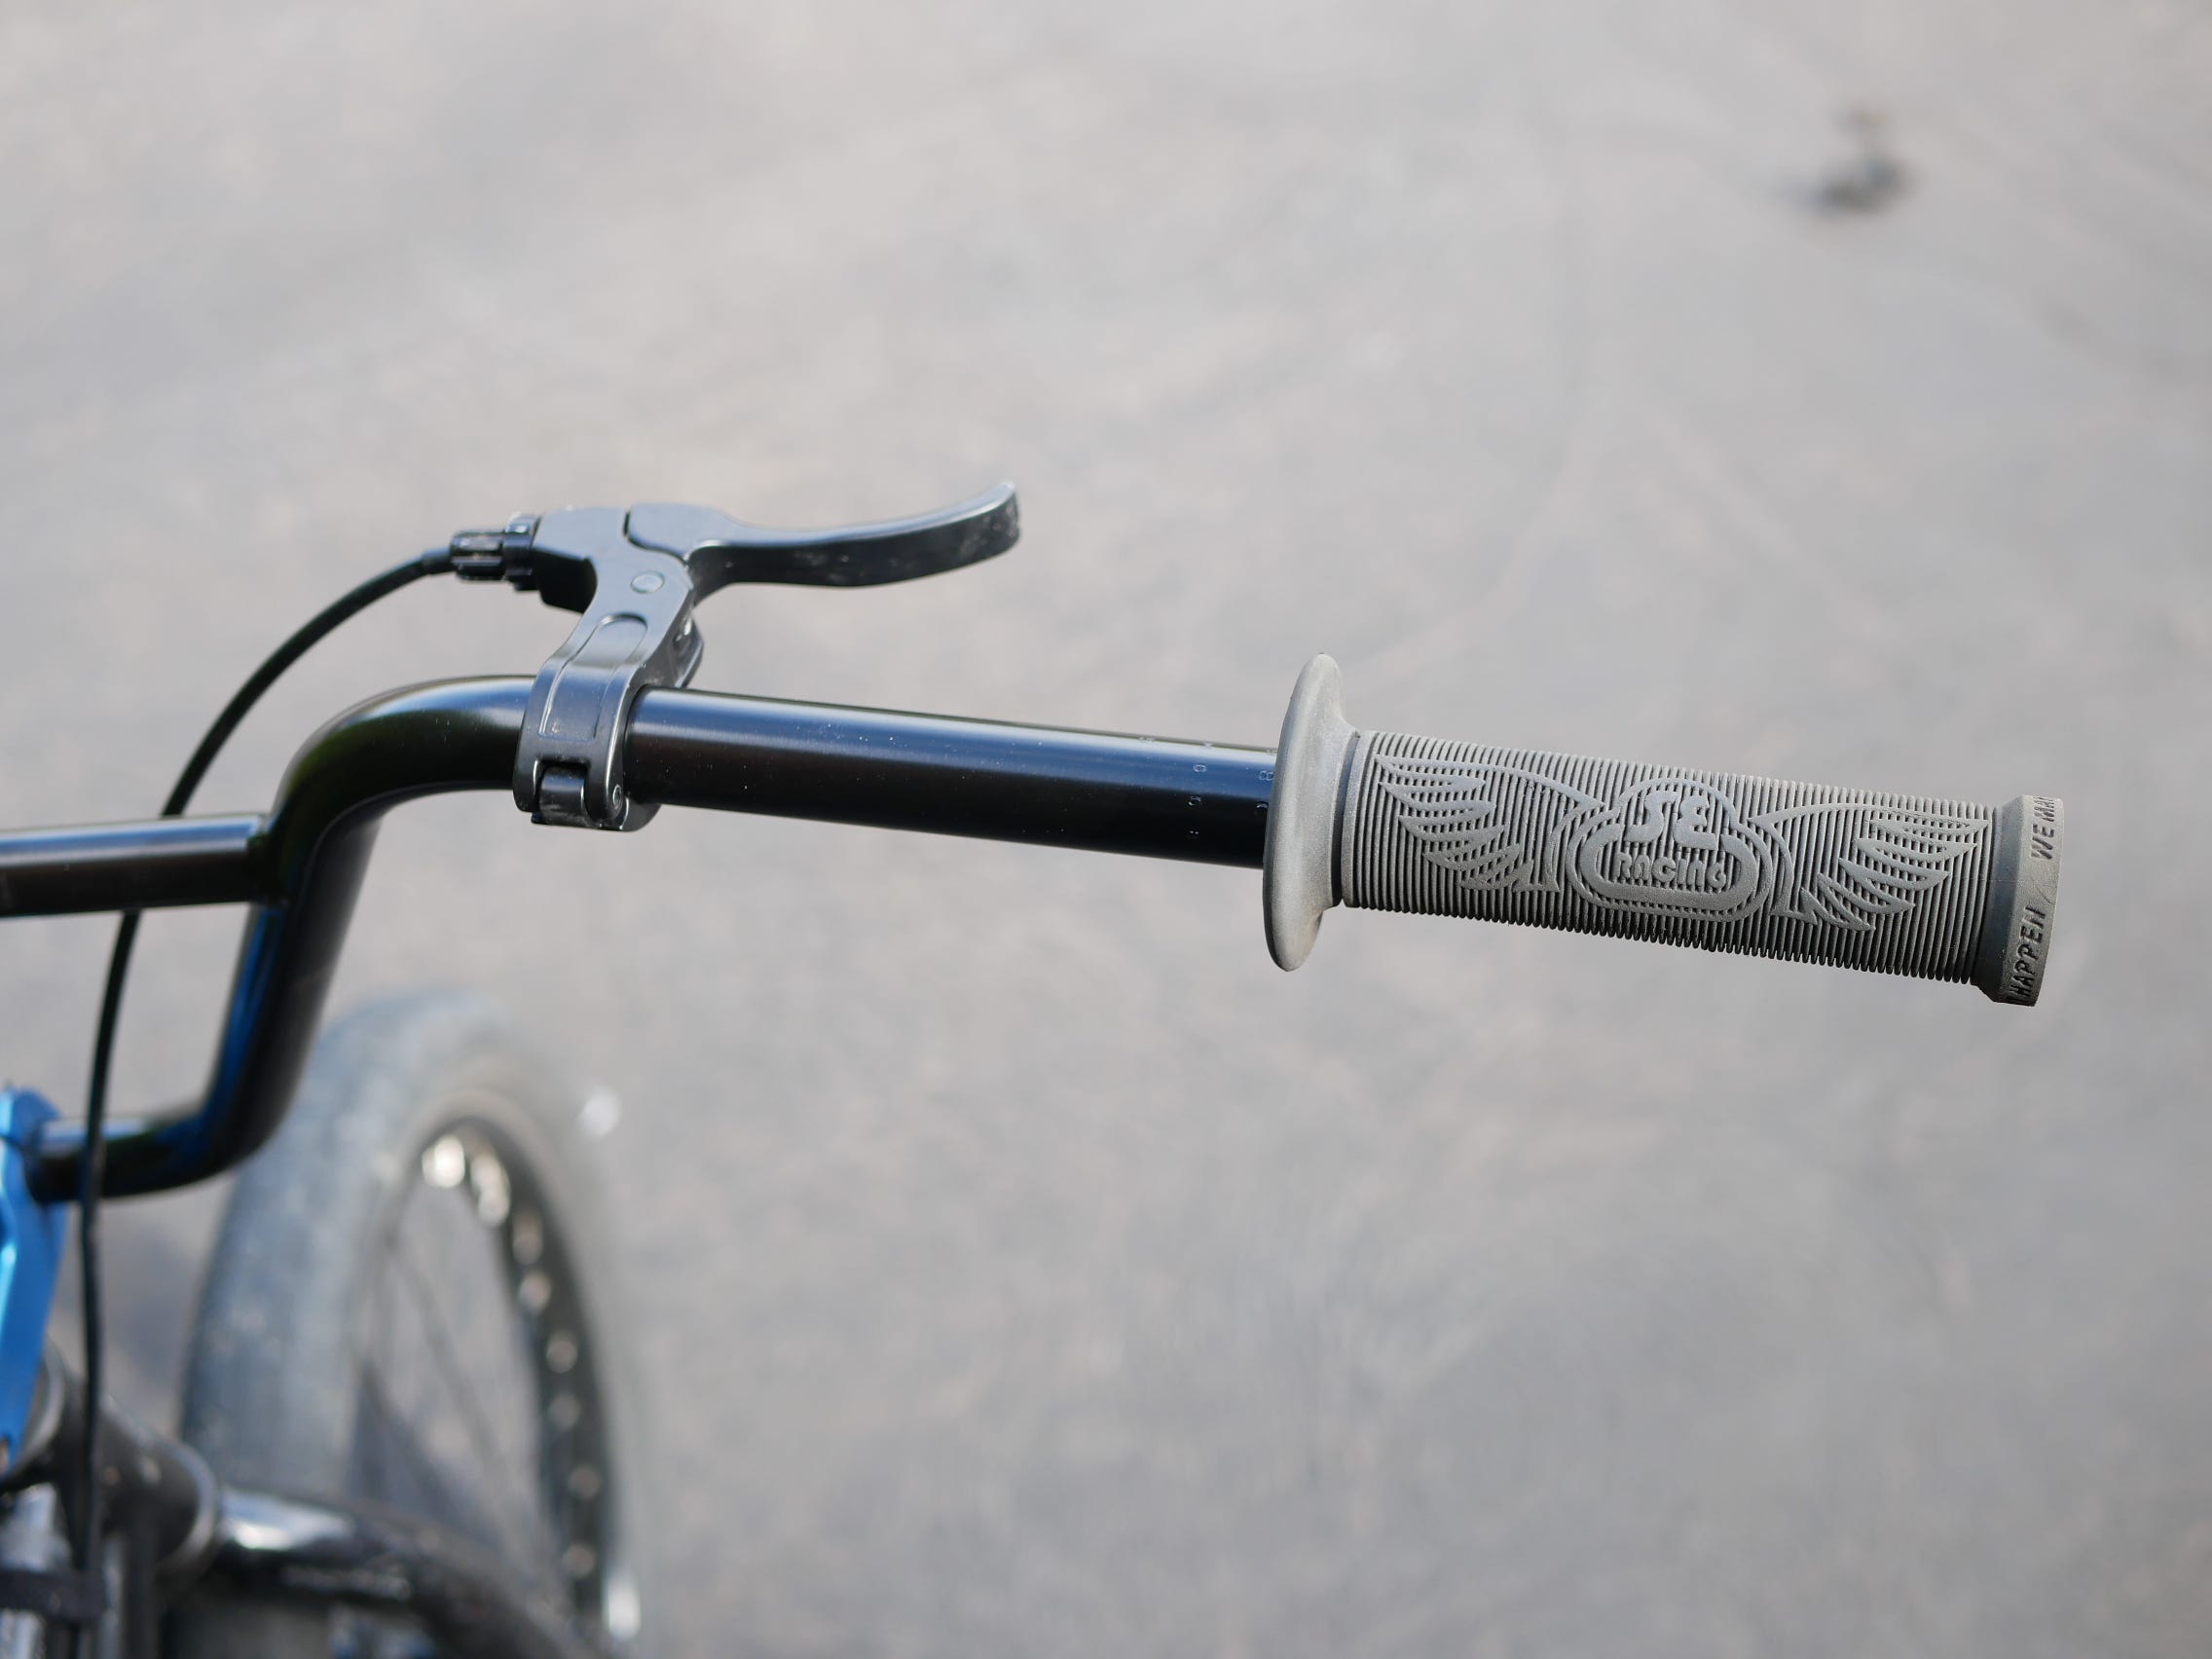
Therefore needing the assistance of the Compressed Air.
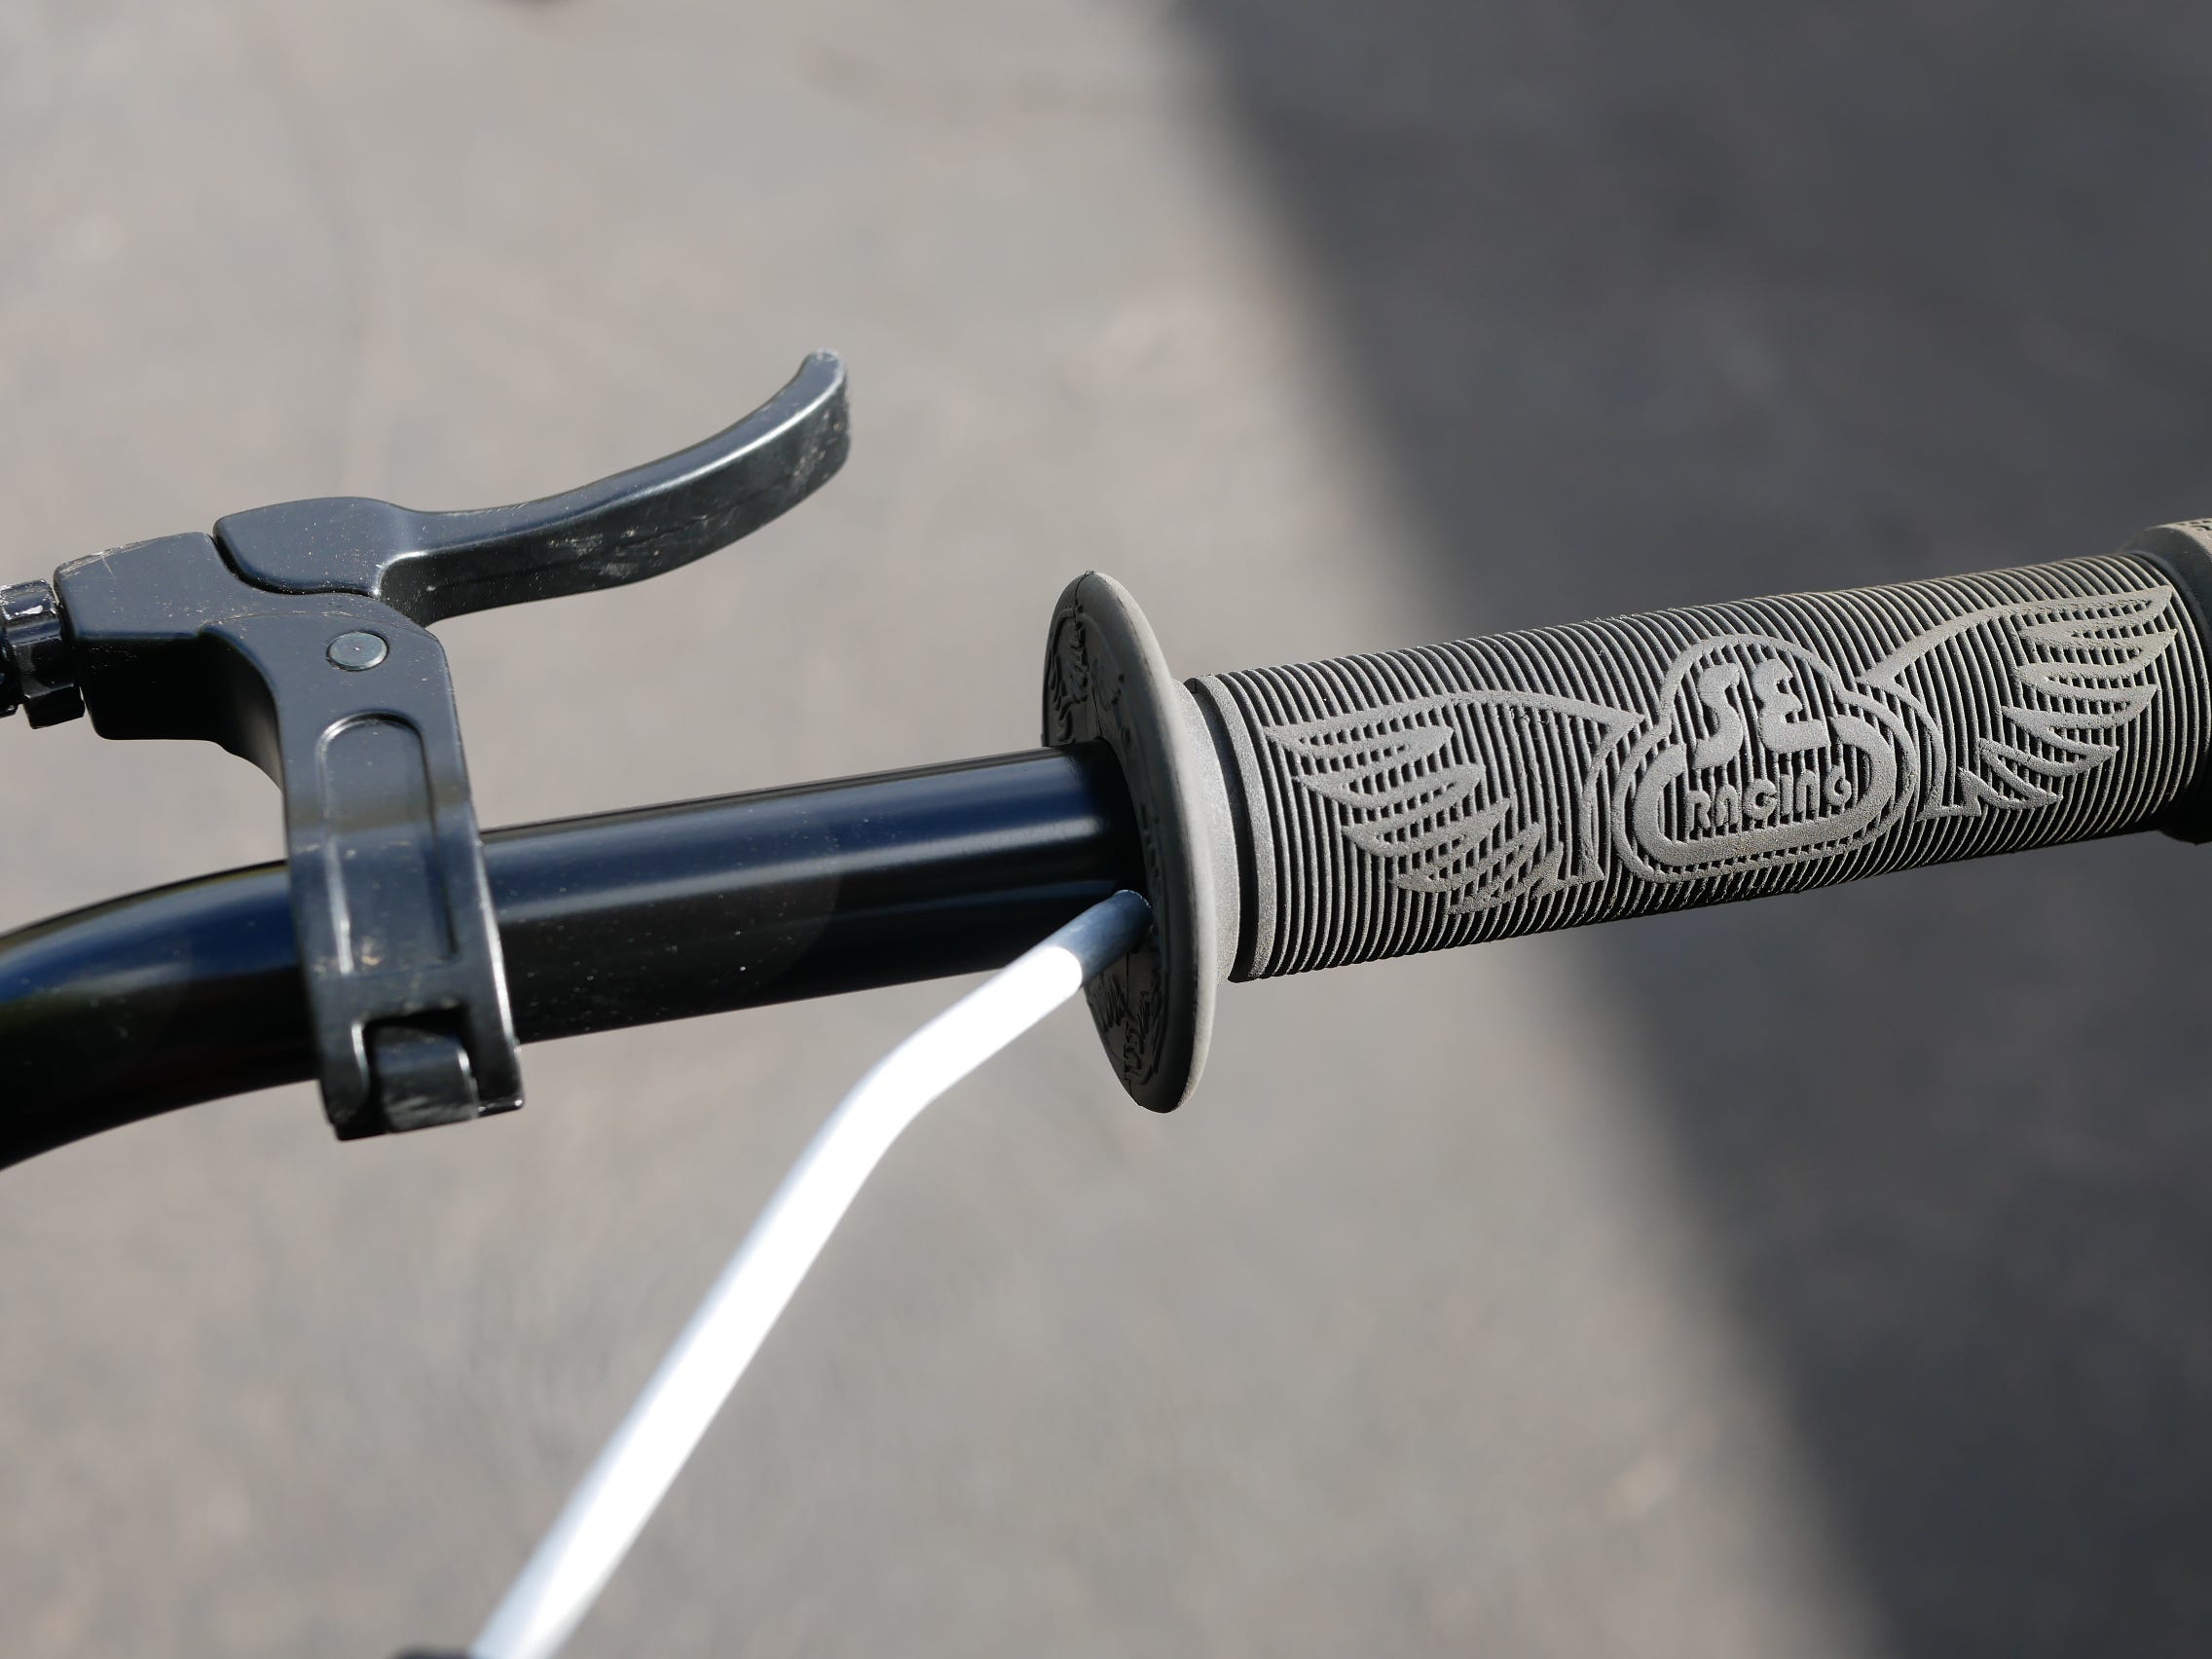
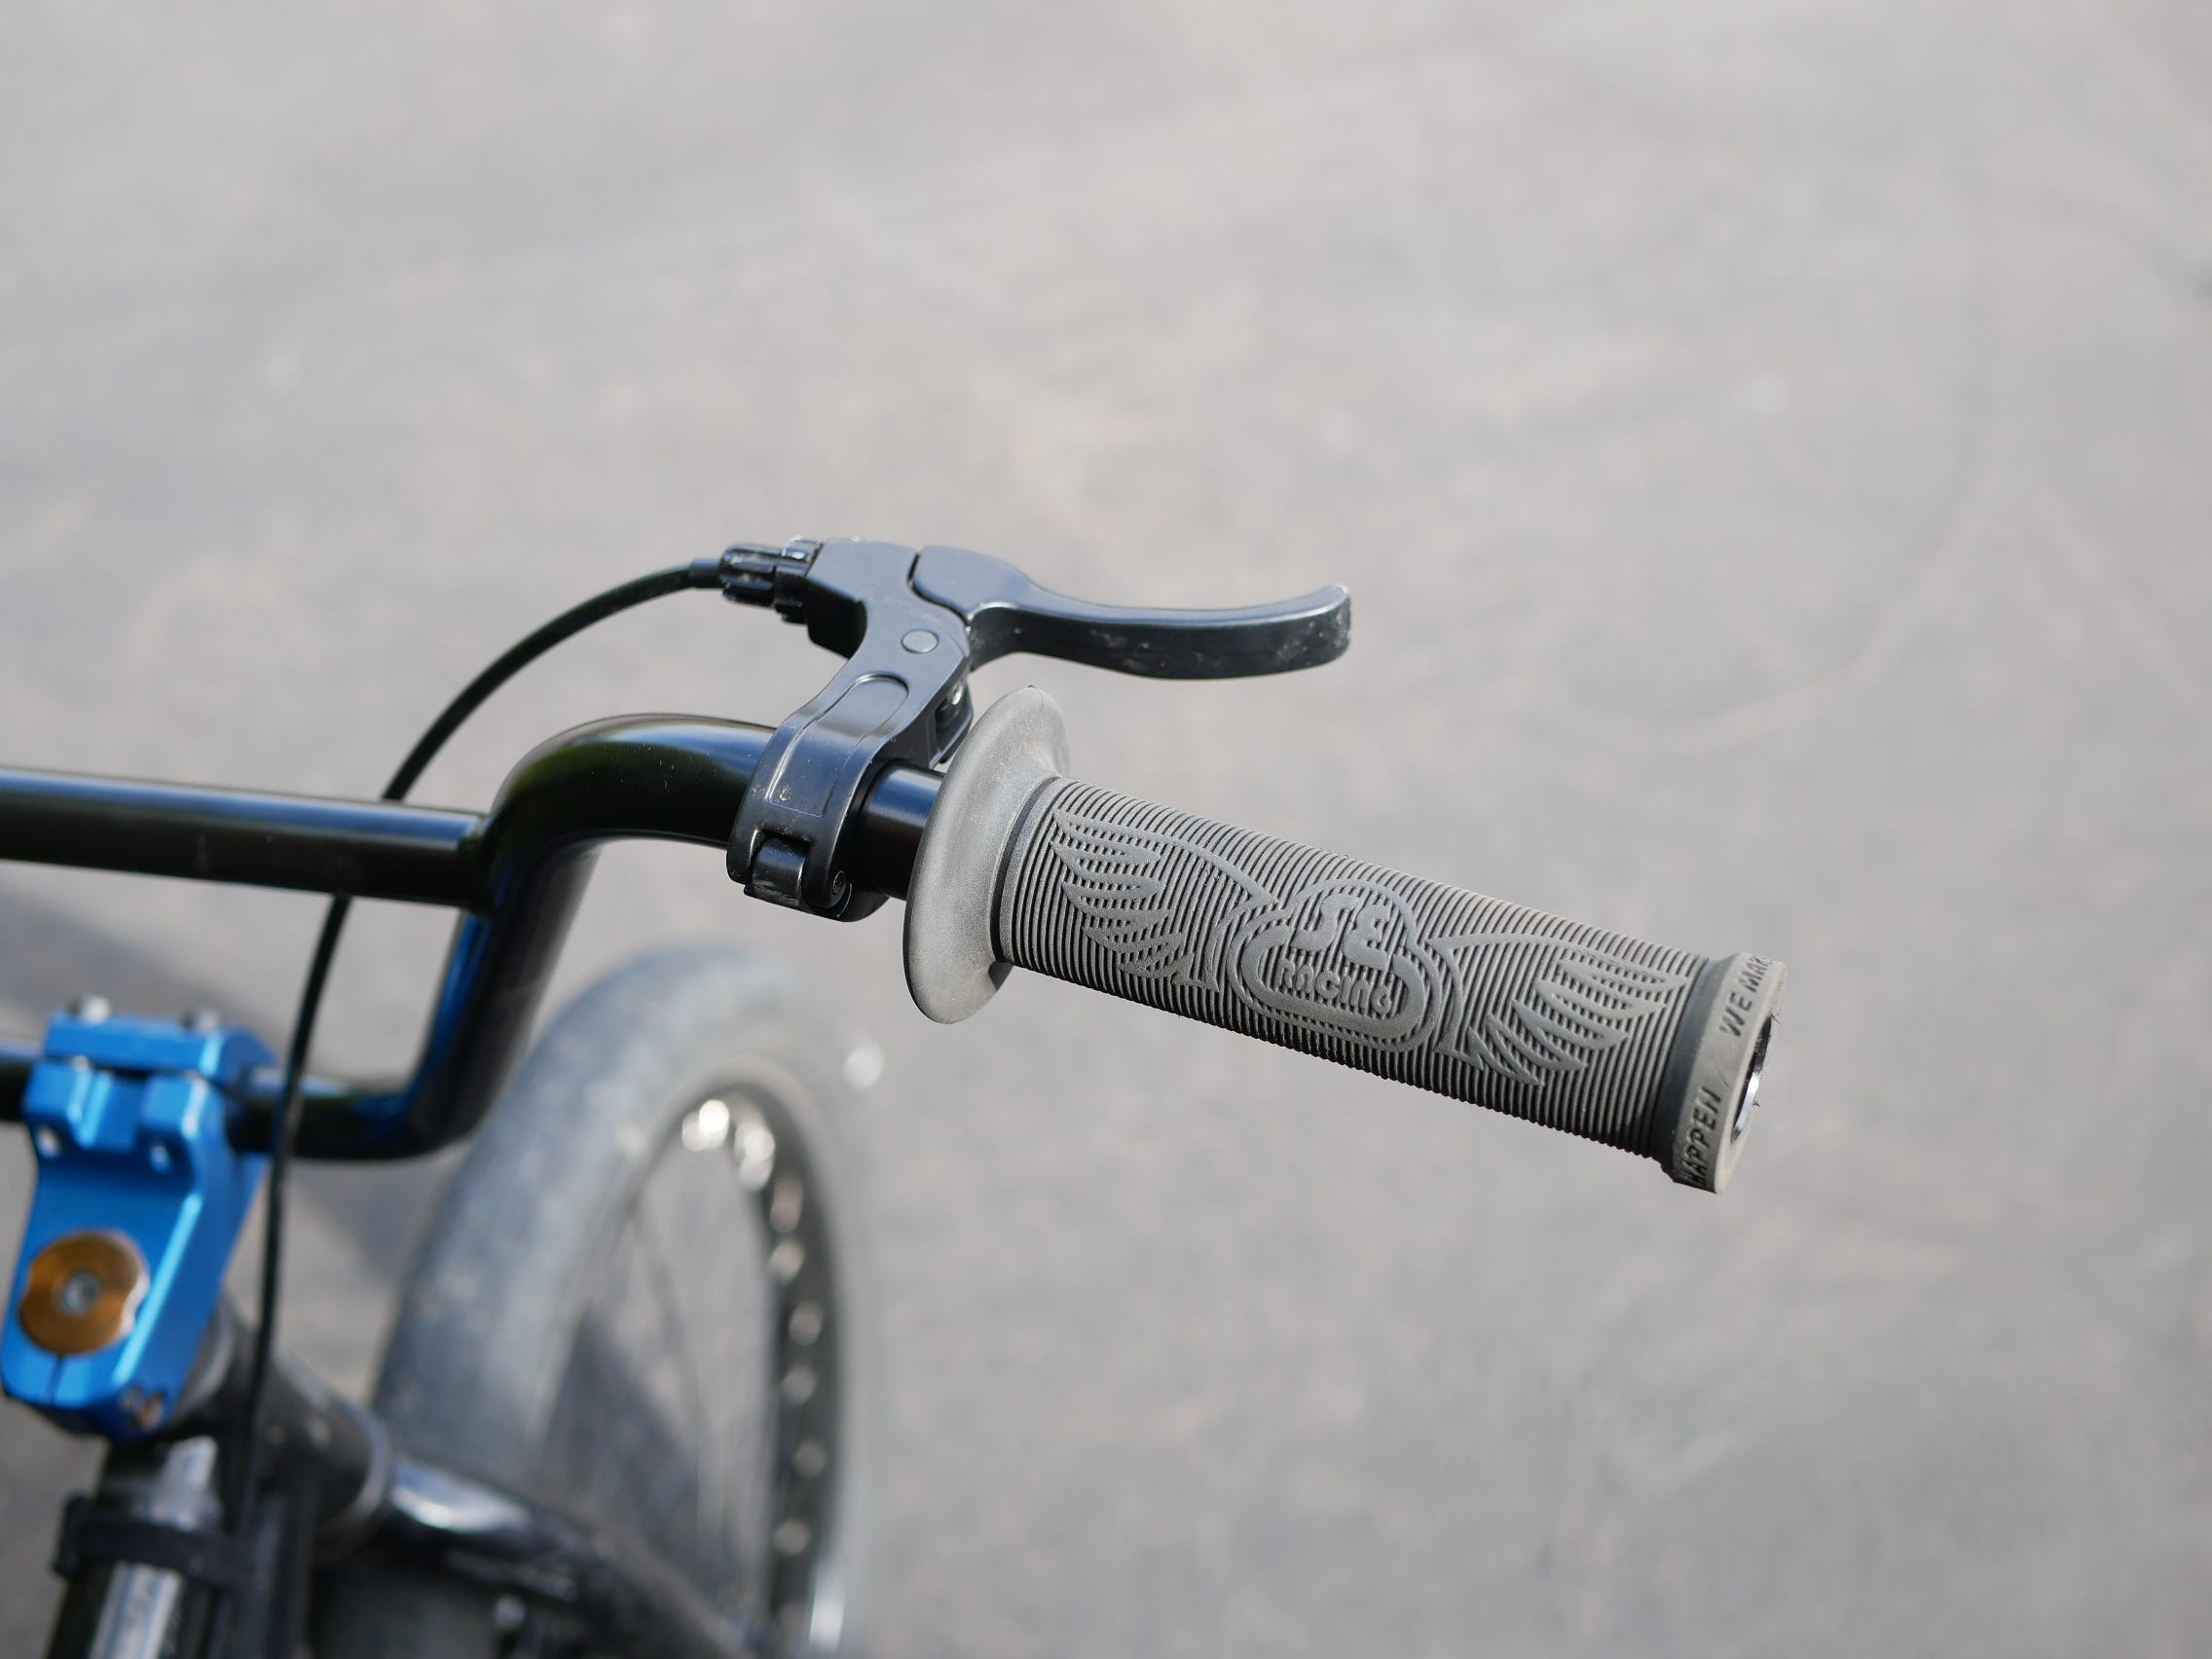
Although the Grip had slid up to the right spot, the Brake Handle needed to be re-adjusted to move closer to the Grip.
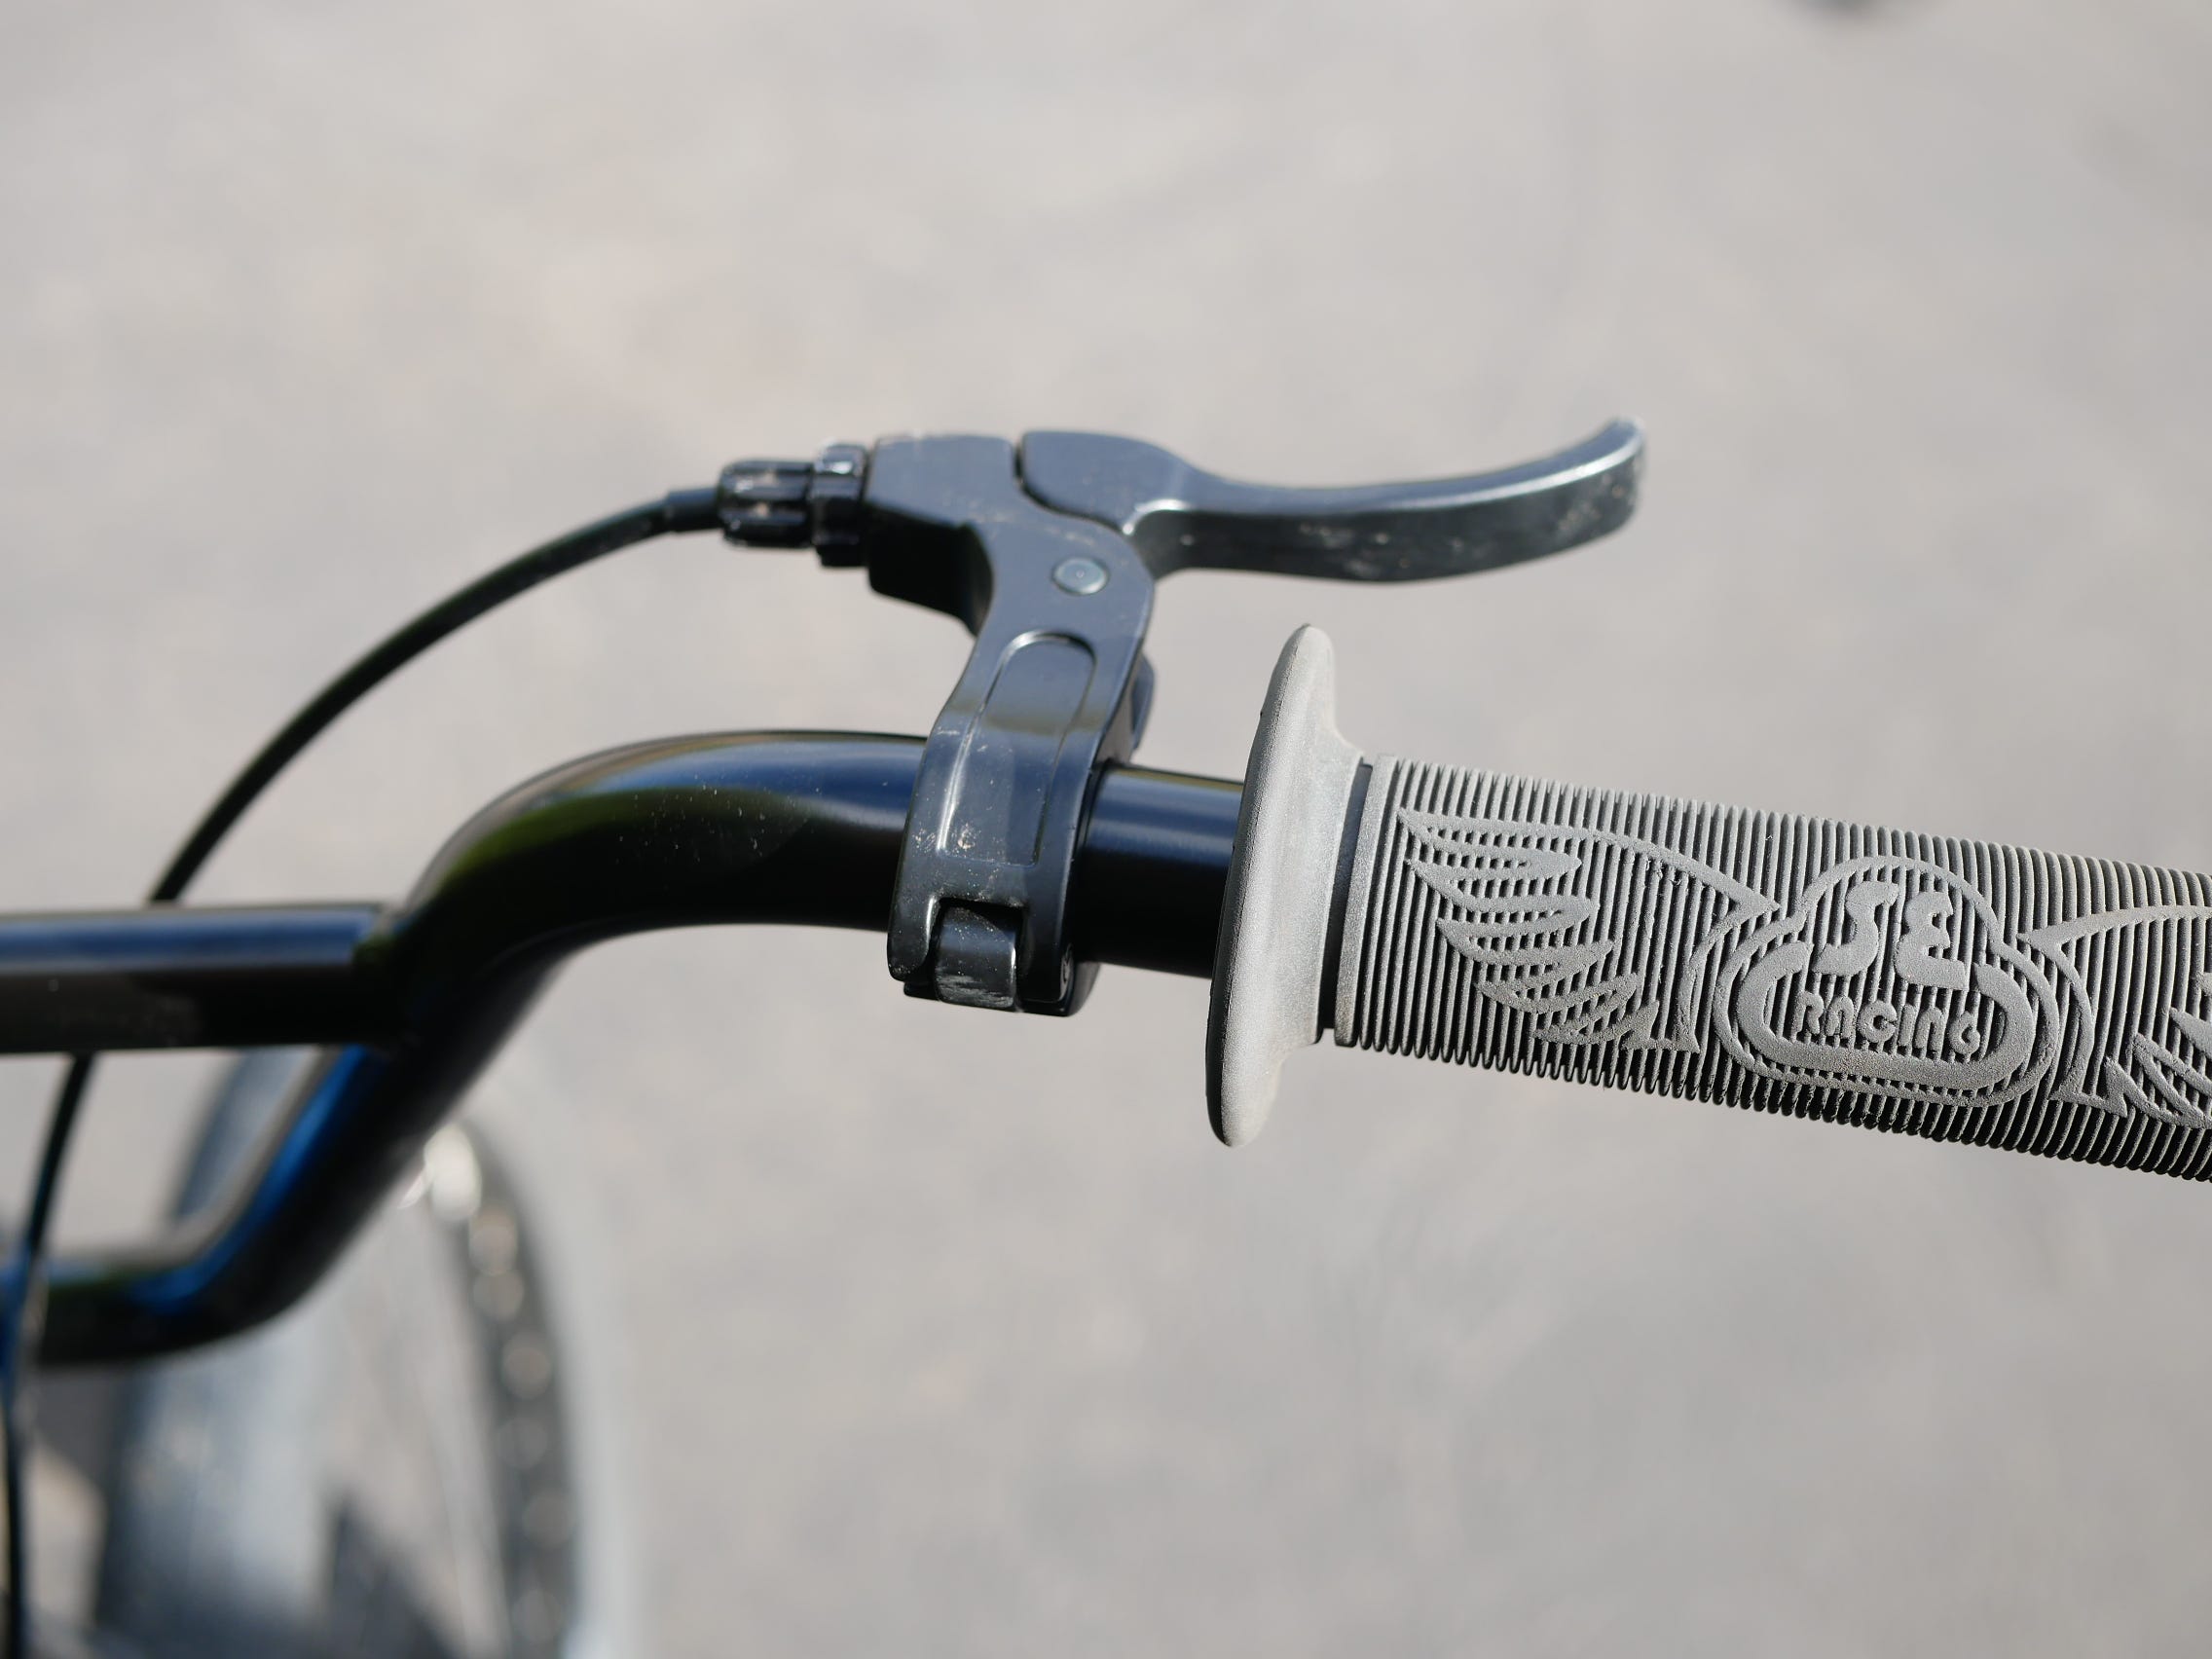
So it was loosened up to do just that.
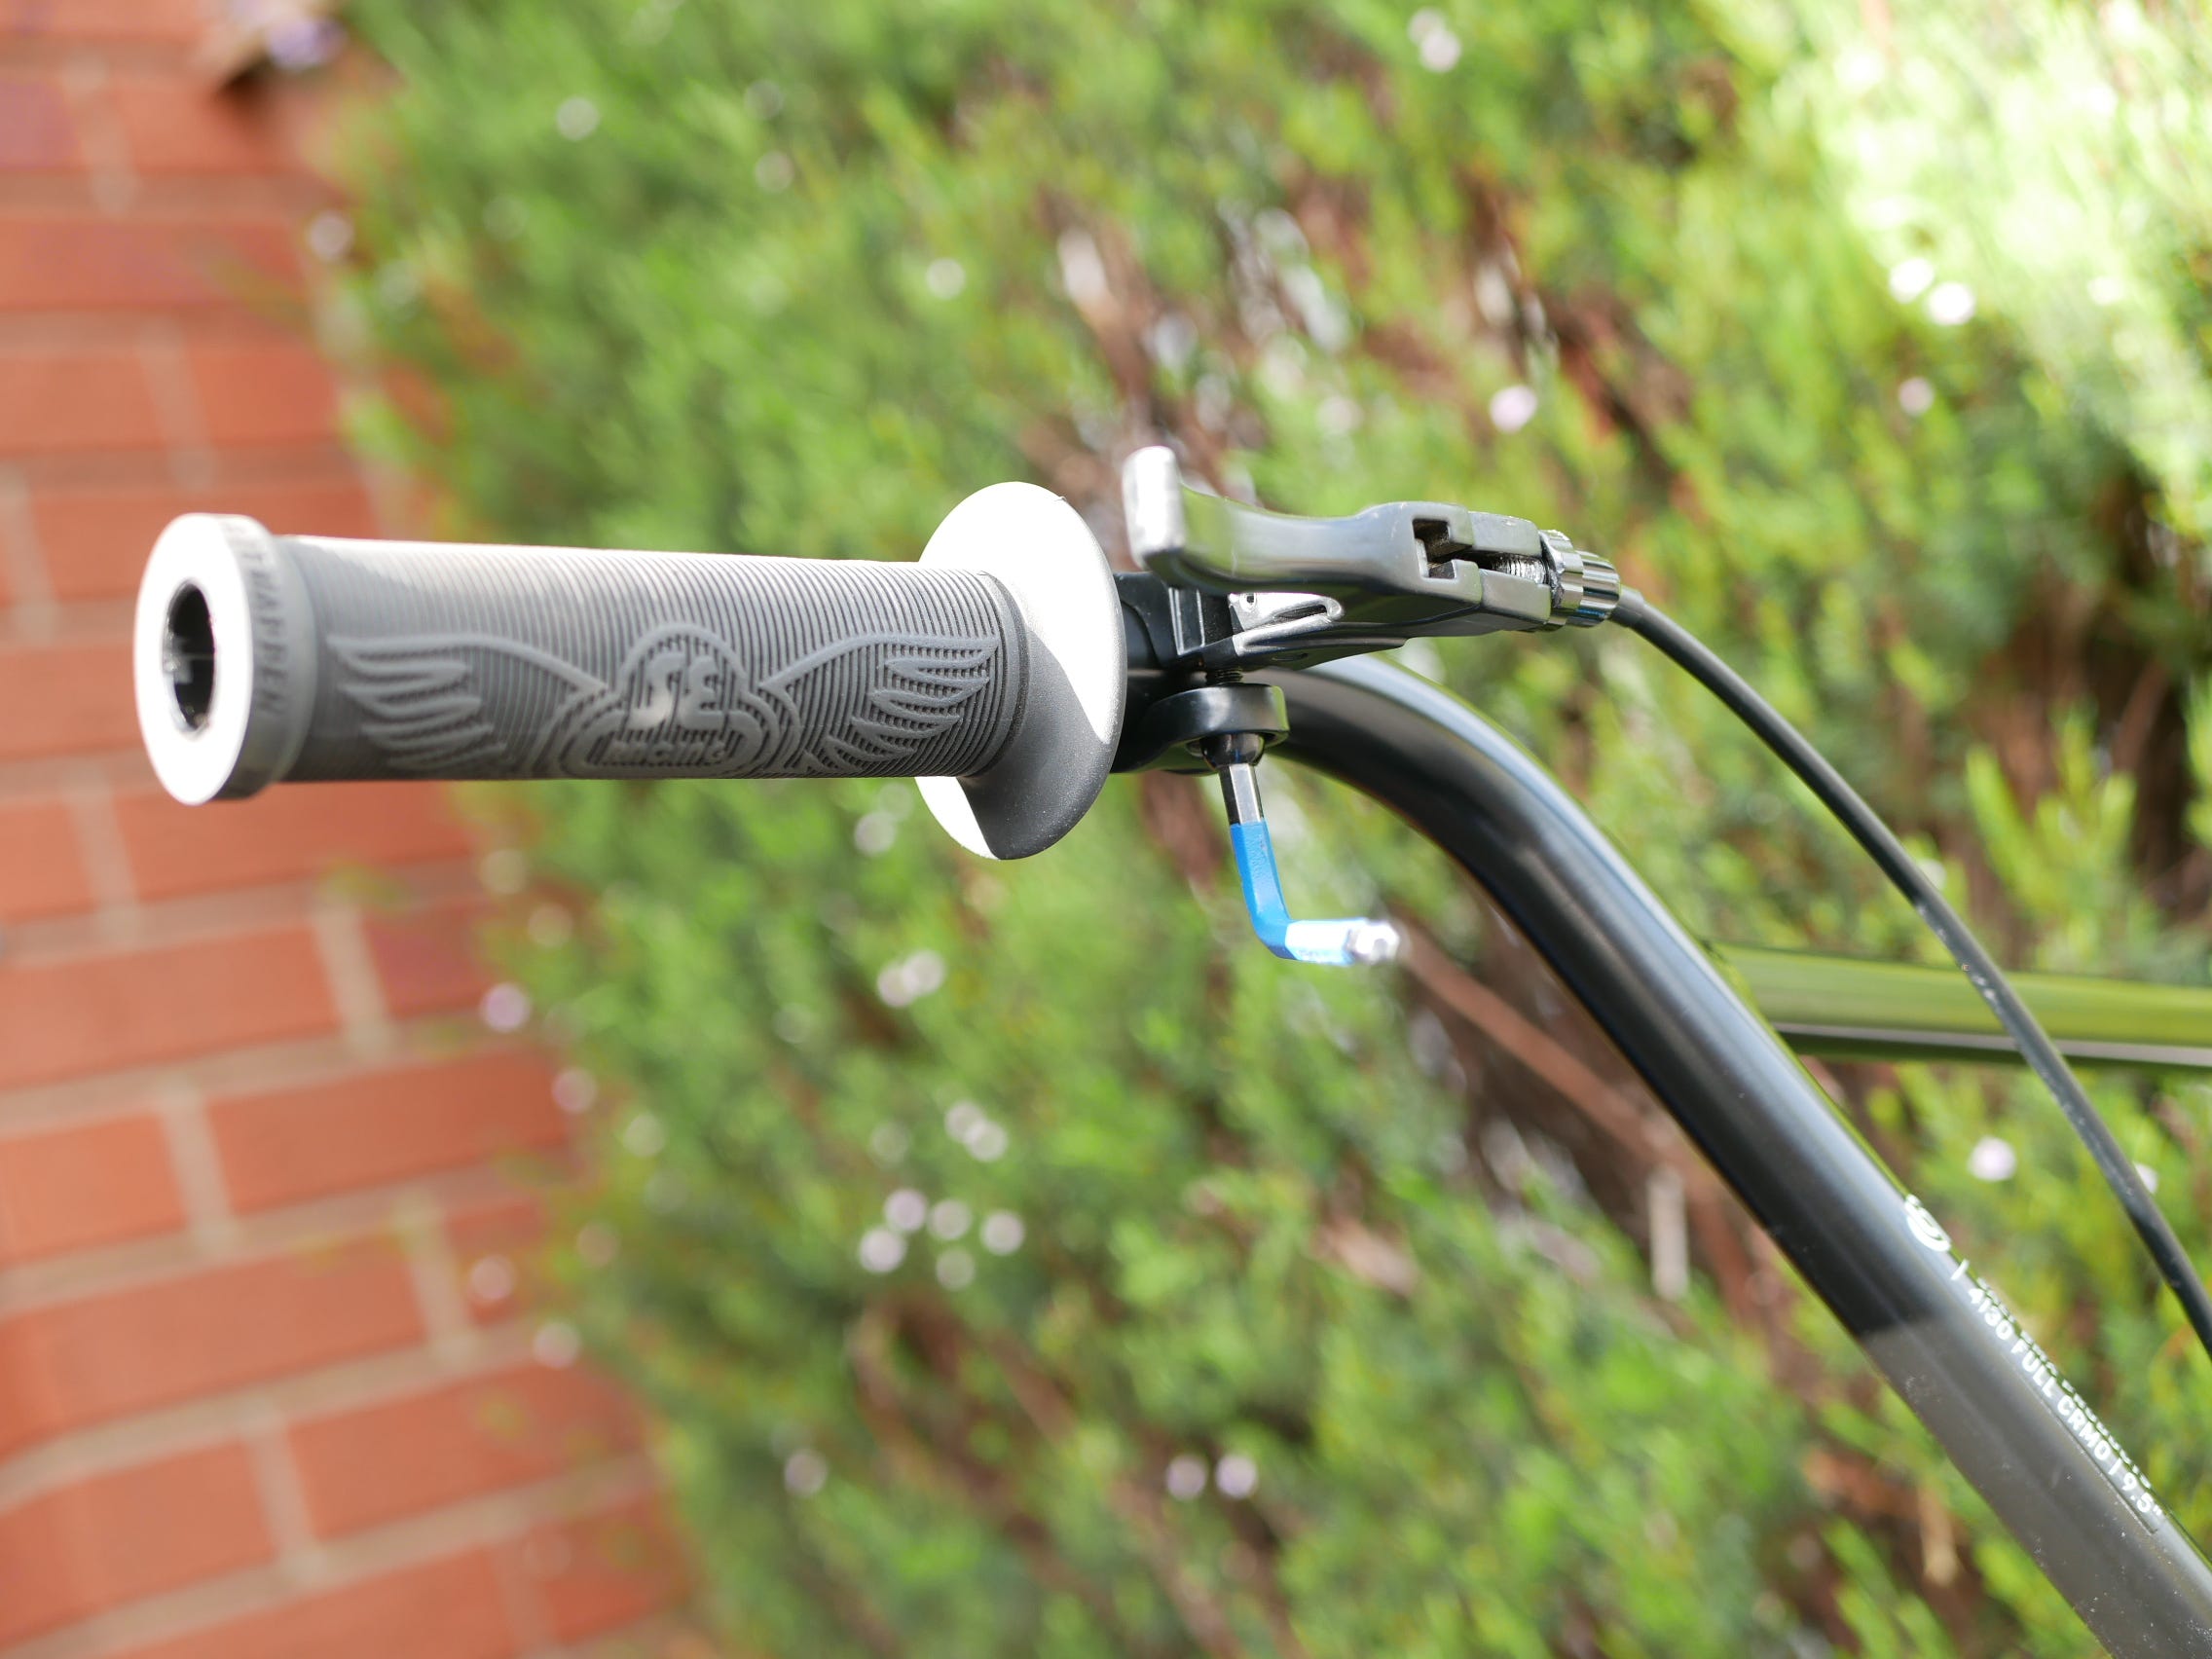
And moved closer to the Grip accordingly.
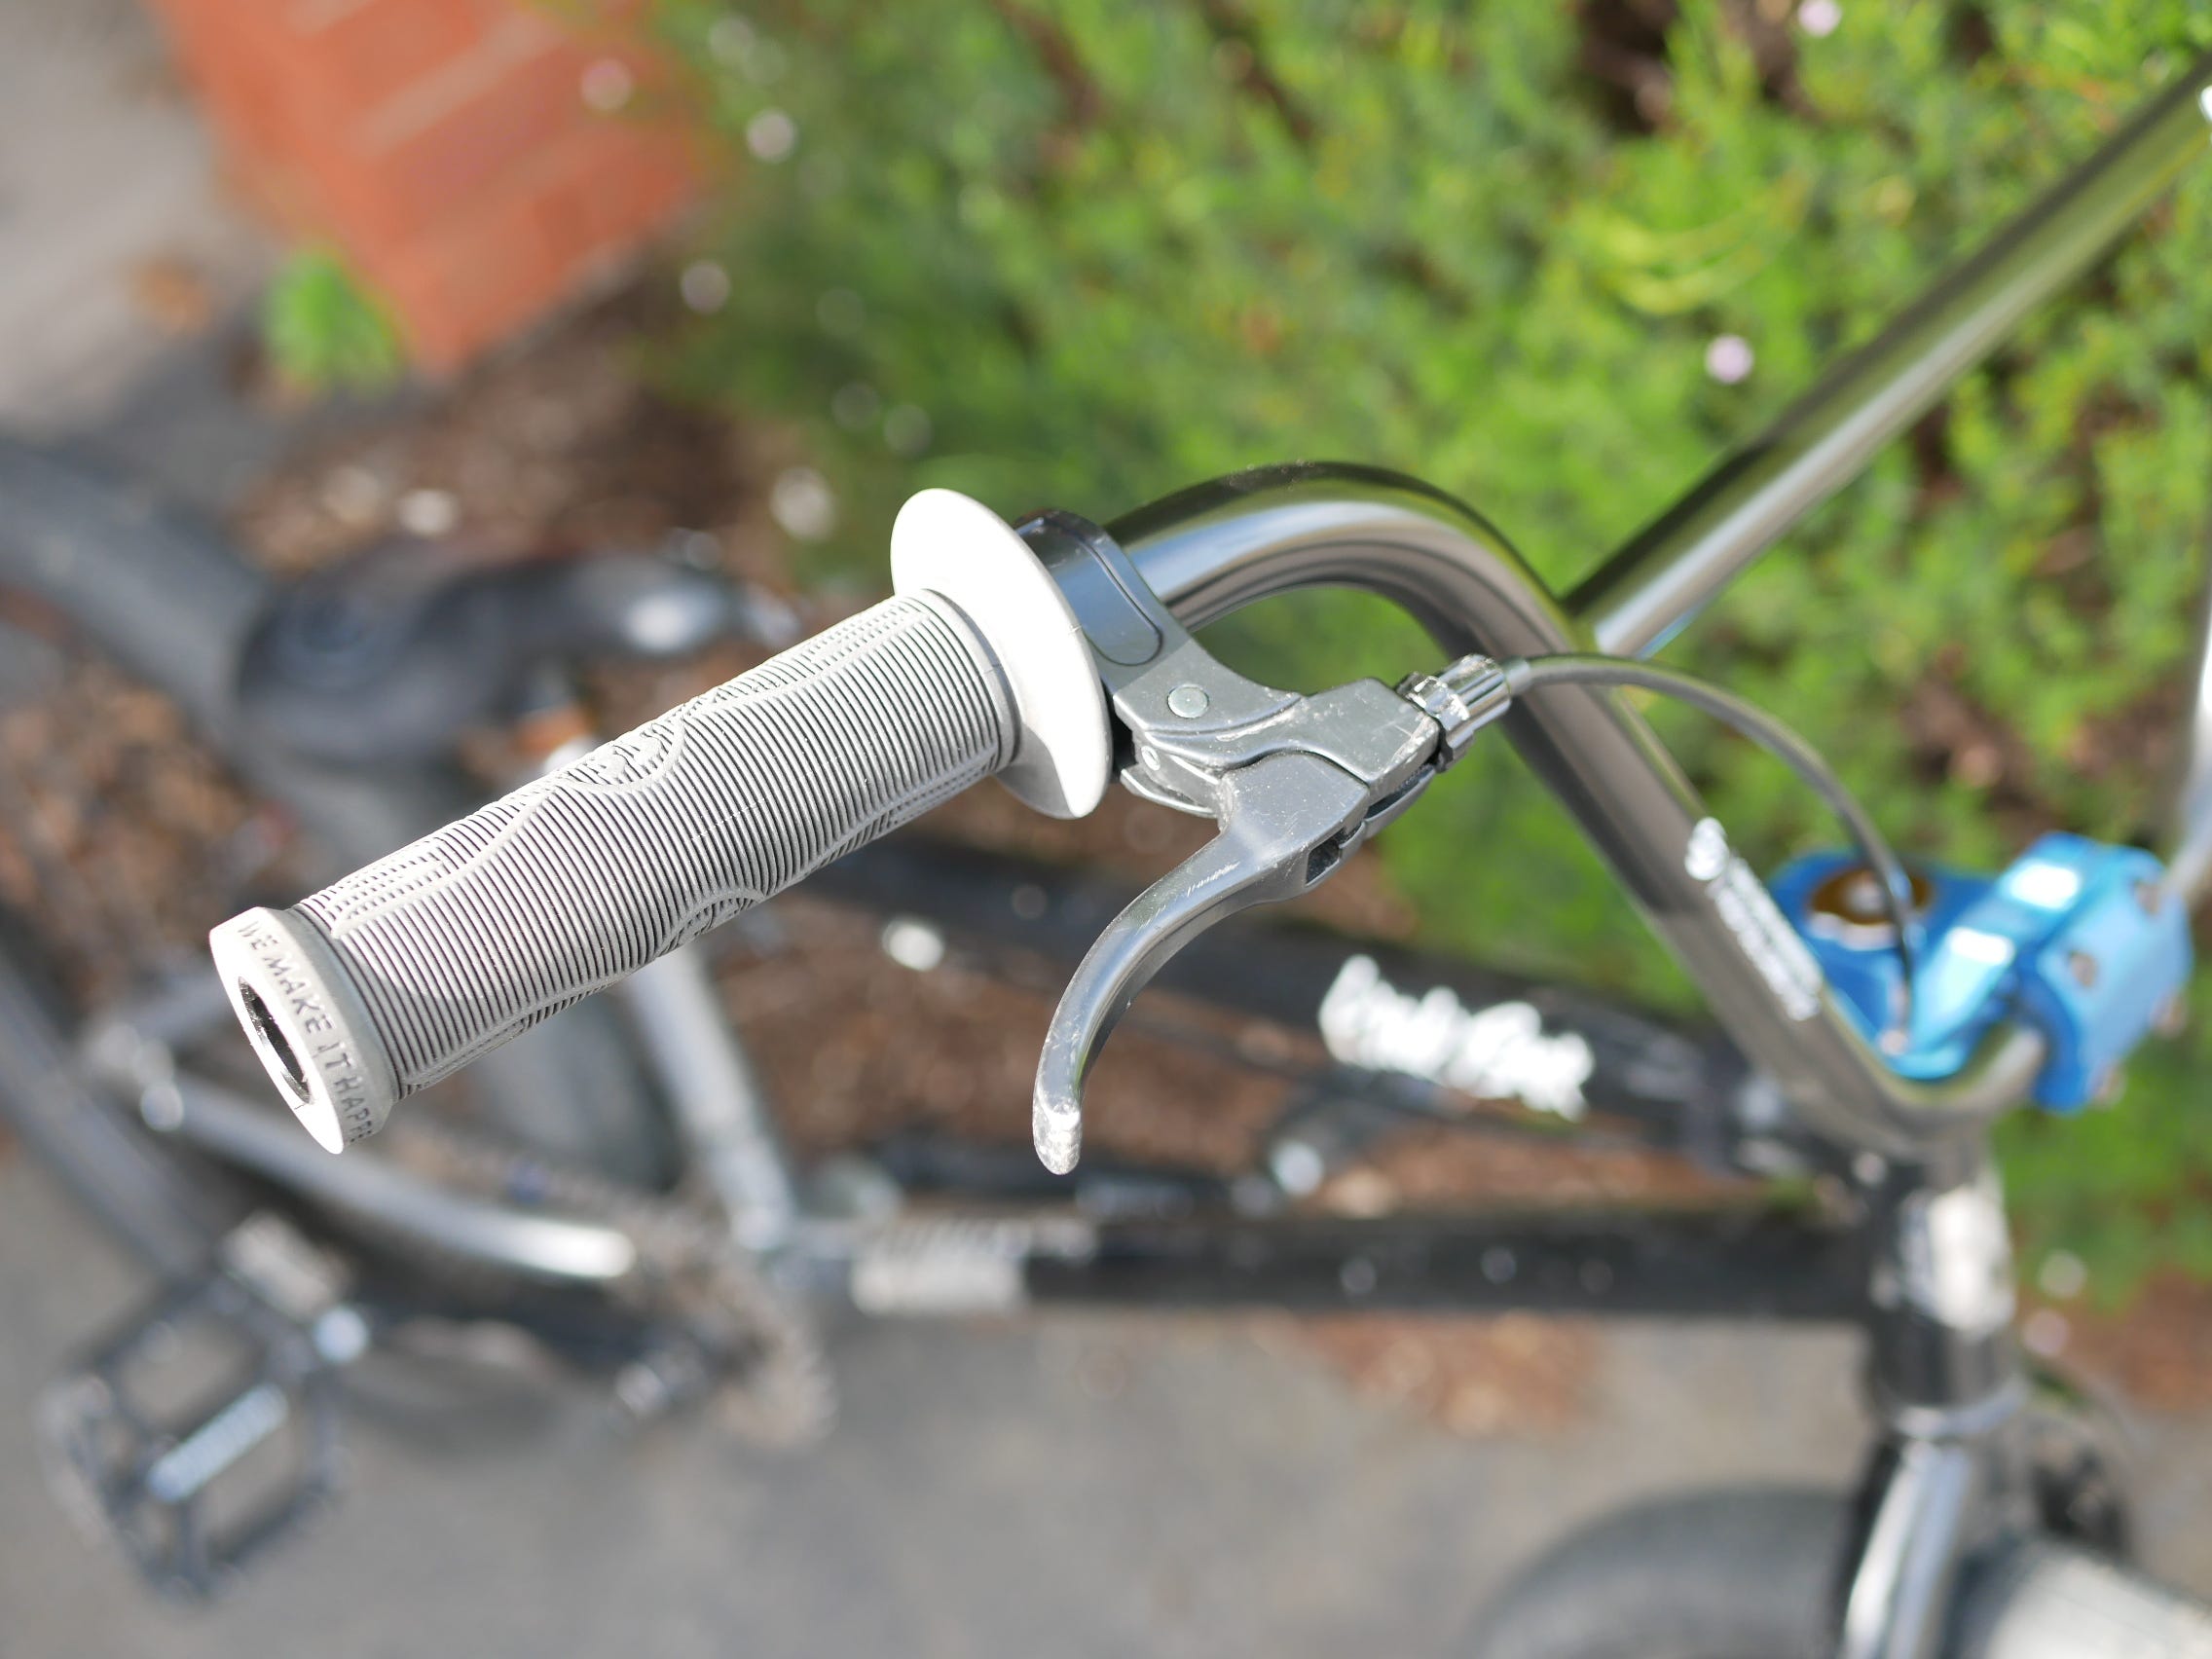
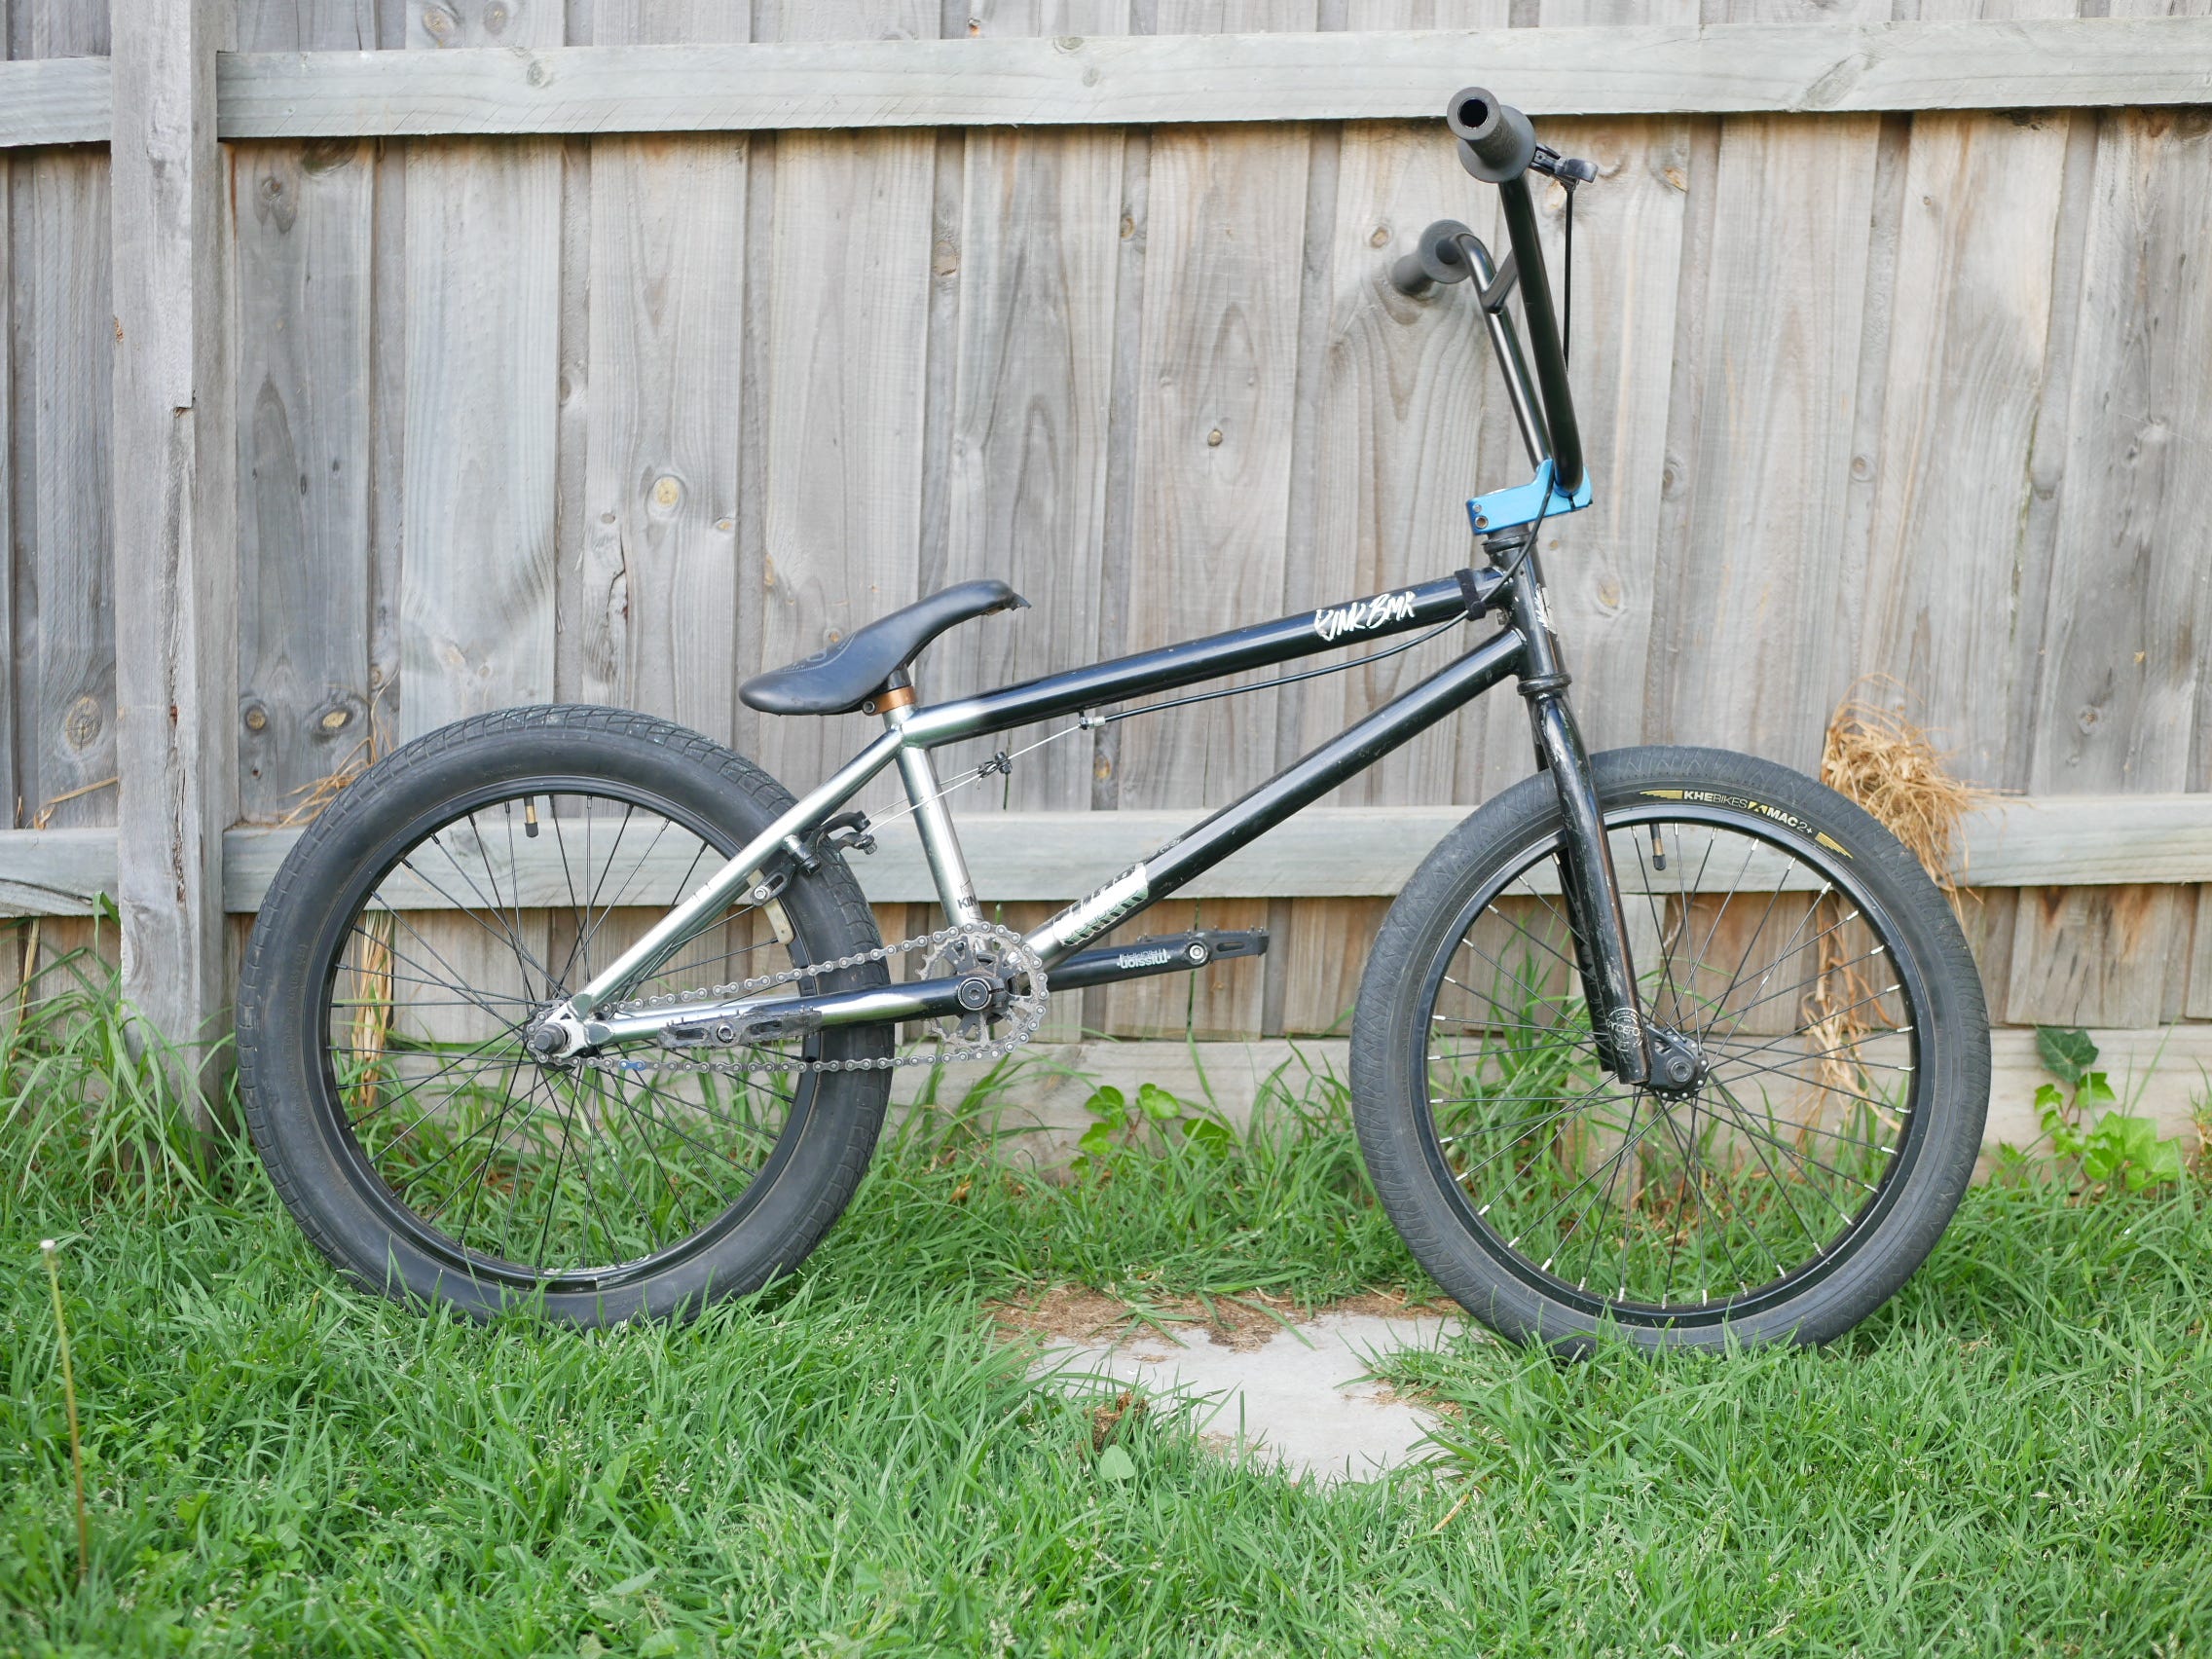
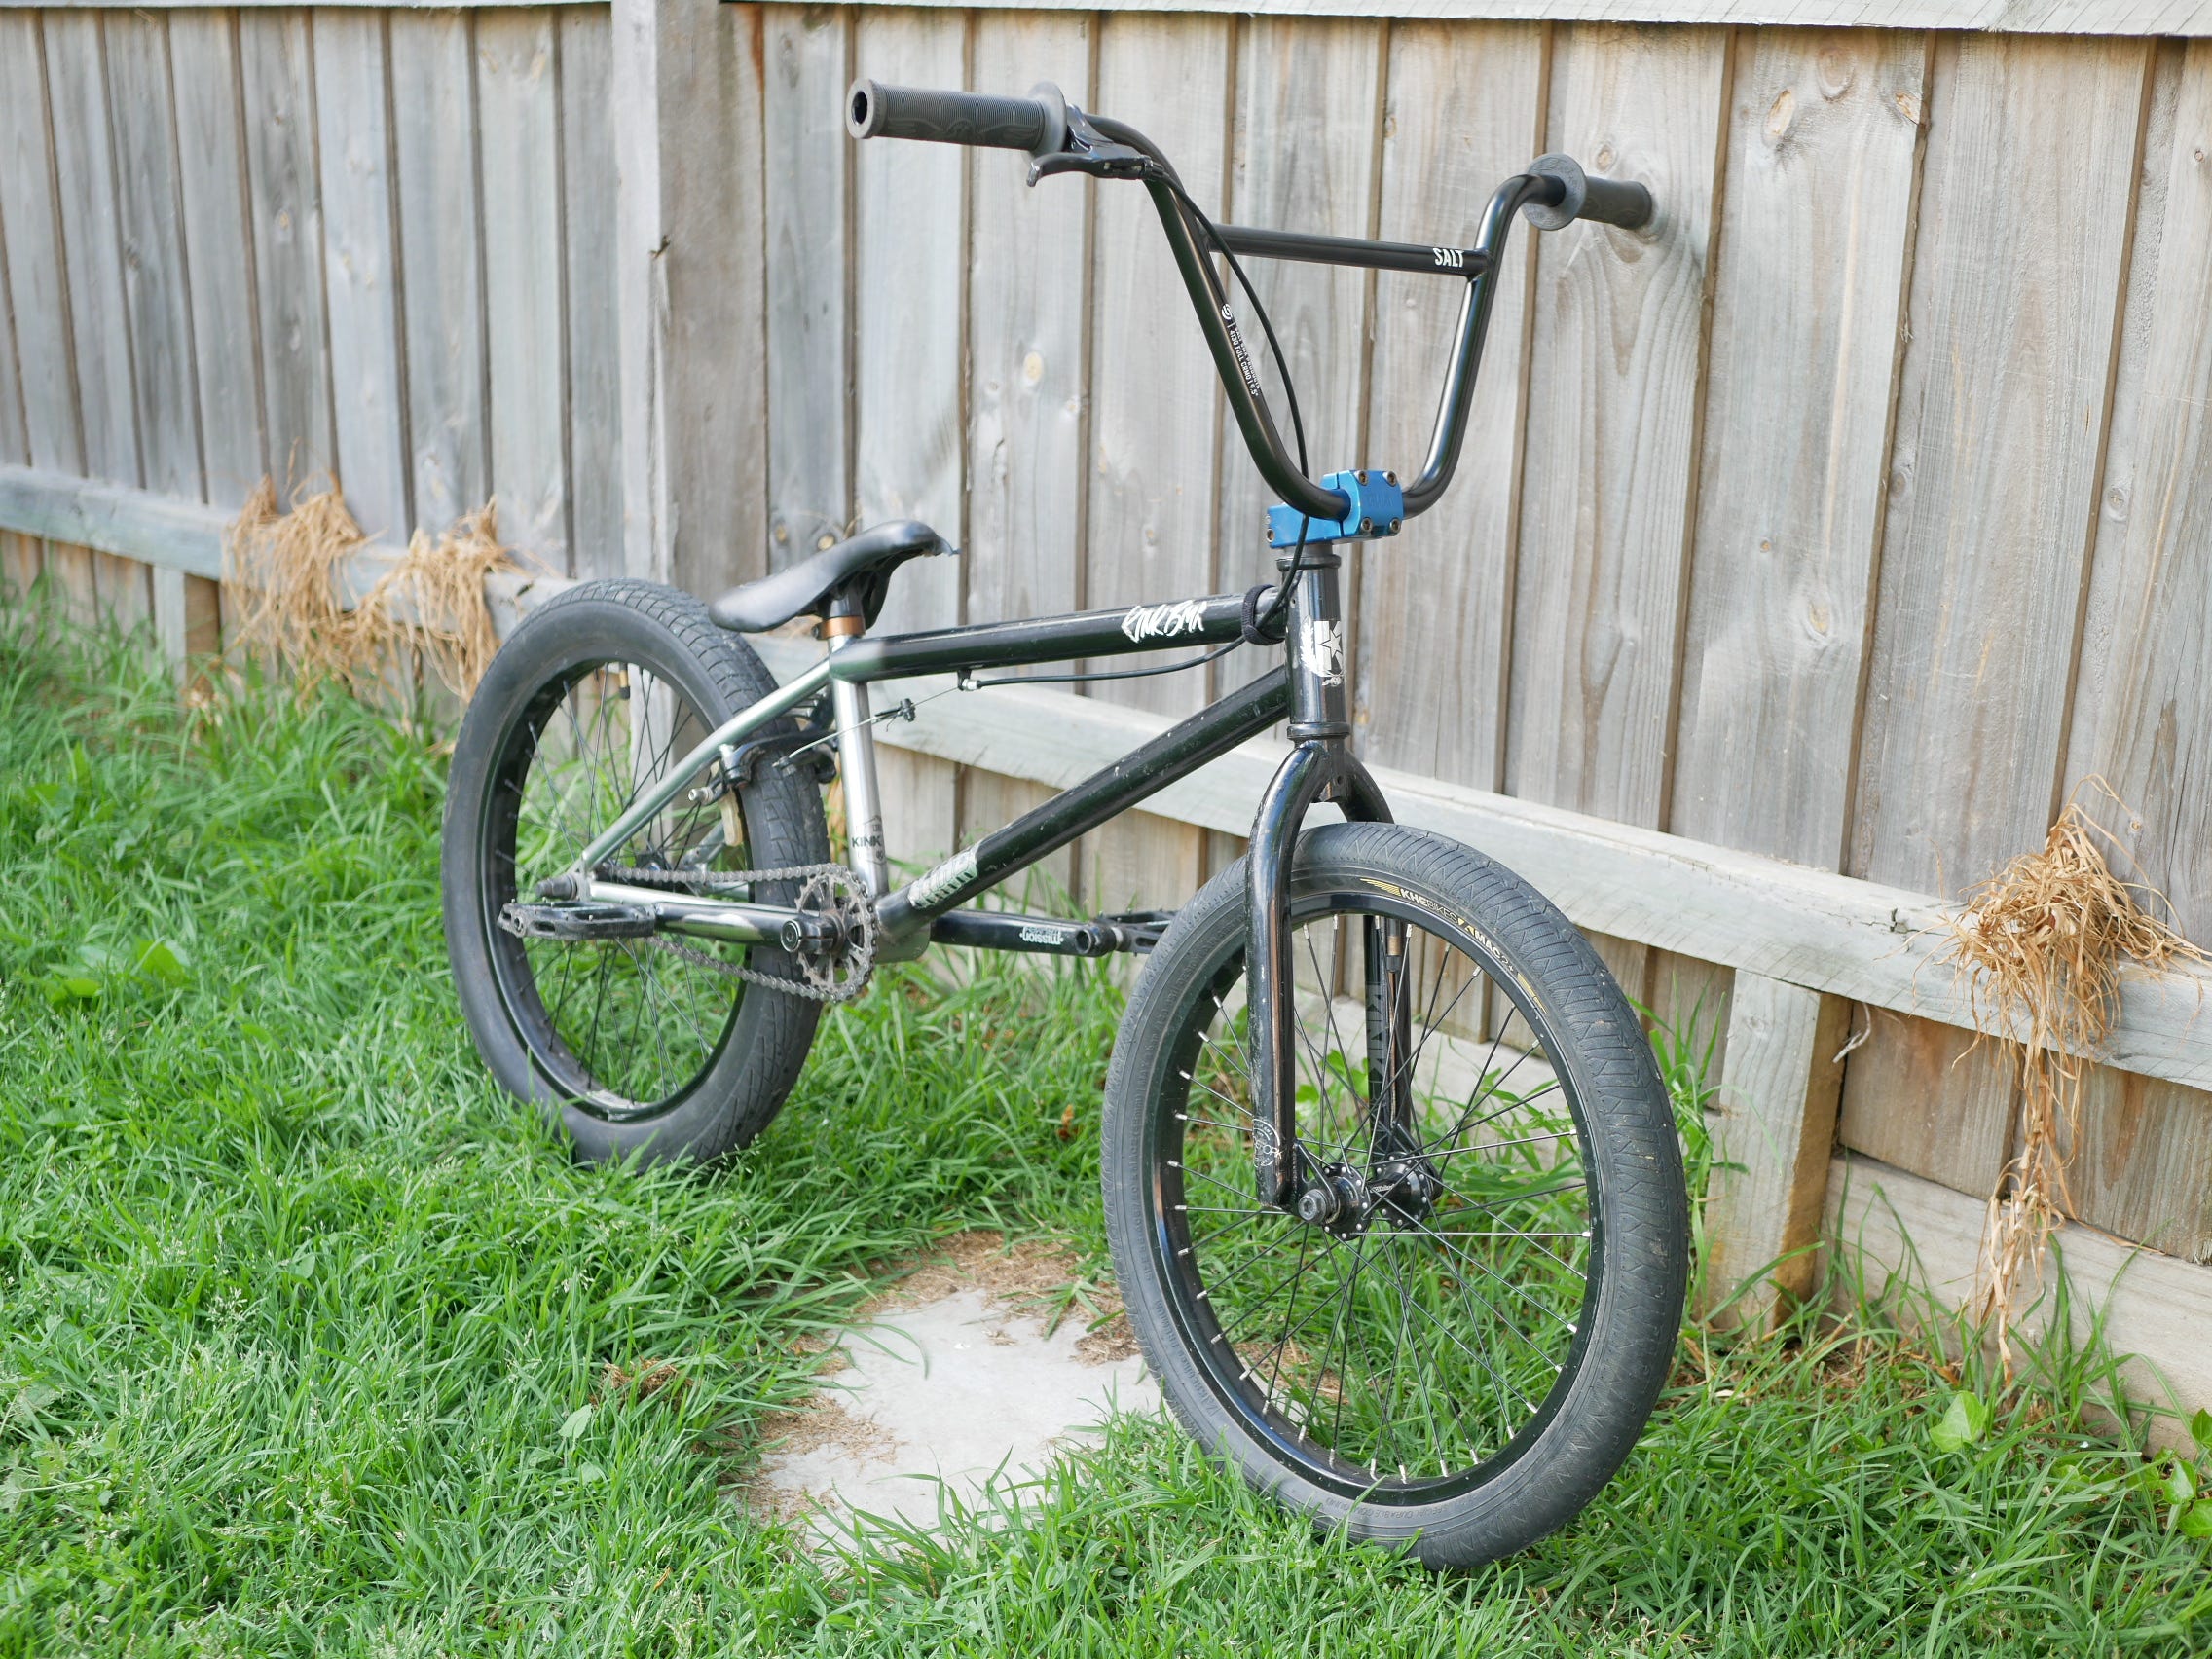
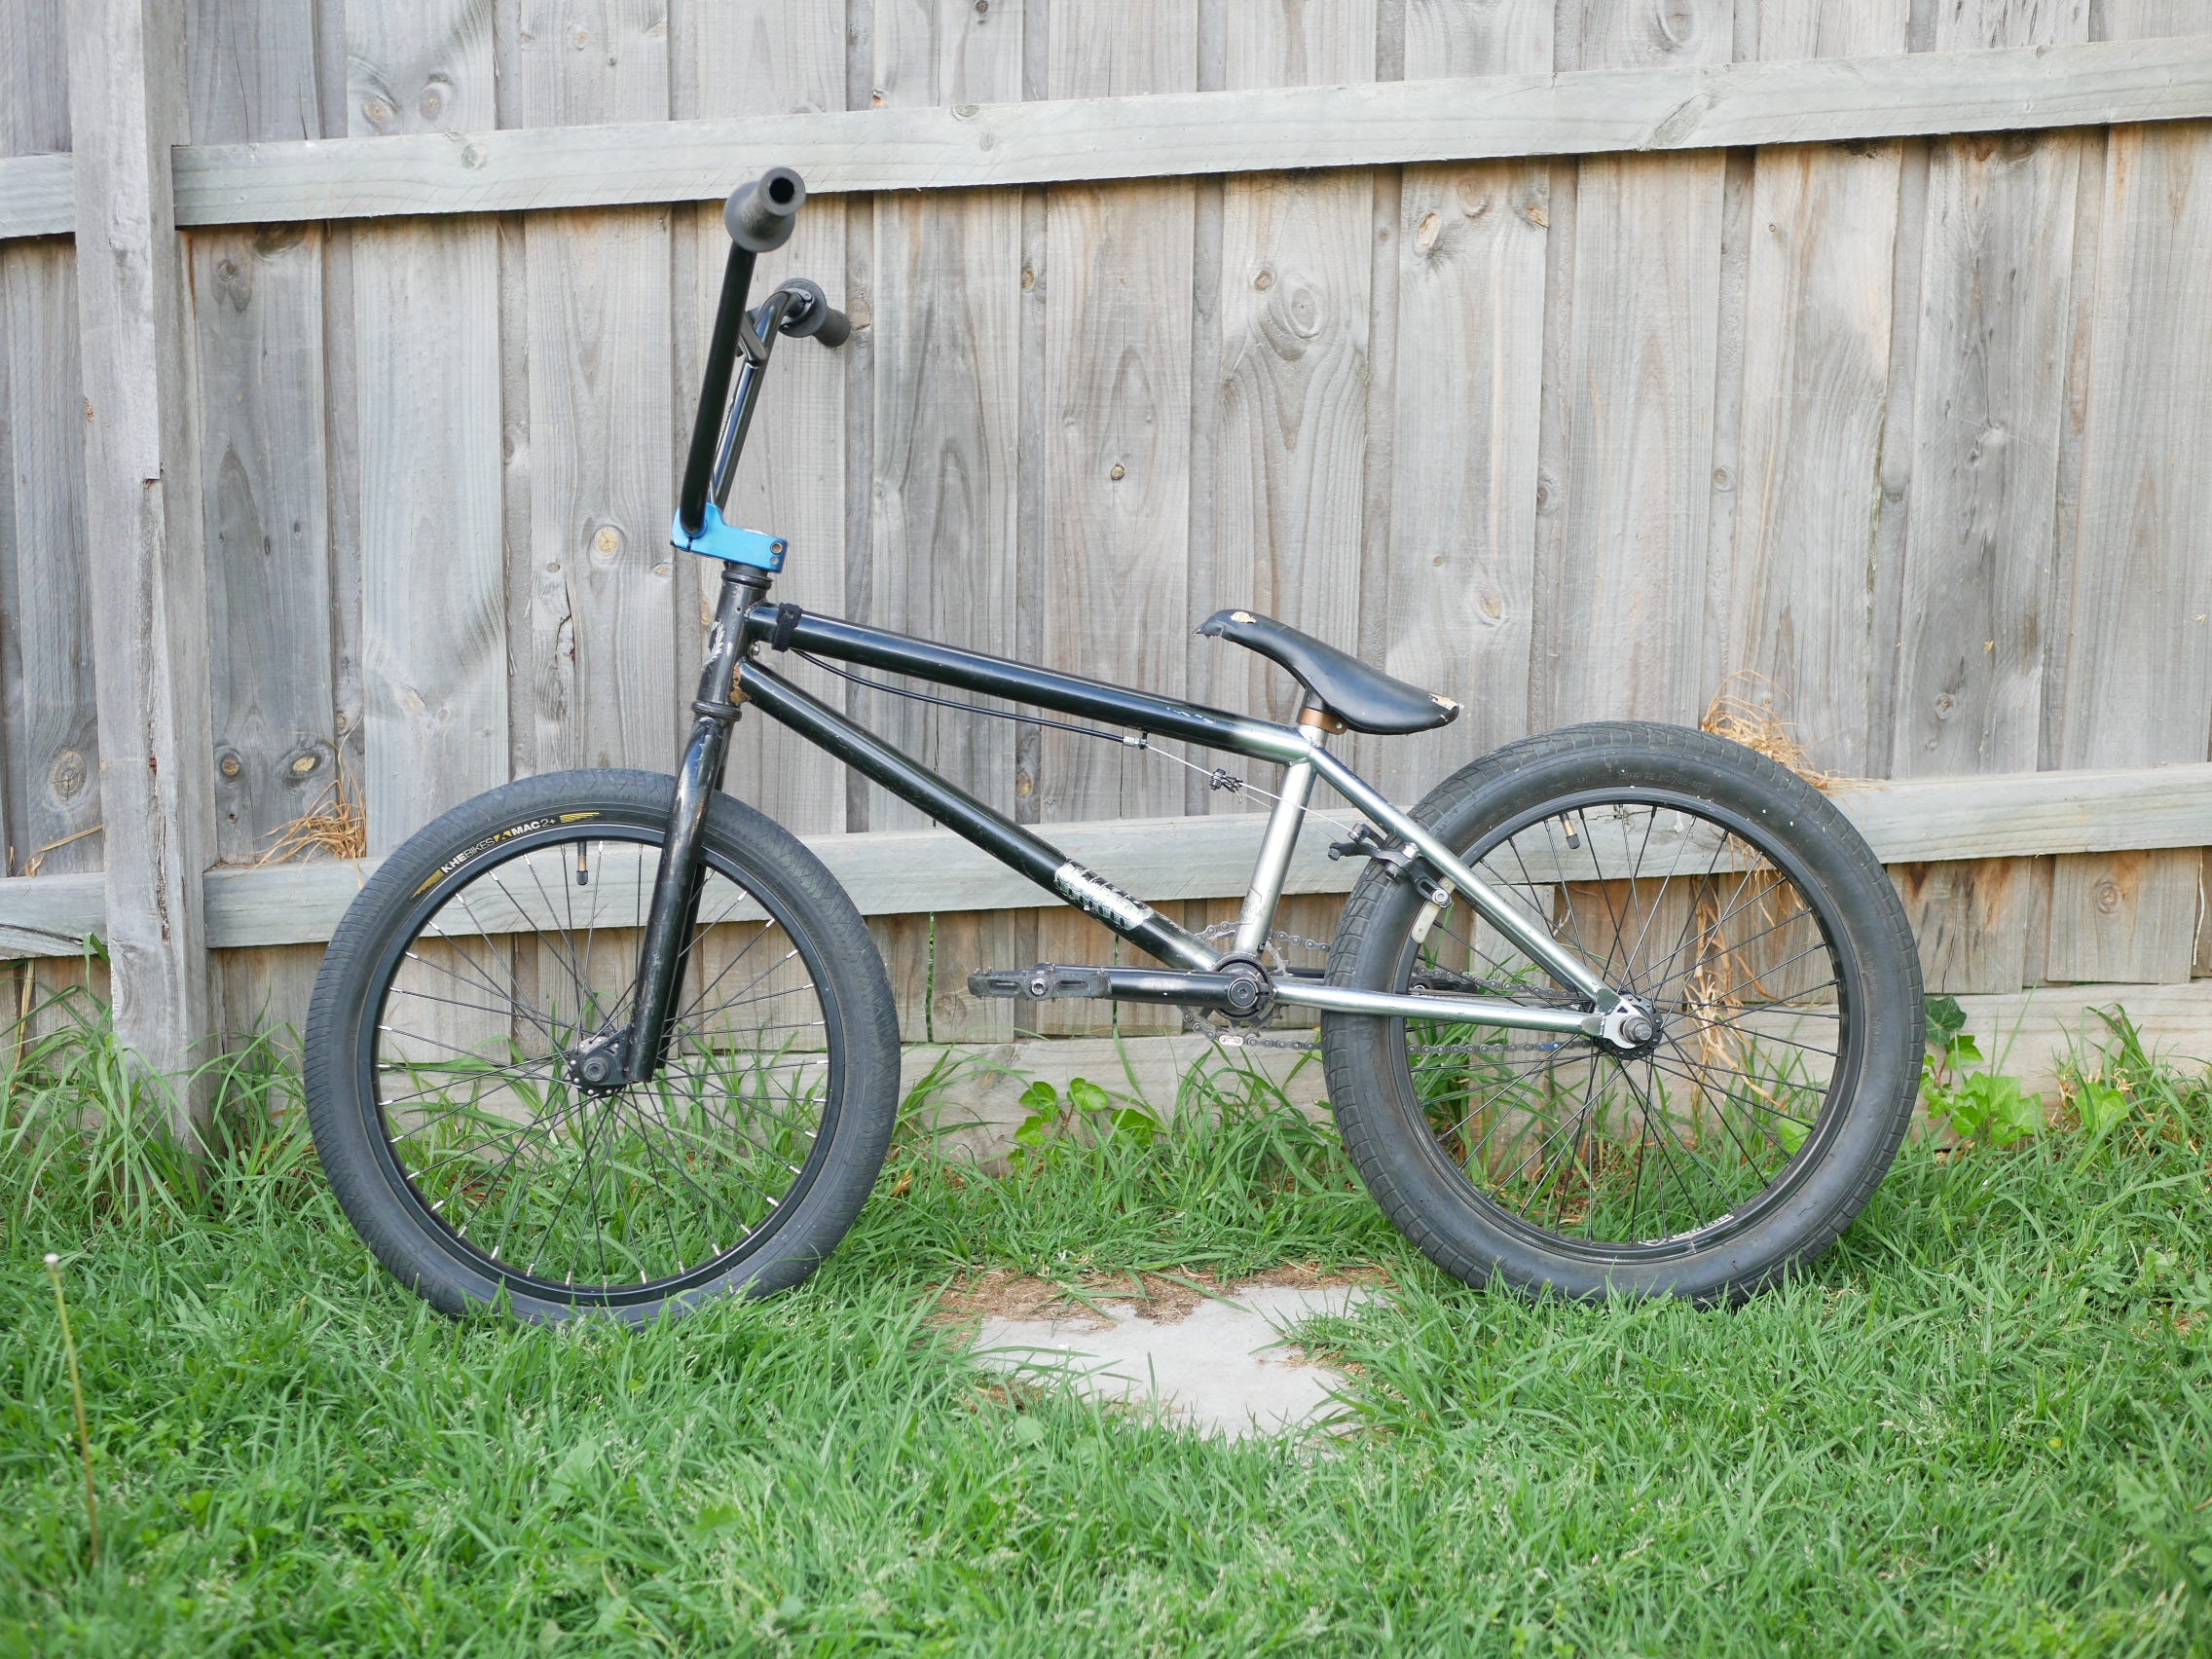
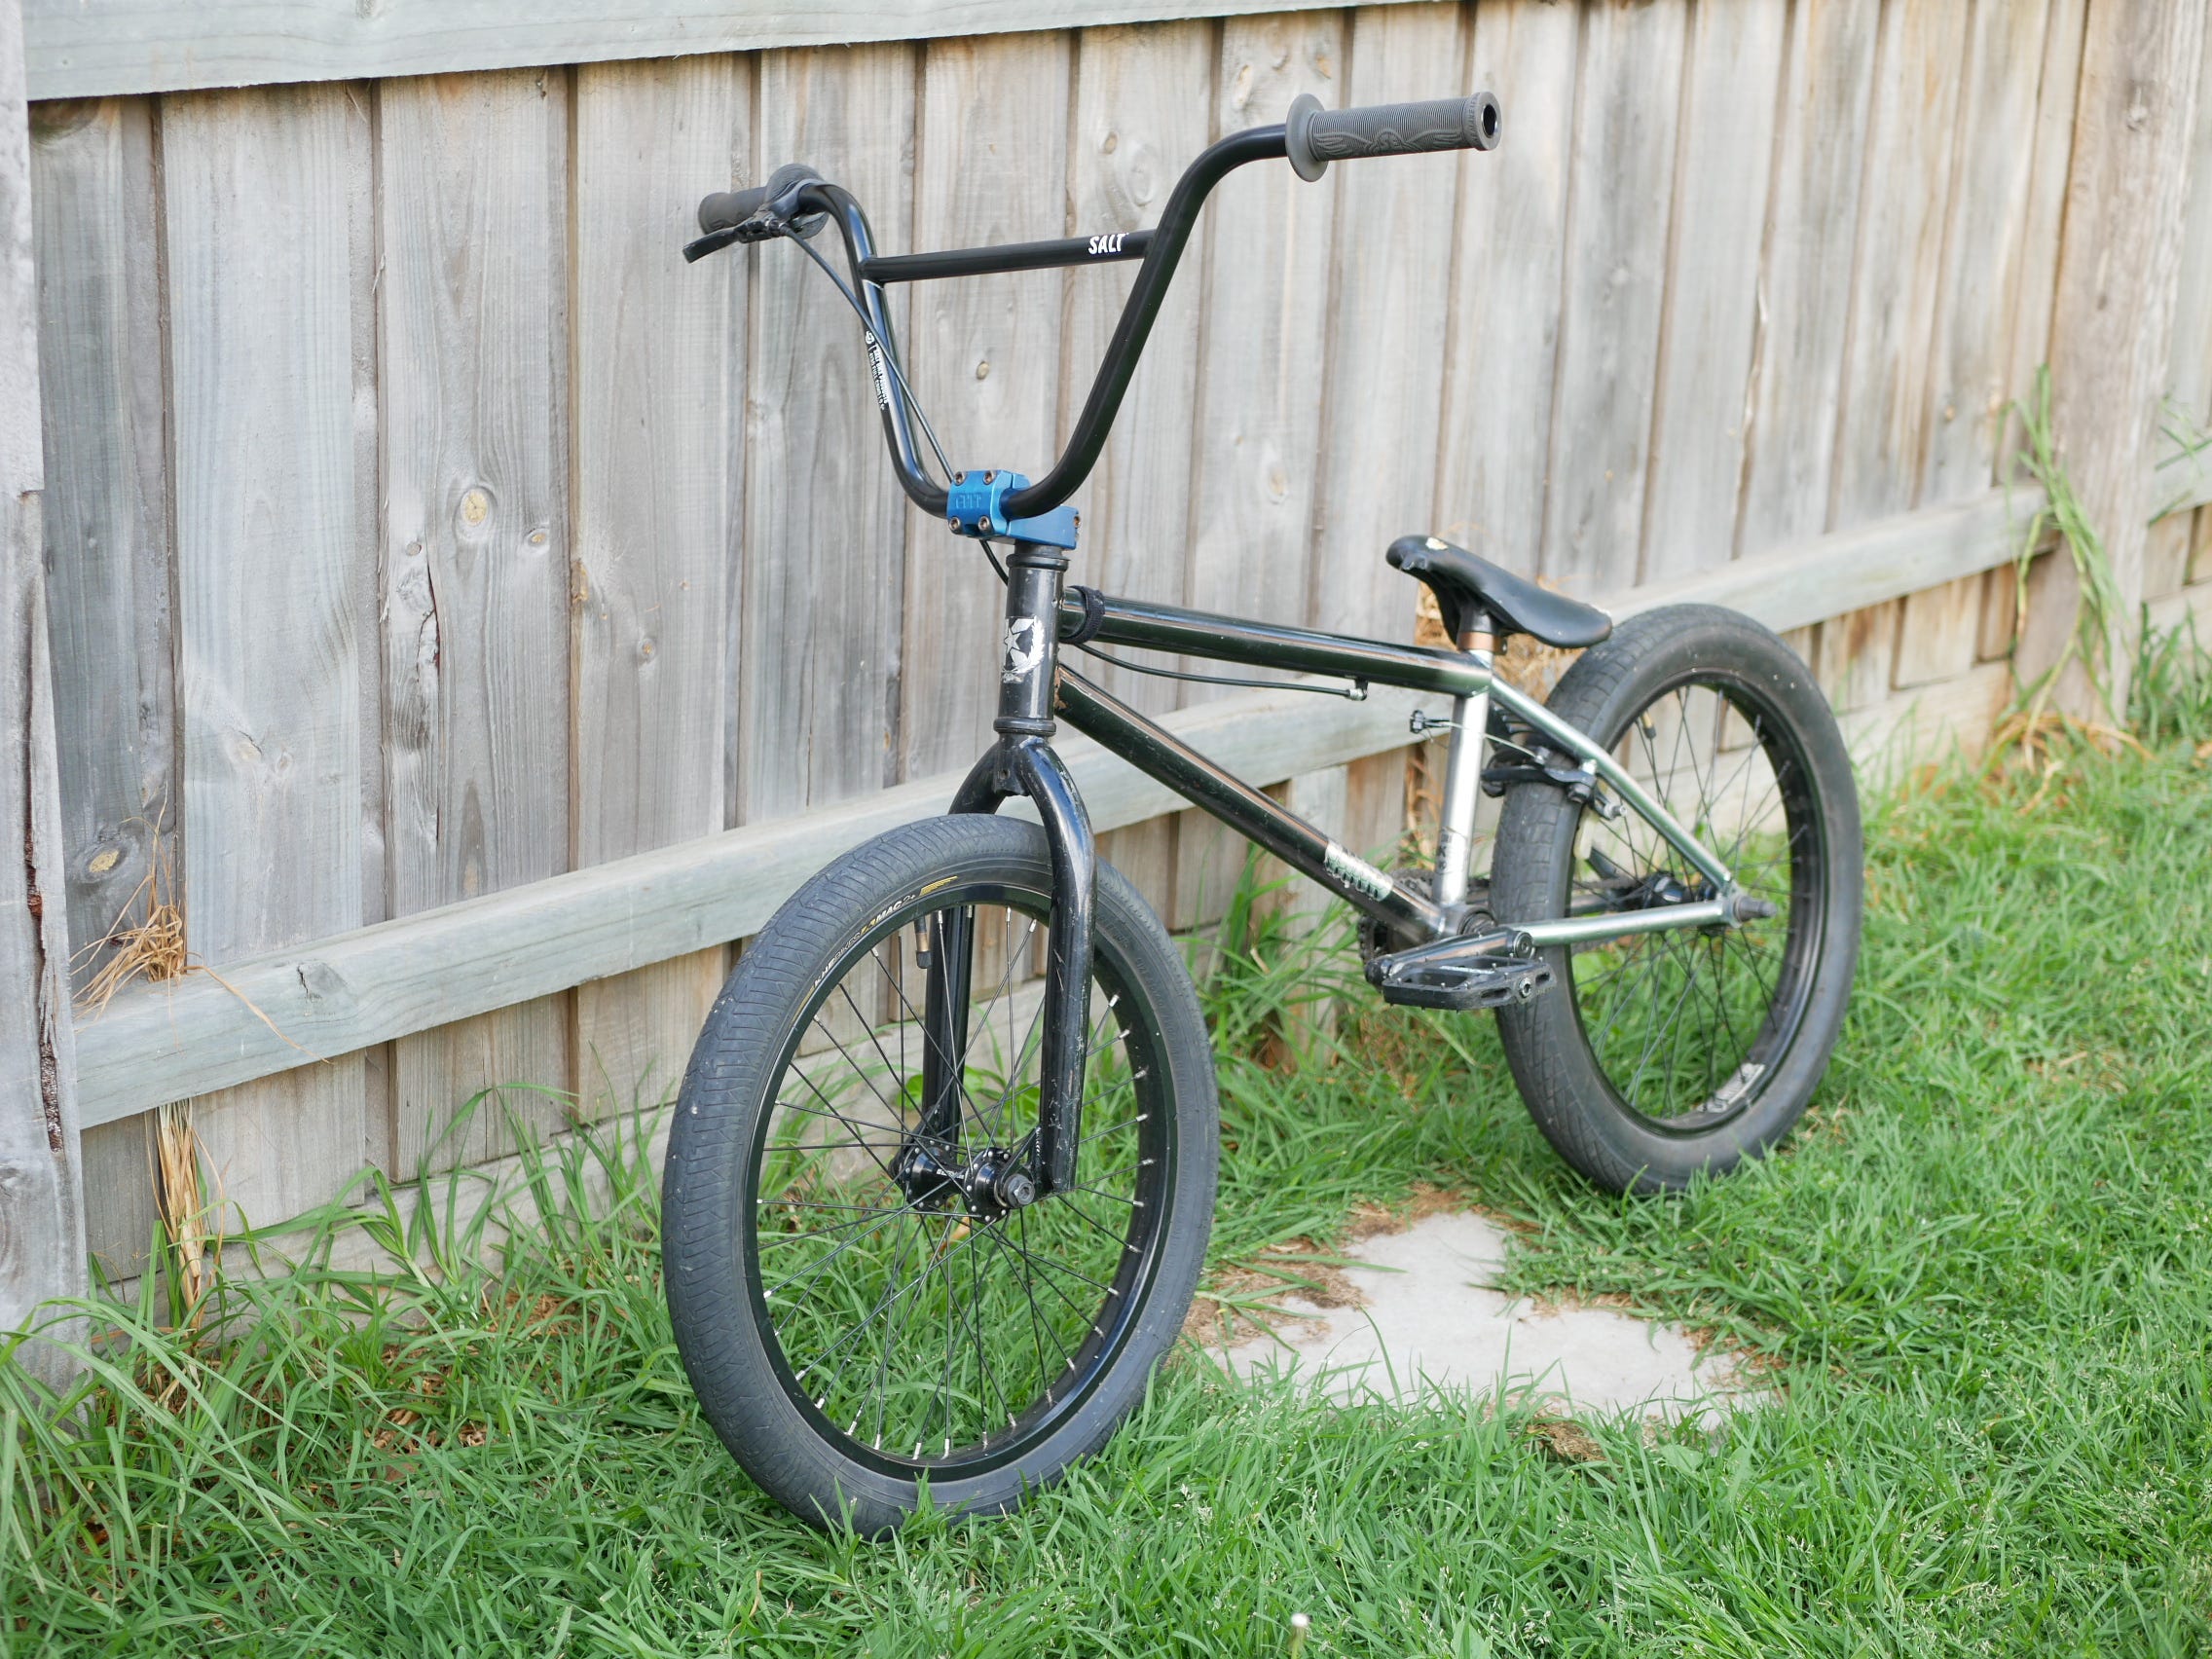
With everything finally being more or less completed except for the Bar-ends which may be scoured from on-line.
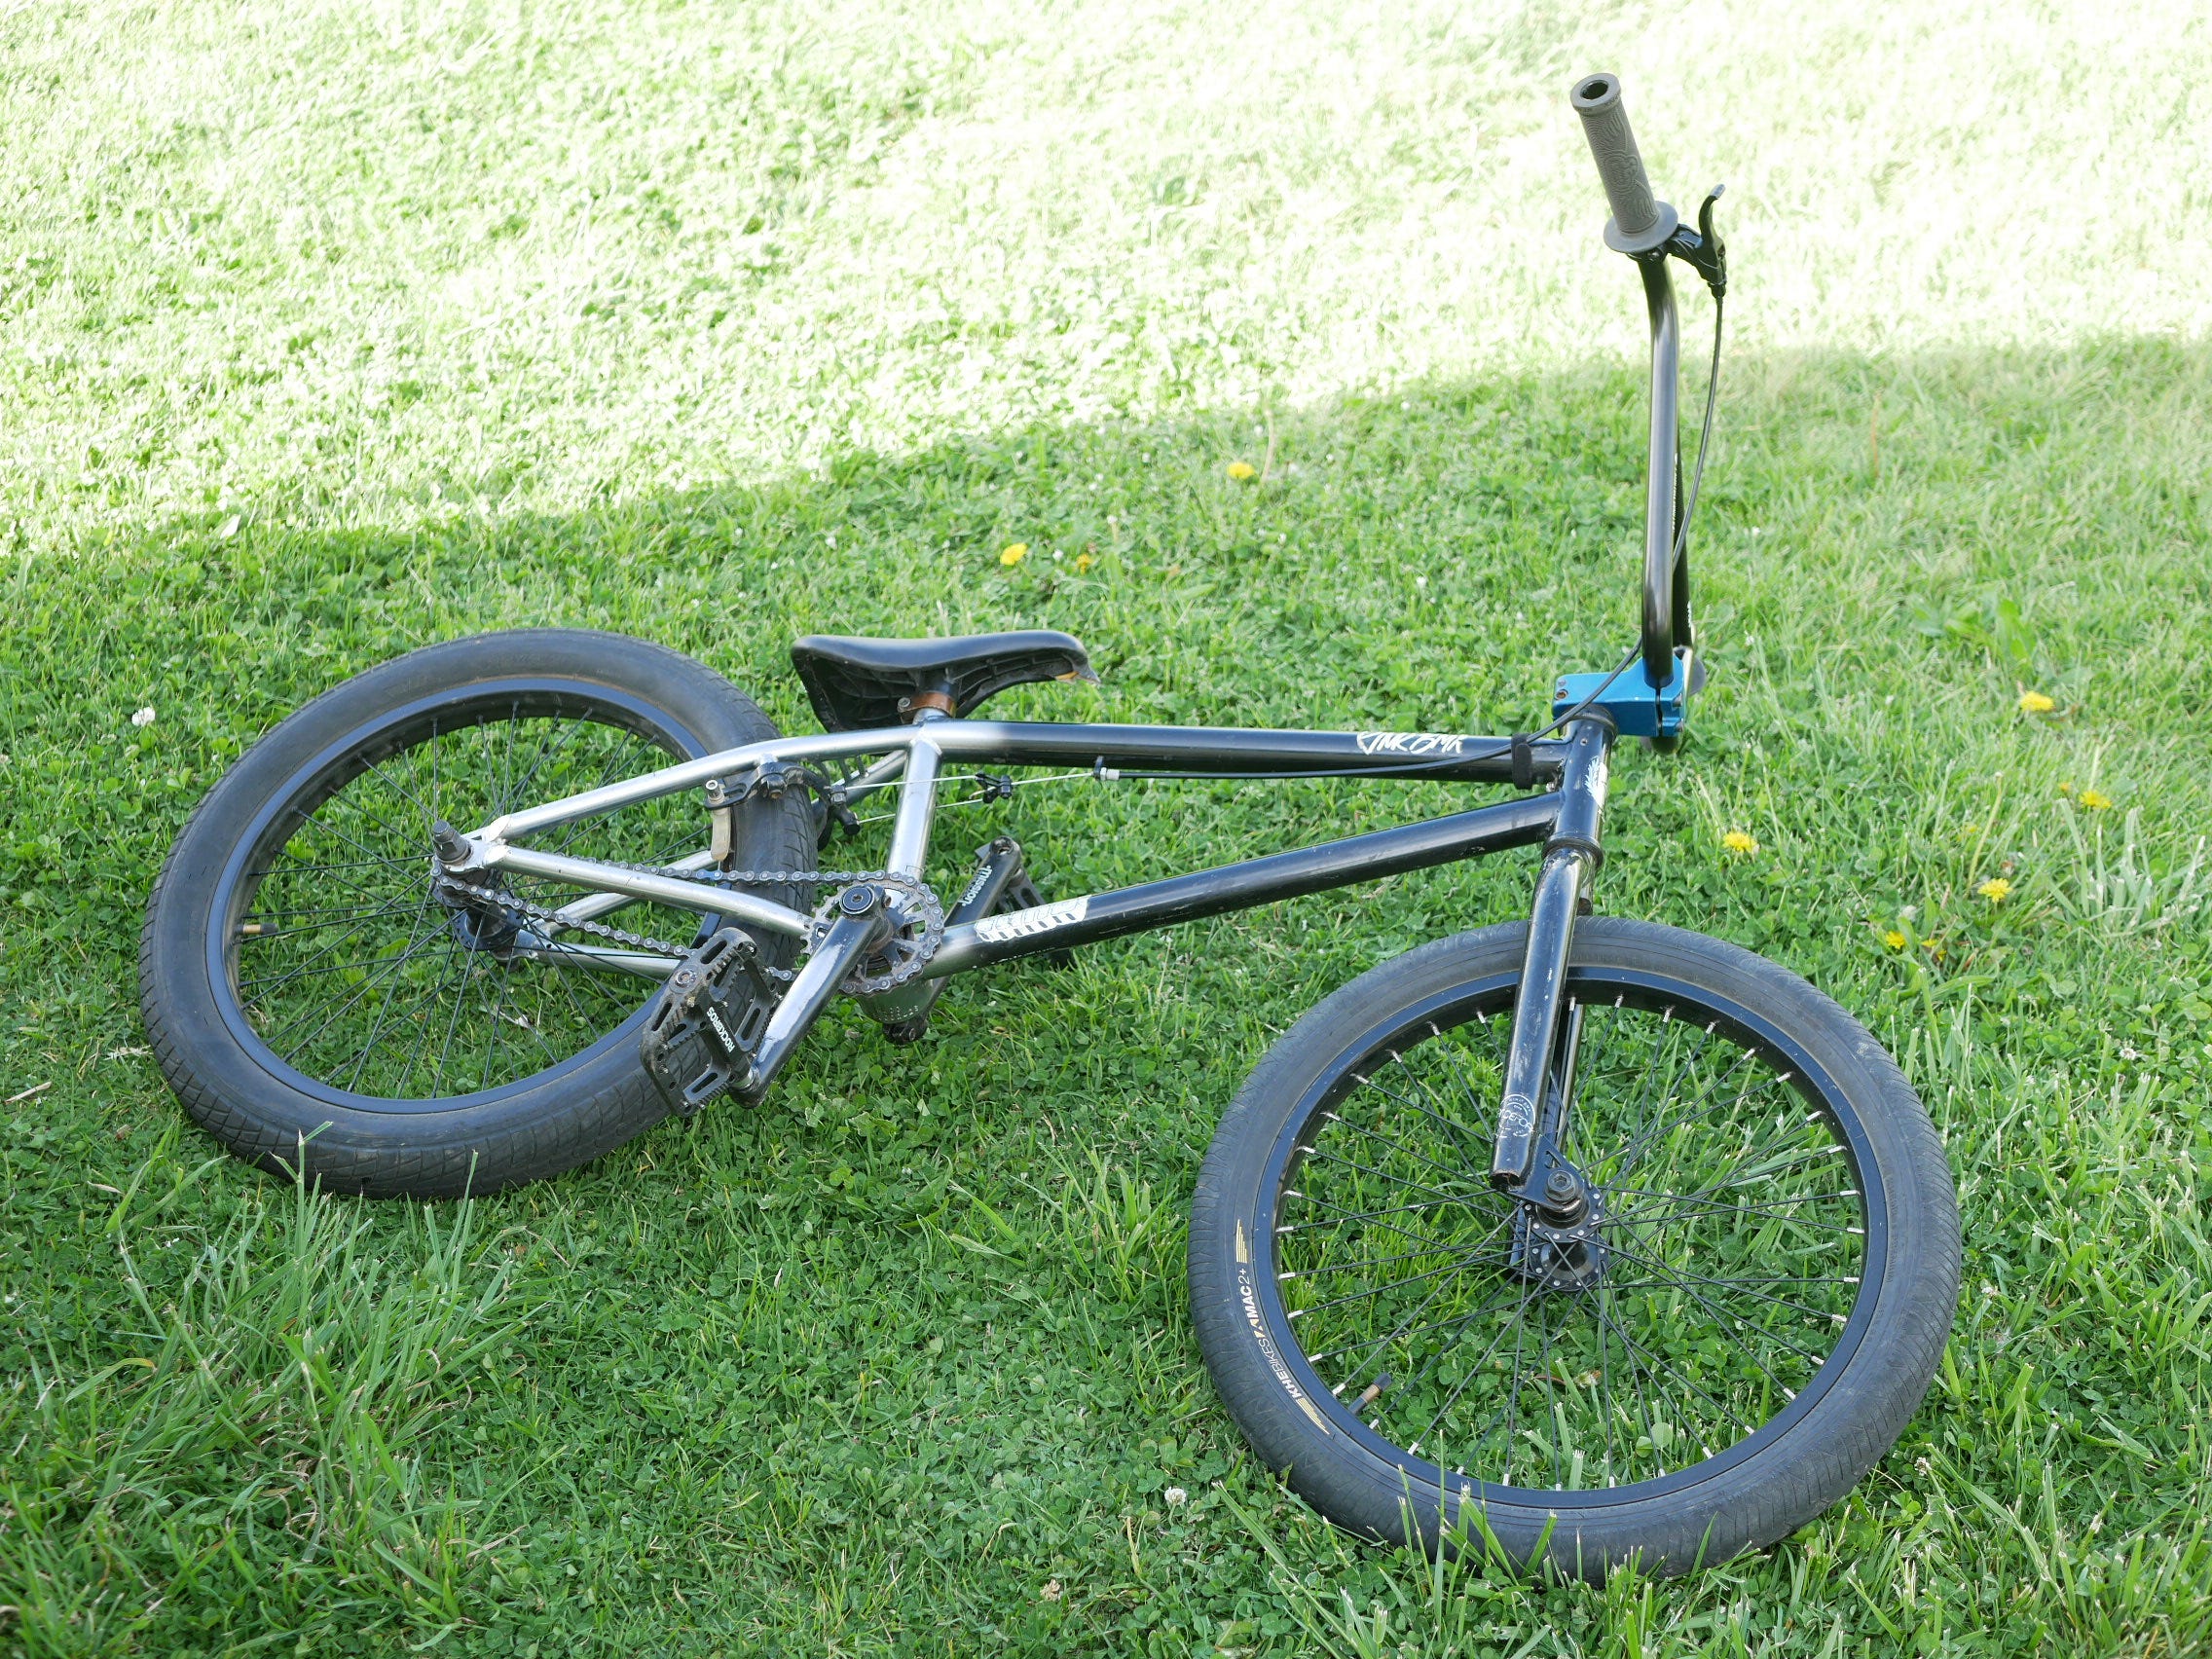
TAAAAAAAA-DAAAAAAAAAAAAAAAA
Enjoy this kind of Content? Feel Free to Support it just below…..
Or Ride a little deeper with a Blog about a few previous BMX/ Bike Services (just below).
